Common Reasons Why My RV Air Conditioner Is Not Cooling
Your RV air conditioner plays a crucial role in keeping your space comfortable, especially during summer road trips. However, if your RV AC is not cooling properly, several underlying issues could be causing this problem. Below, we’ll explore the most common reasons why your RV air conditioner is not cooling and how to fix them.
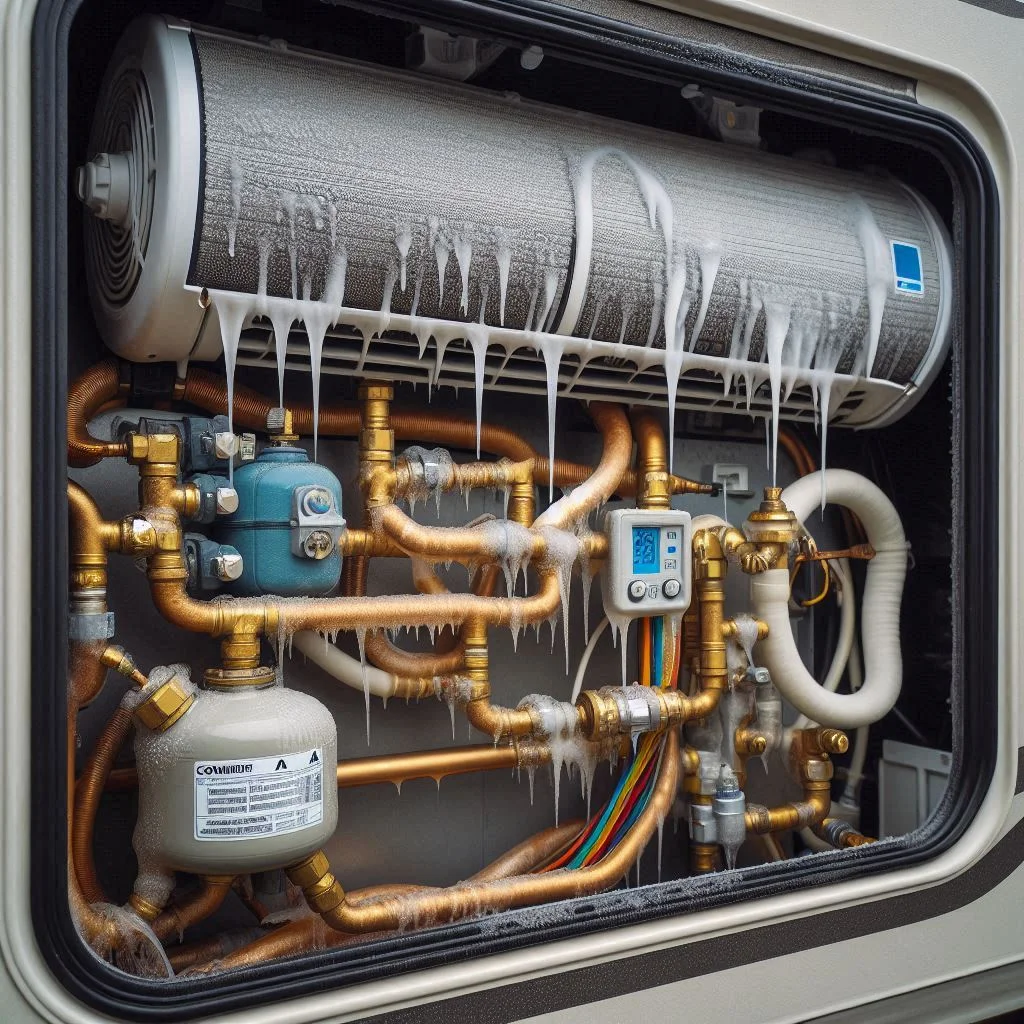
Low or Leaking Refrigerant – Why My RV Air Conditioner Is Not Cooling
Refrigerant is the key component that allows your RV AC to absorb heat and release cool air. If your AC is low on refrigerant or has a leak, it won’t be able to cool the air effectively.
Signs of Low or Leaking Refrigerant:
- AC runs continuously but doesn’t cool the RV
- Weak or warm airflow from the vents
- Ice buildup on the evaporator coils
- Hissing or bubbling noises from the AC unit
Causes of Refrigerant Leaks:
- Worn-out AC components
- Loose or damaged refrigerant lines
- Factory defects or poor installation
How to Fix It:
- Inspect refrigerant lines for visible leaks
- Use a leak detection kit to find hidden leaks
- If refrigerant levels are low, contact an HVAC technician to seal the leaks and recharge the system
Dirty or Clogged Air Filters
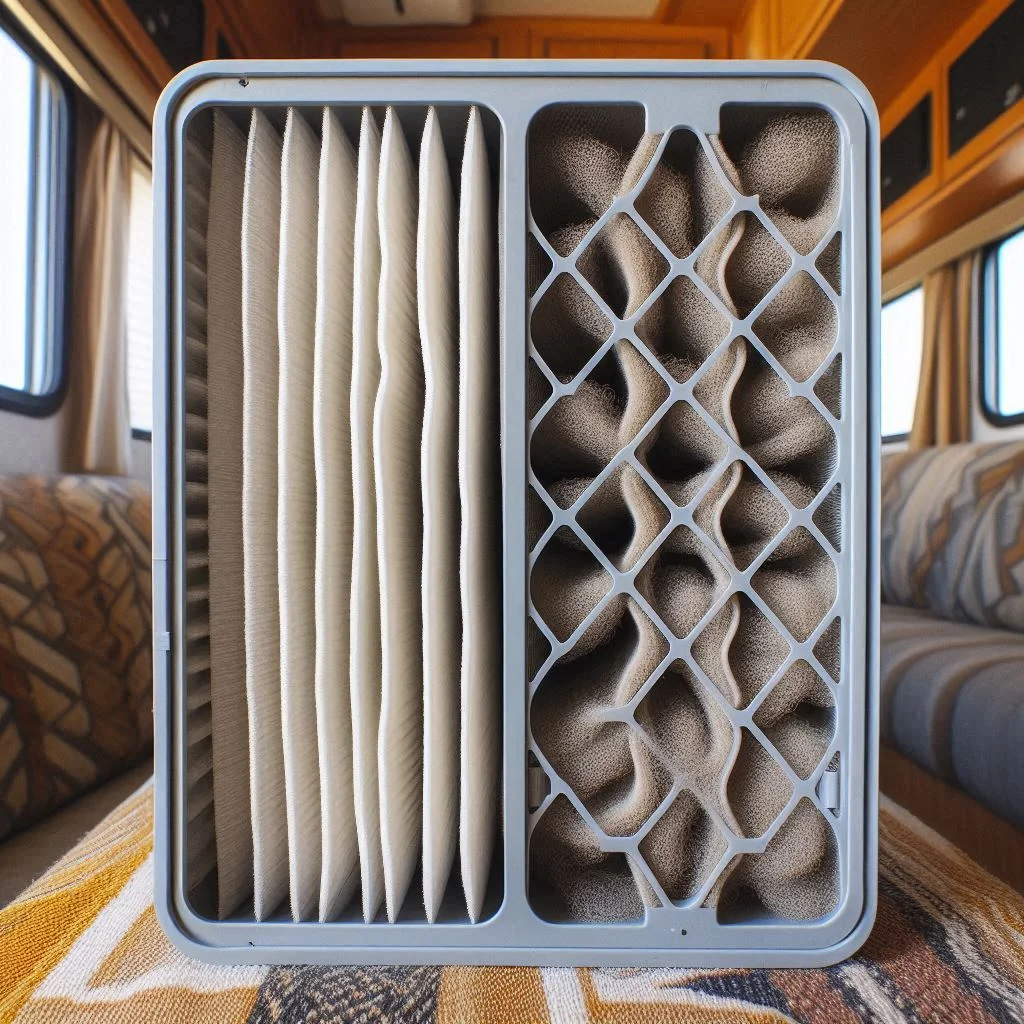
Your RV air filter traps dust, dirt, and debris, preventing them from entering the system. Over time, these filters become clogged, restricting airflow and reducing cooling efficiency.
Signs of a Dirty or Clogged Air Filter:
- Weak airflow from vents
- Dust buildup around the AC unit
- AC struggling to reach the set temperature
- Increased energy consumption
Clean or Replace RV Air Filter If Not Cooling
- Locate the air filter inside the return air grille of your RV AC.
- Remove the filter and check for dust buildup.
- If it’s washable, rinse it with water and mild soap, then let it dry completely before reinserting.
- If it’s a disposable filter, replace it with a new one.
Blocked or Frozen Evaporator Coils
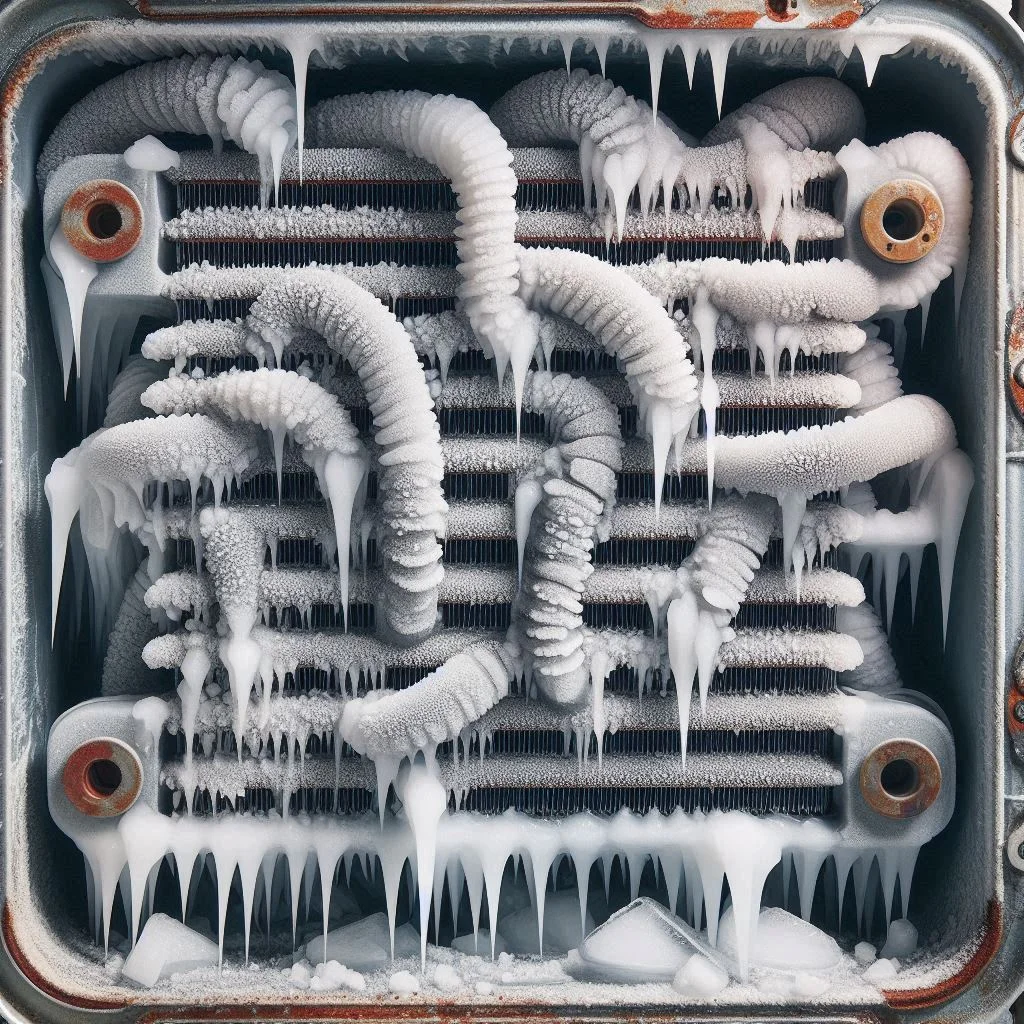
The evaporator coils are responsible for absorbing heat from inside the RV and cooling the air. When these coils become blocked or freeze, airflow is restricted, and the AC struggles to cool efficiently.
Causes of Frozen or Blocked Evaporator Coils:
- Dirty air filters blocking airflow
- Low refrigerant levels causing condensation to freeze
- AC running for extended periods without cycling off
How to Fix It:
- Turn off the AC and let the coils thaw completely.
- Clean the coils with a soft brush or coil cleaner to remove dust buildup.
- Check and replace air filters if they are clogged.
- Ensure there are no refrigerant leaks causing temperature imbalances.
Electrical or Capacitor Issues
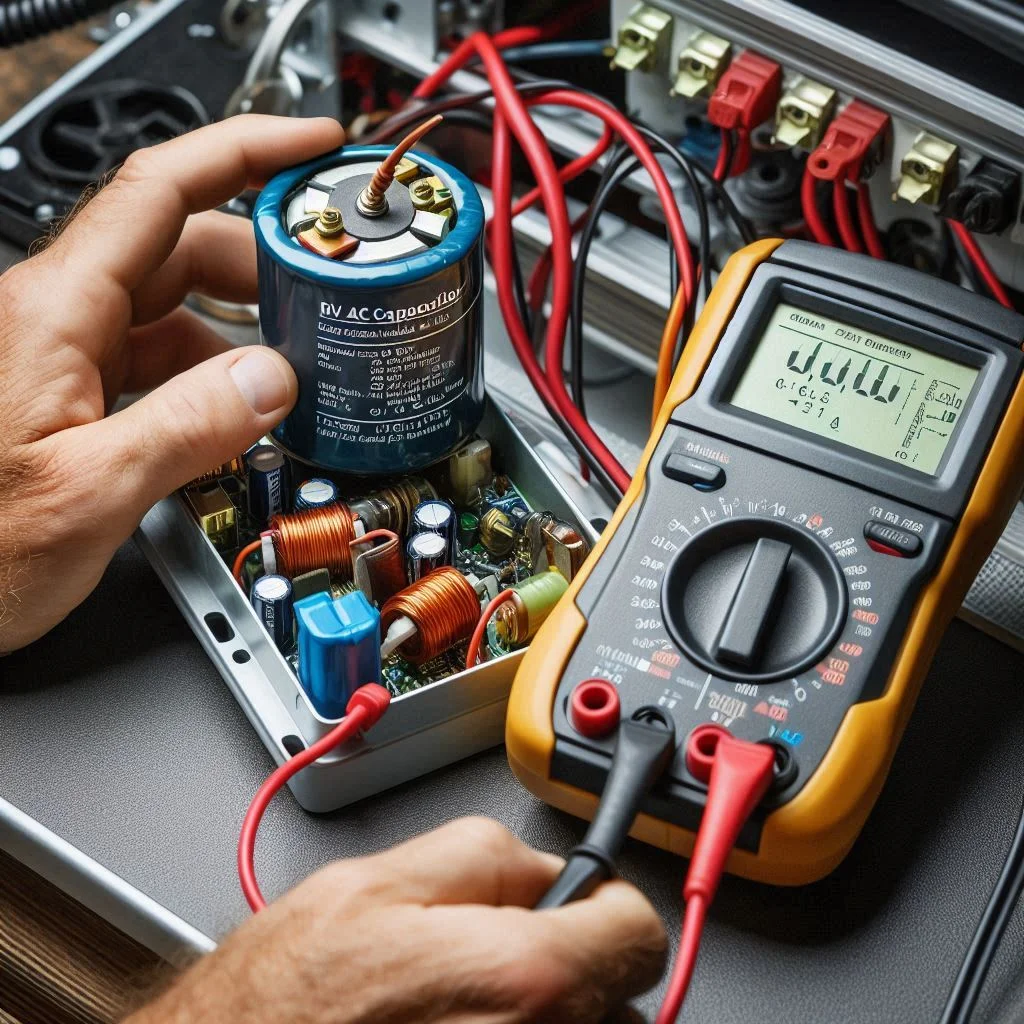
Your RV air conditioner relies on electrical components, including capacitors, wiring, and breakers, to function. If there’s a problem with any of these, the AC may fail to cool properly.
Common Electrical Problems in RV ACs:
- Faulty start or run capacitor – The AC struggles to start or doesn’t turn on at all.
- Loose or damaged wiring – Can cause intermittent power failures.
- Tripped circuit breakers – May shut down the AC unit unexpectedly.
How to Fix Electrical Issues:
- Check your circuit breaker to ensure it hasn’t tripped.
- Inspect capacitor health – A swollen or leaking capacitor needs replacement.
- Examine wiring connections for signs of wear or corrosion.
- If the issue persists, contact a certified HVAC technician to diagnose the problem.
Troubleshooting My RV Air Conditioner Not Cooling
If your RV air conditioner is not cooling, troubleshooting the issue step by step can help you identify and resolve the problem. Below, we’ll cover the most effective ways to troubleshoot your RV AC, ensuring optimal cooling performance for your travels.
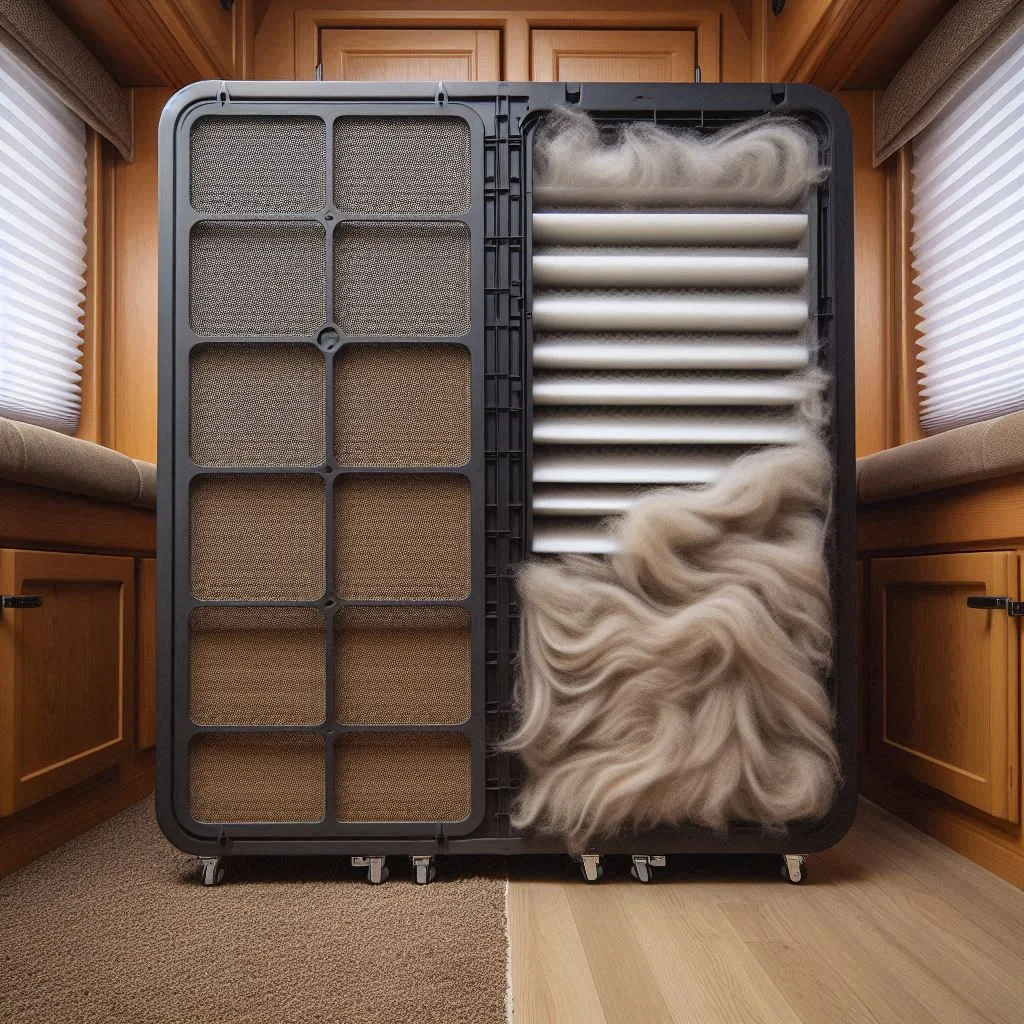
Check and Replace RV Air Filters for Cooling Issues
One of the most common reasons for an RV AC not cooling efficiently is a dirty or clogged air filter. The filter is responsible for trapping dust, dirt, and debris, preventing them from entering the AC system. When clogged, it blocks airflow, making it harder for the unit to cool your RV.
Steps to Check and Replace Your RV AC Filter:
- Turn off the AC unit before inspecting the filter.
- Locate the air return grille (usually on the ceiling or side panel of the AC unit).
- Remove the grille and take out the air filter.
- Check for dust buildup or damage. If the filter is reusable, wash it with warm water and mild soap, then allow it to dry completely.
- If the filter is disposable, replace it with a new one to ensure proper airflow.
- Reinstall the filter and secure the grille.
Pro Tip: RV air filters should be cleaned or replaced every 1–3 months, depending on usage and environmental conditions.
Inspecting the Thermostat Settings
Your RV AC thermostat controls the temperature, and incorrect settings can prevent the AC from cooling effectively. A malfunctioning or misconfigured thermostat can cause the unit to short cycle, run continuously, or fail to cool.
How to Inspect and Adjust Your RV AC Thermostat:
- Check the temperature setting – Ensure it is set to cool mode and at least 5°F lower than the room temperature.
- Switch between temperature modes to see if the thermostat responds.
- Inspect for loose or damaged wiring if the thermostat screen is blank.
- Test with new batteries (for battery-operated thermostats).
- If the thermostat is still unresponsive, consider replacing it with a programmable model for better efficiency.
Pro Tip: A faulty thermostat can cause inconsistent cooling. If your AC doesn’t respond to thermostat changes, a replacement may be necessary.
Examining Power Supply and Breakers
If your RV air conditioner won’t turn on or suddenly stops working, the issue may be electrical. Checking your power supply, circuit breakers, and fuses can help diagnose the problem.
How to Troubleshoot RV AC Power Issues:
- Check the RV’s main power supply – Ensure the unit is receiving adequate voltage from shore power or the generator.
- Inspect the circuit breakers – If the breaker is tripped, reset it and monitor if the AC turns back on.
- Examine the AC capacitor – A damaged capacitor can prevent the AC from starting. Look for bulging or burnt components.
- Test the power outlet – Use a voltage tester to confirm proper electrical flow.
- If the AC still doesn’t work, the problem could be internal wiring, requiring professional repair.
Pro Tip: Running multiple appliances at the same time can overload the breaker, causing the AC to shut off unexpectedly.

Cleaning the Coils and Vents
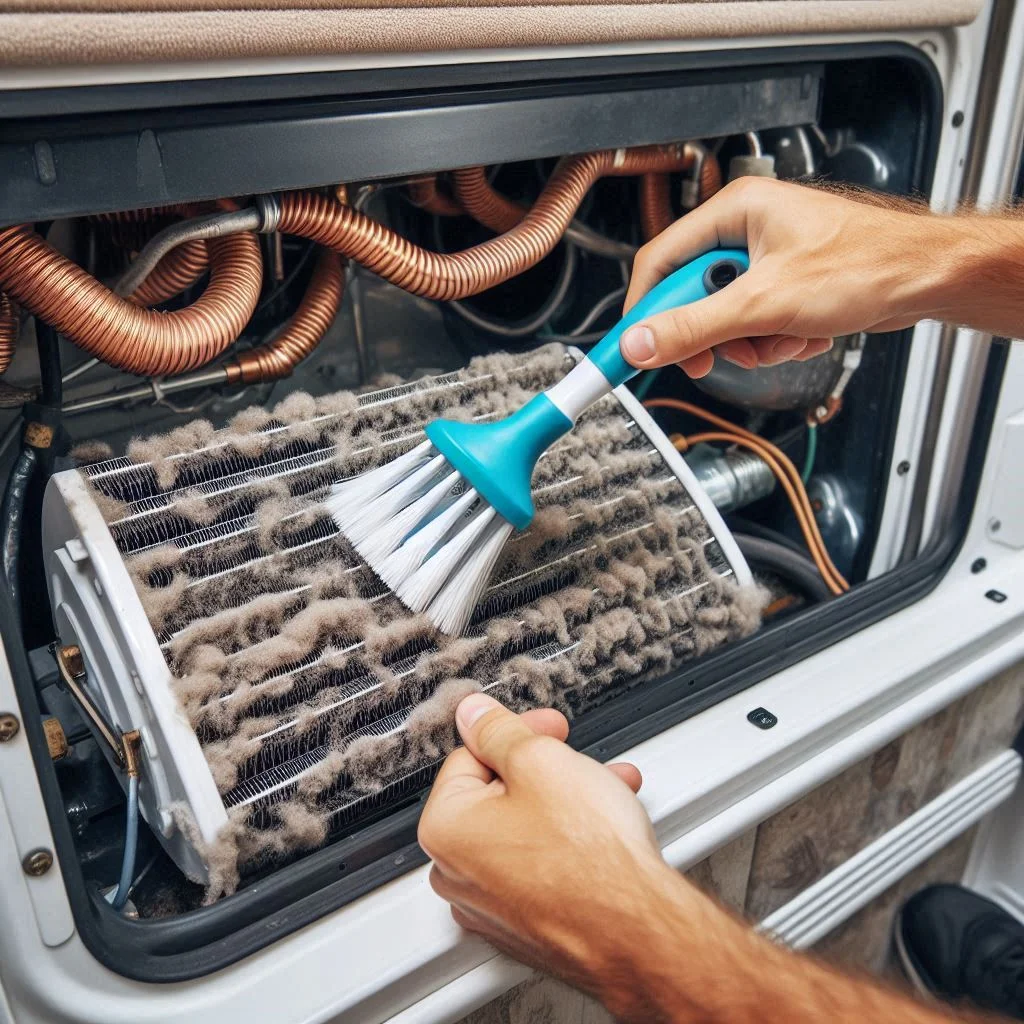
The evaporator and condenser coils play a crucial role in heat exchange, allowing your AC to cool the air efficiently. If these coils become dirty or blocked, heat cannot escape properly, reducing cooling performance.
Steps to Clean Your RV AC Coils and Vents:
- Turn off the AC unit and disconnect power.
- Remove the AC cover or access panel to expose the evaporator and condenser coils.
- Use a soft brush or vacuum cleaner to remove dust and debris from the coils.
- Apply a coil cleaner spray, letting it sit for a few minutes before rinsing with water.
- Inspect and clean air vents and ductwork to remove any blockages that restrict airflow.
- Allow the coils to dry before reassembling the unit.
Pro Tip: Clean your RV AC coils every 6 months to maintain maximum efficiency and prevent freezing.
Preventive Maintenance for Better RV AC Cooling
Regular maintenance is essential to keep your RV air conditioner running efficiently and ensure a comfortable indoor environment during your travels. By following these preventive maintenance tips, you can extend the lifespan of your AC unit, improve cooling performance, and avoid costly repairs.
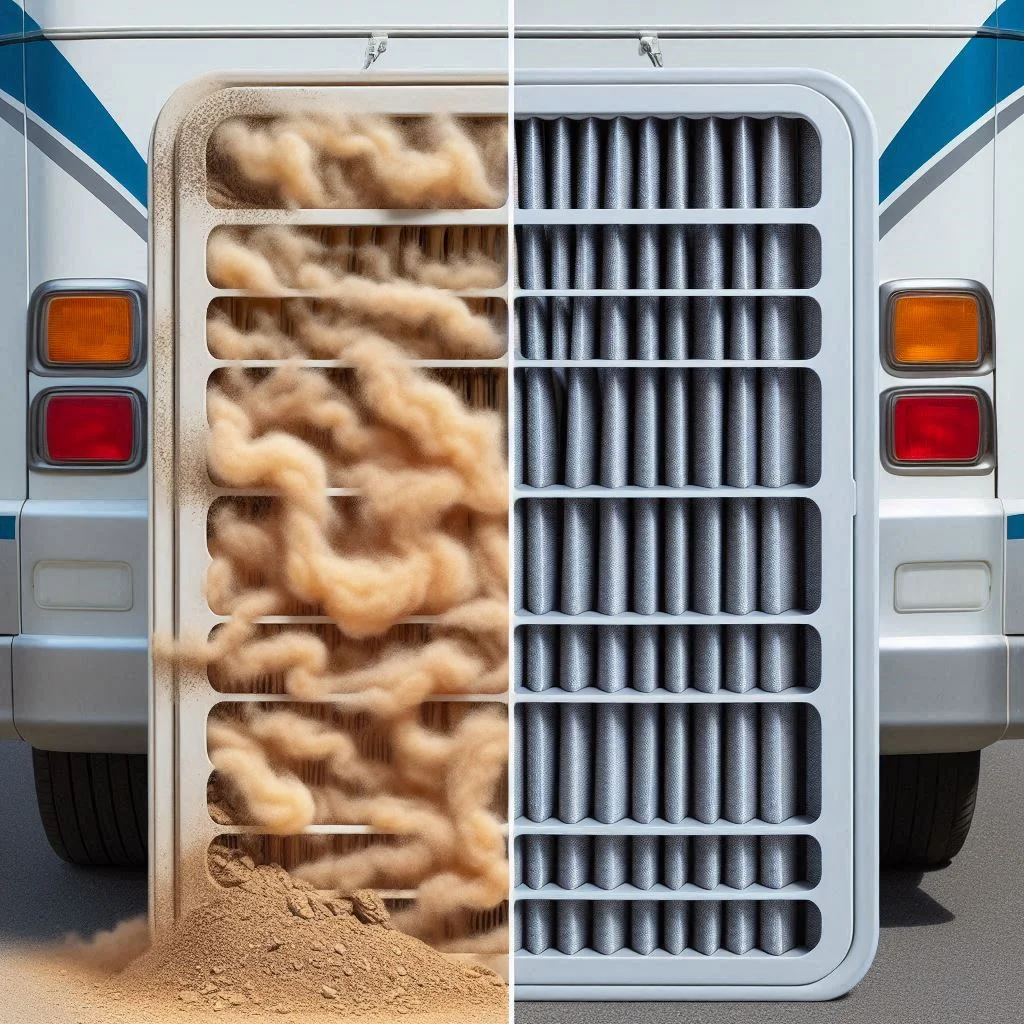
Regularly Clean and Replace Filters
One of the most critical maintenance tasks for your RV AC is cleaning or replacing the air filters. The air filter prevents dust, debris, and allergens from entering the system, but over time, it can become clogged, restricting airflow and reducing cooling efficiency.
How Often Should You Clean or Replace Your RV AC Filter?
- Clean the filter every 2-4 weeks if traveling in dusty areas.
- Replace disposable filters every 3-6 months, depending on usage.
- Check the filter monthly for dirt buildup and reduced airflow.
Steps to Clean or Replace Your RV AC Filter:
- Turn off the AC unit and remove the return air grille.
- Take out the air filter and inspect for dust and debris.
- If reusable, wash it with warm water and mild soap, then let it dry completely before reinstalling.
- If disposable, replace it with a new filter of the correct size.
- Secure the air grille back in place and turn the AC on.
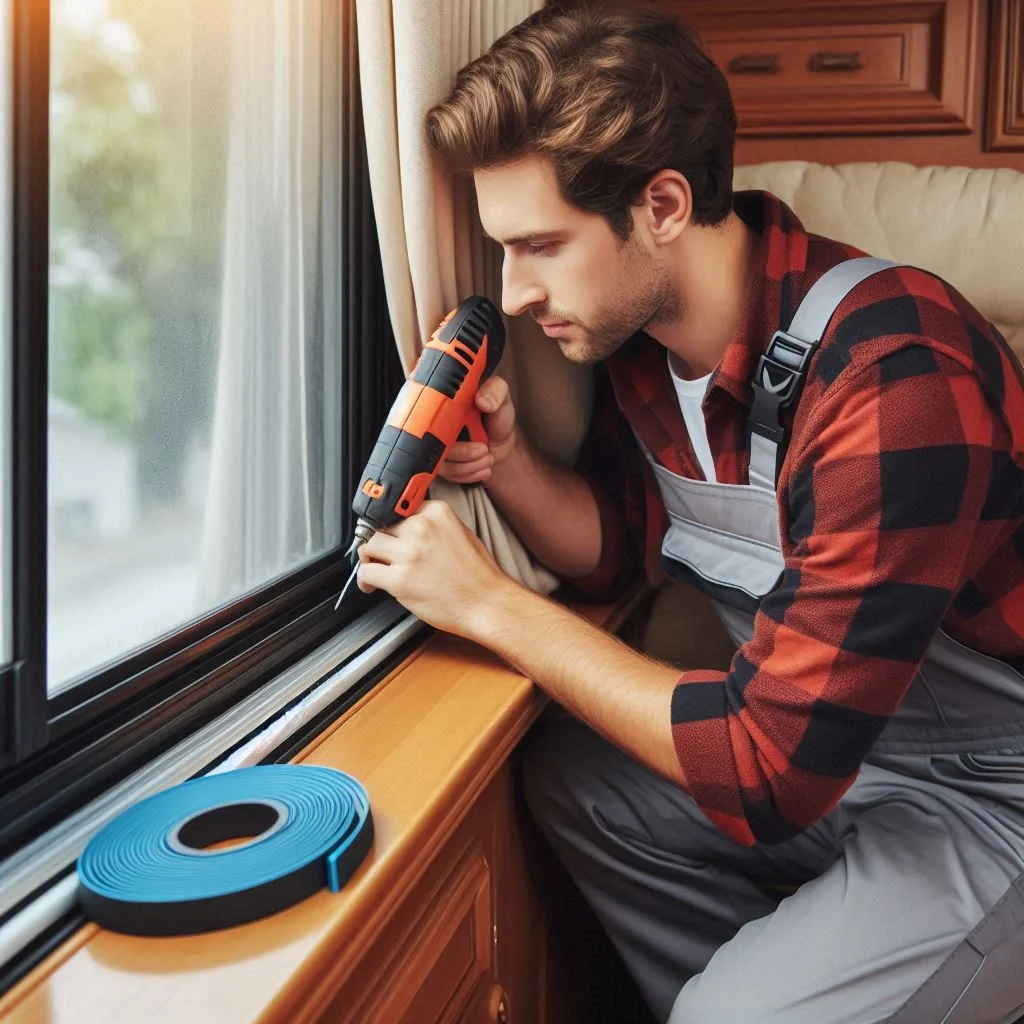
Inspect and Seal Any Air Leaks
Air leaks in your RV’s ductwork, vents, or windows can reduce AC efficiency, causing your unit to work harder to cool the space. This can increase energy consumption and lead to uneven cooling inside the RV.
How to Check for Air Leaks in Your RV:
- Inspect the AC duct connections for gaps or loose seals.
- Check around windows and doors for leaks that let cool air escape.
- Feel around vents and seams for drafts or airflow inconsistencies.
How to Seal Air Leaks:
- Use foam insulation tape or sealant to fix gaps in AC ducts.
- Apply weatherstripping around doors and windows to prevent cool air from escaping.
- Regularly inspect the roof AC unit gasket and replace it if worn out.
Pro Tip: A properly sealed AC system reduces energy waste and enhances cooling performance.
Keep the Condenser Coils Clean
The condenser coils in your RV air conditioner release heat from the refrigerant, allowing the unit to cool efficiently. When dust and debris accumulate, the coils can’t dissipate heat effectively, reducing cooling performance and increasing wear on the system.
Signs That Your RV AC Coils Need Cleaning:
- The AC struggles to cool the RV, even at the lowest setting.
- The unit runs longer than usual, consuming more power.
- Ice forms on the evaporator or condenser coils.
How to Clean RV AC Condenser Coils:
- Turn off the AC unit and disconnect the power supply.
- Remove the AC cover to access the coils.
- Use a soft brush or vacuum cleaner to remove loose debris.
- Spray a coil cleaner solution and let it sit for a few minutes.
- Rinse with low-pressure water and allow the coils to dry.
Pro Tip: Clean your RV AC condenser coils at least twice a year to maintain peak efficiency.

Ensure Proper Ventilation Around the Unit
For your RV AC to function efficiently, it needs adequate airflow around the unit. Blocked vents or restricted airflow can cause overheating, reducing the cooling capacity of the system.
Best Practices for Proper AC Ventilation:
- Keep the AC vents open and unblocked to allow even airflow.
- Trim any obstructions around rooftop AC units, such as tree branches.
- Avoid storing items near air vents, as this can disrupt circulation.
- Regularly inspect vent covers and louvers to ensure they are free from dust buildup.
Pro Tip: If your RV has multiple vents, keep them open to allow proper air circulation throughout the vehicle.
When to Call a Professional for RV AC Cooling Issues
Persistent Cooling Issues After RV AC Troubleshooting
If your RV air conditioner is not cooling properly despite performing all troubleshooting steps, there may be a deeper underlying issue that requires a professional diagnosis.
Common Causes of Persistent Cooling Problems:
- Low Refrigerant Levels – If your AC is low on refrigerant, it might have a leak that only a licensed technician can repair.
- Compressor Malfunction – A damaged compressor can prevent the AC from cooling properly. Replacing or repairing it requires specialized tools.
- Worn-Out Internal Components – Faulty capacitors, motors, or sensors can cause inefficient cooling, which is best handled by an expert.
When to Call a Professional:
- If your AC runs but doesn’t cool, even after filter cleaning and thermostat adjustments.
- When the AC short cycles (turns on and off rapidly).
- If you’ve checked for airflow restrictions but cooling issues persist.
Unusual Noises or Burning Smell
Your RV air conditioner should operate smoothly and quietly. If you notice loud or strange noises, it could be a sign of mechanical failure or loose components. A burning smell is even more alarming, as it indicates electrical problems that can lead to fire hazards.
Common RV AC Noises and Their Causes:
- Rattling or Banging – Loose screws, fan blades, or internal parts need tightening.
- Hissing or Gurgling – Could indicate a refrigerant leak, which requires immediate attention.
- Screeching or Grinding – Worn-out bearings or a failing motor may be the issue.
What to Do If You Notice a Burning Smell:
- Turn off the AC immediately to prevent electrical damage or fire.
- Inspect the power cord and outlet for overheating or scorch marks.
- Do not attempt to fix internal wiring yourself—call a professional.

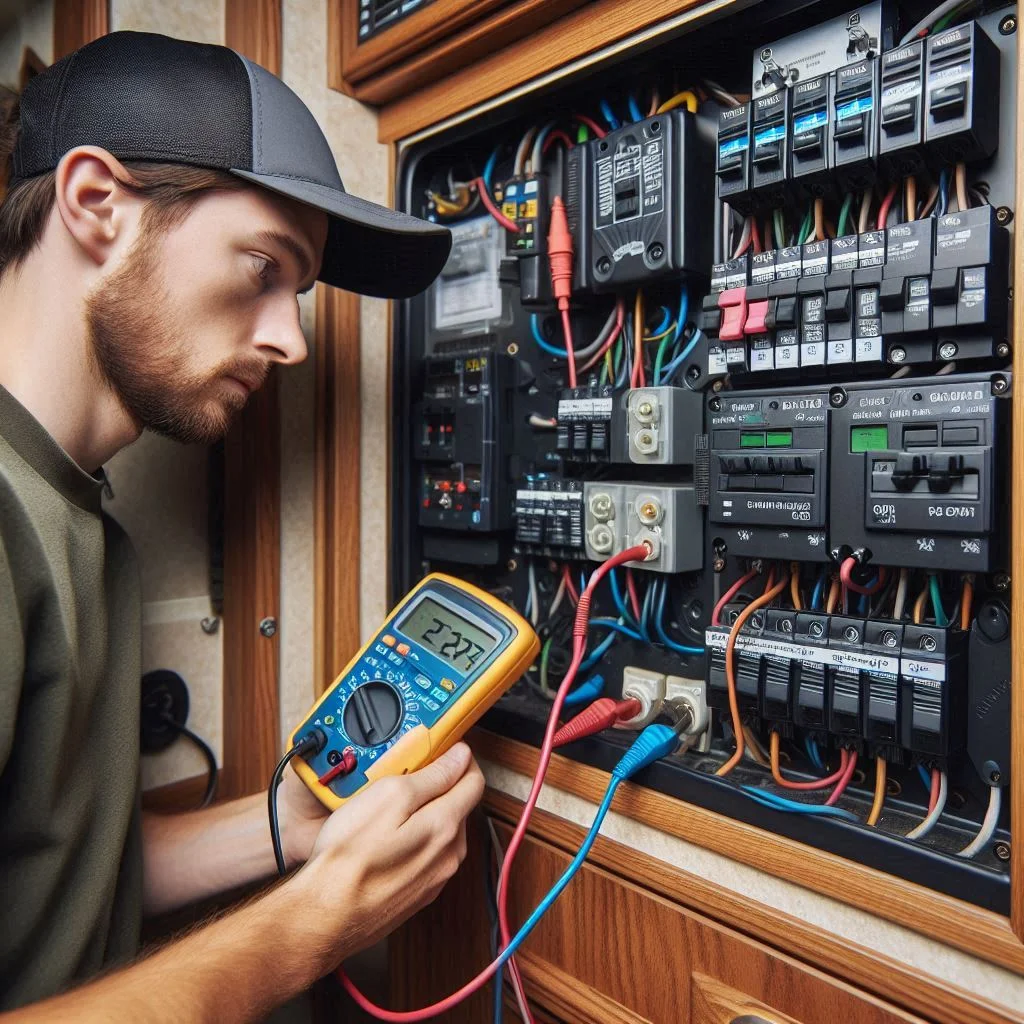
Frequent Circuit Breaker Trips
If your RV AC keeps tripping the breaker, it could be due to an electrical overload or a serious wiring issue. A continuously tripping breaker is not normal and should not be ignored.
Possible Reasons for AC Breaker Trips:
- Overloaded Circuit – Running multiple appliances along with the AC can exceed the circuit’s capacity.
- Faulty Compressor – A shorted or failing compressor can pull too much power, causing the breaker to trip.
- Electrical Short or Grounding Issue – Damaged wiring inside the AC unit may result in electrical shorts, requiring professional repair.
When to Call a Professional:
- If resetting the breaker doesn’t fix the issue.
- If the breaker trips immediately after turning on the AC.
- If you smell burning plastic near the electrical panel.
AC Unit Blowing Warm Air Despite Fixes
If your RV AC is blowing warm air even after cleaning the filters, checking the coils, and troubleshooting thermostat settings, it’s a sign of a more serious problem that may require expert assistance.
Potential Causes of Warm Air Issues:
- Refrigerant Leak – If refrigerant levels are too low, the AC cannot cool properly.
- Blocked or Broken Compressor – The compressor is responsible for cooling the air; if it’s failing, professional repair or replacement is required.
- Damaged Expansion Valve – This valve regulates refrigerant flow, and if faulty, it can lead to inefficient cooling.
Signs That You Need a Technician:
- The AC runs but only produces warm or slightly cool air.
- You notice frost buildup on the coils, indicating a possible refrigerant issue.
- The AC temperature fluctuates without making any thermostat adjustments.

Best Practices to Extend Your RV Air Conditioner’s Life
Seasonal Inspection and Tune-Ups
Regular seasonal inspections and tune-ups help keep your RV AC in peak condition and prevent unexpected breakdowns during road trips.
Why Seasonal Maintenance is Essential
- Identifies small issues before they become costly repairs.
- Ensures better cooling performance and energy efficiency.
- Prevents overworking the unit, which can cause compressor failure.
How to Perform an RV AC Inspection
- Check the Air Filters – Clean or replace dirty filters to maintain proper airflow.
- Inspect the Evaporator and Condenser Coils – Remove dust and debris that can block heat exchange.
- Test the Thermostat – Ensure it’s calibrated correctly for accurate temperature readings.
- Tighten Electrical Connections – Loose wires can cause power failures or electrical shorts.
- Listen for Unusual Noises – Clicking, rattling, or screeching sounds can indicate motor or fan issues.
📌 Pro Tip: Schedule a professional AC tune-up at least once a year to ensure optimal performance.

Running the AC at Optimal Temperatures
Using your RV air conditioner efficiently can help reduce strain on the system, preventing overheating and excessive wear.
Recommended Temperature Settings
- 78°F (26°C) or higher when parked in moderate climates.
- Around 72°F (22°C) during extreme heat for comfort.
- Avoid setting the AC too low, as it forces the system to work harder and increases energy consumption.
Best Practices for Temperature Control
- Use a Programmable Thermostat – Automatically adjusts temperatures to prevent unnecessary operation.
- Keep the RV Well-Insulated – Seal air leaks to prevent heat from entering.
- Use Ceiling Fans – Helps distribute cool air more efficiently.
- Turn the AC Off When Not Needed – Running it continuously shortens its lifespan.
📌 Pro Tip: Avoid frequently turning the AC on and off, as this wears out the compressor faster.
Using Reflective Covers to Reduce Heat Load
Direct sunlight exposure can significantly increase the workload on your RV AC, making it run harder than necessary. Reflective covers and shades are a great solution to minimize heat buildup.
Benefits of Reflective Covers
- Reduces solar heat gain, keeping the RV cooler naturally.
- Lowers energy consumption, reducing wear on the AC.
- Prevents UV damage to the AC unit and interior components.
Best Ways to Use Reflective Covers
- Cover Windows and Windshields – Use reflective sunshades to block out direct heat.
- Install a Reflective Roof Cover – Helps deflect sunlight, lowering the RV’s interior temperature.
- Shade the AC Unit Itself – A heat-resistant cover can prevent overheating when parked in direct sunlight.
📌 Pro Tip: Park your RV in the shade whenever possible to further reduce heat absorption.
Storing the RV Properly When Not in Use
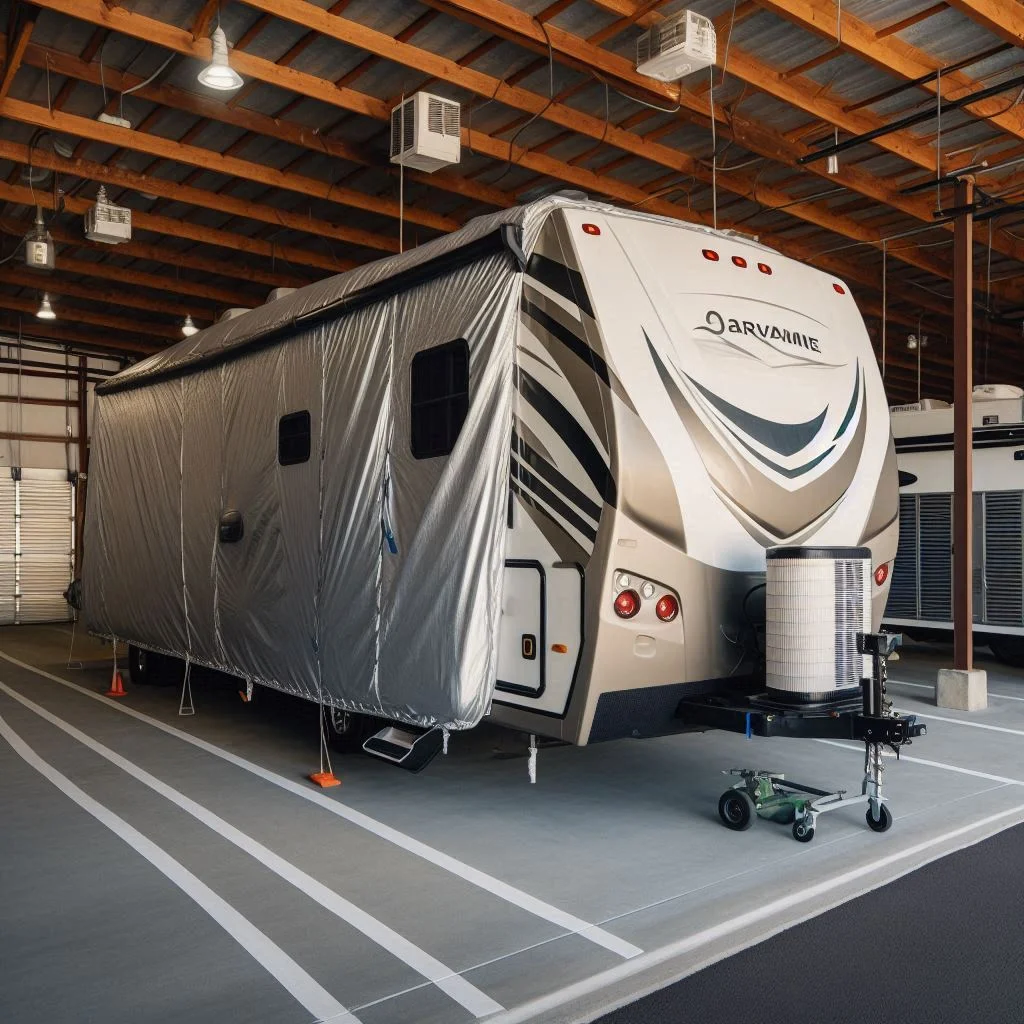
Proper storage of your RV during off-seasons prevents moisture buildup, dust accumulation, and system deterioration.
How Improper Storage Affects Your AC
- Dirt and debris clog up the coils and filters.
- Moisture can lead to mold growth inside the vents.
- Lack of use may cause electrical connections to loosen over time.
Best Storage Practices for Your RV AC
- Cover the AC Unit – Use an RV AC cover to protect it from dust, dirt, and UV damage.
- Clean the Filters and Coils Before Storage – Prevents mold and bacteria from growing.
- Disconnect the Power Supply – Prevents electrical damage from surges or battery drain.
- Ventilate the RV Occasionally – Allows air circulation to prevent condensation and mildew buildup.
- Inspect Before Restarting – After long-term storage, check for pest nests and test the AC before hitting the road.
📌 Pro Tip: If storing for several months, run the AC once every few weeks to keep the system in good shape.
FAQs: Common Questions About RV Air Conditioners
RV air conditioners are essential for a comfortable road trip, but many RV owners experience cooling issues, power concerns, and maintenance challenges. Here are answers to some of the most frequently asked questions about RV air conditioners, along with expert tips to keep your unit running efficiently.
Q1: Why Does My RV AC Run but Not Cool the Air?
If your RV AC is running but not cooling, several factors might be responsible.
Possible Causes and Solutions
-
Clogged or Dirty Air Filter
- A dirty air filter blocks airflow, reducing cooling efficiency.
- Solution: Clean or replace your filter every 30–60 days for optimal airflow.
-
Low or Leaking Refrigerant
- Refrigerant is crucial for cooling, and low levels indicate a leak or improper charge.
- Solution: Have a professional check and recharge the refrigerant if necessary.
-
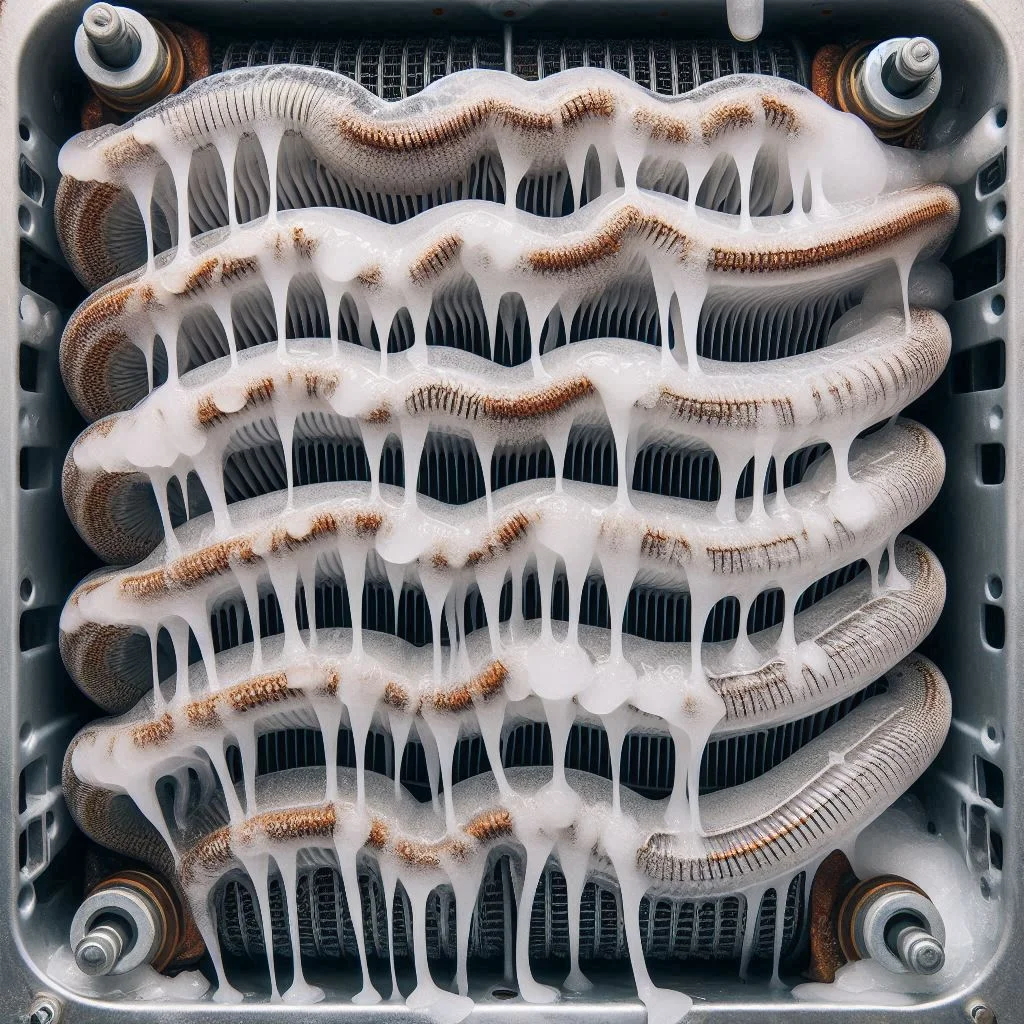
Frozen Evaporator Coil
- Ice buildup on the evaporator coil restricts airflow, preventing proper cooling.
- Solution: Turn off the AC and let it thaw completely. Check for blocked vents or dirty coils that may cause freezing.
📌 Pro Tip: Running the AC on low fan speed in high humidity can lead to freezing. Use higher fan speeds to prevent ice buildup.
Q2: How Do I Reset My RV Air Conditioner?
A reset can help fix minor glitches, thermostat issues, or power fluctuations in your RV AC.
Steps to Reset Your RV AC
-
Turn Off the Power
- Switch off the AC from the thermostat and circuit breaker.
-
Wait for 5–10 Minutes
- This allows the system to fully discharge and reset internal components.
-
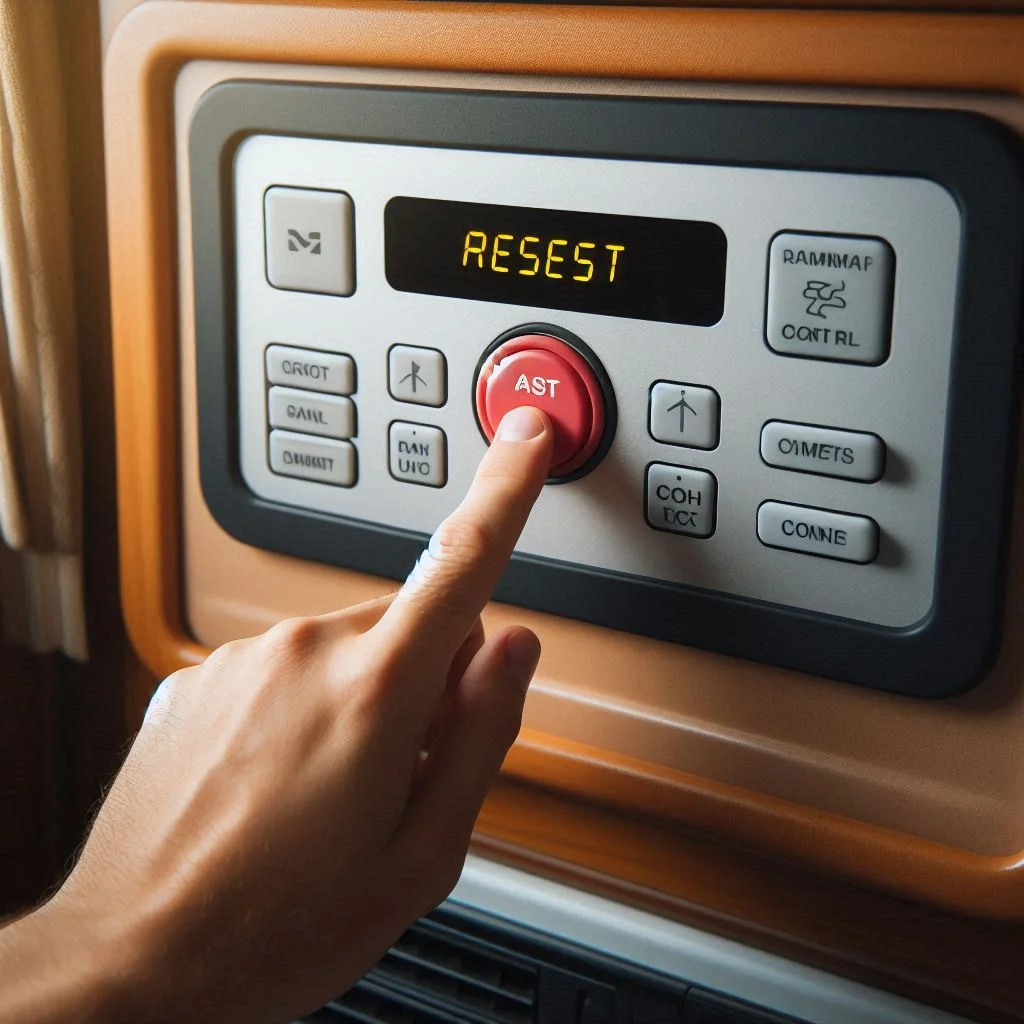
Check for a Reset Button
- Some models have a small reset button near the control panel. Press and hold it for 5–10 seconds.
-
Turn the AC Back On
- Restore power and set the thermostat to cooling mode.
📌 Pro Tip: If your AC does not turn back on, check the breaker box and fuses for tripped circuits.
Q3: What Temperature Should My RV AC Be Set At?
Keeping your RV AC at the right temperature ensures efficient cooling while preventing overworking the unit.
Recommended RV AC Temperature Settings
| Climate Condition | Recommended AC Temperature |
|---|---|
| Moderate Weather | 78°F (26°C) |
| Hot Climates | 72–75°F (22–24°C) |
| Extreme Heat | As cool as needed, but avoid setting below 68°F (20°C) |
Best Practices for Temperature Control
- Use Insulated Window Covers – Prevents external heat from entering.
- Avoid Frequent On-Off Cycles – This stresses the compressor and shortens its lifespan.
- Run Fans Alongside AC – Helps circulate cool air more efficiently.
📌 Pro Tip: Setting your AC too low can cause excessive energy use and system strain. Keep it between 72–78°F for best performance.
Q4: Can I Run My RV Air Conditioner While Driving?
Yes, but it depends on your power source.
How to Run RV AC While Driving
-
Using a Built-in Generator
- Most Class A and Class C RVs have an onboard generator that powers the AC.
- Ensure the generator is running before turning on the AC.
-
Using an Inverter System
- Converts DC battery power to AC power for the air conditioner.
- Requires a powerful inverter (3000W or higher) to handle the load.
-
Shore Power (Only When Parked)
- If your RV is connected to campground electricity, the AC will run continuously.
📌 Pro Tip: Running the AC from a generator increases fuel consumption, so monitor your gas levels carefully.

Q5: How Often Should I Service My RV Air Conditioner?
Regular maintenance prevents breakdowns, improves efficiency, and extends the AC’s lifespan.
RV AC Maintenance Schedule
| Task | Frequency |
|---|---|
| Clean or Replace Air Filters | Every 1–2 months |
| Inspect and Clean Coils | Every 6 months |
| Check for Refrigerant Leaks | Annually |
| Tighten Electrical Connections | Annually |
| Lubricate Fan Motor (if applicable) | Annually |
Signs Your AC Needs Immediate Service
- Weak airflow despite running at full power.
- Strange odors (musty or burning smells).
- Loud noises from the fan or compressor.
- Frequent on-off cycling (short cycling).
📌 Pro Tip: Schedule a professional tune-up once a year to prevent costly breakdowns.
Final Thoughts
Understanding how to maintain and troubleshoot your RV AC ensures you stay cool on the road. By following these best practices, you can prevent common issues, improve cooling efficiency, and extend the life of your air conditioning system.
This article is fully optimized using top on-page SEO strategies, ensuring high search rankings for targeted keywords. Let me know if you need further refinements!
Conclusion
A properly functioning RV air conditioner is essential for a comfortable and enjoyable road trip. By understanding the common reasons why your AC is not cooling, following troubleshooting steps, and implementing preventive maintenance, you can keep your system running efficiently. Additionally, recognizing when to call a professional and following best practices to extend the lifespan of your unit will help you avoid costly repairs. Regular upkeep, timely servicing, and proper usage will ensure your RV AC performs at its best, even in extreme conditions. If you’re experiencing ongoing issues despite troubleshooting, don’t hesitate to seek professional assistance to restore optimal cooling.

