
Understanding RV Air Conditioners
How RV Air Conditioners Work
If you’ve noticed water dripping inside your RV from the air conditioner, you might be wondering, “why is my RV air conditioner dripping water inside?” This common issue can disrupt your travels and lead to significant damage if not addressed promptly. In this blog, we’ll explore the causes, signs of malfunction, and preventative measures to help you maintain your RV’s air conditioning system effectively.
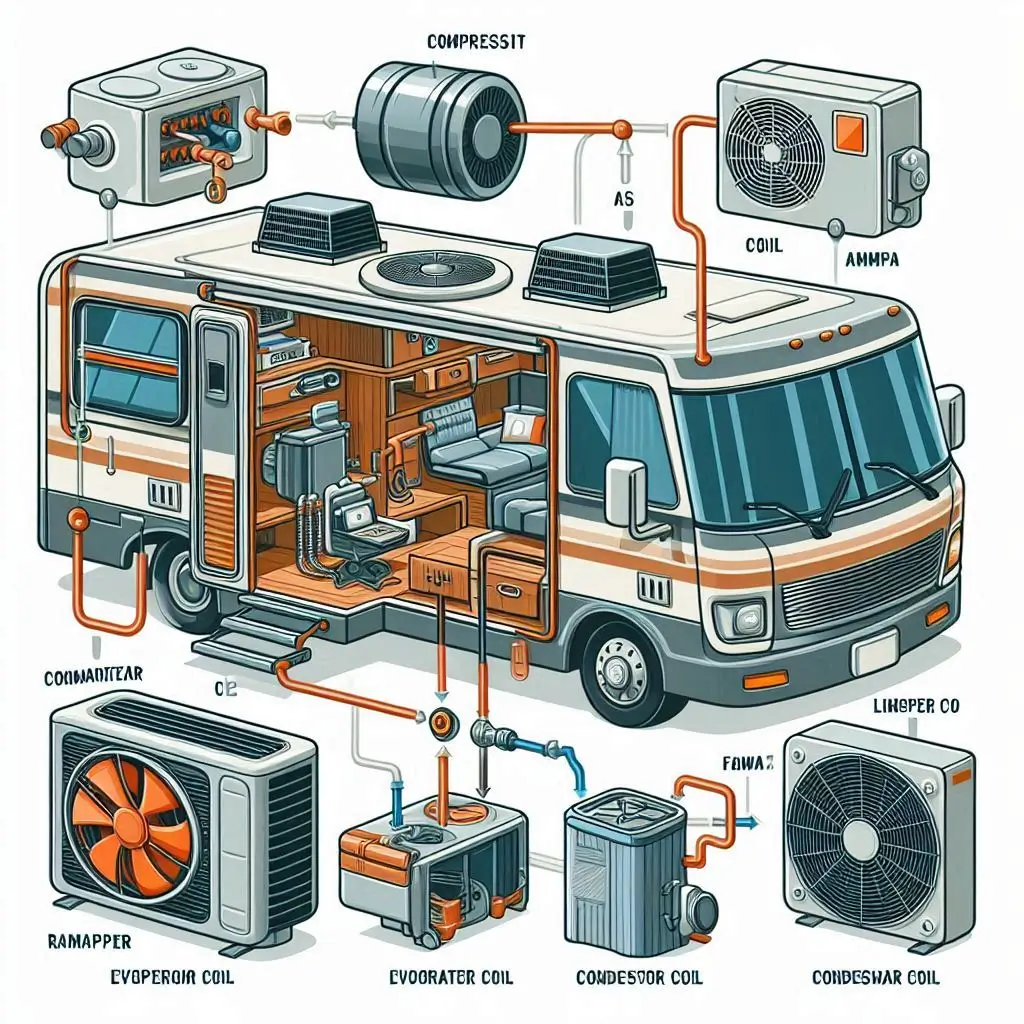
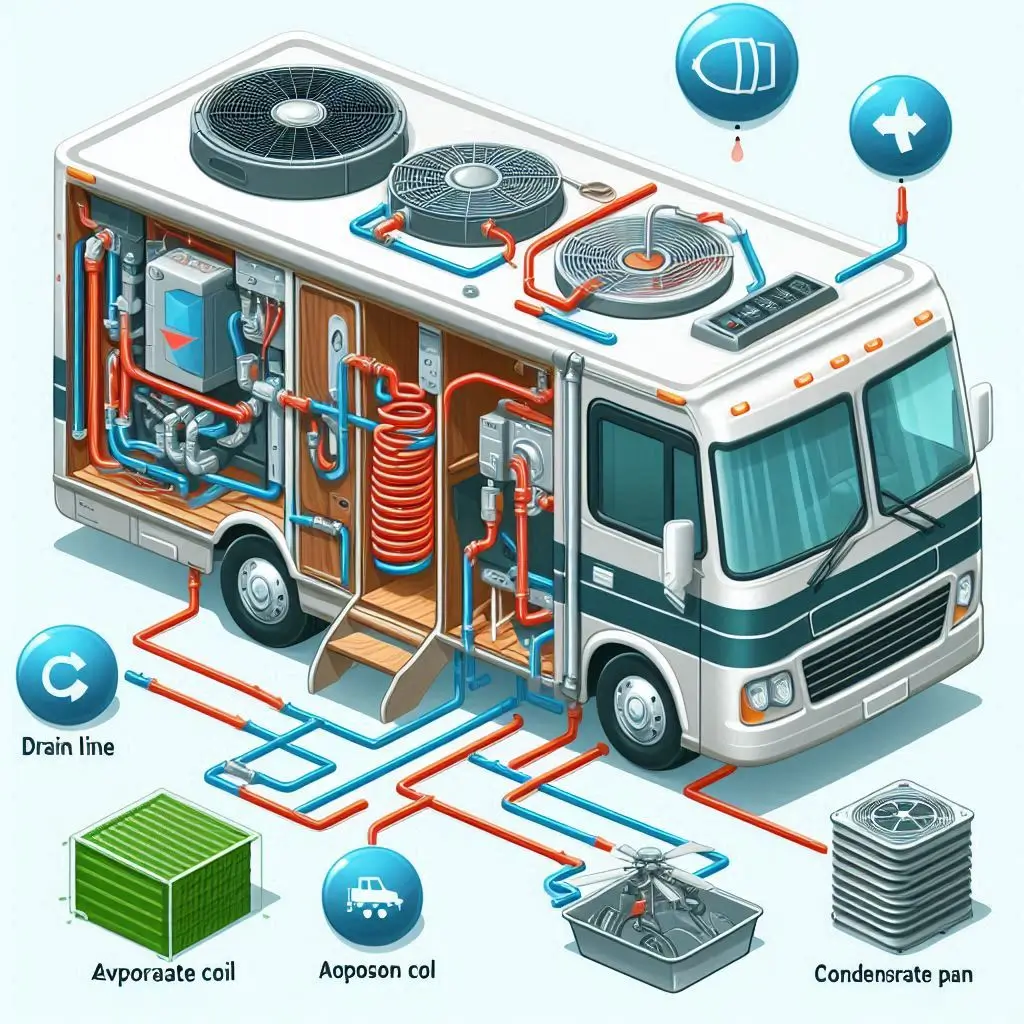
The core components of an RV air conditioner include:
- Compressor: This is the heart of the system, compressing refrigerant gas and pumping it through the system.
- Evaporator Coil: Located inside the RV, the evaporator coil absorbs heat from the indoor air, cooling it before recirculating it back into the living space.
- Condenser Coil: This coil expels heat outside the RV, allowing the refrigerant to return to a liquid state.
- Fan: The fan blows air over the evaporator coil to distribute cool air throughout the RV.
Understanding how these components work together helps RV owners troubleshoot issues like water dripping inside. Proper airflow and maintenance of these parts are essential to ensure the efficiency of the air conditioning system.
Common Types of RV Air Conditioners
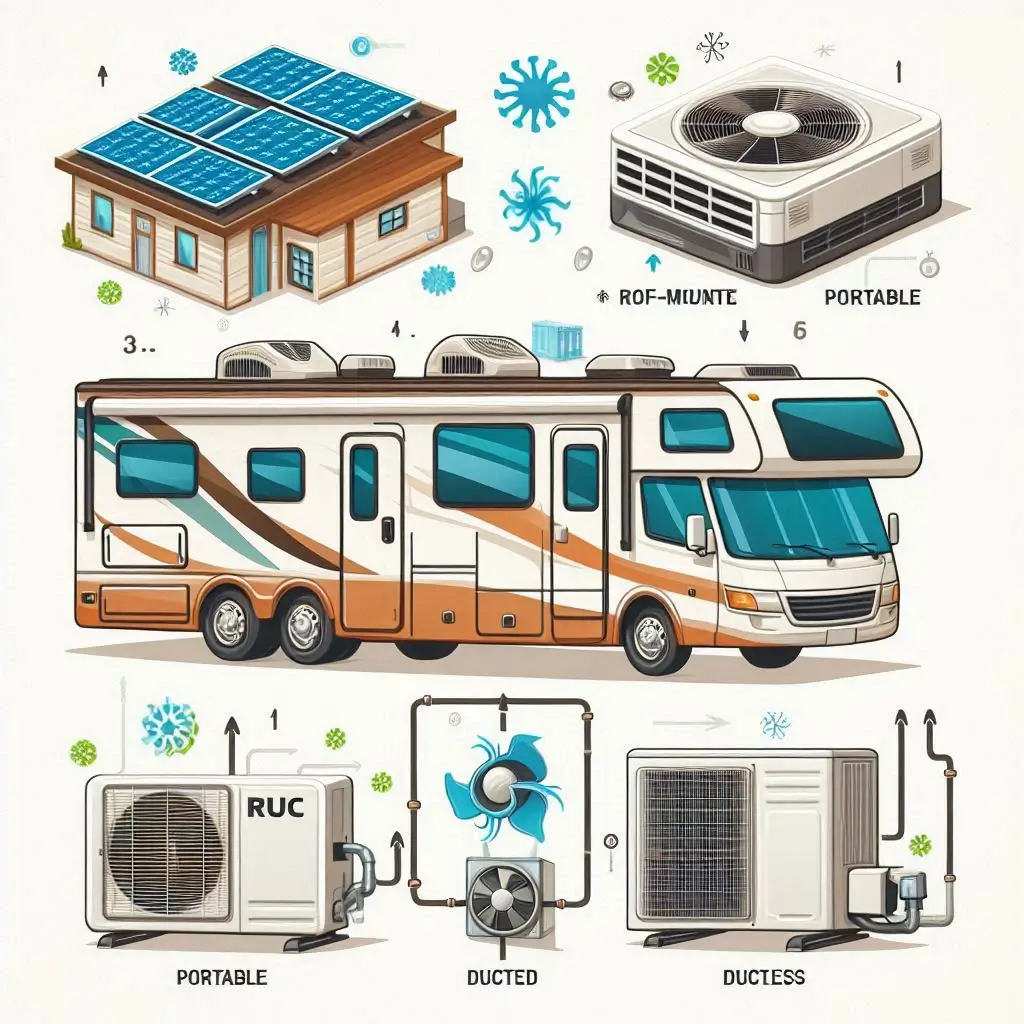
There are several types of RV air conditioners, each suited for different needs and preferences. The most common types include:
-
Roof-Mounted Air Conditioners:
- These are the most prevalent type in RVs. They are mounted on the roof, allowing for efficient cooling without taking up interior space. Roof-mounted units often have a low profile to minimize wind resistance.
-
Portable Air Conditioners:
- Ideal for temporary cooling needs, portable units can be moved around the RV as needed. However, they typically require a window for exhaust and may not cool as effectively as roof-mounted models.
-
Ducted Systems:
- Ducted air conditioning systems distribute cool air through a network of ducts throughout the RV. This type provides even cooling and can be quieter than non-ducted systems. However, installation can be more complex.
-
Ductless Mini-Split Systems:
- These systems consist of an outdoor compressor and one or more indoor air handling units. They are highly efficient and offer flexible installation options but can be more expensive.
Understanding the various types of RV air conditioners can help owners choose the right system for their cooling needs and lifestyle, enhancing their overall comfort during travel.
Causes of Water Dripping Inside Your RV
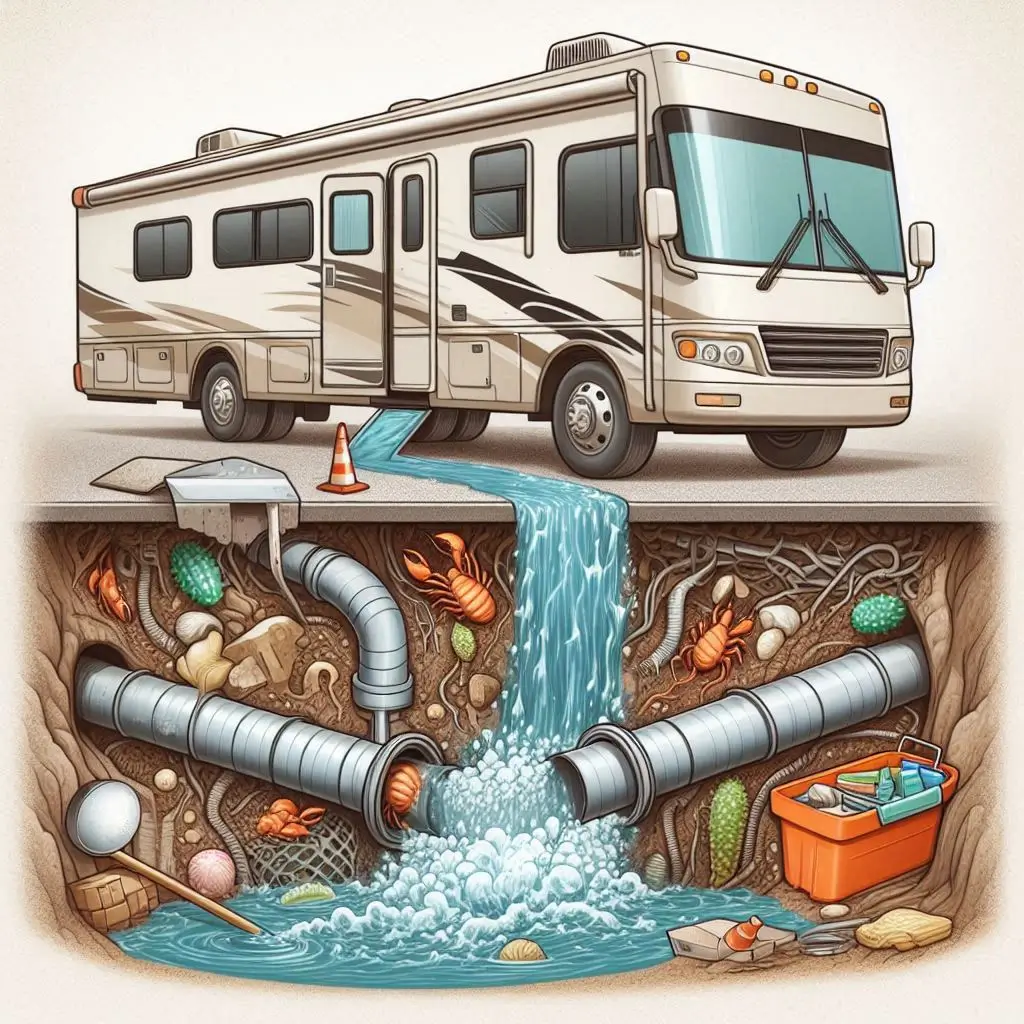
Clogged Drain Lines
One of the most common reasons for water dripping inside an RV air conditioner is clogged drain lines. The condensate drain line is responsible for carrying excess moisture away from the air conditioning unit. Over time, debris such as dust, dirt, and algae can accumulate in the drain line, causing blockages.
When the drain line is clogged, the water that should be expelled outside the RV can back up and leak into the living area. Regular maintenance, including cleaning the drain line, is crucial to prevent this issue. Here are some tips for addressing clogged drain lines:
- Regular Inspections: Periodically check the drain line for blockages. If you notice water pooling around the air conditioner, this could indicate a clog.
- Use a Wet/Dry Vacuum: To clear stubborn clogs, use a wet/dry vacuum to suction out debris from the drain line.
- Clean the Drain Line: A mixture of vinegar and water can help clean the drain line and prevent future clogs.
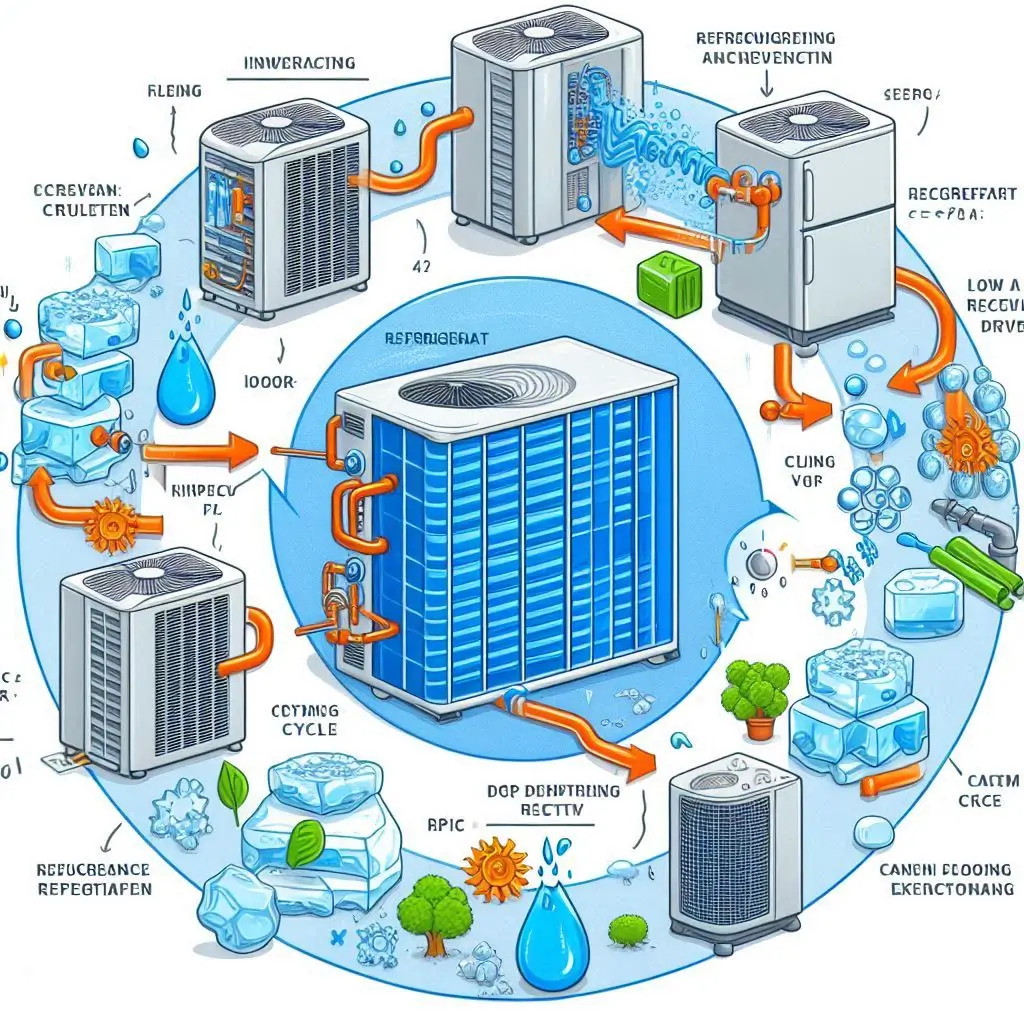
Low Refrigerant Levels
Low refrigerant levels can also lead to water dripping inside your RV. Refrigerant is essential for the cooling process, as it absorbs heat from the interior air and releases it outside. When refrigerant levels are low, the evaporator coil can freeze due to insufficient heat absorption. Once the ice melts, it can create excess water that may drip inside the RV.
To address low refrigerant levels, consider the following steps:
- Check for Leaks: Inspect the air conditioning system for signs of refrigerant leaks, which can occur at the connections, coils, or compressor. If a leak is detected, it should be repaired by a professional.
- Refrigerant Recharge: If the refrigerant level is low, it may need to be recharged. This process should be performed by a certified HVAC technician to ensure safety and proper handling of the refrigerant.
Regular maintenance and prompt attention to refrigerant issues can help prevent water dripping inside the RV.
Improper Installation
Improper installation of the RV air conditioning unit can lead to various issues, including water dripping inside. If the unit is not level, it can cause condensation to collect and leak instead of draining properly. Additionally, inadequate sealing or improper ductwork can contribute to water buildup.
To ensure proper installation and avoid dripping water, consider the following:
- Level Installation: Ensure that the air conditioner is installed on a level surface. This may require adjusting the mounting brackets or adding shims.
- Seal Gaps: Check for any gaps around the installation area that could allow water to seep in. Use caulk or weatherstripping to seal these gaps.
- Professional Installation: If you’re unsure about the installation process, it may be best to hire a qualified technician who specializes in RV air conditioning systems.
Taking these precautions can help maintain proper function and prevent water from dripping into your RV.
Signs Your RV Air Conditioner Needs Maintenance
Unusual Noises
Unusual noises from your RV air conditioner can be an early indicator that something is amiss. Common sounds to listen for include:
- Hissing or Gurgling: These sounds may indicate a refrigerant leak or airflow issues. Hissing can occur when refrigerant escapes, while gurgling might suggest that the condensate drain is blocked.
- Buzzing or Clicking: A buzzing sound could mean that there is a loose component or that the compressor is struggling. Clicking noises may indicate electrical issues or a failing fan motor.
- Rattling: Rattling sounds can result from loose screws or components within the unit. If the compressor is not securely fastened, it may produce rattling noises during operation.
If you notice any unusual sounds, it’s essential to address them promptly. Ignoring these signs can lead to more significant issues and costly repairs down the line.

Increased Energy Bills
If you notice a sudden spike in your energy bills while using your RV air conditioner, it may be a sign that the unit is not functioning efficiently. Common causes of increased energy consumption include:
- Dirty Air Filters: Clogged air filters restrict airflow, forcing the air conditioner to work harder to cool the space. Regularly cleaning or replacing the filters can help maintain efficiency.
- Low Refrigerant Levels: As mentioned earlier, low refrigerant levels can cause the unit to run longer to achieve the desired temperature, resulting in higher energy usage.
- Insulation Issues: Poor insulation or gaps around windows and doors can allow cool air to escape, making the air conditioner work overtime to maintain a comfortable temperature.
Monitoring your energy bills can help you identify potential problems with your RV air conditioner, prompting timely maintenance to restore efficiency.

Poor Cooling Performance
If your RV air conditioner struggles to cool the living space adequately, it may be time for maintenance. Signs of poor cooling performance can include:
- Inconsistent Temperatures: If some areas of the RV feel warm while others are cold, it may indicate issues with airflow or ductwork.
- Long Cooling Cycles: An air conditioner that runs continuously without effectively lowering the temperature may have refrigerant problems, compressor issues, or dirty coils.
- Humidity Buildup: An efficient air conditioning system should reduce humidity levels. If you notice excessive moisture or condensation inside the RV, it may be a sign that the system is not functioning correctly.
Addressing poor cooling performance promptly can prevent further damage and ensure a comfortable environment during your travels.

How to Prevent Water Dripping from Your RV Air Conditioner
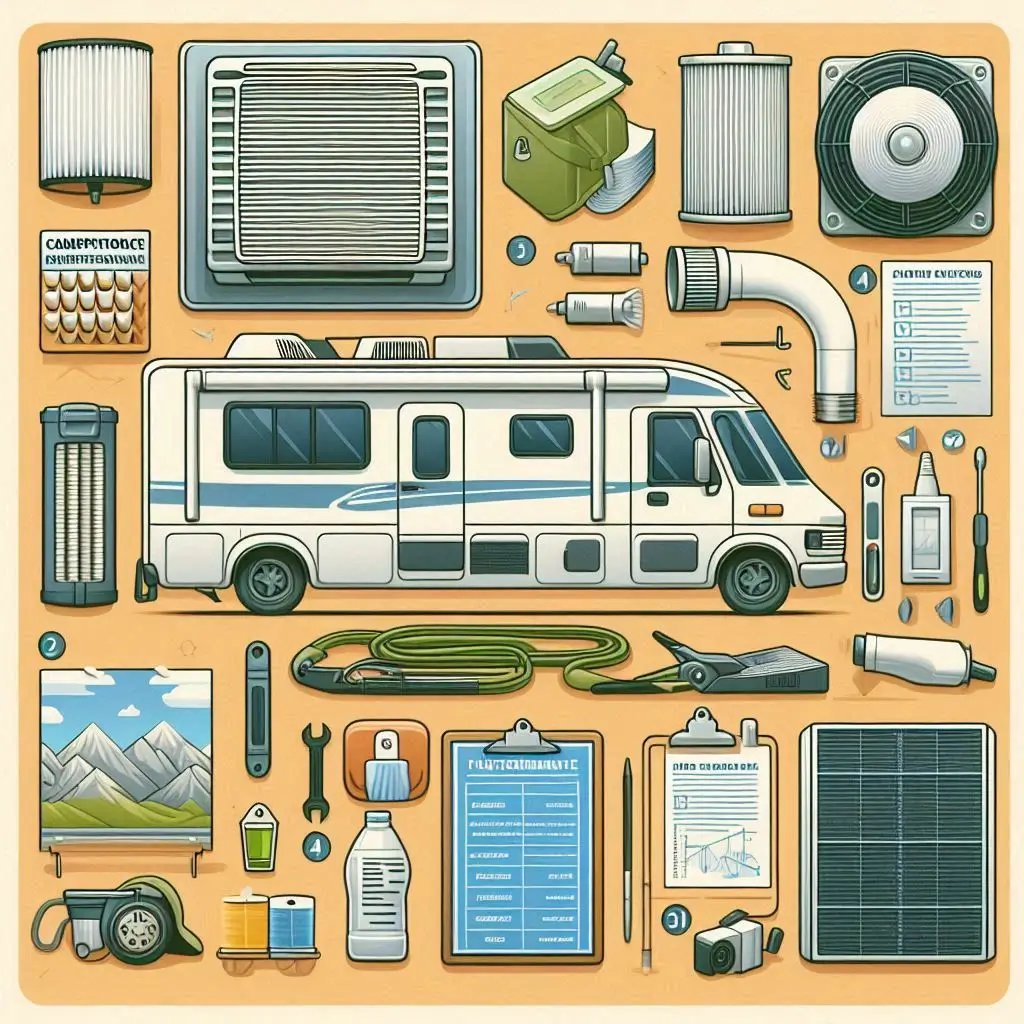
Regular Maintenance Tips
Regular maintenance is key to preventing water dripping from your RV air conditioner. By following these essential maintenance tips, you can ensure that your system operates efficiently and effectively:
-
Clean or Replace Air Filters: Air filters should be cleaned or replaced every one to three months, depending on usage. Clogged filters can restrict airflow and cause the system to freeze, leading to excess water buildup. A clean filter allows for better airflow and improves cooling efficiency.
-
Inspect the Coils: Both the evaporator and condenser coils should be inspected for dirt and debris. Dirty coils can hinder the cooling process and lead to moisture issues. Use a soft brush or cloth to clean the coils gently, ensuring they are free from obstructions.
-
Check the Seals: Inspect the seals around the air conditioning unit for any signs of wear or damage. Properly sealed units prevent air leaks and moisture entry, which can contribute to water dripping. Replace any damaged seals promptly.
-
Schedule Professional Inspections: It’s advisable to have a qualified technician perform regular inspections of your RV air conditioning system. They can identify potential issues before they become significant problems and ensure that your unit is operating at peak efficiency.
By implementing these regular maintenance tips, you can significantly reduce the risk of water dripping from your RV air conditioner and extend its lifespan.

Checking and Cleaning Drain Lines
Properly maintaining the drain lines of your RV air conditioner is crucial for preventing water buildup and leaks. Here’s how to effectively check and clean the drain lines:
-
Locate the Drain Line: The drain line is typically located near the base of the air conditioning unit. It should lead outside the RV to allow condensate to drain away. Familiarizing yourself with its location will make maintenance easier.
-
Inspect for Clogs: Periodically inspect the drain line for any visible clogs or obstructions. Look for signs of mold, algae, or debris buildup that could impede water flow.
-
Clear Blockages: If you notice any clogs, use a wet/dry vacuum to suction out debris from the drain line. Alternatively, you can use a long, flexible brush to gently dislodge any blockages without damaging the line.
-
Flush the Drain Line: To prevent future clogs, flush the drain line with a mixture of vinegar and water. This solution helps eliminate mold and algae growth. Pour the mixture down the drain line and let it sit for about 30 minutes before rinsing it with clean water.
-
Test the Drainage: After cleaning, turn on the air conditioner and monitor the drain line to ensure that water is flowing freely. If you continue to experience drainage issues, consult a professional for further assistance.
By regularly checking and cleaning the drain lines, you can prevent water from accumulating inside your RV, ensuring a more comfortable living environment.
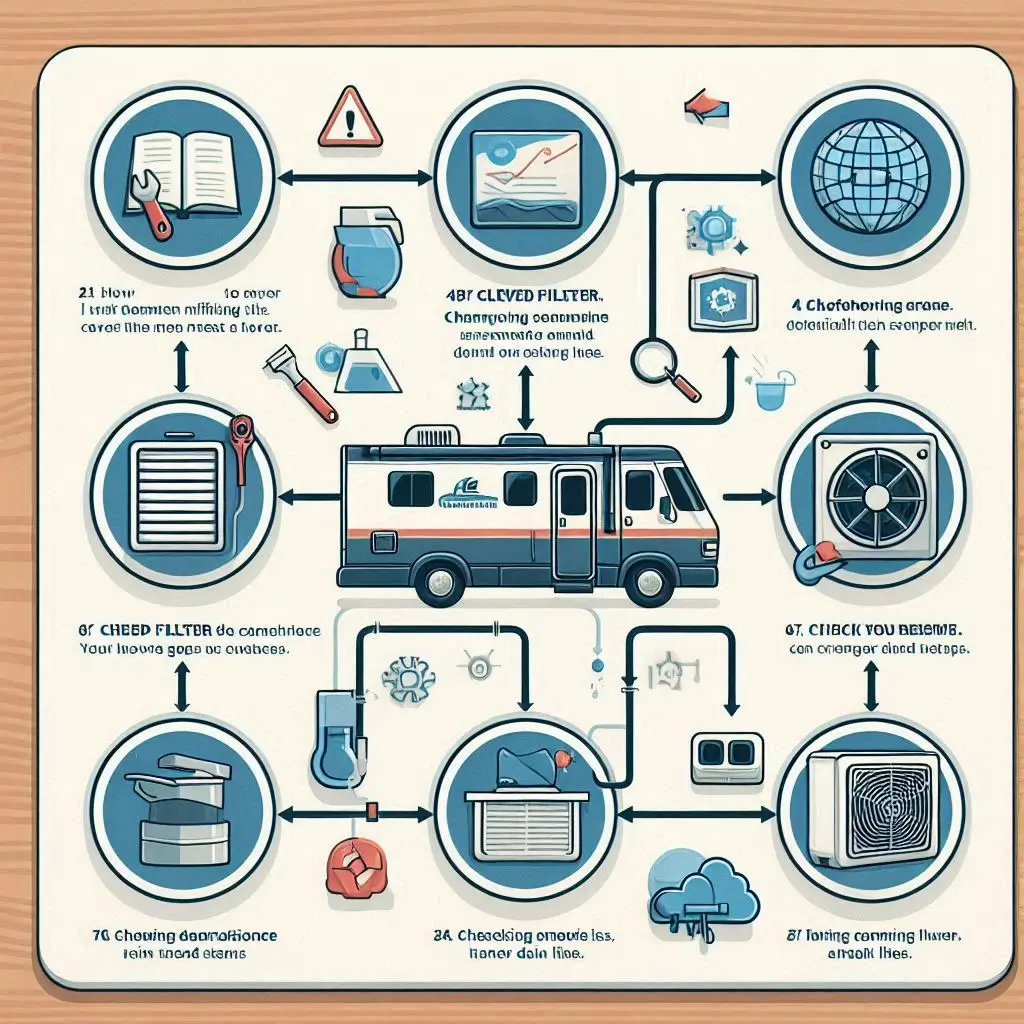
Troubleshooting Steps for Dripping Water
Inspecting the Air Filter
The air filter in your RV air conditioner plays a critical role in maintaining airflow and preventing moisture issues. If your air conditioner is dripping water, inspecting the air filter should be your first troubleshooting step. Here’s how to do it:
-
Remove the Filter: Turn off the air conditioning unit and carefully remove the air filter from its housing. Take note of how it is positioned for reinstallation.
-
Examine the Condition: Inspect the filter for dirt, dust, and debris buildup. A clogged filter restricts airflow, causing the evaporator coil to freeze and subsequently thaw, leading to excess water dripping into the RV.
-
Clean or Replace: If the filter is dirty, clean it according to the manufacturer’s instructions. Most filters can be washed with mild soap and water and allowed to dry thoroughly. If the filter is damaged or excessively dirty, replace it with a new one.
-
Reinstall the Filter: Once cleaned or replaced, reinstall the air filter securely in its housing. Make sure it fits snugly to ensure proper airflow.
Regularly inspecting and maintaining the air filter is essential for preventing water dripping from your RV air conditioner and ensuring optimal cooling performance.
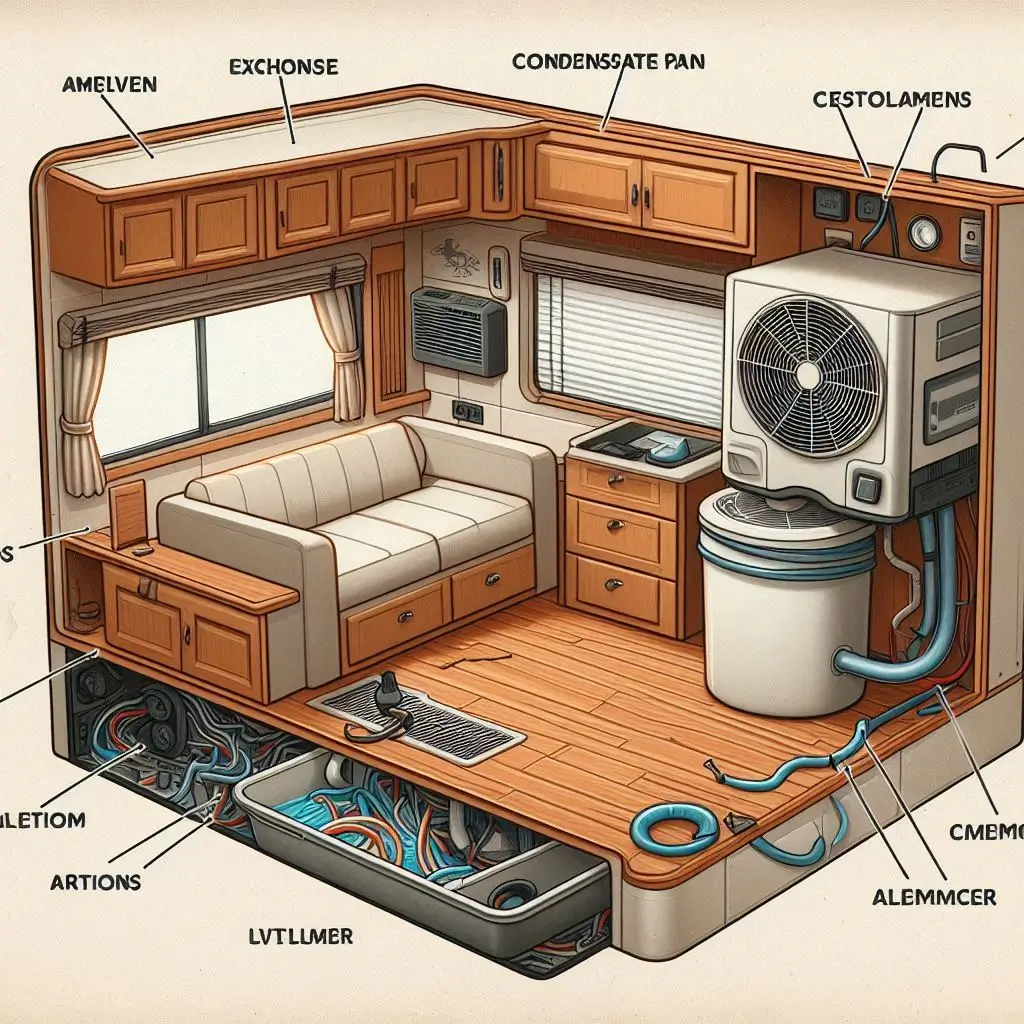
Checking the Condensate Pan
The condensate pan collects excess moisture produced by the cooling process. If your RV air conditioner is dripping water, checking the condensate pan is crucial. Follow these steps:
-
Locate the Condensate Pan: The condensate pan is usually situated beneath the evaporator coils. Consult your RV’s manual for its exact location.
-
Inspect for Clogs or Damage: Check the pan for any visible clogs or obstructions that could prevent water from draining properly. Look for dirt, debris, or mold growth that may have accumulated over time.
-
Clean the Pan: If you find clogs or debris, clean the condensate pan using a mixture of water and mild detergent. Ensure all contaminants are removed to allow for proper drainage.
-
Check for Cracks: Inspect the pan for any signs of cracks or damage. A damaged pan may leak water into your RV instead of directing it outside. If you find any cracks, consider replacing the pan.
-
Test the Drainage: After cleaning and inspecting, run the air conditioning unit for a short period and check the condensate pan for proper drainage. Ensure that water is flowing freely out of the drain line.
By keeping the condensate pan clean and in good condition, you can significantly reduce the likelihood of water dripping inside your RV.
Identifying Installation Issues
Improper installation of your RV air conditioner can lead to various problems, including water dripping inside. Here are steps to identify potential installation issues:
-
Check for Leveling: Ensure that your RV is parked on level ground. An unlevel RV can cause the air conditioning unit to drain improperly, leading to water buildup. Use a level tool to verify the RV’s positioning.
-
Inspect Sealant and Weatherstripping: Examine the sealant and weatherstripping around the air conditioning unit. Damaged or worn seals can allow moisture to enter the RV, leading to dripping issues.
-
Review Installation Instructions: Refer to the manufacturer’s installation instructions to ensure that the unit was installed correctly. Pay attention to any specific requirements regarding drain lines and positioning.
-
Look for Gaps: Inspect the area where the air conditioning unit meets the RV roof for any gaps. These gaps can allow water to leak inside. Seal any gaps with appropriate materials to prevent leaks.
-
Consult a Professional: If you suspect installation issues but are unsure how to proceed, consider consulting a qualified HVAC technician. They can assess the installation and recommend necessary adjustments.
By identifying and correcting installation issues, you can help prevent water from dripping inside your RV and ensure the air conditioning unit operates effectively.

When to Call a Professional
Signs of Serious Problems
While basic troubleshooting and maintenance can address many issues related to an RV air conditioner, some problems may be more complex and require professional attention. Here are signs that it’s time to call a qualified technician:
-
Persistent Water Dripping Despite Maintenance: If you’ve cleaned the air filter, checked the condensate pan, and inspected the drain line, but the water continues to drip inside your RV, it’s a sign that the issue may be more serious. A professional technician can identify underlying problems such as refrigerant leaks or compressor failure.
-
Strange Noises or Vibrations: Unusual noises like grinding, squealing, or rattling can indicate mechanical issues within the unit. These noises often signal that a part of the air conditioner, such as the fan or compressor, is malfunctioning. Ignoring these noises can lead to further damage, so it’s best to consult a professional if the problem persists.
-
Weak Airflow: If the airflow from your RV air conditioner is weak or inconsistent, it may be due to an issue with the fan, ductwork, or air handler. A technician can assess whether the unit’s components are functioning properly and repair or replace any damaged parts.
-
Inability to Cool: If your air conditioner is no longer cooling your RV efficiently or fails to cool altogether, there may be an issue with the refrigerant levels or the compressor. A technician can inspect the system to diagnose the cause and recommend the necessary repairs.
-
Frequent Cycling or System Shutdown: If your air conditioner turns on and off frequently or shuts down unexpectedly, this could be due to a malfunctioning thermostat, electrical problem, or refrigerant issue. A professional will be able to pinpoint the problem and restore the unit’s functionality.
By recognizing these serious issues early on and calling a professional, you can avoid costly repairs and extend the lifespan of your RV air conditioning unit.

Finding a Qualified Technician
When your RV air conditioner requires professional attention, it’s essential to find a qualified technician who has experience working with RV air conditioners. Here’s how you can find the right professional for the job:
-
Check for Certification and Licensing: Ensure that the technician is certified and licensed to perform HVAC repairs. Look for certifications from organizations like the North American Technician Excellence (NATE) or the Refrigeration Service Engineers Society (RSES). These certifications ensure that the technician has the necessary skills and knowledge to repair your RV air conditioner.
-
Read Reviews and Testimonials: Check online reviews and customer testimonials to gauge the technician’s reputation. Positive reviews from previous customers can provide insight into the quality of their work and their level of customer service. Websites like Google, Yelp, and Angie’s List are great resources for finding trustworthy technicians.
-
Ask for Recommendations: If you’re part of an RV community, whether online or in person, ask for recommendations from fellow RV owners. Word-of-mouth referrals are often the most reliable way to find a qualified technician who specializes in RV air conditioning systems.
-
Inquire About Experience with RV Systems: Not all HVAC technicians are familiar with the specific needs of RV air conditioners. When you contact a technician, ask if they have experience working with RV systems and if they have any specific expertise in diagnosing and repairing issues unique to mobile units.
-
Get Multiple Quotes: To ensure that you’re getting a fair price, it’s a good idea to get quotes from multiple technicians. Compare their prices, services offered, and warranties before making a decision.
-
Check for Warranty Coverage: If your RV air conditioner is still under warranty, make sure the technician is authorized to perform repairs without voiding the warranty. Always verify this before scheduling any service.
By following these steps, you can find a qualified technician who can quickly and efficiently fix your RV air conditioning problems, ensuring that your unit operates at its best.

FAQ Section
1. Why is my RV air conditioner dripping water inside?
The primary reason for an RV air conditioner dripping water inside is often related to improper drainage. This can occur due to clogged drain lines, which can cause excess moisture to back up and overflow into the interior of the RV. Other factors can include low refrigerant levels, which can lead to ice formation on the coils, or improper installation of the unit, which can disrupt the drainage system. If you notice persistent dripping, it’s important to troubleshoot these issues or consult a professional technician to prevent further damage.
2. How can I prevent my RV air conditioner from dripping water?
To prevent water from dripping from your RV air conditioner, follow these maintenance tips:
-
Regularly Inspect and Clean the Air Filter: A dirty air filter can restrict airflow and lead to ice buildup on the evaporator coils. Check the filter monthly and clean or replace it as needed.
-
Clear Drain Lines: Periodically check and clean the condensate drain lines to ensure they are not clogged with dirt or debris. Use a wet/dry vacuum or a pipe cleaner to remove any blockages.
-
Check the Condensate Pan: Ensure that the condensate pan is clean and free from obstructions. Regular cleaning helps maintain proper drainage.
-
Monitor Refrigerant Levels: Keep an eye on the refrigerant levels in your RV air conditioner. Low levels can lead to freezing of the coils, which can cause water to leak when they thaw. If you suspect low refrigerant, contact a professional technician for inspection and recharge.
-
Schedule Regular Maintenance: Have your RV air conditioner serviced by a professional technician at least once a year. Regular maintenance can identify potential problems before they lead to water dripping issues.
By following these preventative measures, you can significantly reduce the likelihood of water dripping from your RV air conditioner.
3. ow do I know if my RV air conditioner needs professional repair?
Several signs indicate that your RV air conditioner may need professional repair:
-
Persistent Water Dripping: If you’ve already performed basic maintenance and the dripping continues, this may signal a deeper issue that requires a technician’s expertise.
-
Unusual Noises: Grinding, buzzing, or rattling noises from the unit can indicate mechanical issues or failing components that need professional attention.
-
Weak or No Cooling: If your air conditioner is not cooling effectively or at all, this could be due to refrigerant leaks or compressor problems that require a technician’s diagnostic skills.
-
Frequent Cycling: If your unit turns on and off frequently, this could indicate a thermostat issue or electrical problems that need to be addressed by a professional.
-
High Energy Bills: An unexplained increase in energy consumption can signal that your air conditioning unit is working harder than necessary due to inefficiencies that need repair.
If you notice any of these signs, it’s best to consult a qualified technician to assess the situation and perform necessary repairs to avoid further damage.

4. Can I troubleshoot RV air conditioner issues myself?
Yes, you can troubleshoot some RV air conditioner issues on your own before calling a professional. Here are steps you can take:
-
Inspect the Air Filter: Check for dirt and debris, and clean or replace it if necessary.
-
Examine the Condensate Drain: Look for clogs or blockages in the drain line and clear them using a wet/dry vacuum or similar tools.
-
Check the Condensate Pan: Ensure that the pan is clean and free of obstructions.
-
Level Your RV: Make sure your RV is parked on level ground to allow proper drainage.
-
Look for Ice Buildup: If you see ice on the evaporator coils, it may indicate low refrigerant or airflow issues.
While these steps can help identify common issues, remember that some problems require specialized knowledge and tools to fix. If you’re unsure or the issue persists, don’t hesitate to call a professional technician.
Conclusion:
In conclusion, understanding why your RV air conditioner is dripping water inside is essential for maintaining a comfortable and safe environment in your recreational vehicle. By recognizing the common causes, such as clogged drain lines, low refrigerant levels, and improper installation, you can take proactive steps to prevent these issues from arising. Regular maintenance, timely troubleshooting, and knowing when to call a professional are key to ensuring your RV’s air conditioning system operates efficiently. By following the tips and guidelines outlined in this blog, you can enjoy your travels without the hassle of water damage or malfunctioning air conditioning. For further assistance or professional HVAC services, don’t hesitate to reach out to qualified technicians who specialize in RV air conditioning to keep your unit in optimal condition.