
Introduction: Understanding Dometic RV Air Conditioners and Common Problems
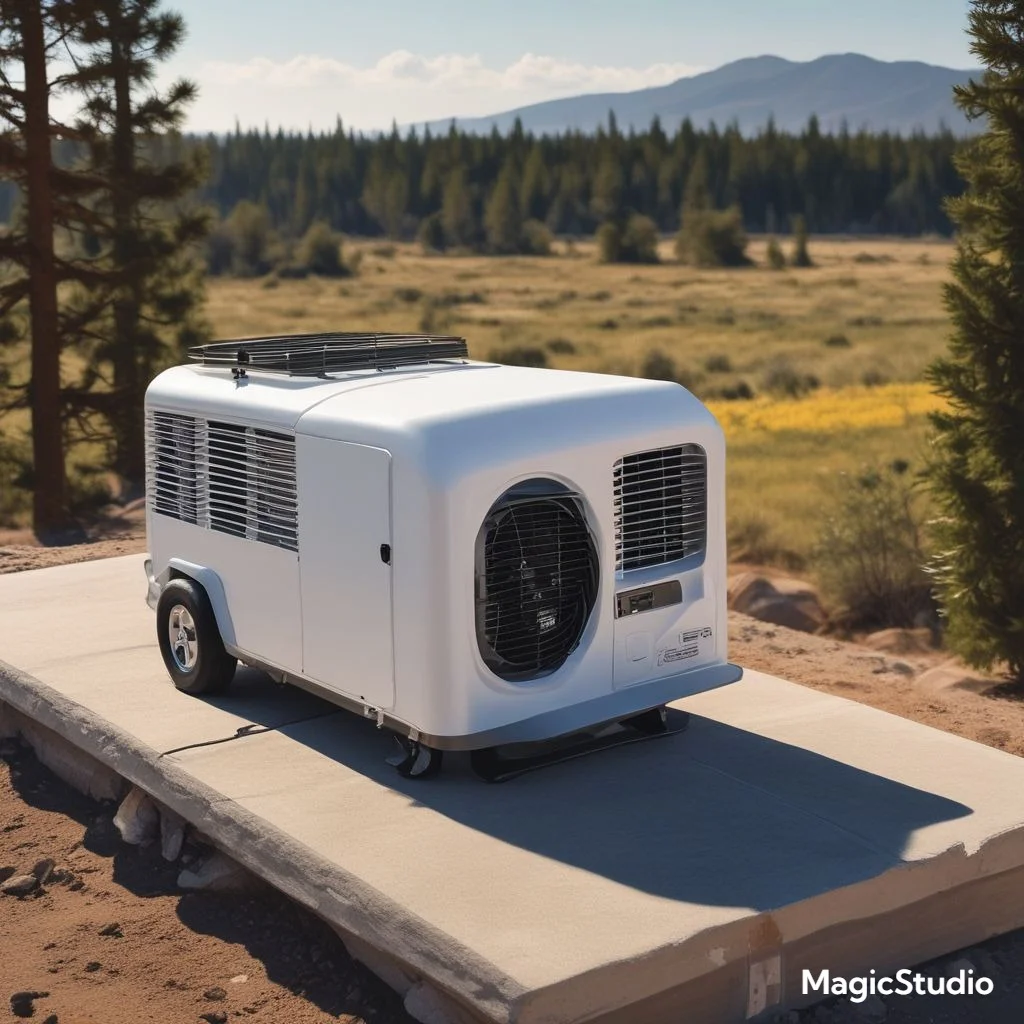
Dometic RV air conditioners are a cornerstone of comfort for RV owners, providing reliable cooling in a variety of climates. Whether you’re on a cross-country adventure or parked at a sunny campsite, a properly functioning AC unit is crucial to maintaining a comfortable living environment inside your RV. Known for their efficiency and durability, Dometic AC units are among the most popular choices in the RV community.
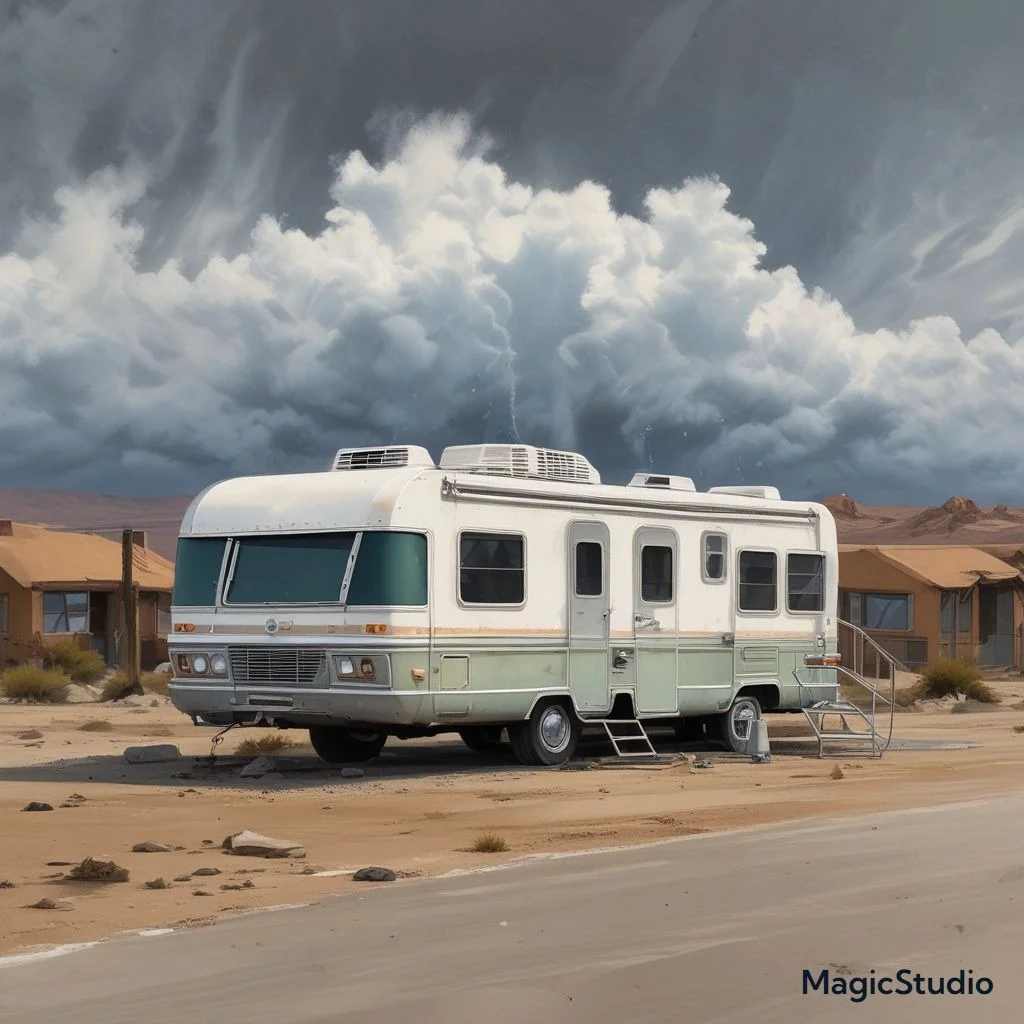
However, like all mechanical systems, Dometic air conditioners are not immune to wear and tear. Over time, these units may develop issues that can hinder their performance. Addressing these problems promptly is vital to ensure that your travels remain hassle-free and comfortable. Ignoring minor issues could lead to more significant malfunctions, costly repairs, or even complete system failure.
Proper maintenance and an understanding of common problems can not only prolong the lifespan of your air conditioner but also enhance your overall RV experience. This guide will delve into the most common Dometic RV air conditioner problems and provide actionable solutions to help you keep your unit in top-notch condition.
1. Common Symptoms of Dometic RV Air Conditioner Problems
A Dometic RV air conditioner is a reliable piece of equipment, but like any other mechanical system, it can show signs of trouble over time. Recognizing these symptoms early can help you address minor issues before they turn into significant, costly problems. Here are the most common symptoms to look out for:
Signs Your Air Conditioner Isn’t Functioning Properly
1. Unusual Noises
- If your Dometic RV air conditioner begins making strange noises like rattling, buzzing, or clicking, it’s a clear sign something is wrong.
- These noises can be caused by loose components, fan motor issues, or debris caught in the unit. Ignoring these sounds can lead to further damage.
2. Reduced Cooling Performance
- A lack of adequate cooling is one of the most common complaints among RV owners.
- This issue may stem from dirty filters, blocked vents, low refrigerant levels, or a malfunctioning compressor.
- If the airflow feels weak or the temperature doesn’t drop as expected, it’s time for a thorough inspection.
3. Water Leakage
- Water dripping inside the RV or around the air conditioner is a red flag.
- This often happens due to clogged condensation drains, improper installation, or a damaged gasket.
- If not addressed promptly, water leaks can cause mold and damage the RV’s interior.
What These Symptoms Indicate
Recognizing these signs early and addressing them can save you from costly repairs or replacements. Routine maintenance, such as cleaning filters, inspecting seals, and checking refrigerant levels, can help prevent these issues from occurring.
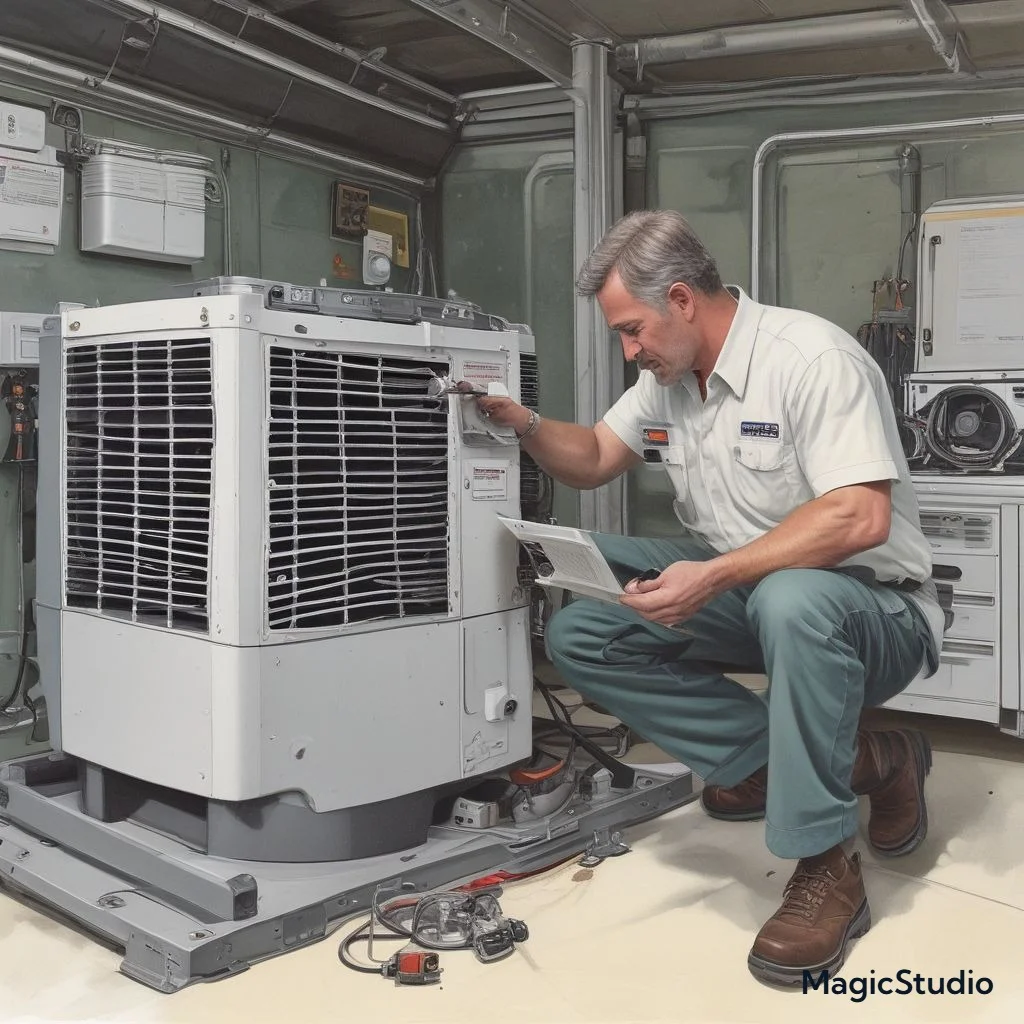
2. Troubleshooting a Dometic RV Air Conditioner That Won’t Turn On
One of the most frustrating issues for RV owners is when their Dometic RV air conditioner refuses to turn on, especially during a hot day. This problem can arise from several causes, most of which are related to power supply or electrical components. Below is a detailed guide to help you identify and resolve these issues.
Power Supply Issues
The first step in troubleshooting is to ensure that the air conditioner is receiving adequate power. Common causes of power-related issues include:
- Insufficient Power Supply:
RV parks or campsites sometimes provide power connections that don’t meet the required voltage for your air conditioner. Use a multimeter to check the voltage at the power pedestal. Dometic air conditioners typically require a stable 110–120V to operate efficiently. - Loose Connections:
Inspect the power cord and plug for damage, wear, or loose connections. Damaged cables or plugs can prevent the unit from powering up. - Generator Issues:
If you’re using a generator, ensure it’s functioning correctly and providing enough power to the AC unit. Overloaded or faulty generators can cause intermittent power supply issues.
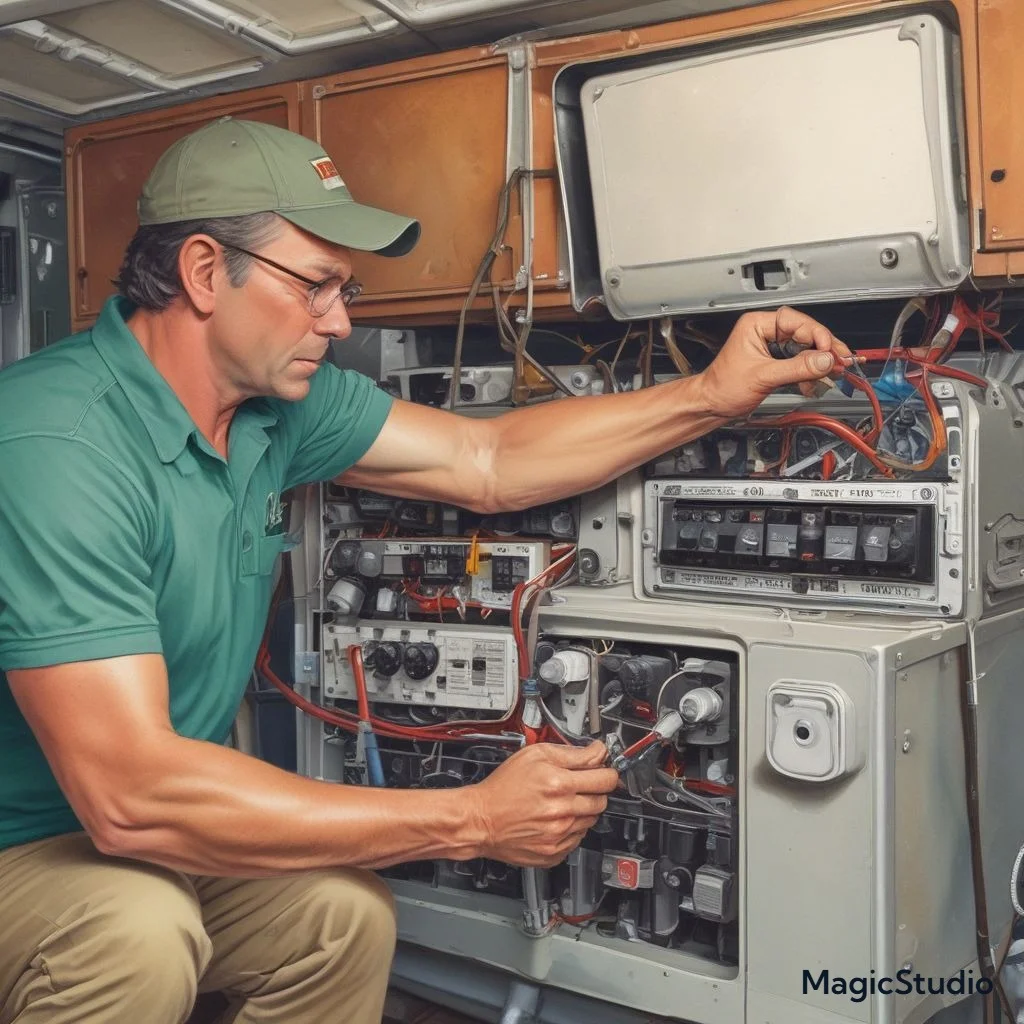
Circuit Breaker or Fuse Problems
Electrical issues inside the RV are another common reason why the air conditioner won’t turn on.
- Tripped Circuit Breaker:
Check the RV’s circuit breaker panel to see if the breaker for the air conditioner has tripped. If it has, reset it. Frequent tripping could indicate an underlying issue, such as a short circuit or overloaded electrical system. - Blown Fuses:
Inspect the fuse box for blown fuses associated with the air conditioner. Replace any faulty fuses with the correct rating as per the manufacturer’s instructions. - Faulty Thermostat Wiring:
The air conditioner relies on the thermostat to signal when to turn on. Damaged or disconnected thermostat wiring can disrupt this communication. Inspect the thermostat and its connections for any issues.
What to Do If Troubleshooting Fails
If the unit still doesn’t turn on after addressing power and circuit issues:
- Consult the user manual for further troubleshooting steps.
- Reach out to a professional HVAC technician for a detailed inspection.
- Avoid attempting complex electrical repairs without proper expertise to prevent damage or injury.
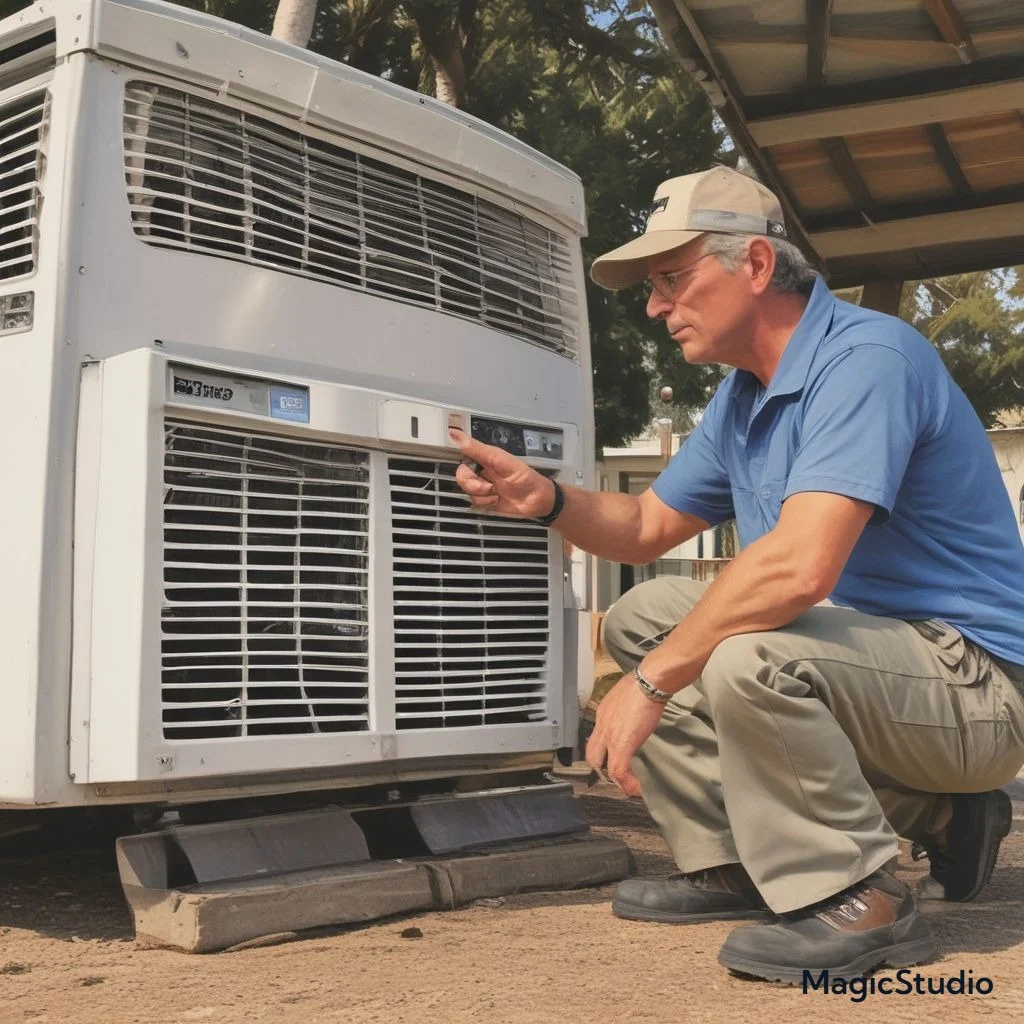
3. How to Fix Poor Cooling Performance in Your Dometic RV AC
Poor cooling performance in your Dometic RV air conditioner can turn a comfortable road trip into an unpleasant experience. Understanding the causes and taking the right steps to address them can restore your AC’s efficiency and keep your RV cool during your adventures. Here’s a detailed guide on identifying and fixing insufficient cooling performance.
Causes of Insufficient Cooling
Several factors can contribute to your Dometic RV AC not cooling efficiently:
- Dirty Air Filters:
Over time, air filters accumulate dust and debris, restricting airflow and reducing the unit’s cooling ability. A clogged filter forces the AC to work harder, which can lead to higher energy consumption and reduced cooling output. - Blocked Air Vents:
Blocked or closed air vents disrupt the circulation of cool air, creating uneven temperatures inside your RV. Ensure all vents are open and free from obstructions like furniture or bags. - Low Refrigerant Levels:
Refrigerant is the lifeblood of your air conditioner. If refrigerant levels are low due to a leak or improper filling, the AC cannot cool effectively. Refrigerant issues often require professional diagnosis and recharging. - Dirty Evaporator and Condenser Coils:
Dust and grime on the evaporator or condenser coils reduce heat exchange efficiency. This leads to poor cooling performance and may cause the AC to overheat.
Steps to Fix Poor Cooling Performance
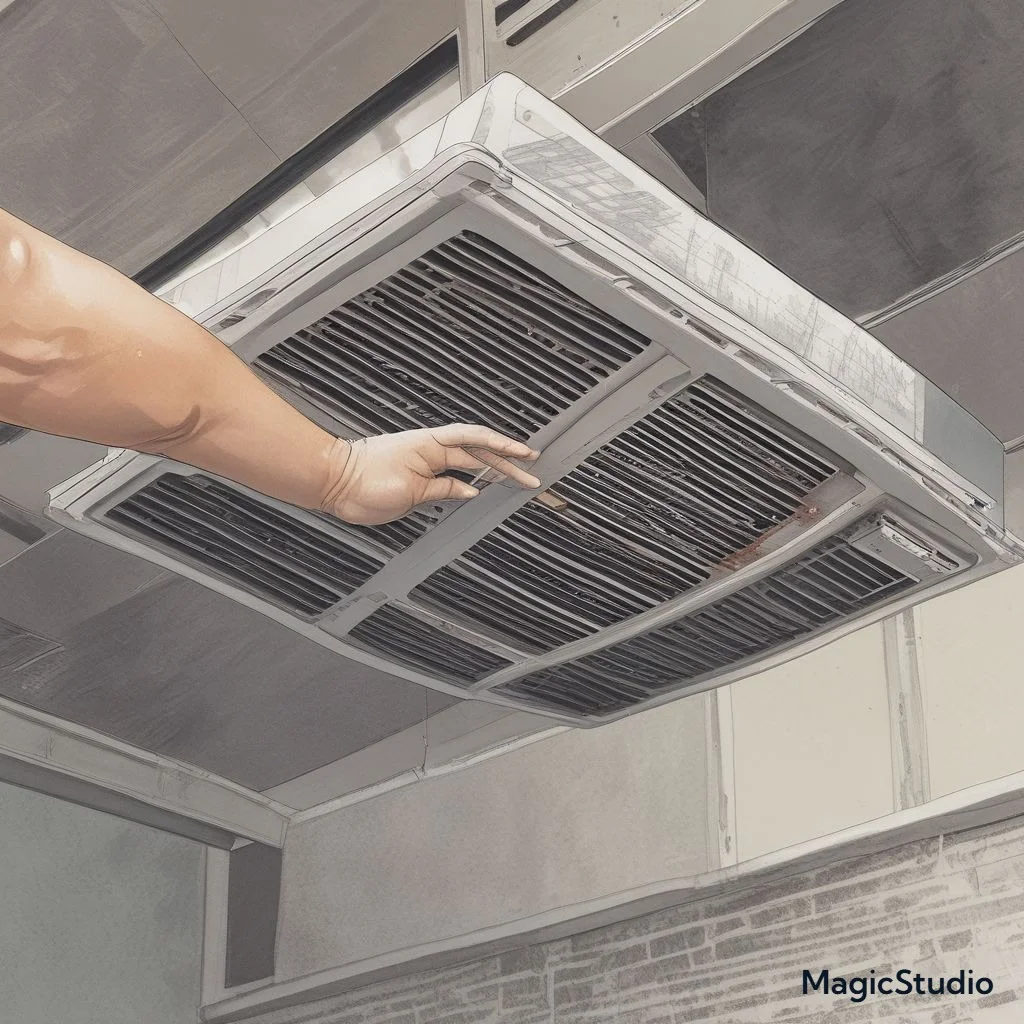
1. Clean or Replace Air Filters
- Remove the air filter from your Dometic RV AC and inspect it for dirt buildup.
- Wash reusable filters with mild soap and water, ensuring they’re completely dry before reinserting them. For disposable filters, replace them as per the manufacturer’s recommendations.
2. Check and Clean Air Vents
- Inspect all air vents in your RV to ensure they’re unobstructed.
- Use a vacuum cleaner or a soft brush to remove any dust or debris blocking the vents.
3. Inspect and Recharge Refrigerant Levels
- If you suspect a refrigerant issue, contact a professional HVAC technician to check for leaks and recharge the refrigerant to the correct levels. Handling refrigerant requires specialized tools and certifications.
4. Clean the Coils
- Access the evaporator and condenser coils and gently clean them using a soft brush or a coil cleaning spray.
- Make sure the coils are free from dirt and grime, as clean coils improve heat exchange and cooling efficiency.
5. Check the Thermostat Settings
- Ensure the thermostat is set to a cooling mode with an appropriate temperature. Sometimes incorrect settings can cause reduced performance.
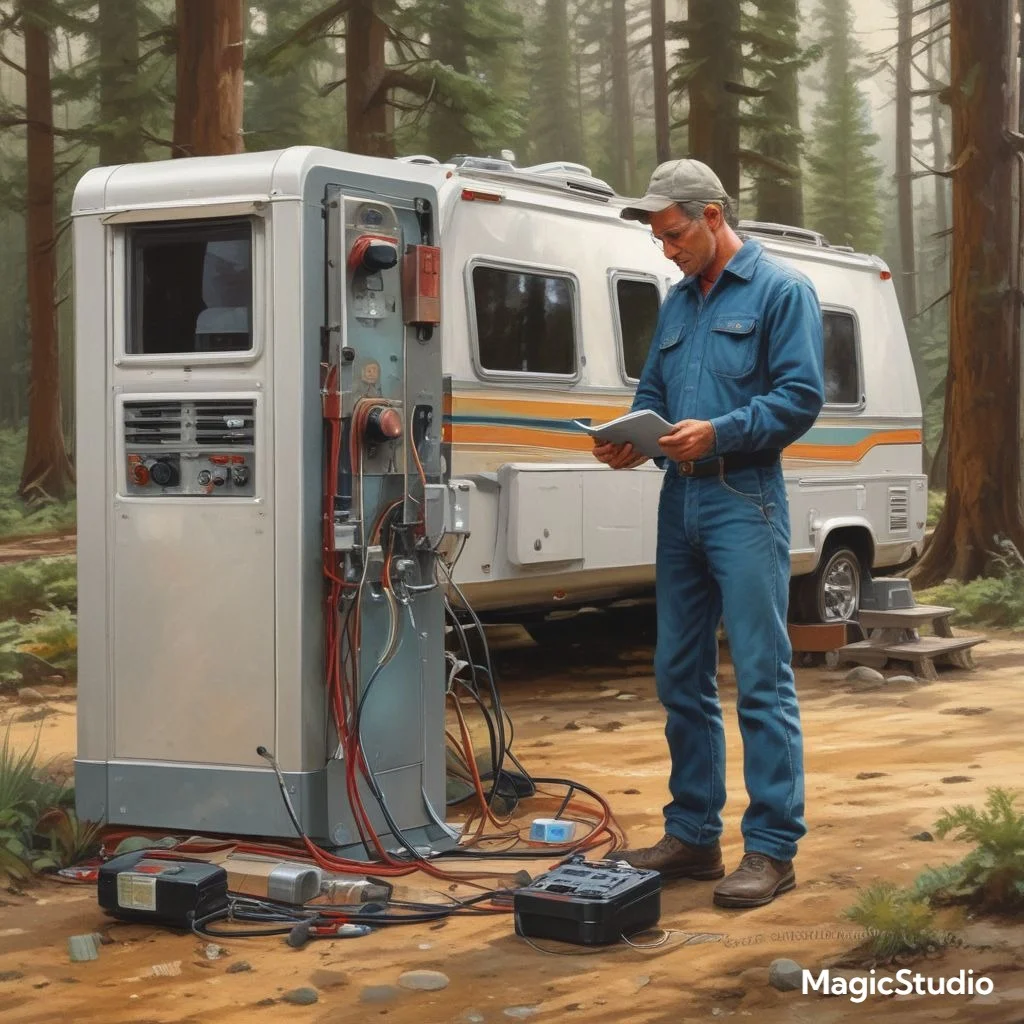
When to Call a Professional
If your cooling issues persist after trying these steps, it’s time to seek professional assistance. Persistent problems could indicate deeper mechanical or electrical issues that require expert attention.
4. Dealing with Unusual Noises in Dometic RV Air Conditioners
Unusual noises coming from your Dometic RV air conditioner can be disruptive and indicate underlying mechanical or electrical issues. Addressing these noises promptly ensures the longevity and efficiency of your unit while preventing potential damage. Here’s a comprehensive guide to identifying and resolving common AC noises.
Rattling, Buzzing, and Humming Noises
- Rattling Noises
- Cause: Rattling often results from loose components, such as fan blades, screws, or panels. It may also indicate debris like twigs or leaves trapped inside the unit.
- Impact: If ignored, loose components can lead to further damage, such as worn-out parts or imbalanced operations.
- Buzzing Noises
- Cause: Buzzing sounds usually point to electrical issues like a failing capacitor, loose wiring, or a malfunctioning motor. Dirt accumulation on electrical contacts can also contribute.
- Impact: Electrical issues not only hinder the AC’s performance but also pose safety hazards like short circuits.
- Humming Noises
- Cause: A persistent humming sound is often caused by a failing compressor, clogged fan motor, or vibration of loose parts. It might also indicate a lack of lubrication in moving components.
- Impact: Continuous humming can signal significant mechanical problems that could lead to complete system failure if not addressed.
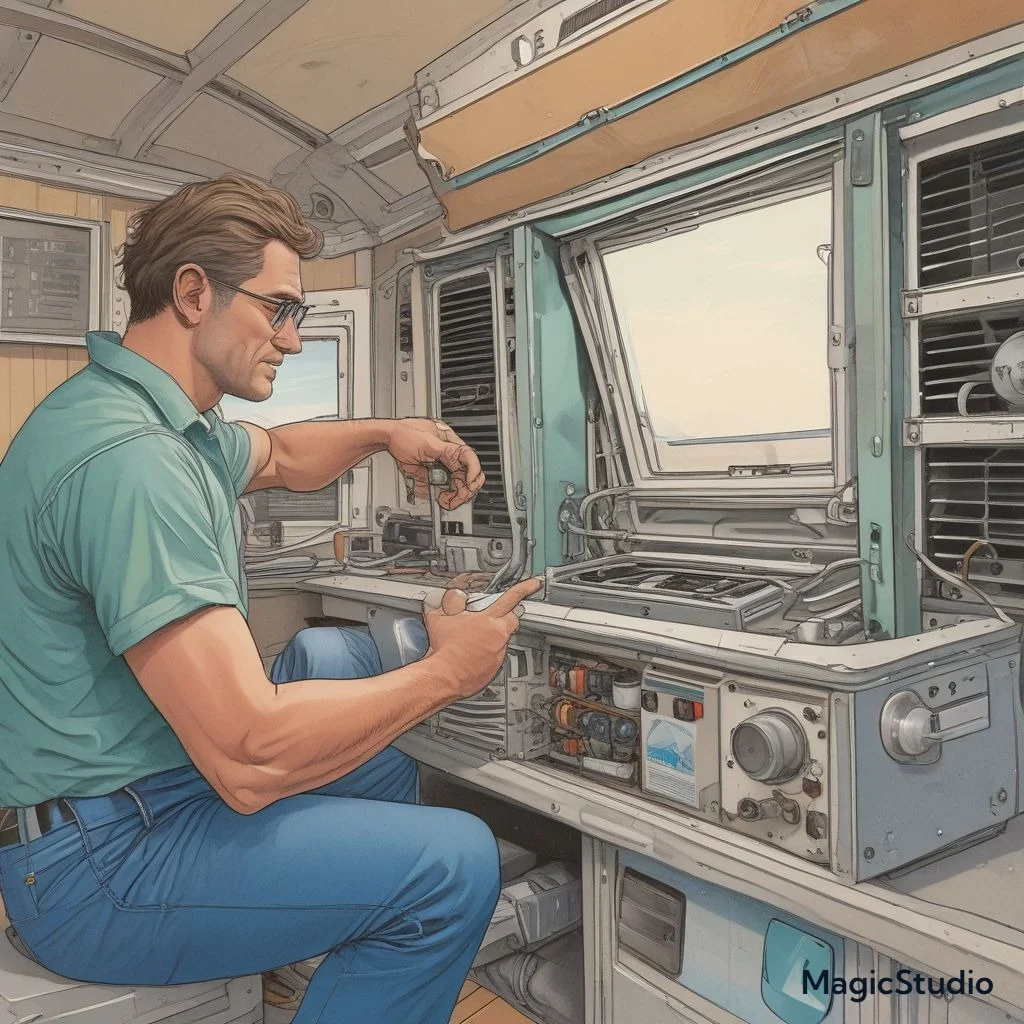
Solutions for Mechanical and Electrical Causes
1. Inspect and Tighten Loose Components
- Open the AC unit’s access panel and check for loose screws, bolts, or panels.
- Tighten any loose parts using appropriate tools and ensure the fan blades are securely attached to the motor shaft.
2. Remove Debris
- Turn off the air conditioner and inspect the exterior and interior of the unit for debris.
- Use a vacuum cleaner or a soft brush to remove dirt, leaves, and other obstructions.
3. Address Electrical Issues
- Inspect the wiring connections for signs of wear, fraying, or loose connections.
- Replace or repair damaged wires and ensure all electrical components are properly secured.
- If the capacitor or motor is failing, replace it with a compatible part from a trusted supplier.
4. Lubricate Moving Parts
- Apply a few drops of motor oil to the fan motor’s bearings to reduce friction and eliminate noise caused by poor lubrication.
5. Check the Compressor
- If the noise persists, the compressor might be failing. While minor issues can sometimes be repaired, a faulty compressor often requires replacement by a professional technician.
When to Call a Professional
If the noises persist after troubleshooting, consult a certified HVAC technician to avoid further damage or safety risks. Electrical repairs, in particular, should only be handled by professionals with appropriate expertise.
5. Water Leaks from Your Dometic RV Air Conditioner: Causes and Fixes
Water leaks from your Dometic RV air conditioner can cause significant damage to your RV’s interior and lead to mold or mildew growth. Understanding the root causes and applying the right fixes can help you maintain a dry and comfortable environment. Here’s a detailed guide to addressing this issue.
Condensation Drain Issues
Cause:
Condensation is a natural byproduct of your air conditioner’s cooling process. The moisture collects in a drip pan and is expelled through a condensation drain. However, when the drain line is clogged or obstructed, water can back up and leak into your RV.
Fixes:
- Clean the Condensation Drain Line:
- Turn off the air conditioner and locate the condensation drain line.
- Use a small brush, pipe cleaner, or compressed air to clear any blockages.
- Pour a mixture of water and mild detergent down the drain line to remove dirt and algae buildup.
- Check the Drip Pan:
- Inspect the drip pan for cracks or excess dirt.
- Clean the pan with soap and water and seal any cracks with waterproof adhesive or replace the pan if necessary.
- Ensure Proper Installation:
- Ensure the air conditioner is installed at the correct angle to allow proper drainage. An incorrectly tilted unit can cause water to pool and overflow.

Gasket or Seal Damage
Cause:
The gasket or seal between your air conditioner and the RV roof prevents water from entering the interior. Over time, exposure to weather conditions can cause these seals to deteriorate or shift, leading to leaks.
Fixes:
- Inspect the Gasket or Seal:
- Turn off the air conditioner and remove the shroud to access the gasket.
- Look for signs of wear, cracks, or misalignment.
- Tighten Mounting Bolts:
- Loose mounting bolts can compromise the seal’s effectiveness. Tighten these bolts evenly to secure the unit without over-compressing the gasket.
- Replace the Gasket or Seal:
- If the gasket is damaged, replace it with a new one that is compatible with your Dometic RV air conditioner model.
- Use a weatherproof sealant around the edges for added protection.
- Regular Maintenance:
- Periodically check the gasket and apply a protective UV coating to extend its lifespan.
When to Seek Professional Assistance
If water leaks persist despite following these fixes, it’s best to consult a certified HVAC technician. Persistent leaks may indicate deeper issues, such as internal cracks or advanced damage requiring specialized repair.
6. Preventative Maintenance Tips for Dometic RV Air Conditioners
Proper maintenance of your Dometic RV air conditioner ensures it performs efficiently, extends its lifespan, and minimizes costly repairs. Regular cleaning, inspections, and a proactive approach are key to keeping your AC in optimal condition. Here’s a detailed guide to effective preventative maintenance.
Regular Cleaning and Inspections
1. Clean Air Filters Regularly
- Why it Matters: Air filters trap dust and debris, ensuring clean air circulation. Clogged filters restrict airflow, reduce cooling efficiency, and strain the unit.
- How to Clean:
- Remove the filter from the unit.
- Wash reusable filters with mild soap and water, then dry completely before reinstalling.
- Replace disposable filters as recommended by the manufacturer.
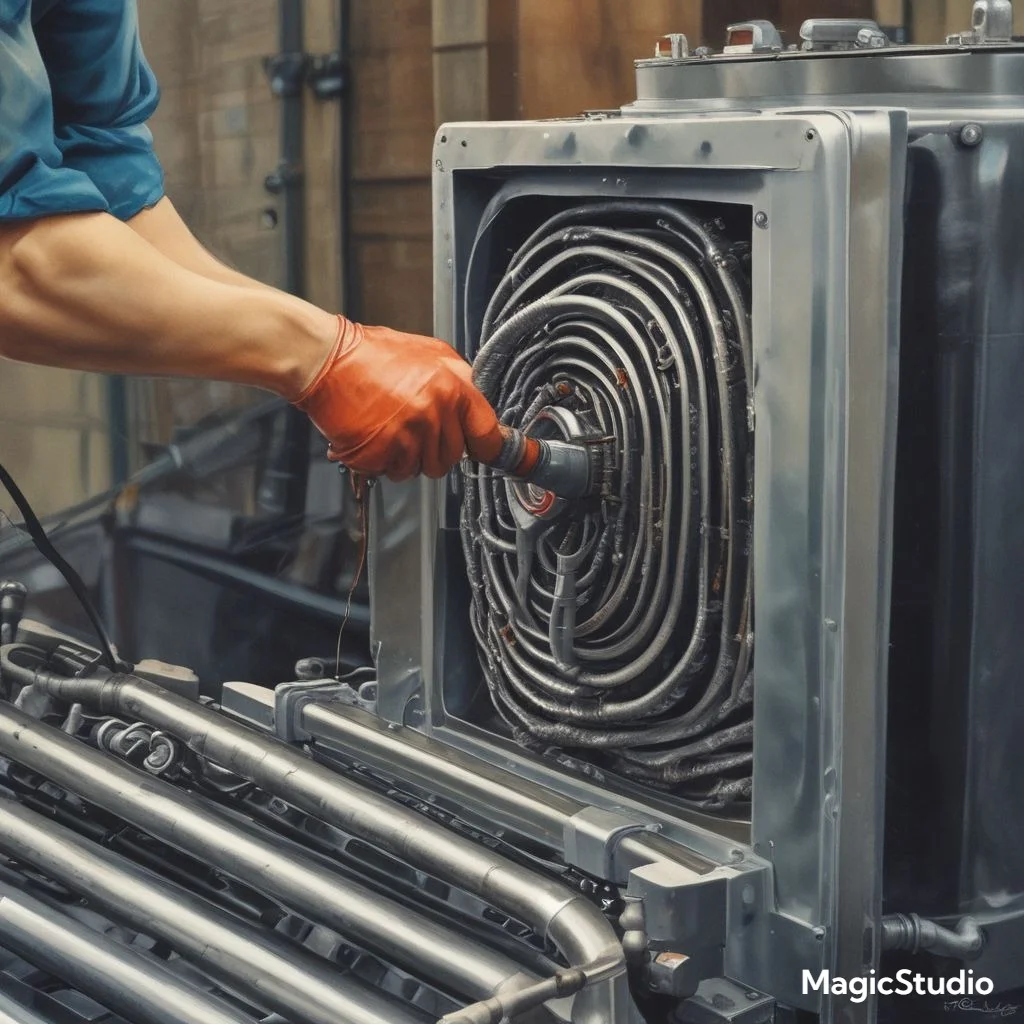
2. Inspect and Clean the Coils
- Why it Matters: Evaporator and condenser coils are vital for heat exchange. Dirty coils reduce cooling performance and cause the unit to overheat.
- How to Clean:
- Access the coils by removing the AC cover.
- Use a coil cleaning spray or a soft brush to gently remove dirt and debris.
3. Clear the Condensation Drain Line
- Why it Matters: A clogged drain line can cause water leaks inside your RV.
- How to Clean:
- Use compressed air or a small brush to remove obstructions in the drain line.
Extending the Lifespan of Your AC Unit
1. Regularly Check the Gasket or Seal
- Why it Matters: The gasket ensures a watertight seal between the AC unit and the RV roof. Over time, it can wear out, leading to leaks and energy loss.
- Maintenance Tips:
- Inspect the gasket for cracks or misalignment during routine checks.
- Tighten mounting bolts to maintain a secure fit.
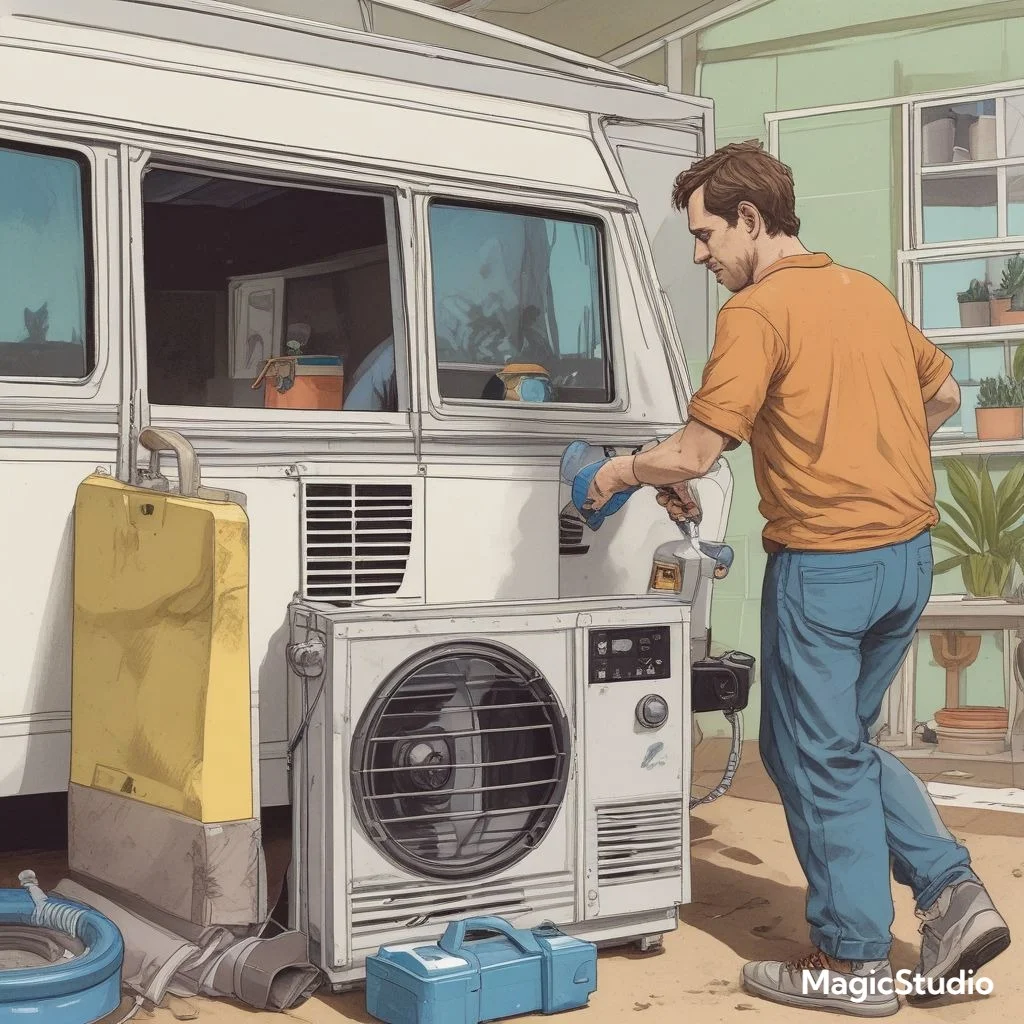
2. Keep the Exterior Unit Clean
- Why it Matters: The exterior of the air conditioner is exposed to dirt, leaves, and debris, which can affect performance.
- How to Clean:
- Gently hose down the exterior unit to remove debris.
- Use a soft cloth to clean the vents and fan blades.
3. Operate the Unit Correctly
- Why it Matters: Proper operation reduces strain on the system and prevents unnecessary wear.
- Best Practices:
- Avoid running the AC on maximum settings for extended periods.
- Use the thermostat to maintain a consistent and moderate temperature.
- Keep windows and doors closed while the AC is running to minimize load.
4. Schedule Annual Professional Maintenance
- Why it Matters: An annual tune-up by a certified HVAC technician ensures all components are in optimal condition and identifies potential issues early.
- What to Expect:
- Professionals will check refrigerant levels, inspect wiring, clean internal parts, and test the overall performance of your AC unit.
FAQs About Dometic RV Air Conditioner Problems
A well-maintained Dometic RV air conditioner is key to a comfortable journey. However, common questions arise when issues occur. Here’s a detailed FAQ section addressing these concerns, written for top-ranking SEO to maximize visibility and engagement.
Why Is My Dometic RV AC Not Blowing Cold Air?
Possible Reasons:
- Dirty Filters:
- A clogged filter restricts airflow, reducing cooling efficiency.
- Solution: Clean or replace filters regularly to maintain optimal airflow.
- Low Refrigerant Levels:
- Insufficient refrigerant prevents proper cooling.
- Solution: A certified technician can check and refill refrigerant levels.
- Clogged Evaporator Coil:
- Dirt buildup on the coil hampers heat transfer.
- Solution: Clean the coil with a soft brush or a specialized coil cleaner.
How Do I Reset My Dometic RV Air Conditioner?
Steps to Reset:
- Locate the Reset Button:
- Check your AC’s manual for the location of the reset button. Press and hold it for a few seconds.
- Power Cycle the Unit:
- Turn off the unit at the thermostat.
- Disconnect the power supply for about 5 minutes.
- Reconnect the power and turn the AC back on.
- Reset via Circuit Breaker:
- Flip the breaker switch off and then back on to reset the unit if the direct reset doesn’t work.
Pro Tip: Ensure no other electrical issues are causing the problem before resetting.
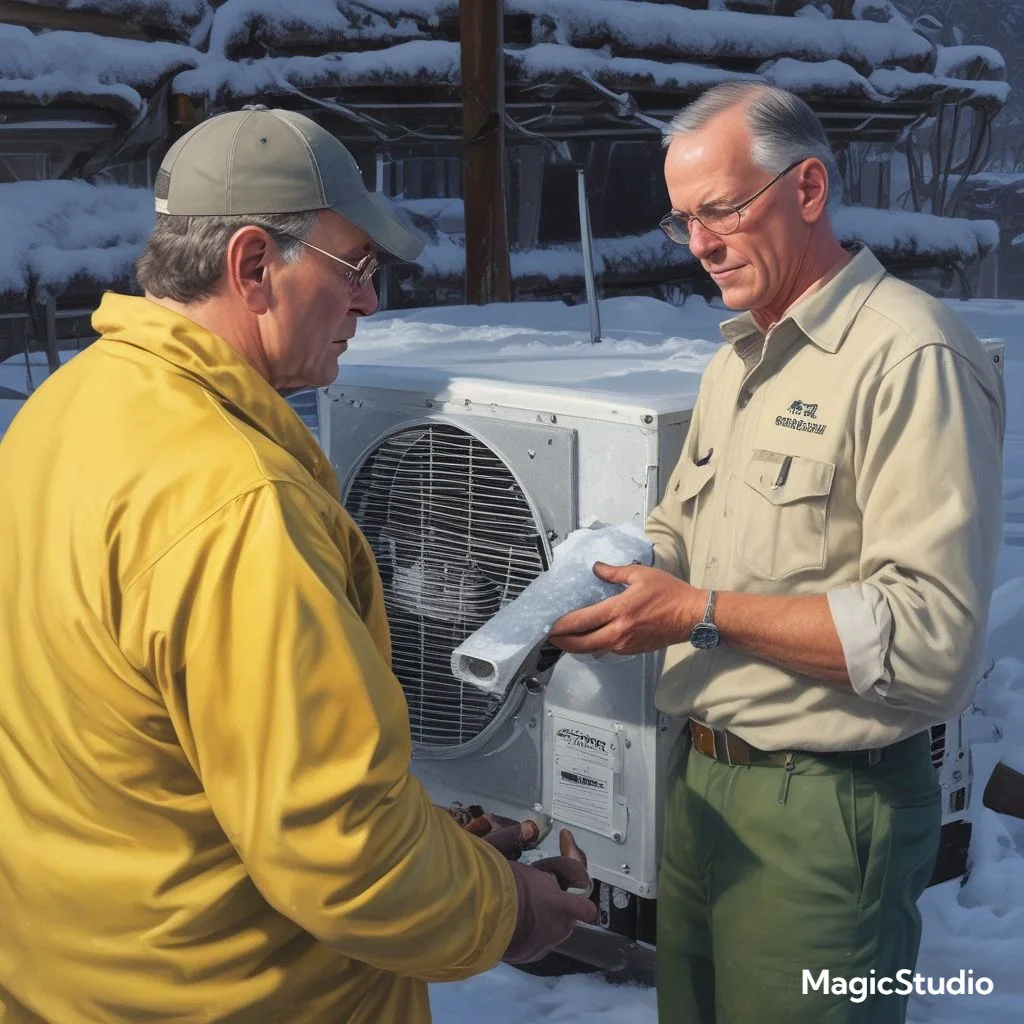
What Causes a Dometic RV Air Conditioner to Freeze Up?
Common Causes:
- Restricted Airflow:
- Dirty filters or blocked vents reduce airflow, causing ice to form.
- Solution: Keep filters and vents clean and clear.
- Low Refrigerant Levels:
- A lack of refrigerant leads to inefficient cooling and ice buildup.
- Solution: Consult a technician to inspect and refill refrigerant.
- Malfunctioning Thermostat:
- A faulty thermostat can cause the unit to run excessively, leading to freezing.
- Solution: Replace or recalibrate the thermostat as needed.
Is It Normal for an RV Air Conditioner to Make Noise?
Understanding Normal and Unusual Noises:
- Normal Noises:
- A gentle hum or soft airflow sound is standard during operation.
- Unusual Noises:
- Rattling: Loose screws or debris in the unit.
- Buzzing: Electrical issues or a failing compressor.
- Humming: A clogged motor or faulty fan blade.
Solution: Regularly inspect and tighten components. Seek professional help if the noise persists.
How Often Should I Maintain My Dometic RV Air Conditioner?
Recommended Maintenance Schedule:
- Seasonal Maintenance:
- Perform a full inspection and cleaning at the start of every season.
- Before Long Trips:
- Check the unit for dirt, leaks, and mechanical issues before any extended travel.
- Routine Maintenance Tasks:
- Clean filters monthly or as needed.
- Inspect the gasket and exterior unit every few months.
- Schedule a professional tune-up annually.
Conclusion
In conclusion, understanding and addressing common Dometic RV air conditioner problems is essential for ensuring your unit operates efficiently and effectively. By identifying issues such as poor cooling, unusual noises, water leaks, and frozen coils, you can take proactive steps to troubleshoot and fix the problems before they worsen. Regular maintenance, including cleaning filters, inspecting seals, and checking refrigerant levels, will help extend the lifespan of your AC unit, ensuring comfort during your travels. If issues persist, don’t hesitate to seek professional assistance to avoid more extensive repairs. By staying on top of routine checks and performing timely fixes, your Dometic RV air conditioner will continue to provide reliable performance for years to come, making your RV experience more enjoyable and stress-free.