
Introduction
When traveling in an RV, maintaining a comfortable temperature is essential, especially during the hot summer months. Unlike traditional air conditioners, RV air conditioning units are specifically designed to fit compact spaces while providing efficient cooling. However, for those with limited space, choosing the smallest RV air conditioner can be a challenge.
A compact RV AC unit offers several benefits:
- It saves space, allowing for more interior room.
- It reduces energy consumption, making it ideal for off-grid and solar-powered setups.
- It is lighter in weight, which minimizes strain on the RV’s roof and electrical system.
For RV owners who prioritize efficiency and space optimization, investing in a small yet powerful air conditioner is a game-changer. But what exactly qualifies as the smallest RV air conditioner, and how do you choose the right one? Let’s dive into the details.

What is the Smallest RV Air Conditioner?
When searching for the smallest RV air conditioner, it’s essential to consider multiple factors, including physical size, cooling capacity (measured in BTUs), power efficiency, and installation type.
Defining the Smallest RV Air Conditioner
A small RV air conditioner typically falls into one of these categories:
- Low-profile rooftop AC units – These units are installed on the RV roof and designed to be compact, usually with a height of around 8-10 inches.
- Portable AC units – These offer flexibility and are often under 15 inches in width for easy placement.
- Under-bench or ductless split ACs – Mounted inside the RV, they take up minimal space compared to rooftop models.
The smallest RV air conditioners typically have a cooling capacity of 5,000 to 9,000 BTUs, which is sufficient to cool a small to medium-sized RV. While higher BTUs provide faster cooling, they consume more power and take up more space.

Why Size Matters in an RV Setting
Space is a premium commodity in an RV, so choosing the right-sized AC is crucial. A larger AC unit may provide more cooling power, but it also comes with:
- Increased energy consumption – Higher BTU units draw more power, which may not be ideal for off-grid travel.
- Weight concerns – A heavy rooftop unit can affect the RV’s aerodynamics and fuel efficiency.
- Limited installation options – Some compact RVs may not have enough roof space for a standard-sized unit.
A small, efficient air conditioner ensures that RV travelers can stay cool without overloading their power system or sacrificing interior space.

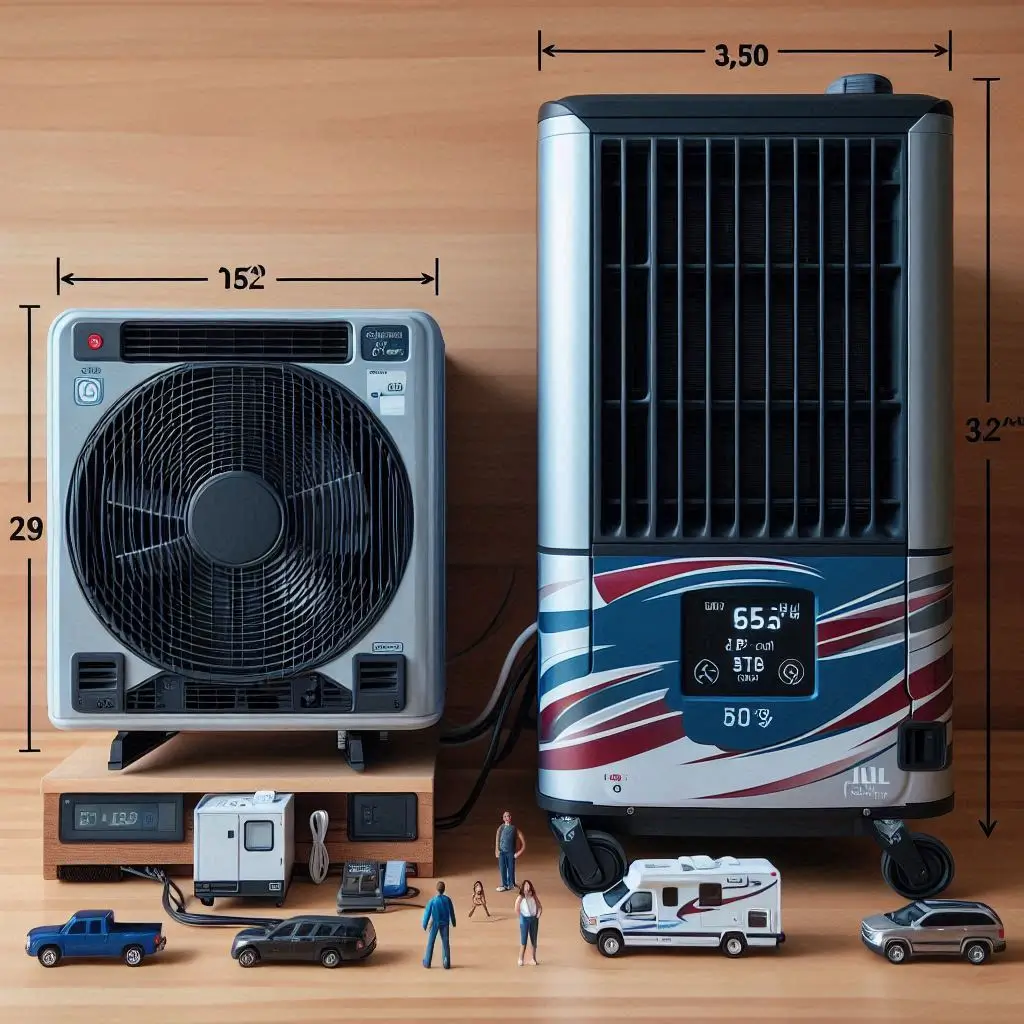
Top Smallest RV Air Conditioners in the Market
Choosing the smallest RV air conditioner is crucial for optimizing space, energy efficiency, and cooling performance. With various options available, selecting the right unit depends on factors like size, power consumption, cooling capacity, and noise levels. Below, we explore some of the best compact RV air conditioners on the market to help you find the perfect fit for your needs.
Overview of Popular Compact RV AC Units
Here are some of the top-performing small RV air conditioners, known for their compact size, efficiency, and quiet operation.
1. Dometic Penguin II (Low-Profile Rooftop AC)
- Size: 11.4″ H x 29.3″ W x 40.4″ L
- BTU Rating: 13,500 BTU (available in 11,000 BTU option)
- Power Consumption: 1,400-1,800 Watts
- Noise Level: ~50-55 dB
- Weight: 99 lbs
- Best for: RV owners looking for a sleek, low-profile design with high efficiency.

2. Coleman Mach 8 Plus Ultra-Low Profile AC
- Size: 8.25″ H x 28.4″ W x 41.1″ L
- BTU Rating: 9,200 to 15,000 BTU
- Power Consumption: ~1,500 Watts
- Noise Level: ~50 dB
- Weight: 90 lbs
- Best for: Those needing a powerful yet small rooftop AC unit with a modern, aerodynamic design.
3. Fresair S6 Evaporative Rooftop Air Cooler
- Size: 5.6″ H x 31.5″ W x 24.8″ L
- BTU Rating: Not applicable (works as an evaporative cooler)
- Power Consumption: Only 12V (5-10 Amps)
- Noise Level: <40 dB
- Weight: 25 lbs
- Best for: Off-grid and eco-friendly RVers who need low power consumption.

4. Zero Breeze Mark 2 (Portable AC)
- Size: 20″ L x 10″ W x 11″ H
- BTU Rating: 2,300 BTU
- Power Consumption: 240 Watts
- Noise Level: 45 dB
- Weight: 16.5 lbs
- Best for: Those needing a truly portable AC unit for small RV spaces and outdoor use.
5. RecPro 9.5K Low Profile RV AC
- Size: 9.5″ H x 26.5″ W x 39.5″ L
- BTU Rating: 9,500 BTU
- Power Consumption: ~1,200 Watts
- Noise Level: 50-55 dB
- Weight: 88 lbs
- Best for: Compact RVs needing a balance of cooling power and efficiency.
Comparison of Size, Power Consumption, Cooling Capacity, and Noise Levels
To simplify your decision, here’s a side-by-side comparison of these top small RV air conditioners:
| Model | Size (H x W x L) | BTU Rating | Power Consumption | Noise Level | Weight | Best For |
|---|---|---|---|---|---|---|
| Dometic Penguin II | 11.4″ x 29.3″ x 40.4″ | 13,500 BTU | 1,400-1,800W | 50-55 dB | 99 lbs | Low-profile efficiency |
| Coleman Mach 8 Plus | 8.25″ x 28.4″ x 41.1″ | 9,200-15,000 BTU | ~1,500W | ~50 dB | 90 lbs | Powerful and compact |
| Fresair S6 | 5.6″ x 31.5″ x 24.8″ | Evaporative | 12V (5-10A) | <40 dB | 25 lbs | Off-grid users |
| Zero Breeze Mark 2 | 20″ x 10″ x 11″ | 2,300 BTU | 240W | 45 dB | 16.5 lbs | Portable use |
| RecPro 9.5K | 9.5″ x 26.5″ x 39.5″ | 9,500 BTU | ~1,200W | 50-55 dB | 88 lbs | Compact and efficient |

Factors to Consider When Choosing a Small RV AC
Selecting the smallest RV air conditioner requires careful consideration of key factors such as cooling power (BTU rating), energy efficiency, and installation compatibility. A well-chosen unit ensures optimal comfort while preventing excessive power consumption or space constraints. Below, we break down these crucial factors in detail.
BTU Rating – Finding the Right Cooling Power for Your RV
What is BTU and Why Does It Matter?
BTU (British Thermal Unit) measures an air conditioner’s cooling capacity—the higher the BTU rating, the more powerful the cooling. However, for small RV spaces, selecting the right BTU is essential to avoid energy waste or insufficient cooling.

Recommended BTU Ratings for RV Sizes
| RV Size (sq. ft.) | Recommended BTU |
|---|---|
| Under 150 sq. ft. | 5,000 – 7,000 BTU |
| 150 – 250 sq. ft. | 7,000 – 9,500 BTU |
| 250 – 350 sq. ft. | 9,500 – 13,500 BTU |
| 350+ sq. ft. | 13,500+ BTU |
- Too Low: A unit with low BTU may struggle to cool the RV, especially in hot climates.
- Too High: A unit with high BTU will short-cycle, turning off and on frequently, leading to inefficient cooling and higher energy use.
Choosing the Best BTU for a Small RV
For compact RVs and camper vans, 5,000 to 9,500 BTUs is ideal, ensuring efficient cooling without unnecessary power drain.
Energy Efficiency – How to Minimize Power Consumption
Power Usage in RV Air Conditioners
Energy consumption is a critical factor, especially for off-grid RV travelers. A high-efficiency AC unit consumes less power, extending battery life and reducing generator use.
Tips to Choose an Energy-Efficient RV AC:
-
Look for a High EER (Energy Efficiency Ratio)
- EER = BTU ÷ Power Consumption (Watts)
- The higher the EER, the more efficient the unit.
- Example: A 9,500 BTU AC consuming 1,000W has an EER of 9.5, which is highly efficient.
-
Consider 12V DC vs. 120V AC Models
- 12V DC air conditioners (like the Fresair S6) are designed for solar and battery-powered systems, consuming much less energy than traditional 120V AC units.
-
Use Eco-Friendly Features
- Thermostats & Auto Shut-off: Prevent excessive power use.
- Energy-Saver Modes: Reduce cooling output when full power isn’t needed.
-
Opt for Alternative Cooling Methods
- Evaporative Coolers (like Fresair S6) use water-based cooling instead of refrigerants, drastically lowering power consumption.
By choosing an energy-efficient RV air conditioner, you can significantly cut down electricity costs and extend battery life, making off-grid camping more sustainable.

Installation & Compatibility – Ensuring a Proper Fit for Your RV
Types of RV Air Conditioners & Installation Methods
| Type | Installation Location | Pros | Cons |
|---|---|---|---|
| Rooftop AC | Mounted on RV roof | Space-saving, powerful | Requires roof space |
| Portable AC | Placed inside RV | Flexible, no installation | Takes up interior space |
| Under-Bench AC | Installed under furniture | Hidden, quiet operation | Limited airflow capacity |
Key Considerations for Installation
-
Roof Space & Strength
- Rooftop units need enough roof clearance and structural support to prevent damage.
- Lightweight models (under 90 lbs) are best for smaller RVs.
-
Ventilation & Airflow
- Ensure adequate ventilation to prevent overheating and airflow blockages.
- Under-bench models require venting to the outside for effective cooling.
-
Electrical Compatibility
- Check if the AC runs on 120V shore power or 12V DC (battery/solar).
- For boondocking, choose low-power units or those compatible with solar systems.
-
DIY vs. Professional Installation
- Some portable and window ACs require minimal setup and can be installed by RV owners.
- Rooftop ACs and ducted units may need professional installation to ensure a secure fit.
By ensuring proper compatibility and installation, your small RV air conditioner will function efficiently without unnecessary modifications or power issues.

Benefits of Using a Small RV Air Conditioner
A small RV air conditioner offers several advantages, making it an ideal cooling solution for compact living spaces. Whether you travel frequently or enjoy off-grid camping, choosing a compact and efficient AC unit can significantly enhance comfort, reduce energy costs, and simplify installation. Below, we explore the key benefits of opting for a small RV air conditioner.
Space-Saving Advantages
Compact Design for Small RV Interiors
One of the biggest advantages of a small RV air conditioner is its space efficiency. Unlike traditional large AC units, compact models are specifically designed for small RVs, camper vans, and trailers, ensuring they do not take up valuable living space.
Types of Small RV ACs That Save Space
- Low-Profile Rooftop ACs – These units sit flush on the RV roof, taking up no interior space.
- Portable RV ACs – These can be stored when not in use, freeing up space inside the RV.
- Under-Bench ACs – Installed under furniture, hidden from view while still cooling effectively.
Optimized Airflow Without Compromising Space
Many compact RV AC units come with multi-directional vents that distribute cool air evenly throughout the RV. This eliminates hot spots without requiring bulky ducts or excessive space for ventilation.

Lower Energy Consumption
Why Small AC Units Use Less Power
A smaller AC unit typically consumes less electricity compared to standard rooftop models. This makes it ideal for off-grid campers, boondocking, and solar-powered RV setups.
Energy-Saving Features in Small RV Air Conditioners
-
Lower BTU Ratings = Less Power Draw
- A 5,000 – 9,500 BTU AC is sufficient for small RVs, reducing overall energy usage.
- Higher BTU models may short-cycle, wasting electricity.
-
12V DC vs. 120V AC Power Options
- 12V DC ACs (like the Fresair S6) run directly from RV batteries or solar panels, reducing dependence on shore power or generators.
- 120V AC units work well with RV electrical hookups but require more power.
-
Eco Modes & Smart Thermostats
- Many small AC units include energy-saving modes that adjust cooling power based on interior temperatures.
- Smart thermostats reduce unnecessary cooling cycles, saving energy.
Reduced Generator Use & Longer Battery Life
Using a low-power AC unit allows RVers to run their air conditioning without overloading their generator or draining batteries quickly. This is especially beneficial for off-grid camping and boondocking.
Easier Installation and Maintenance
Simplified Setup Compared to Standard ACs
Installing a small RV air conditioner is typically easier and faster than larger models.
- Lightweight Units – Many compact ACs weigh under 50 lbs, making them easier to install without professional help.
- No Need for Extensive Ductwork – Small RV ACs are often ductless, making installation plug-and-play.
Minimal Maintenance Requirements
- Easy-to-Clean Air Filters – Most compact AC units come with washable, removable filters, reducing maintenance time.
- Lower Risk of Leaks – Small ACs produce less condensation, meaning less risk of water damage in your RV.
- Less Frequent Repairs – With fewer components than large AC systems, small units require less frequent servicing.
DIY-Friendly Maintenance
For RVers who prefer self-maintenance, small AC units allow for easy part replacements and quick troubleshooting. Many modern models come with self-diagnosing error codes to identify issues without professional service.
Installation Guide for the Smallest RV Air Conditioner
Installing a small RV air conditioner properly is crucial for efficient cooling and long-term performance. Whether you’re replacing an old unit or setting up a brand-new one, following the right steps ensures a secure installation with minimal energy loss.
In this guide, we’ll cover:
- The tools and equipment needed for installation.
- A step-by-step process to correctly install your RV AC.
- Common mistakes to avoid for a hassle-free setup.
Tools and Equipment Needed
Before starting the installation, gather all necessary tools and materials to ensure a smooth and efficient process.
Essential Tools:
✔ Screwdrivers (Phillips & Flathead) – For securing mounting brackets and electrical connections.
✔ Drill & Drill Bits – Needed if new holes are required for installation.
✔ Measuring Tape – To ensure correct placement and fit.
✔ Adjustable Wrench – For tightening bolts and fittings.
✔ Utility Knife – For cutting insulation or weather seals.
✔ Caulking Gun & RV Sealant – To seal any gaps and prevent leaks.
✔ Level – Ensures proper unit positioning for optimal cooling efficiency.
Required Materials:
✔ Mounting Brackets & Screws – Provided with the AC unit.
✔ Weatherproof Insulation Tape – Prevents air leaks and enhances efficiency.
✔ Power Cables & Connectors – As per the AC unit’s voltage requirements.
✔ Ducting Kit (if applicable) – For venting air in ducted setups.

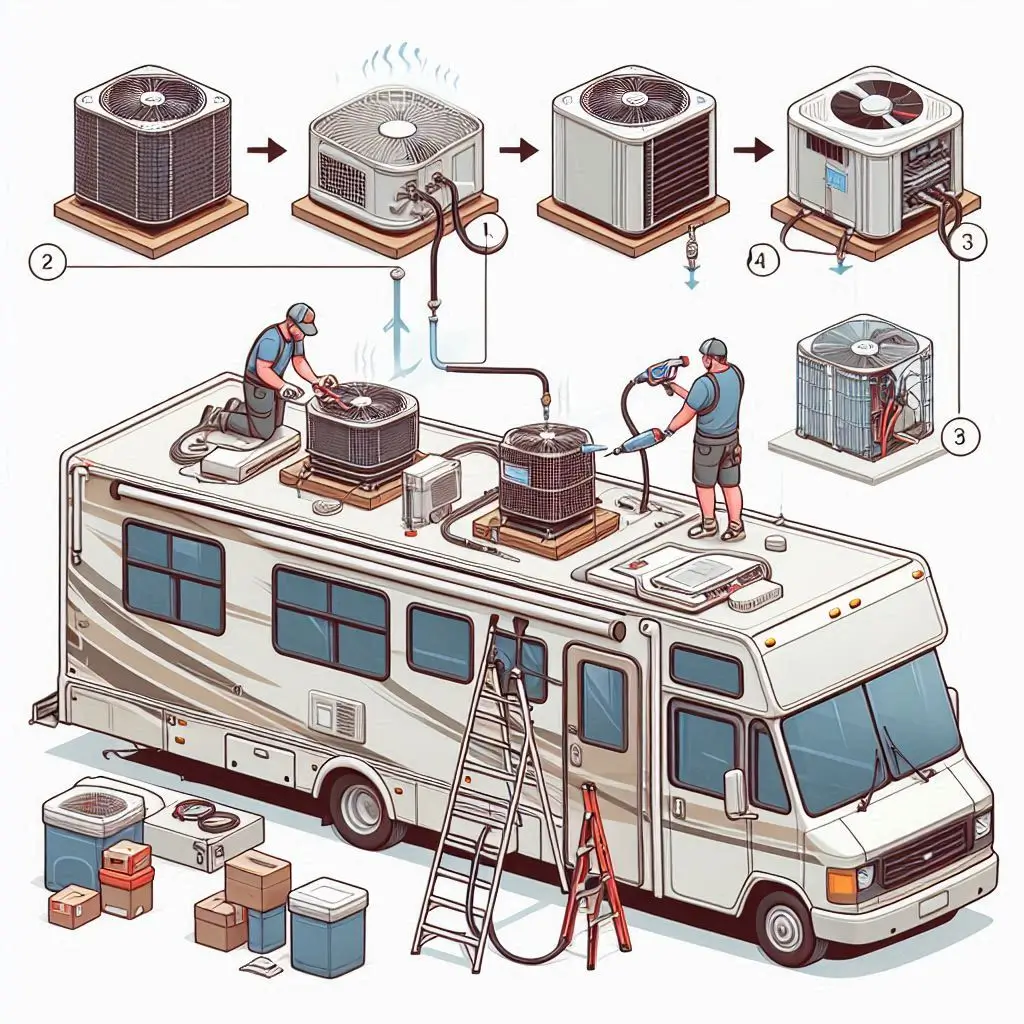
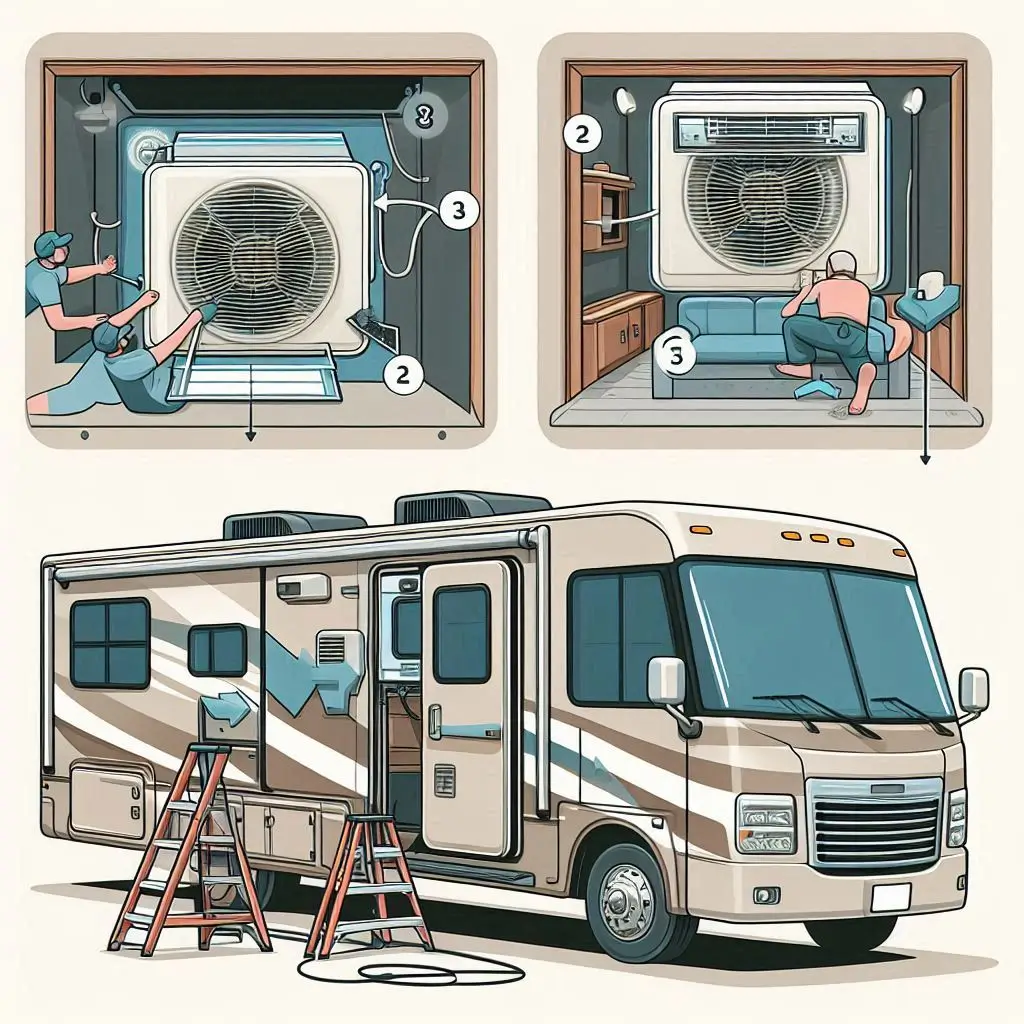
Step-by-Step Installation Process
Follow this step-by-step guide to install your smallest RV air conditioner securely and efficiently.
Step 1: Choose the Right Installation Spot
- Identify a pre-existing vent opening on the RV roof or sidewall (for rooftop and portable ACs, respectively).
- If installing a new unit, measure and mark the cutout dimensions as specified in the manual.
- Ensure proper ventilation clearance around the AC unit to prevent overheating.
Step 2: Prepare the Installation Area
- Remove any old AC unit (if replacing).
- Clean the surface around the opening to remove debris and ensure a tight seal.
- Apply weatherproof insulation tape around the edges to prevent air leaks.
Step 3: Mount the RV Air Conditioner
- Place the AC unit into the designated vent opening.
- Secure it with mounting brackets and screws as per manufacturer guidelines.
- Ensure the unit is level to prevent drainage issues.
Step 4: Connect the Electrical Wiring
- Follow the wiring diagram in the instruction manual.
- Connect power cables securely to the RV’s 12V DC or 120V AC system (depending on the unit).
- Use wire connectors and electrical tape to ensure safe and stable connections.
Step 5: Seal and Insulate
- Apply RV sealant or caulk around the edges to prevent leaks.
- Double-check all mounting points to ensure a tight, vibration-free fit.
Step 6: Test the Air Conditioner
- Turn on the power and set the AC to low cooling mode first.
- Check for proper airflow and make sure the fan and compressor function correctly.
- Inspect for leaks, unusual noises, or vibrations.

Common Installation Mistakes to Avoid
To ensure your small RV air conditioner works efficiently and lasts long, avoid these common mistakes:
1. Improper Positioning
✔ Issue: Placing the AC too close to walls or obstacles can block airflow and reduce efficiency.
✔ Solution: Maintain the recommended clearance for optimal air circulation.
2. Weak or Loose Mounting
✔ Issue: Loose screws or improper securing can cause vibrations and excessive noise.
✔ Solution: Ensure the unit is firmly secured with all bolts and brackets.
3. Skipping the Sealing Process
✔ Issue: Failing to apply sealant or insulation can lead to water leaks and energy loss.
✔ Solution: Always apply waterproof caulking around edges and ensure a tight weatherproof fit.
4. Incorrect Wiring Connection
✔ Issue: Wrong wiring can cause electrical malfunctions or even damage the AC unit.
✔ Solution: Always refer to the wiring diagram and use the correct voltage requirements.
5. Not Testing Before Finalizing
✔ Issue: Completing installation without testing might result in overheating, poor cooling, or fan issues.
✔ Solution: Run a test cycle before finalizing the setup to ensure everything functions properly.

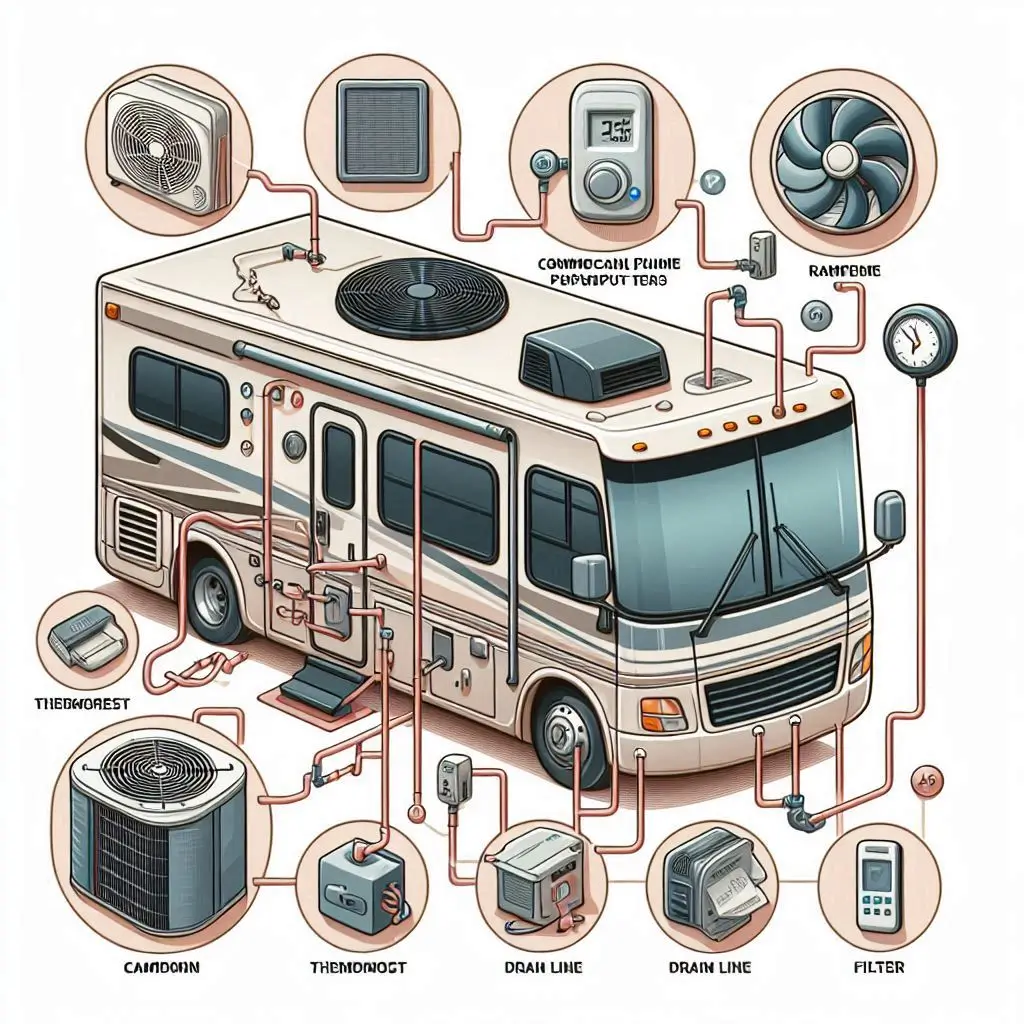
Maintenance Tips to Extend the Lifespan of Your RV AC
Regular maintenance of your small RV air conditioner is essential to keep it running efficiently and prolong its lifespan. Without proper upkeep, dust buildup, refrigerant leaks, and clogged filters can reduce cooling performance and lead to costly repairs.
In this guide, we will cover:
- Routine cleaning and filter replacement to keep airflow unobstructed.
- Checking refrigerant levels to maintain optimal cooling efficiency.
- Troubleshooting common AC problems before they escalate.
Regular Cleaning and Filter Replacement
One of the simplest yet most effective maintenance tasks is cleaning your AC unit regularly. Dust, dirt, and debris can clog air filters, block airflow, and strain the system, causing it to work harder than necessary.
How Often Should You Clean the Filters?
- If you use your RV full-time, clean or replace the filters every month.
- For occasional use, every 2–3 months is sufficient.
- If you travel in dusty environments, clean more frequently.
Steps to Clean or Replace Filters
✔ Step 1: Turn off the AC and unplug the unit.
✔ Step 2: Open the AC cover and carefully remove the air filter.
✔ Step 3: If washable, rinse the filter with warm water and mild soap. Let it air dry completely.
✔ Step 4: If disposable, replace it with a new one as per manufacturer recommendations.
✔ Step 5: Reinstall the filter and close the AC cover.

Checking Refrigerant Levels
The refrigerant in your RV air conditioner plays a crucial role in cooling efficiency. Low levels can cause insufficient cooling, while overfilled systems can lead to compressor damage.
Signs of Low Refrigerant Levels
- Weak cooling performance despite running at full capacity.
- Hissing or bubbling noises from the AC unit (indicating leaks).
- Ice buildup on the evaporator coils.
How to Check and Refill Refrigerant
⚠ Note: Handling refrigerant requires caution. If you’re not comfortable doing it yourself, seek professional HVAC assistance.
✔ Step 1: Turn off the AC and locate the refrigerant access valve (usually found on the back of the unit).
✔ Step 2: Use a refrigerant pressure gauge to check levels.
✔ Step 3: If levels are low, add the recommended refrigerant type in small amounts while monitoring pressure.
✔ Step 4: If levels keep dropping, there might be a leak—inspect for damages or call a technician.

Troubleshooting Common Issues
Even with regular maintenance, your small RV air conditioner may occasionally encounter problems. Below are some common AC issues and how to fix them.
1. AC Not Cooling Properly
✔ Possible Cause: Dirty air filter, low refrigerant, or blocked airflow.
✔ Solution: Clean or replace the filter, check for leaks, and ensure nothing is obstructing airflow.
2. AC Making Unusual Noises
✔ Possible Cause: Loose screws, debris in the fan, or motor issues.
✔ Solution: Tighten all screws, clean the fan area, and lubricate moving parts if necessary.
3. AC Leaking Water Inside the RV
✔ Possible Cause: Clogged drain line or improper installation angle.
✔ Solution: Clean the drainage pipe and ensure the unit is properly leveled.
4. AC Turns On and Off Frequently (Short Cycling)
✔ Possible Cause: Overheating, thermostat issues, or electrical problems.
✔ Solution: Ensure proper ventilation, reset the thermostat, and check for loose wiring.
Frequently Asked Questions About the Smallest RV Air Conditioners
Choosing the smallest RV air conditioner can be challenging, especially when considering factors like power usage, installation, and compatibility with solar energy. Below, we answer some of the most common questions about compact RV AC units to help you make an informed decision.
What is the Most Compact RV Air Conditioner Available?
The most compact RV air conditioners are designed for small spaces while maintaining efficient cooling performance. The size of an AC unit is typically determined by its BTU rating, dimensions, and weight.
Top Smallest RV AC Units
- Dometic CoolCat – A compact heat pump & AC designed for small RVs.
- Furrion Chill 14.5K BTU – Offers low-profile design with energy-efficient cooling.
- Coleman Mach 8 Plus – One of the thinnest RV air conditioners, reducing roof drag.
How Much Power Does a Small RV Air Conditioner Use?
The power consumption of a small RV AC depends on the BTU rating, energy efficiency, and usage duration.
Power Usage Estimates for Small RV AC Units
- 5,000–8,000 BTU AC → 400–900 watts
- 10,000–13,500 BTU AC → 900–1,500 watts
- 15,000 BTU AC → 1,500–2,000 watts
⚡ Power-saving tip: Look for an AC unit with a high EER (Energy Efficiency Ratio) to minimize electricity usage.
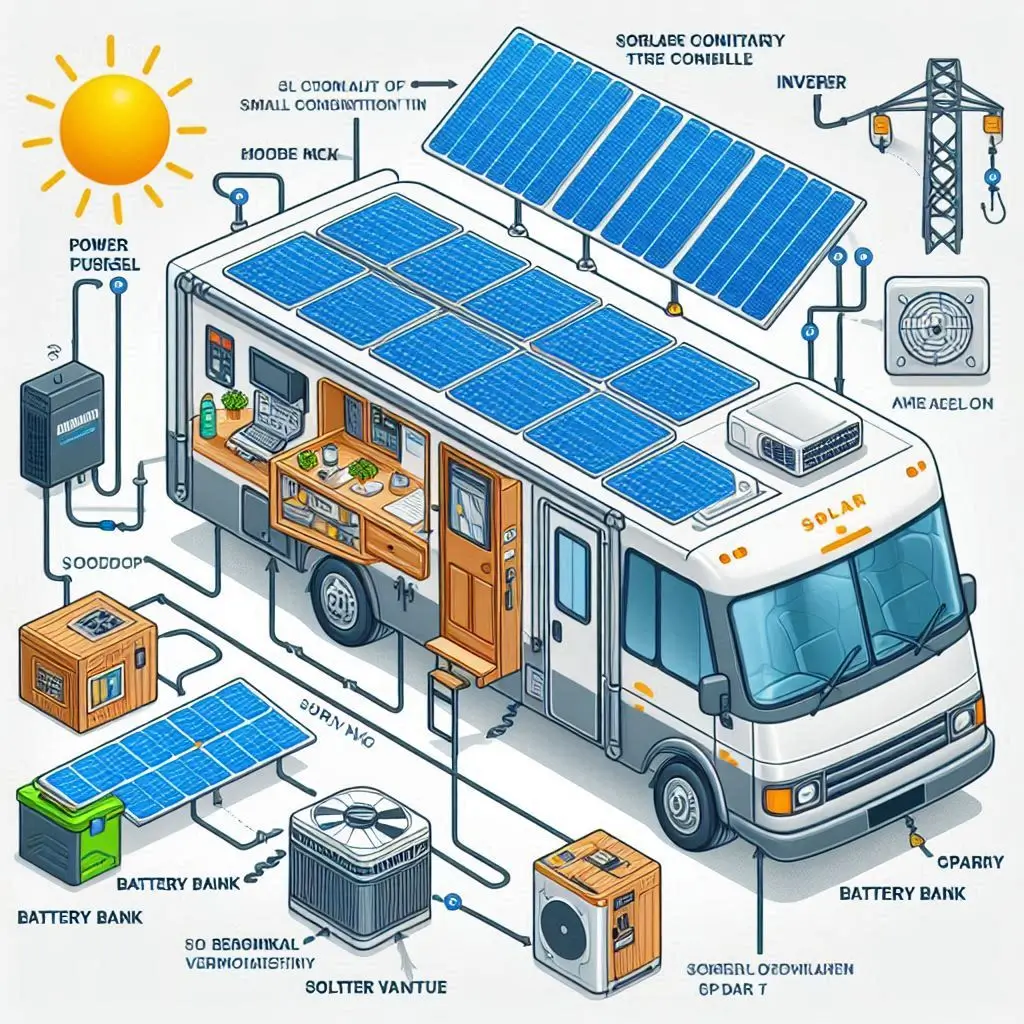
Can I Run a Small RV Air Conditioner on Solar Power?
Yes! Running a small RV air conditioner on solar power is possible, but it requires enough solar panels, a battery bank, and an inverter to handle the load.
Solar Requirements for an RV AC Unit
- Solar Panels: At least 800W–1,500W of solar panels are needed for small ACs.
- Battery Bank: A Lithium 200Ah battery or higher is recommended.
- Inverter: A 2,000W–3,000W inverter is necessary for proper power conversion.
✔ If you plan to boondock or live off-grid, a hybrid setup (solar + generator) is a more reliable option.
How Do I Install a Rooftop RV Air Conditioner?
Step-by-Step Installation Guide
✔ Step 1: Choose the installation spot – Most rooftop ACs replace a vent opening (standard 14×14 inches).
✔ Step 2: Remove the vent cover and clean the area.
✔ Step 3: Secure the AC unit on the mounting hole, ensuring a tight seal.
✔ Step 4: Connect wiring – Attach the unit to a power source and thermostat.
✔ Step 5: Test the AC to ensure it functions correctly.
⚠ Pro Tip: Apply a waterproof sealant around the unit to prevent leaks.

What Are the Best Brands for Small RV Air Conditioners?
Several trusted brands manufacture compact and energy-efficient RV air conditioners. Below are the top brands known for performance, durability, and efficiency.
Top Small RV AC Brands
- Dometic – Offers lightweight, high-performance units like the Brisk II.
- Coleman-Mach – Known for its low-profile rooftop ACs.
- Furrion – Produces energy-efficient and durable RV cooling units.
- GE Appliances – Offers budget-friendly, compact RV air conditioners.
- Advent – Specializes in affordable, replacement-friendly AC units.
✔ When choosing a brand, consider BTU rating, energy efficiency, and noise level.

Conclusion:
Choosing the smallest RV air conditioner is essential for maximizing comfort while maintaining energy efficiency in a compact space. From understanding what qualifies as the smallest RV AC to exploring the top models, installation process, and maintenance tips, this guide provides everything you need to make an informed decision. Whether you’re looking for low power consumption, easy installation, or off-grid solar compatibility, selecting the right unit can significantly enhance your RV experience. By investing in a high-quality, well-maintained AC system, you ensure a cool, comfortable, and hassle-free journey, no matter where the road takes you.