
RV Air Conditioner Troubleshooting Guide: Common Problems & Fixes
An efficient RV air conditioner is essential for staying cool on the road, but what happens when it stops working? This RV air conditioner troubleshooting guide will help you diagnose and fix common AC problems, including no cooling, weak airflow, leaks, and electrical failures. By following these troubleshooting steps, you can ensure your RV AC runs efficiently, keeping your travels comfortable. Let’s dive into the most common RV AC issues and their solutions.
RV air conditioners are essential for comfort during road trips, but they can develop issues over time. Whether your AC won’t turn on, blows warm air, or leaks water, troubleshooting these problems early can save you from costly repairs. This guide covers the most common RV AC issues and how to fix them.
RV Air Conditioner Troubleshooting Guide: Unit Won’t Turn On
If your RV air conditioner isn’t turning on, the issue could be related to power supply problems, thermostat malfunctions, or faulty wiring.
Causes and Solutions:
-
No Power Supply
- Check whether your RV is plugged into a power source. If running on battery, ensure there’s enough charge.
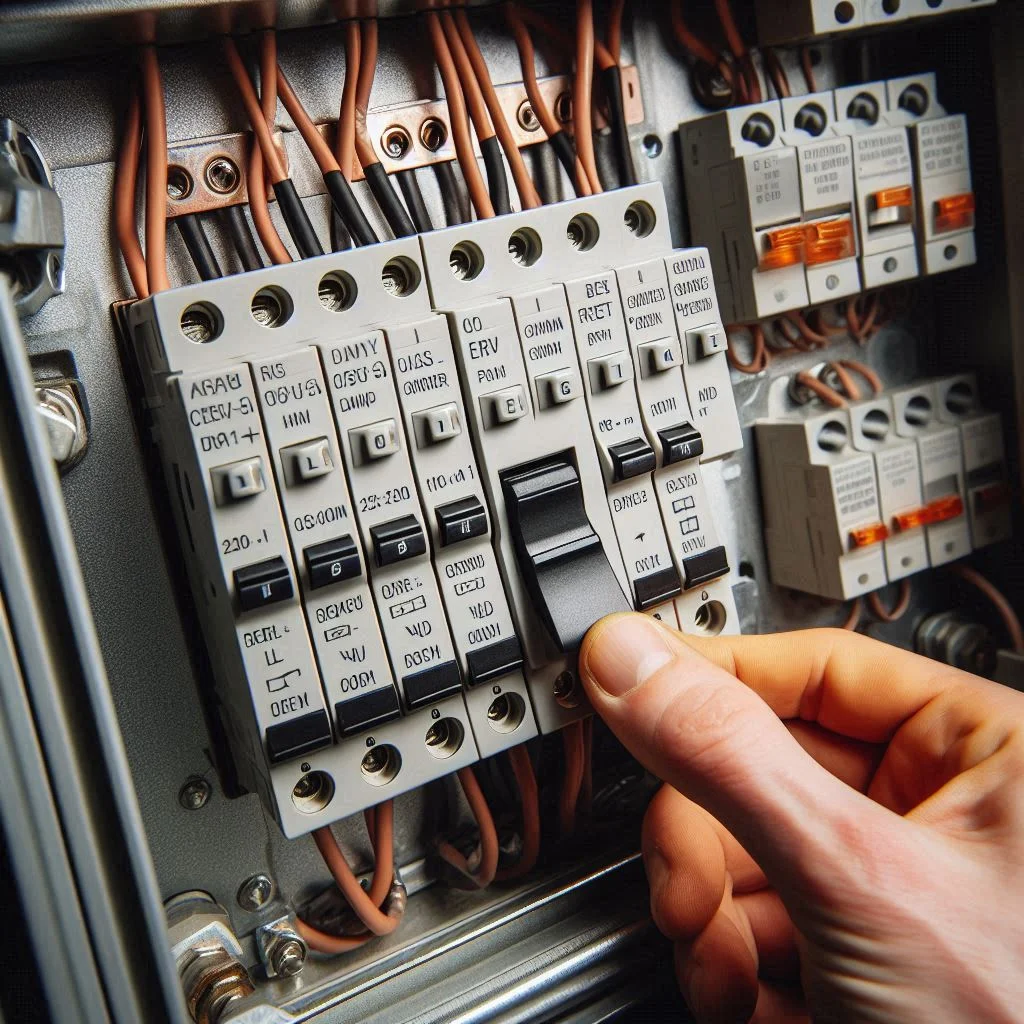
- Inspect the circuit breaker—if it’s tripped, reset it and see if the AC starts.
-
Blown Fuse or Tripped Breaker
- RV AC units draw a significant amount of power, which can trip breakers or blow fuses. Replace any blown fuses and test again.
-
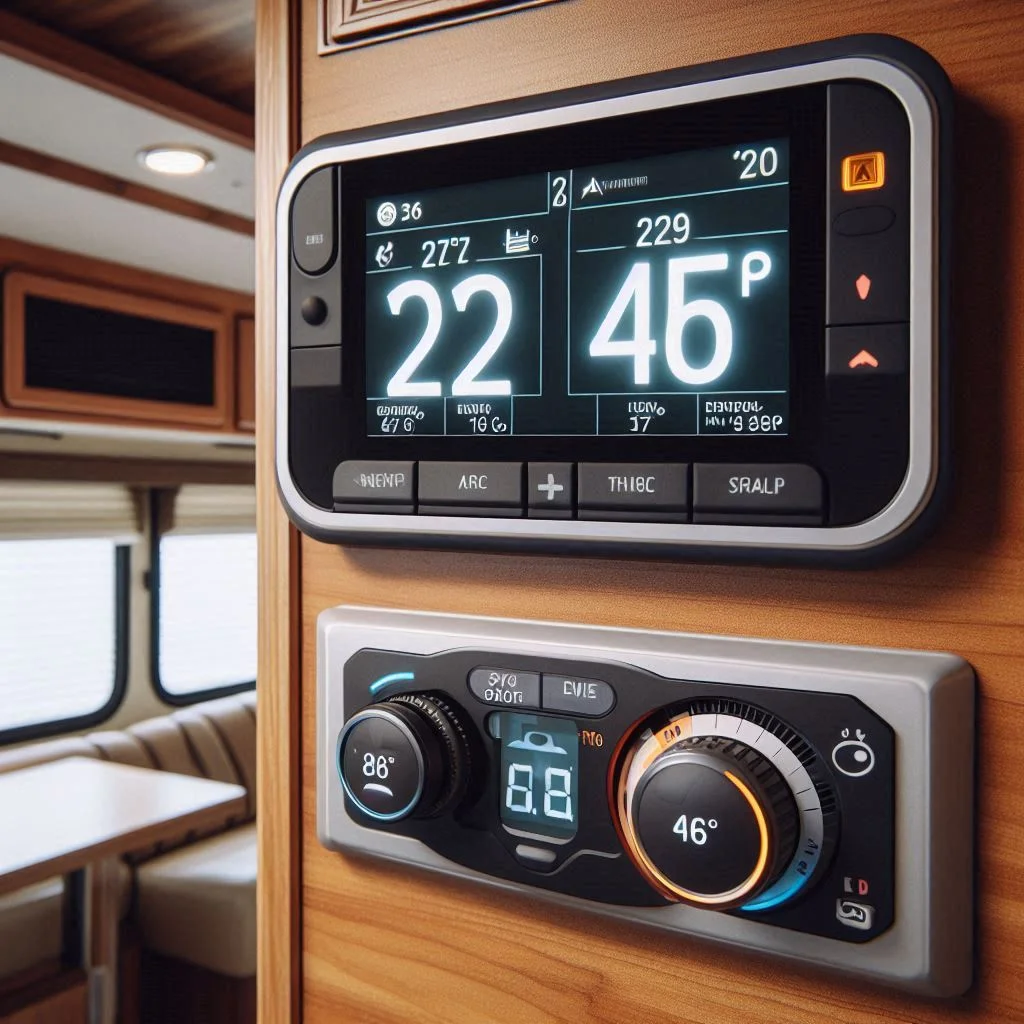
Faulty Thermostat
- Set the thermostat to a cooler temperature and check if it responds.
- If unresponsive, replace the thermostat batteries or recalibrate the unit.
-
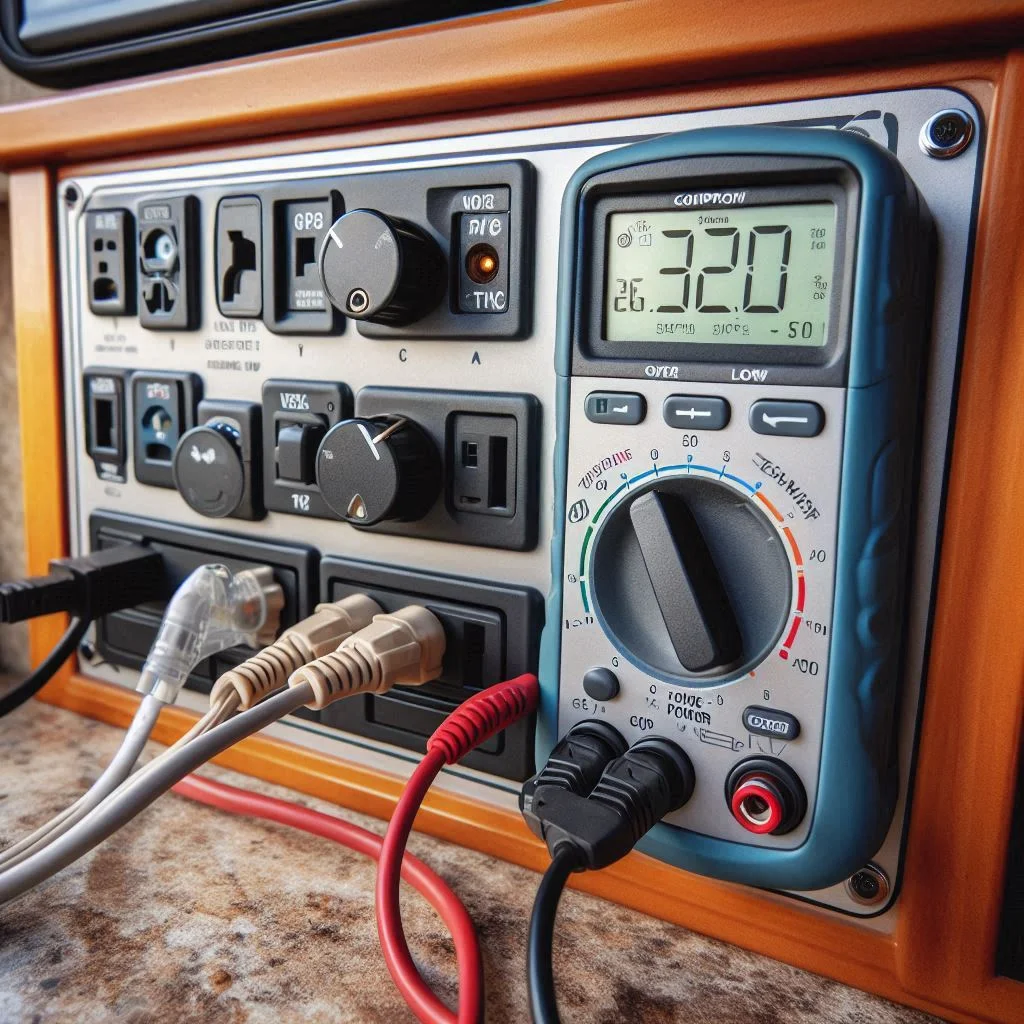
Capacitor or Control Board Failure
- The start capacitor helps the AC motor run. If defective, the unit won’t turn on.
- Use a multimeter to check for electrical continuity; if faulty, replace the capacitor or control board.

RV Air Conditioner Troubleshooting Guide: Blowing Warm Air Instead of Cold
If your RV AC is running but only blowing warm air, this typically points to refrigerant issues, dirty filters, or airflow restrictions.
Causes and Solutions:
-
Low Refrigerant Levels
- RV AC units are sealed systems, but leaks can happen over time.
- If you suspect a leak, check for oily residue around the AC unit and call a professional to recharge the refrigerant.
-
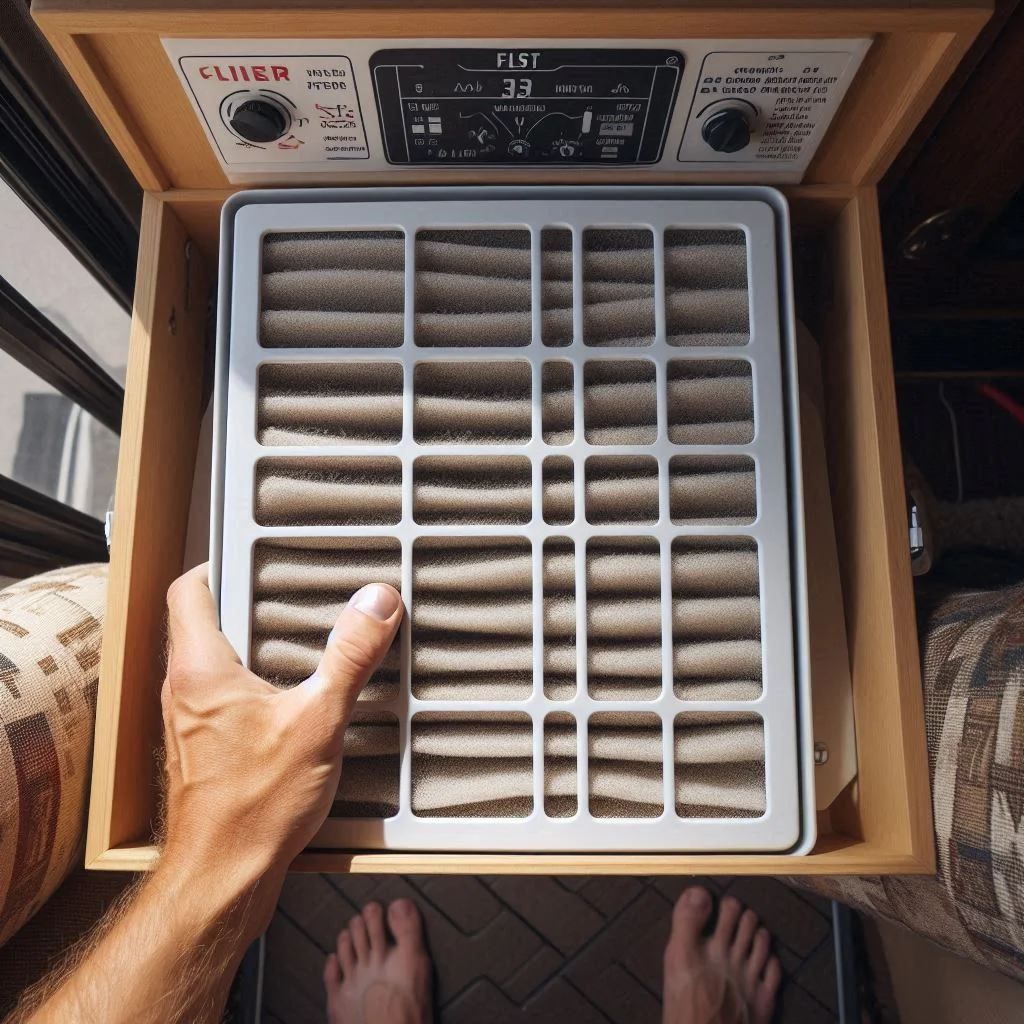
Dirty or Clogged Air Filter
- A blocked filter restricts airflow, causing the unit to overheat and blow warm air.
- Clean or replace the filter every few weeks, especially in dusty environments.
-
Frozen Evaporator Coils
- Check the coils for ice buildup. If frozen, turn off the AC and let the ice melt before restarting.
- Running the fan on high speed can help prevent future freezing.
-
Damaged Compressor
- If the compressor isn’t working properly, the AC won’t cool efficiently.
- Listen for unusual noises or vibrations—these may indicate compressor failure.
Weak or No Airflow
If your AC is running but airflow is weak, the problem may stem from blocked vents, dirty coils, or a failing blower motor.
Causes and Solutions:
-
Blocked or Dirty Vents
- Inspect all vents for obstructions like dust or debris buildup.
- Clean the vents using a vacuum or compressed air.
-
Blower Fan Issues
- If the fan isn’t spinning at full speed, airflow will be weak.
- Check for loose belts or a failing motor, and replace as needed.
-
Dirty Evaporator and Condenser Coils
- Dust and grime buildup on coils can limit airflow.
- Clean the coils using a soft brush or coil cleaner.
-
Ductwork Issues
- Check for disconnected or leaking ducts that may be reducing airflow.
- Seal any gaps to improve cooling efficiency.
Air Conditioner Cycles On and Off Repeatedly
Short cycling (frequent turning on and off) reduces efficiency and can damage your AC over time.
Causes and Solutions:
-
Dirty Air Filter
- A clogged filter forces the unit to work harder, leading to short cycling.
- Clean or replace the filter regularly.
-
Thermostat Placement
- If the thermostat is placed near a heat source, it may cause inaccurate temperature readings.
- Relocate the thermostat or shield it from heat sources.
-
Low Refrigerant Levels
- If the system is low on refrigerant, it may struggle to maintain cooling, causing short cycling.
- Have a technician inspect for leaks and recharge the system.
-
Overheating Compressor
- An overheating compressor will shut off frequently to prevent damage.
- Ensure proper ventilation around the unit and clean the condenser coils.
AC Unit Dripping Water or Leaking
Water leakage inside the RV can lead to mold and damage to interior components.
Causes and Solutions:
-
Clogged Drain Pan or Drain Line
- Condensation needs to drain properly. If the line is clogged, water will overflow inside the RV.
- Clean the drain pan and use compressed air to clear the drain line.
-
Improper AC Installation
- If the AC unit isn’t sealed correctly, rainwater or condensation can seep inside.
- Check for gaps around the AC and seal them with weatherproof tape.
-
Frozen Evaporator Coils
- Ice melting from frozen coils can cause water to drip inside.
- Prevent coil freezing by maintaining good airflow and refrigerant levels.
-
Worn Out Gaskets
- The rubber gaskets around the AC unit can degrade over time, leading to leaks.
- Replace any worn-out gaskets and ensure a tight seal.
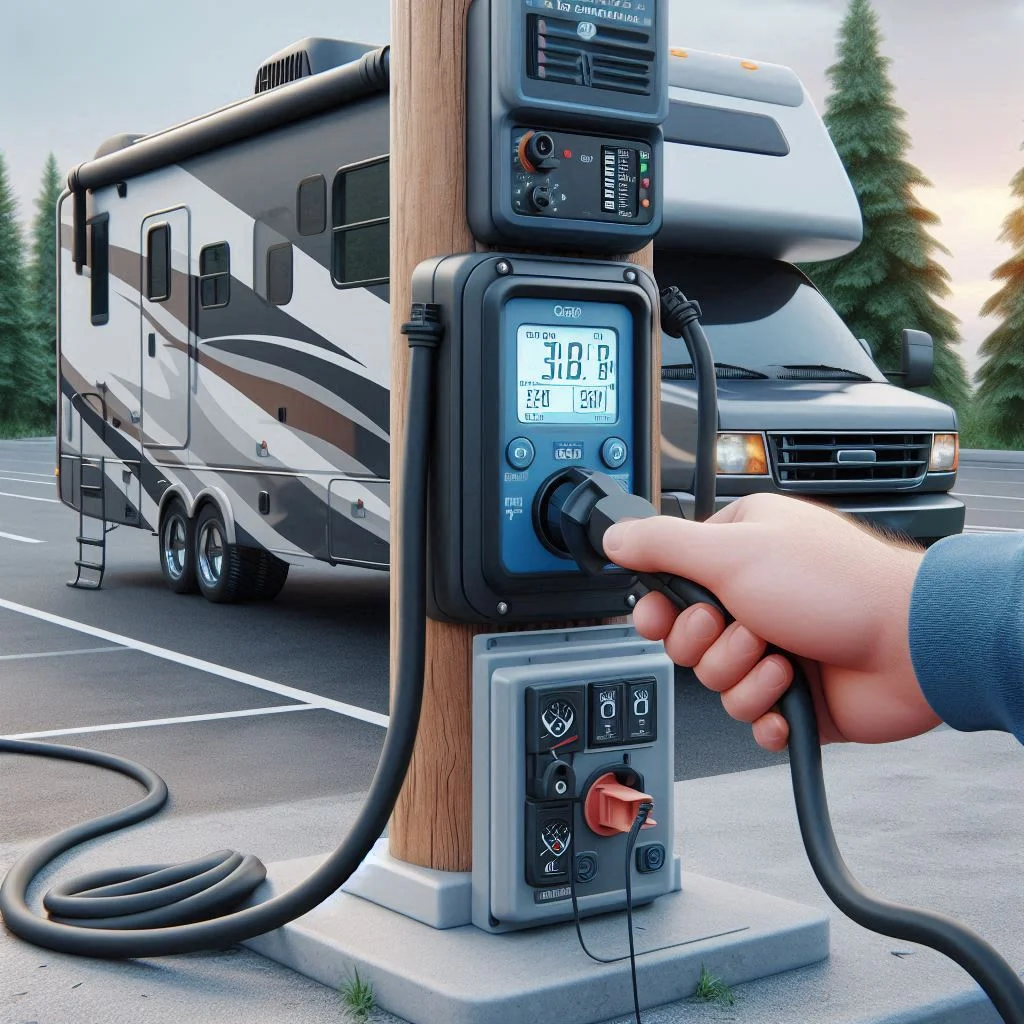
Electrical Issues and Power Failures in RV Air Conditioner: Troubleshooting Guide
A well-functioning electrical system is crucial for an RV air conditioner to operate efficiently. Electrical problems such as power failures, tripped breakers, and voltage fluctuations can cause performance issues or even permanent damage to the AC unit. In this section, we’ll explore common electrical problems and their solutions.
No Power: AC or DC Electrical Troubleshooting
If your RV air conditioner isn’t turning on, it could be due to a lack of power from the AC (Alternating Current) or DC (Direct Current) system. Understanding the differences between these power sources and how they affect your AC operation is key to troubleshooting.
Common Causes and Solutions
-
RV Not Plugged Into Shore Power or Low Battery Charge
- Ensure your RV is properly connected to shore power. If using a generator, confirm it’s functioning correctly.
- If running on battery power, check the battery charge level. A low or dead battery may not provide enough power to start the AC unit.
-
Faulty Power Cord or Connection
- Inspect the power cord for any visible damage, fraying, or burns. A damaged cord should be replaced immediately.
- Plug the RV into a different power source to rule out issues with the original connection.
-
Blown Fuses or Tripped Breaker
- Locate your RV’s fuse box and check for blown fuses. Replace any that appear burnt.
- Reset any tripped breakers and monitor if the AC powers back on.
-
Capacitor or Control Board Failure
- The start capacitor gives the AC compressor an initial power boost. If faulty, the AC may fail to turn on.
- Use a multimeter to test continuity. If the capacitor isn’t holding a charge, replace it.
Tripped Breaker: Causes and Fixes
If your AC frequently trips the circuit breaker, it’s a sign of overloading, wiring issues, or component failure.
Common Causes and Solutions
-
Overloaded Circuit
- Running too many appliances (microwave, fridge, AC) on the same circuit can cause overloads.
- Turn off other high-wattage appliances and reset the breaker.
-
Short Circuit or Ground Fault
- Check for exposed or damaged wiring that may be causing a short circuit.
- A ground fault occurs when electricity escapes the circuit. Use a voltage tester to detect issues and repair faulty wiring.
-
Dirty or Failing AC Compressor
- A failing compressor pulls excessive current, tripping the breaker. Listen for unusual noises from the compressor.
- If the compressor struggles to start, the start capacitor may need replacement.
-
Aging Breaker Panel
- Older breaker panels may be unable to handle modern RV power demands.
- If your breakers frequently trip despite troubleshooting, consider upgrading your panel.
Voltage Fluctuations Affecting Performance
RV parks and campgrounds often have inconsistent power supply, which can cause AC malfunctions or damage.
Common Causes and Solutions
-
Low Voltage (Brownouts)
- When multiple RVs are drawing power from the same source, voltage may drop below the required level (usually below 105V).
- Use a voltage monitor to check power supply levels before connecting.
-
Power Surges
- Sudden voltage spikes can damage the AC’s circuit board, compressor, and capacitor.
- Install an RV surge protector to prevent damage.
-
Loose or Corroded Wiring
- Over time, RV wiring can loosen or corrode, leading to voltage instability.
- Inspect and tighten connections at the power inlet, breaker panel, and AC unit.
-
Using an Undersized Extension Cord
- If using an extension cord, ensure it’s rated for 30-50 amps.
- An undersized cord may overheat, cause voltage drop, or prevent the AC from running efficiently.
Musty Smell or Noisy Operation
Strange smells or loud noises from your RV AC indicate underlying electrical or mechanical problems.
Common Causes and Solutions
-
Burning or Musty Smell
- A burning smell may indicate overheating wires or a failing capacitor. Turn off the AC immediately and inspect for damage.
- A musty smell is often caused by mold or mildew buildup in the ducts. Clean the evaporator coils and replace the air filter.
-
Loud Buzzing or Clicking Sounds
- Buzzing could signal electrical arcing, a dangerous condition requiring immediate repair.
- Clicking noises may indicate a failing relay switch or a capacitor struggling to start the compressor.
-
Rattling or Vibrating Sounds
- Loose screws or fan blades may be causing the rattling. Tighten any loose components inside the AC unit.
- If the compressor vibrates excessively, it may be near failure.
-
High-Pitched Screeching or Grinding
- This could mean a failing motor bearing or fan belt.
- If left unaddressed, the motor may seize up completely.
RV Air Conditioner Performance Issues Based on Location and Climate
RV air conditioners don’t always perform consistently in different locations and climates. Factors such as humidity, altitude, and extreme temperatures can significantly impact cooling efficiency. In this guide, we’ll explore why RV AC performance varies, how to cool your RV efficiently, and the pros and cons of portable air coolers versus traditional RV AC units.
Varying Cooling Efficiency in Different Environments
Your RV’s air conditioner may struggle to cool efficiently depending on the environment you’re traveling through. Understanding these environmental factors will help you adjust settings and optimize performance for a better cooling experience.
1. High Humidity and Coastal Areas
- Problem: High humidity makes it harder for your RV AC to remove moisture from the air, reducing cooling efficiency.
- Solution:
- Use a dehumidifier to reduce moisture levels.
- Keep windows and doors sealed to prevent humid air from entering.
- Set your AC to low fan speed to allow more time for dehumidification.
2. High-Altitude Cooling Challenges
- Problem: In higher altitudes (above 5,000 feet), the thinner air makes it harder for the AC compressor to function properly.
- Solution:
- Upgrade to an AC unit with a higher BTU rating for improved cooling.
- Avoid using the AC and other power-hungry appliances simultaneously if your generator struggles at altitude.
3. Extreme Heat in Desert Climates
- Problem: Direct sunlight and high external temperatures force the AC to work harder, making it less effective.
- Solution:
- Park in shaded areas or use reflective covers on windows.
- Install roof vent covers to expel hot air more efficiently.
- Consider adding thermal insulation to the RV walls and roof.
4. Cold Climates: Unexpected AC Performance Issues
- Problem: When outside temperatures drop too low, some RV AC units struggle to maintain proper functionality.
- Solution:
- Use heat pumps or space heaters instead of relying on the AC for warmth.
- Keep AC components dry to prevent freezing issues inside the unit.

Fastest Ways to Cool Your RV Efficiently
Cooling your RV efficiently requires smart energy use, proper insulation, and airflow optimization. Here are the best ways to cool your RV quickly:
1. Pre-Cool Your RV Before Arrival
- If possible, turn on the AC before reaching your destination to give it a head start on cooling.
- Use battery-powered or solar-powered fans to circulate air inside the RV before full AC activation.
2. Use Reflective Window Covers and Insulation
- Install reflective foil or blackout curtains to reduce heat penetration.
- Add insulated window panels to keep cool air inside longer.
3. Optimize Airflow Inside the RV
- Set ceiling vents to expel hot air while allowing the AC to circulate cooler air.
- Ensure no furniture or curtains block air vents for maximum airflow efficiency.
4. Use a Two-Stage Cooling Method
- First, run the AC on high to quickly remove hot air.
- Once a comfortable temperature is reached, switch to low fan speed for energy efficiency.
5. Reduce Heat Sources Inside the RV
- Cook meals outside to prevent heat buildup from stoves and ovens.
- Unplug unnecessary electronic devices that generate heat.

Portable Air Coolers vs. Traditional RV AC Units
Portable air coolers have gained popularity as an alternative to traditional RV AC units. But are they effective? Let’s compare the two options.
1. Traditional RV AC Units
✅ Pros:
- Powerful cooling for larger RVs and extreme heat conditions.
- Integrated into RV’s electrical system, providing consistent airflow.
- Removes humidity effectively.
❌ Cons:
- High power consumption, requiring shore power or a generator.
- Can be loud and bulky.
- May struggle in high-altitude areas.
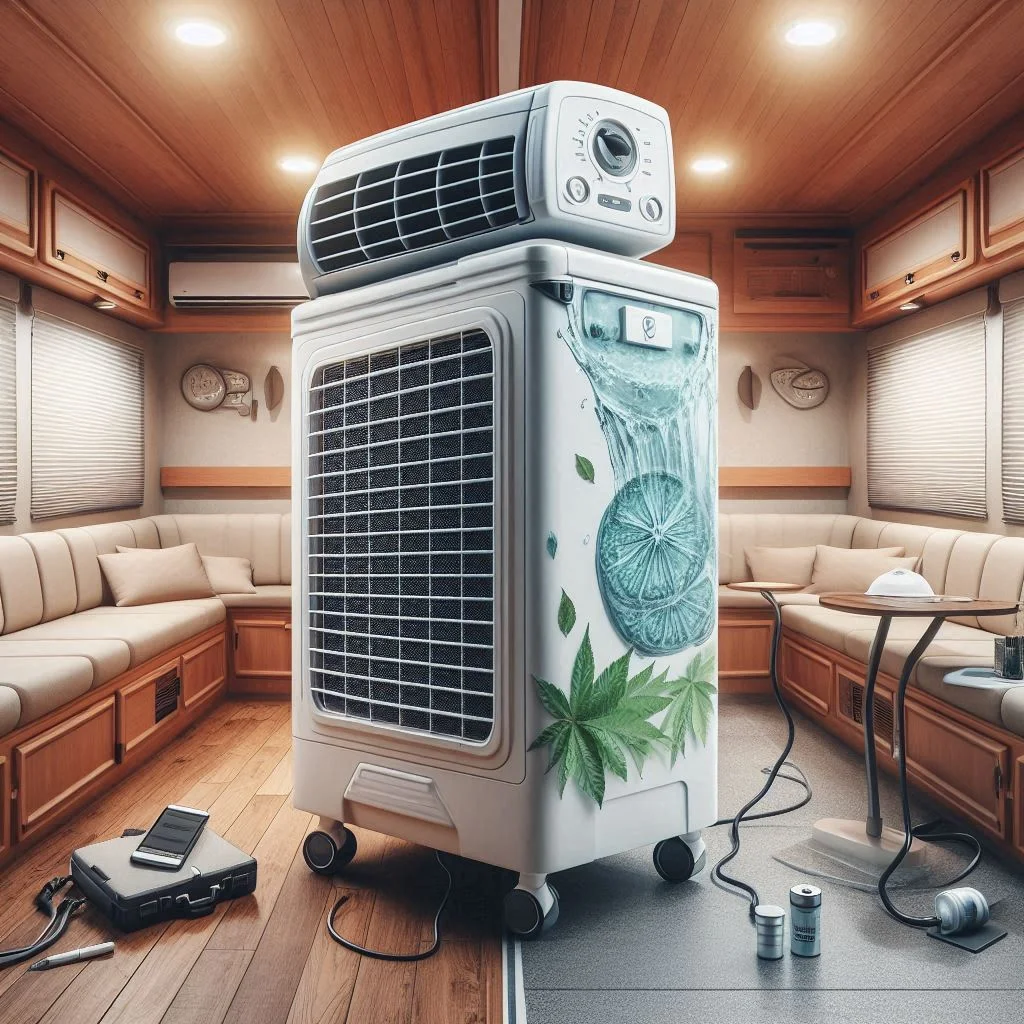
2. Portable Air Coolers (Evaporative Coolers)
✅ Pros:
- Energy-efficient and can run on battery or solar power.
- Lightweight and easy to move around the RV.
- Adds moisture to the air, helpful in dry climates.
❌ Cons:
- Less effective in humid environments where air moisture is already high.
- Works best in small spaces rather than cooling an entire RV.
- Requires frequent water refills for proper function.
Which One is Right for You?
- If you’re traveling in hot, humid areas, a traditional RV AC is the best option.
- If you need a low-power, portable cooling solution, an evaporative air cooler may work well in dry climates.
- Combining both—using an AC for main cooling and a portable cooler for targeted cooling—can improve energy efficiency.
Essential RV Air Conditioner Maintenance Tips
Regular maintenance is crucial for keeping your RV air conditioner running efficiently. A well-maintained AC unit cools better, lasts longer, and consumes less power. In this guide, we’ll cover essential RV AC maintenance tasks to prevent breakdowns and optimize performance.
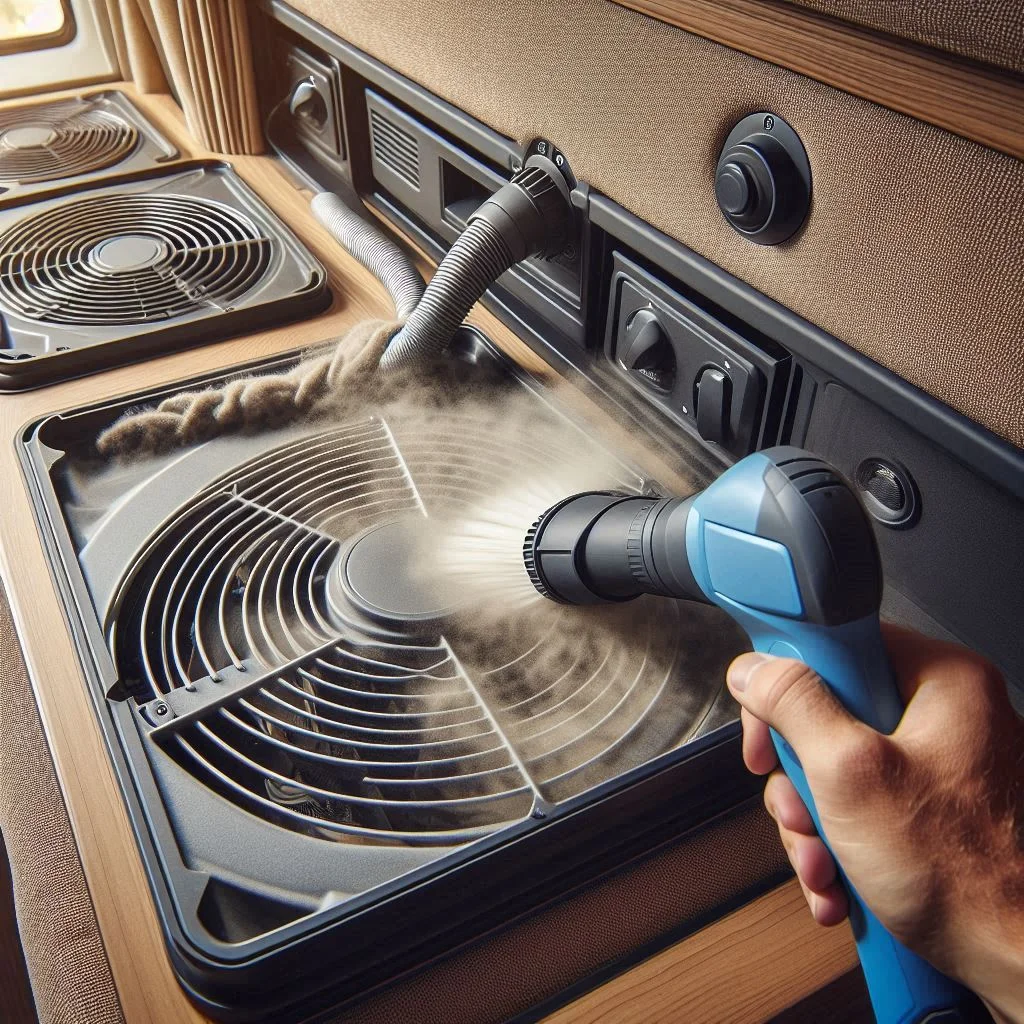
Keeping Your AC Clean for Optimal Performance
Dust, dirt, and debris can build up inside your RV air conditioner, reducing airflow and cooling efficiency. Regular cleaning helps prevent overheating, blockages, and costly repairs.
How to Keep Your AC Unit Clean
- Turn off the power before cleaning to avoid electrical hazards.
- Remove the AC cover and vacuum dust and debris from the vents.
- Wipe down the fan blades and internal components with a damp cloth.
- Inspect the exterior air intake vents for any dirt buildup or blockages.
How Often Should You Clean Your AC?
- Monthly: Wipe down vents and remove dust buildup.
- Every 3 months: Deep clean coils, fan blades, and internal components.
- Annually: Perform a full inspection and maintenance check.
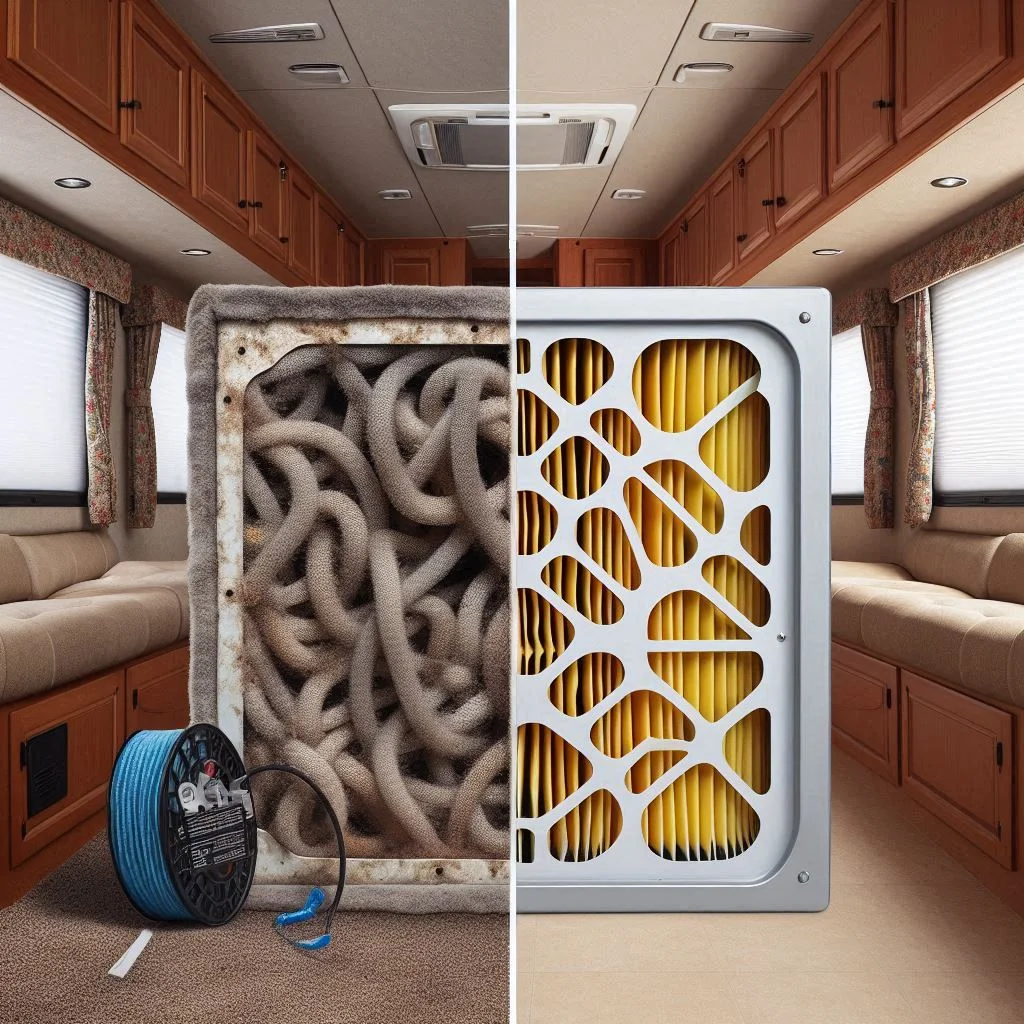
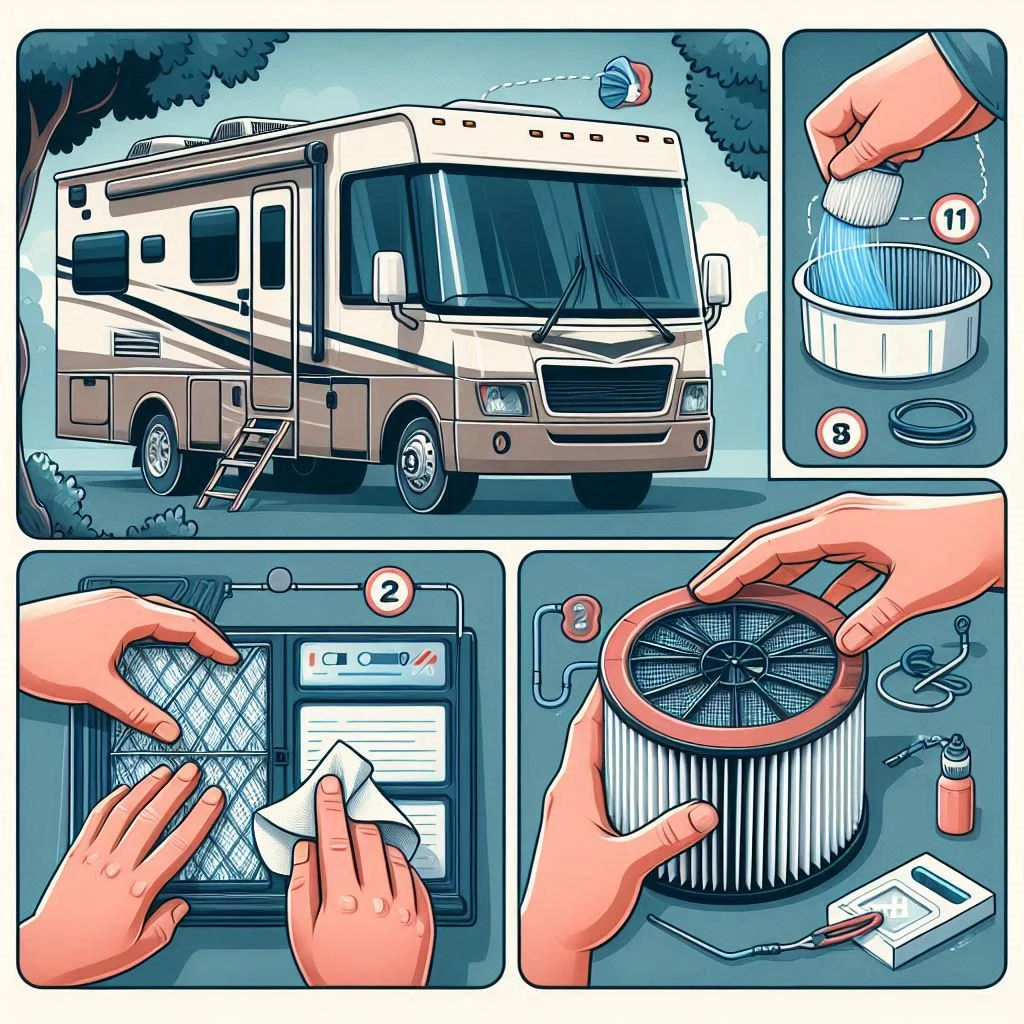
Checking and Replacing Air Filters Regularly
The air filter is the first line of defense against dust, pollen, and airborne contaminants. A clogged filter restricts airflow and reduces cooling efficiency.
How to Check and Replace Air Filters
- Locate the AC filter behind the intake vent inside your RV.
- Remove the filter and inspect it for dust buildup.
- If dirty, clean it with warm water and mild detergent or replace it if necessary.
- Allow the filter to fully dry before reinstalling to prevent mold growth.
When Should You Replace the Air Filter?
- Every 1-2 months in high-use seasons (summer).
- Every 3-4 months if used occasionally.
- Immediately if the filter appears damaged or clogged.
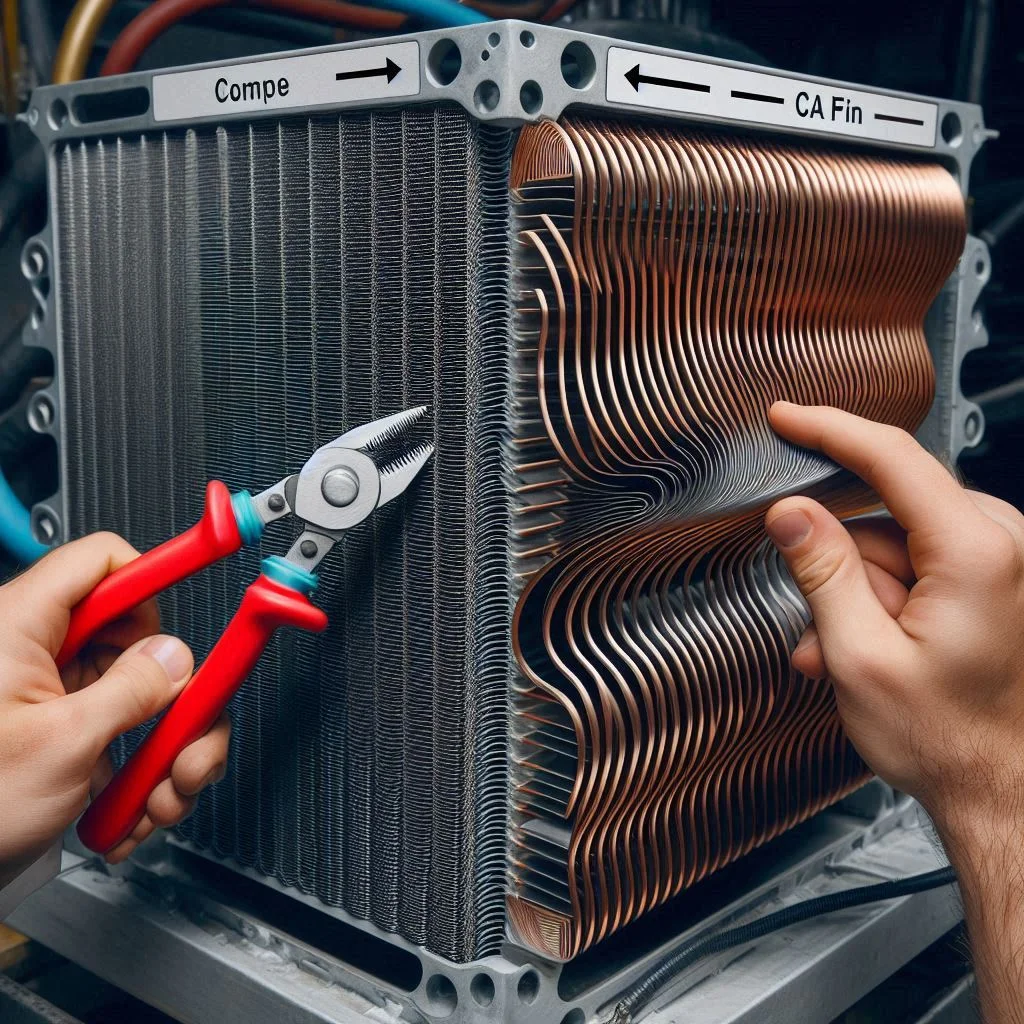
Cleaning the Coils and Straightening Coil Fins
The evaporator and condenser coils play a key role in heat exchange. Over time, they accumulate dirt, reducing the AC’s ability to cool efficiently. Bent coil fins further restrict airflow.
How to Clean the AC Coils
- Turn off the power before cleaning.
- Use a soft brush or vacuum to remove dirt from the coils.
- Apply a non-corrosive coil cleaner and let it sit for a few minutes.
- Rinse gently with water and allow it to dry completely.
Straightening Coil Fins
- Use a coil fin comb to realign bent fins.
- Be gentle to avoid damaging the delicate fins.
- Ensure fins are evenly spaced for optimal airflow.
Benefits of Clean Coils and Straightened Fins
✅ Improves cooling efficiency and airflow.
✅ Reduces energy consumption and prevents overworking the compressor.
✅ Extends the lifespan of your AC unit.
Inspecting the Shroud and Watching for Leaks
The shroud (AC cover) protects internal components from weather damage, dirt, and debris. Over time, cracks or loose fittings can lead to reduced efficiency and potential leaks.
How to Inspect the AC Shroud
- Check for cracks, warping, or loose screws.
- Clean the shroud with mild soap and water to remove debris.
- Replace damaged shrouds to protect internal components.
Checking for Water Leaks
- Look for water pooling around the AC unit inside the RV.
- Inspect the drainage system to ensure it’s not clogged.
- Tighten loose mounting bolts to prevent condensation leaks.
Preventing Future Leaks
- Regularly clear drain holes to prevent blockages.
- Use weather-resistant sealant around AC edges to stop water intrusion.
- Check for moisture or mold growth near air vents, a sign of potential leaks.
Final Tip: If you notice persistent leaks or unusual sounds, it might indicate internal damage requiring professional servicing.
RV Air Conditioner Parts and Repairs
Your RV air conditioner is a complex system with multiple components working together to keep your vehicle cool. Understanding the key parts, common issues, and repair techniques can help you maintain your AC unit efficiently and know when professional service is needed.
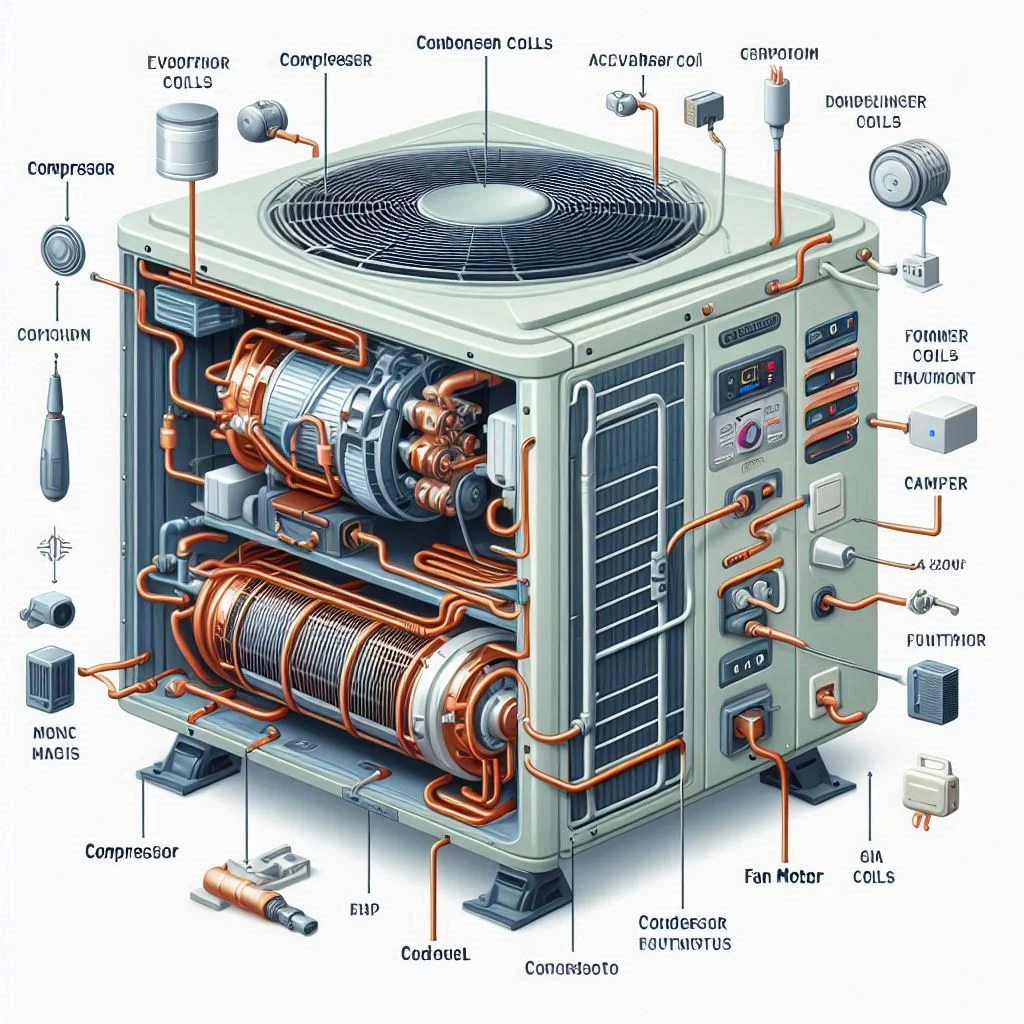
Key Components of an RV AC Unit
Every RV air conditioner consists of several important parts, each playing a crucial role in cooling efficiency and airflow. Here’s a breakdown of the essential components:
1. Compressor
- The heart of the AC system, responsible for compressing refrigerant gas and circulating it through the coils.
- A faulty compressor can cause the AC to stop cooling completely.
2. Evaporator Coils
- Located inside the RV, they absorb heat from the air and cool it down before recirculating it.
- Dirty or frozen coils can reduce cooling efficiency.
3. Condenser Coils
- These release heat outside the RV, allowing the refrigerant to cool down.
- Blocked or dirty condenser coils can cause overheating.
4. Fan Motor and Blower
- The fan motor drives the airflow, ensuring cold air is distributed evenly.
- If the motor fails, you may experience weak airflow or no air circulation.
5. Air Filters
- The first line of defense against dust, debris, and allergens.
- Clogged filters can block airflow and force the AC to work harder.
6. Thermostat
- The control system that regulates temperature settings.
- A malfunctioning thermostat can cause temperature inconsistencies or prevent the AC from turning on.
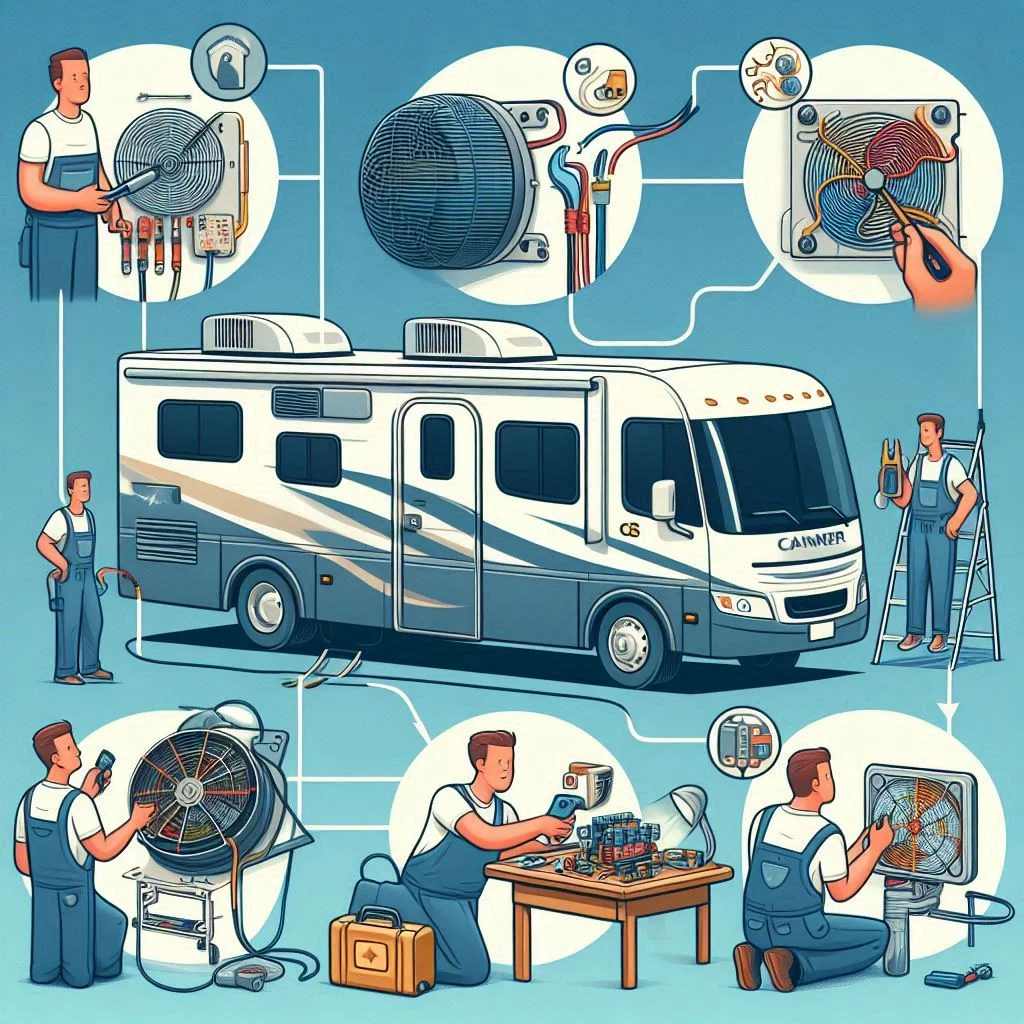
How to Identify and Fix a Faulty Part
Diagnosing and repairing an RV air conditioner can save you from costly breakdowns. Here’s how to troubleshoot common issues based on faulty parts:
1. Compressor Not Working
🔹 Signs: AC not cooling, unusual noises, unit turning off unexpectedly.
🔹 Fix:
- Check for power supply issues (tripped breaker or blown fuse).
- Inspect the capacitor, which may need replacement.
- If the compressor is overheating, clean the coils and ensure proper ventilation.
2. Weak or No Airflow
🔹 Signs: The AC is running, but there’s little to no airflow.
🔹 Fix:
- Clean or replace clogged air filters.
- Inspect the fan motor for damage or debris blocking movement.
- Check for loose wiring connections or a failing blower motor.
3. AC Blowing Warm Air
🔹 Signs: AC turns on, but air is not cooling.
🔹 Fix:
- Ensure the thermostat is set correctly.
- Check for low refrigerant levels (requires professional service).
- Clean dirty evaporator and condenser coils.
4. AC Unit Leaking Water
🔹 Signs: Water dripping inside the RV or pooling around the unit.
🔹 Fix:
- Inspect the drain pan and unclog the drain line.
- Tighten loose mounting screws to prevent moisture buildup inside the unit.
- Check for cracks or worn-out seals that may need replacement.
When to Seek Professional RV AC Repair
While basic troubleshooting and maintenance can resolve many RV AC issues, some situations require expert attention. Here’s when to call a professional:
1. Refrigerant Leaks
- If you suspect a low refrigerant level, it’s best to consult a technician.
- Handling refrigerant requires specialized tools and EPA certification.
2. Major Electrical Issues
- Frequent breaker trips or burnt wiring smells indicate a potential electrical problem.
- Attempting to repair high-voltage components without expertise can be dangerous.
3. Persistent AC Failures
- If your AC keeps cycling on and off or isn’t cooling despite maintenance, the compressor may be failing.
- A professional can perform in-depth diagnostics and necessary replacements.
4. Warranty Concerns
- DIY repairs may void your AC’s warranty.
- If your unit is under warranty, schedule service with an authorized technician.

FAQs – RV Air Conditioner Troubleshooting Guide
RV air conditioners are essential for maintaining a comfortable indoor climate while traveling. However, they can encounter various issues, from poor cooling to water leaks. This FAQ section addresses common troubleshooting questions to help you keep your AC unit running efficiently.
Why is my RV air conditioner running but not cooling?
If your RV AC is on but not producing cold air, several factors could be responsible:
1. Dirty or Clogged Air Filters
- Dust and debris block airflow, making it harder for the system to cool the air effectively.
- Fix: Clean or replace air filters regularly.
2. Low Refrigerant Levels
- AC units rely on refrigerant to cool the air. A leak or low levels can prevent proper cooling.
- Fix: Only a certified technician can check and recharge refrigerant.
3. Frozen Evaporator Coils
- Ice buildup restricts airflow, causing warm air circulation.
- Fix: Turn off the AC and let the coils thaw. Check for clogged filters or airflow obstructions.
4. Faulty Thermostat
- If the thermostat is not calibrated correctly, it may fail to signal the compressor to cool the air.
- Fix: Check if the thermostat is set to “Cool” mode and at the desired temperature.
5. Blocked or Dirty Condenser Coils
- If the condenser coils are covered in dirt, they won’t release heat efficiently, causing the unit to blow warm air.
- Fix: Clean the coils with compressed air or a soft brush.

How often should I clean my RV AC filter?
Keeping your air filter clean is essential for proper airflow and cooling efficiency.
Recommended Cleaning Frequency:
- Every 2-4 weeks during peak usage.
- At least once a month when using the AC seasonally.
How to Clean Your RV AC Filter:
- Turn off the AC unit and remove the air filter.
- Use a vacuum cleaner to remove loose dust and debris.
- Wash the filter with mild soap and water (if it’s reusable).
- Let it air dry completely before reinstalling.
When to Replace the Filter:
- If the filter appears damaged, torn, or too dirty to clean, replace it with a compatible new filter.
What causes an RV AC unit to leak water inside?
Water leakage inside the RV can be a sign of drainage issues or component failures.
Common Causes and Fixes:
1. Clogged Drain Line
- Over time, dust and debris block the condensation drain, causing water to back up into the RV.
- Fix: Use a thin brush or compressed air to unclog the drain line.
2. Damaged or Improperly Installed Drain Pan
- If the drain pan is cracked or misaligned, water can leak inside instead of draining properly.
- Fix: Inspect the pan for damage and ensure it is securely in place.
3. Frozen Evaporator Coils
- Ice melts and drips inside the RV if airflow is restricted.
- Fix: Turn off the AC, let the ice melt, and clean or replace the air filter.
4. Loose or Faulty Seals Around the AC Unit
- If the AC is not properly sealed, condensation may enter the RV instead of draining outside.
- Fix: Inspect the gasket seal around the unit and tighten any loose screws.
Can I use a portable AC in my RV instead of a built-in unit?
Yes, a portable air conditioner can be an alternative, but there are advantages and limitations to consider.
Pros of Using a Portable AC in an RV:
✔ Lower upfront cost compared to built-in RV AC units.
✔ No rooftop installation required, making it easy to move around.
✔ Can be used in multiple locations (inside and outside the RV).
Cons of Using a Portable AC in an RV:
❌ Requires venting through a window or small opening.
❌ Less powerful than a traditional rooftop AC unit.
❌ Consumes more floor space, reducing RV living space.
Best Use Cases for Portable ACs in an RV:
- If the built-in AC is not functioning and a temporary solution is needed.
- When traveling to mild climates where extreme cooling is not required.
- For small RVs or camper vans where a rooftop unit is not an option.
How do I reset my RV air conditioner after a power failure?
A power surge or outage can disrupt your RV AC system, requiring a reset to restore normal operation.
Steps to Reset Your RV Air Conditioner:
1. Turn Off the AC Unit
- Switch off the AC and set the thermostat to “OFF”.
2. Reset the Breaker
- Locate the RV circuit breaker panel and check for tripped breakers.
- Flip the AC breaker to OFF and then back to ON.
3. Wait for 5-10 Minutes
- Most RV air conditioners have a built-in delay feature that prevents immediate restarting.
4. Turn the AC Back On
- Set the thermostat to “Cool” mode and adjust to the desired temperature.
5. Check for Error Codes (If Applicable)
- Some modern RV AC units display error codes on the thermostat.
- Refer to the manufacturer’s manual for troubleshooting specific codes.
When to Call a Professional:
- If the AC fails to start after multiple reset attempts.
- If electrical issues persist (such as frequent breaker trips).
Conclusion
Proper maintenance and troubleshooting of your RV air conditioner are essential for ensuring a comfortable and hassle-free journey. By regularly cleaning filters, inspecting components, and addressing issues like poor airflow, leaks, or electrical failures, you can prevent breakdowns and costly repairs. Whether you’re dealing with cooling inefficiencies, electrical problems, or general maintenance, following these steps will help maximize your AC’s performance and lifespan. If your AC unit continues to have issues despite troubleshooting, seeking professional RV AC repair is the best solution. Keeping your RV’s air conditioning in top shape means enjoying cool, refreshing air wherever your travels take you.