
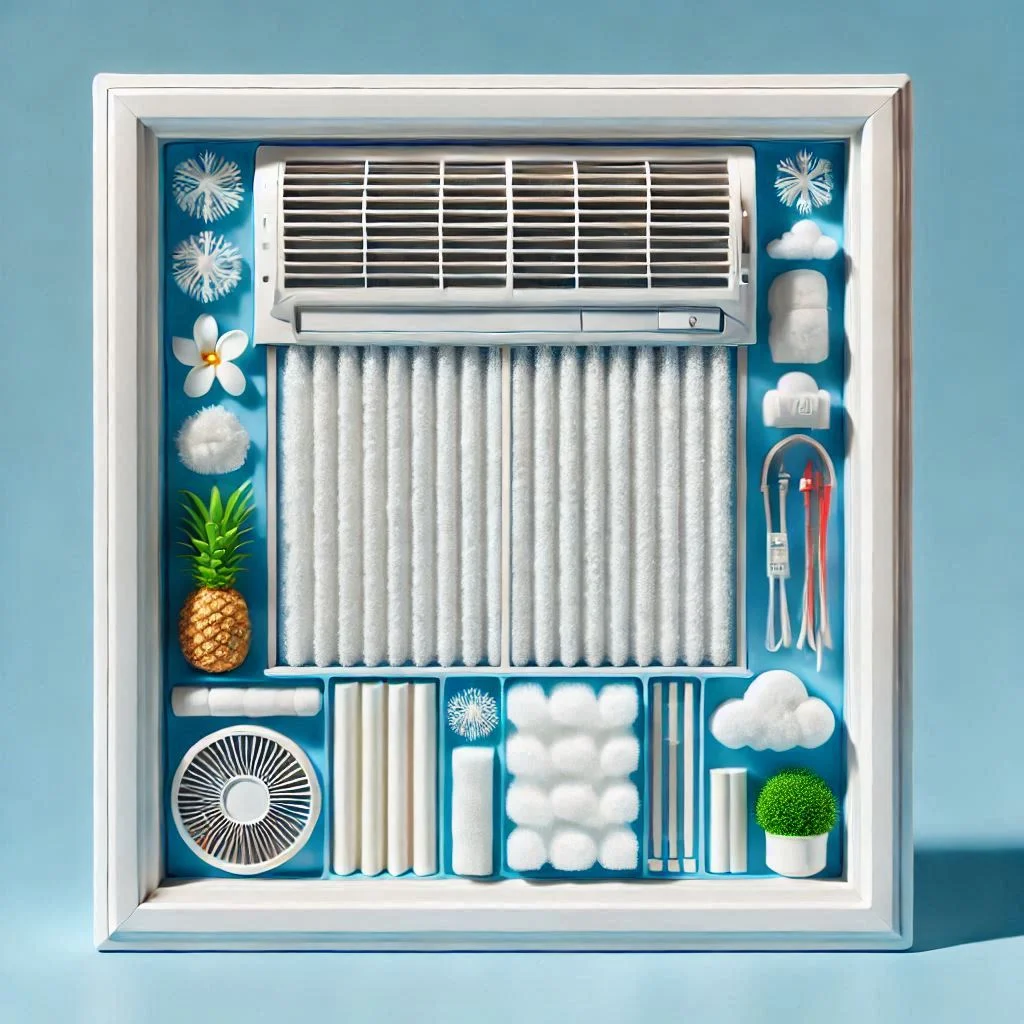
How Often Should You Clean Your Window Air Conditioner?
Overview of the Importance of Regular Maintenance for Your Window Air Conditioner
Regular maintenance of your window air conditioner (AC) is crucial to ensure its longevity and optimal performance. Over time, dirt, dust, and moisture accumulate in the system, especially on the styrofoam and other internal components. If not cleaned regularly, this buildup can reduce the efficiency of your AC, leading to increased energy consumption and possibly causing malfunctioning or breakdowns. A clean air conditioner helps improve indoor air quality by preventing mold and bacteria growth, which can lead to health problems.
Cleaning your window AC regularly not only extends the life of the unit but also helps maintain the air quality in your home, ensuring a more comfortable and healthier environment. Regular maintenance also minimizes the risk of costly repairs and reduces the need for replacements by catching issues early.
Recommended Cleaning Schedule for the Styrofoam and Other Parts
To keep your window air conditioner in top shape, establish a cleaning schedule that suits your usage and environment. Below are the recommended cleaning intervals:
- Monthly Checkups:
- Check the air filter and clean it if necessary. A clogged filter reduces airflow and puts more strain on the system.
- Inspect the styrofoam around the evaporator coils and condenser coils for any dirt buildup. If the unit is in a particularly dusty or humid area, clean the styrofoam every month to avoid mold growth.
- Check the drainage system to ensure water is flowing freely and not accumulating, as this can lead to stagnant water and mold.
- Every 3 Months:
- Remove the face panel and outer case to thoroughly clean the styrofoam and other internal parts. This is the ideal time to wash the coils and clean hard-to-reach areas.
- Replace the filter if it’s too clogged to be cleaned properly or is showing signs of wear.
- Seasonal Maintenance (Twice a Year):
- At the beginning and end of each cooling season, perform a deep cleaning. This should include removing the outer casing, thoroughly cleaning the styrofoam, evaporator coils, condenser coils, and drainage system.
- This is also the time to check the unit’s overall functioning, such as ensuring that the thermostat and other electrical components are working correctly.
By following a regular cleaning schedule, your window AC unit will operate at its peak efficiency, provide cleaner air, and save you money on energy bills and repairs.
Step-by-Step Guide to Cleaning Your Window Air Conditioner Styrofoam
Cleaning the styrofoam inside your window air conditioner (AC) is essential for maintaining its performance and efficiency. In this step-by-step guide, we’ll walk you through the process of cleaning the styrofoam to ensure your AC runs smoothly and provides fresh, cool air.
Before You Start
Safety Precautions and Necessary Tools
Before you begin cleaning your window AC, it’s important to prioritize safety. Follow these basic safety precautions to avoid injury or damage:
- Turn Off the Power: Always disconnect your window air conditioner from the power source. Unplug the unit or switch off the circuit breaker to ensure you’re working with a safe, de-energized system.
- Wear Protective Gear: Wear gloves to protect your hands from sharp edges and cleaning chemicals. Use safety goggles if you’re working with water or chemicals to avoid splashes.
- Tools You’ll Need:
- Soft cloth or microfiber towel
- Mild detergent or cleaning solution
- A soft brush (e.g., a toothbrush)
- A vacuum cleaner with a brush attachment
- A flathead screwdriver or plastic pry bar (if necessary)
- Water spray bottle for cleaning the styrofoam
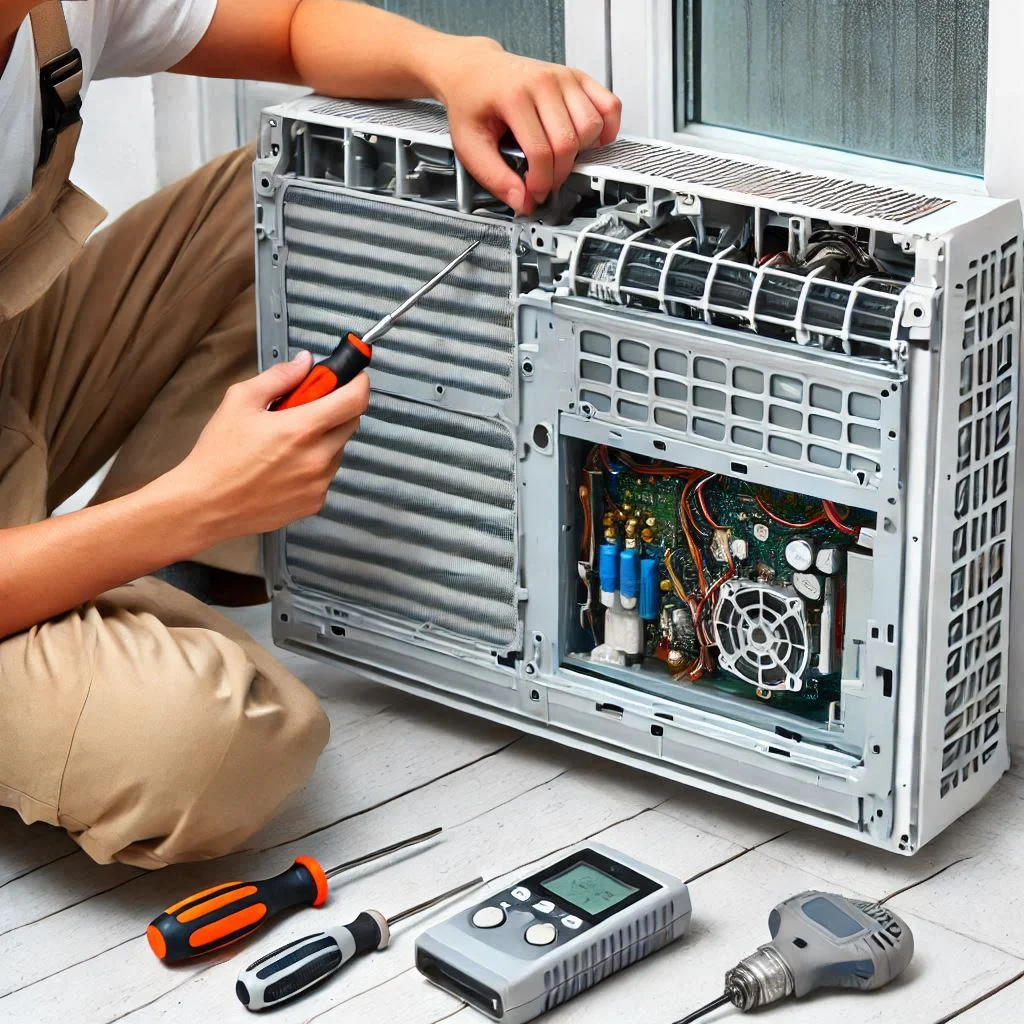
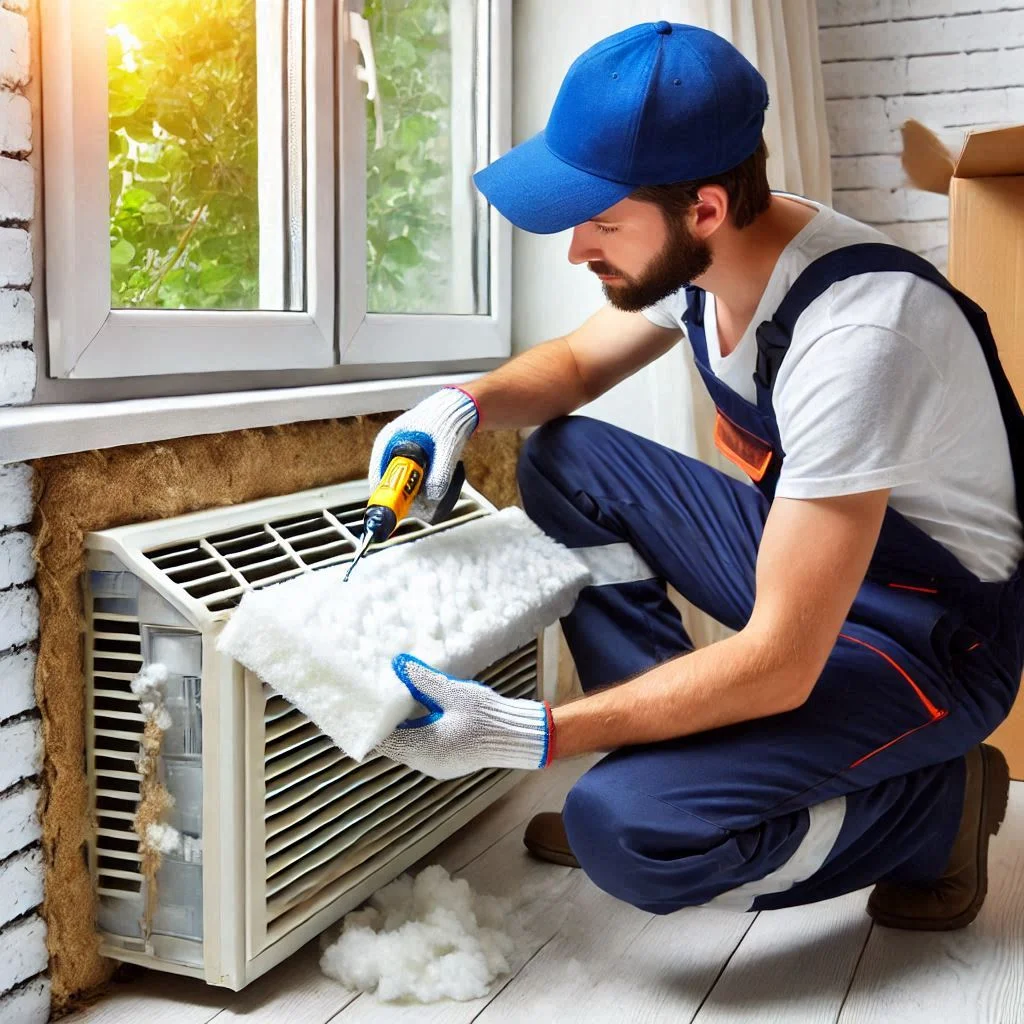
Remove the Face Panel and Outer Case
Instructions for Safely Removing Components to Access the Styrofoam
To effectively clean the styrofoam inside your window AC, you need to disassemble the unit carefully. Follow these steps:
- Turn Off and Unplug the Unit: Ensure the AC is turned off and unplugged from the electrical outlet.
- Remove the Face Panel:
- Use a screwdriver or your hands to gently remove the front panel of the window AC. Be careful not to break any clips or hinges during removal.
- Set the panel aside in a safe area.
- Take Off the Outer Case:
- Once the face panel is removed, locate any screws or fasteners holding the outer case in place.
- Unscrew or release the fasteners, then gently pull the outer case off the unit.
- Keep the screws in a safe place so you can easily reassemble the unit later.
Now that you’ve removed the face panel and outer case, you have clear access to the styrofoam and other internal components of your window air conditioner.
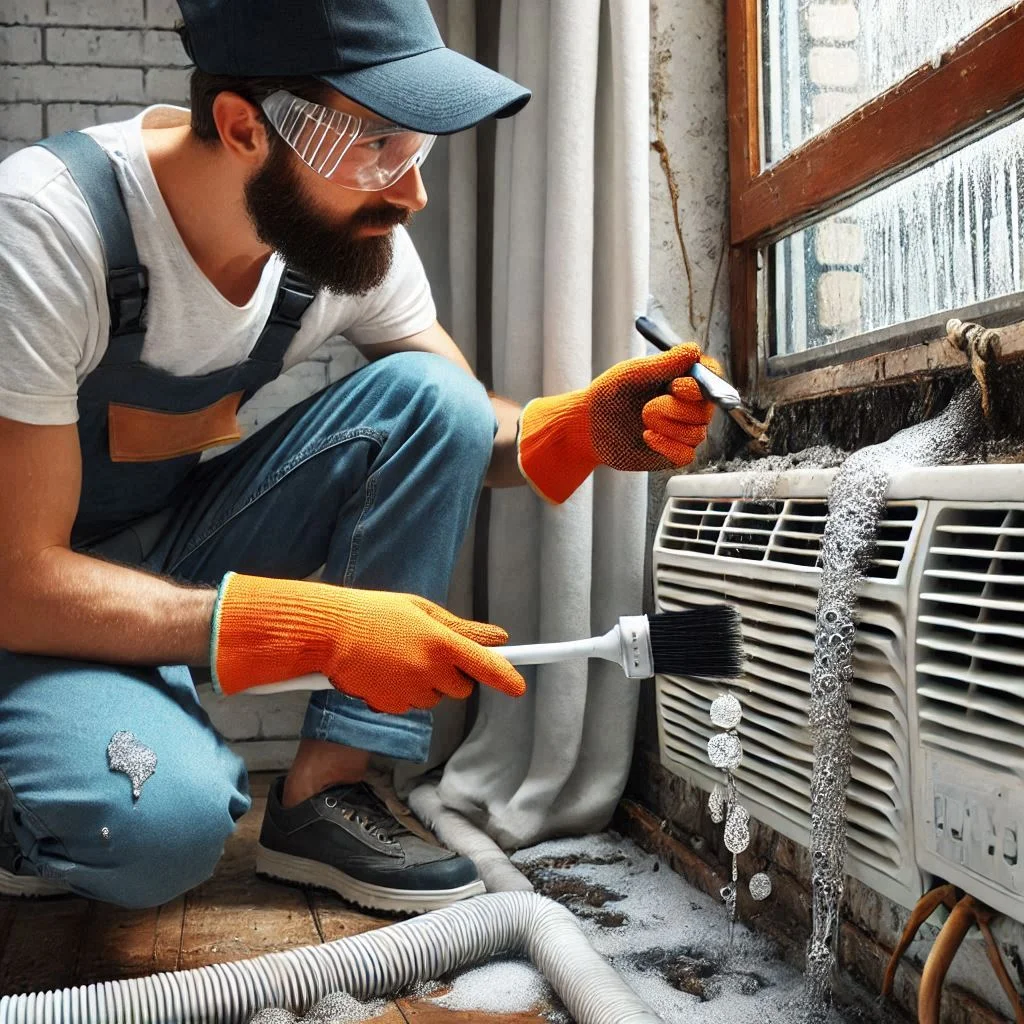
Thorough Cleaning Process
How to Clean the Styrofoam Effectively
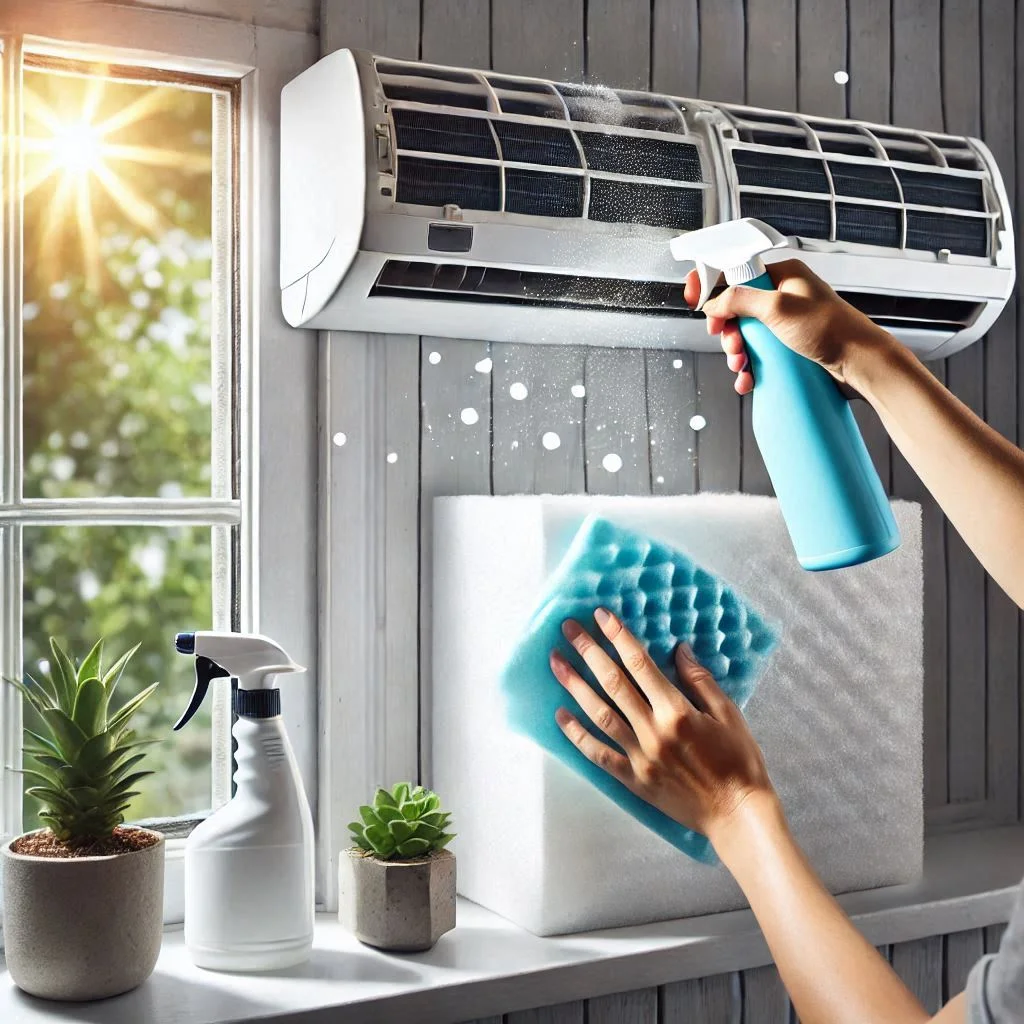
Once the face panel and outer case are removed, it’s time to clean the styrofoam and other internal parts. Follow these detailed steps:
- Vacuum the Styrofoam:
- Use a vacuum cleaner with a brush attachment to gently vacuum the styrofoam. This removes loose dirt, dust, and debris. Be careful not to damage the foam with excessive suction.
- Wipe Down the Styrofoam:
- Fill a spray bottle with water and a mild detergent or soap solution. Lightly spray the styrofoam, avoiding excessive moisture, as too much water can damage the internal components.
- Use a soft cloth or sponge to wipe the styrofoam gently. Work in circular motions to lift dirt and grime without damaging the foam.
- Deep Clean the Corners and Edges:
- For stubborn dirt, use a soft brush (like a toothbrush) to scrub the corners and edges of the styrofoam. These areas often accumulate more dust and mold.
- Rinse and Dry:
- After cleaning, dampen a cloth with clean water and wipe down the styrofoam to remove any soap residue.
- Let the styrofoam air dry completely before reassembling the unit. Ensure there’s no moisture left to prevent mold or mildew buildup.
- Reassemble the AC:
- Once the styrofoam is clean and dry, carefully reattach the outer case and face panel of the air conditioner.
- Screw everything back into place and ensure the unit is securely closed before plugging it back in.
By following this thorough cleaning process, you’ll extend the life of your window air conditioner and keep it running efficiently.
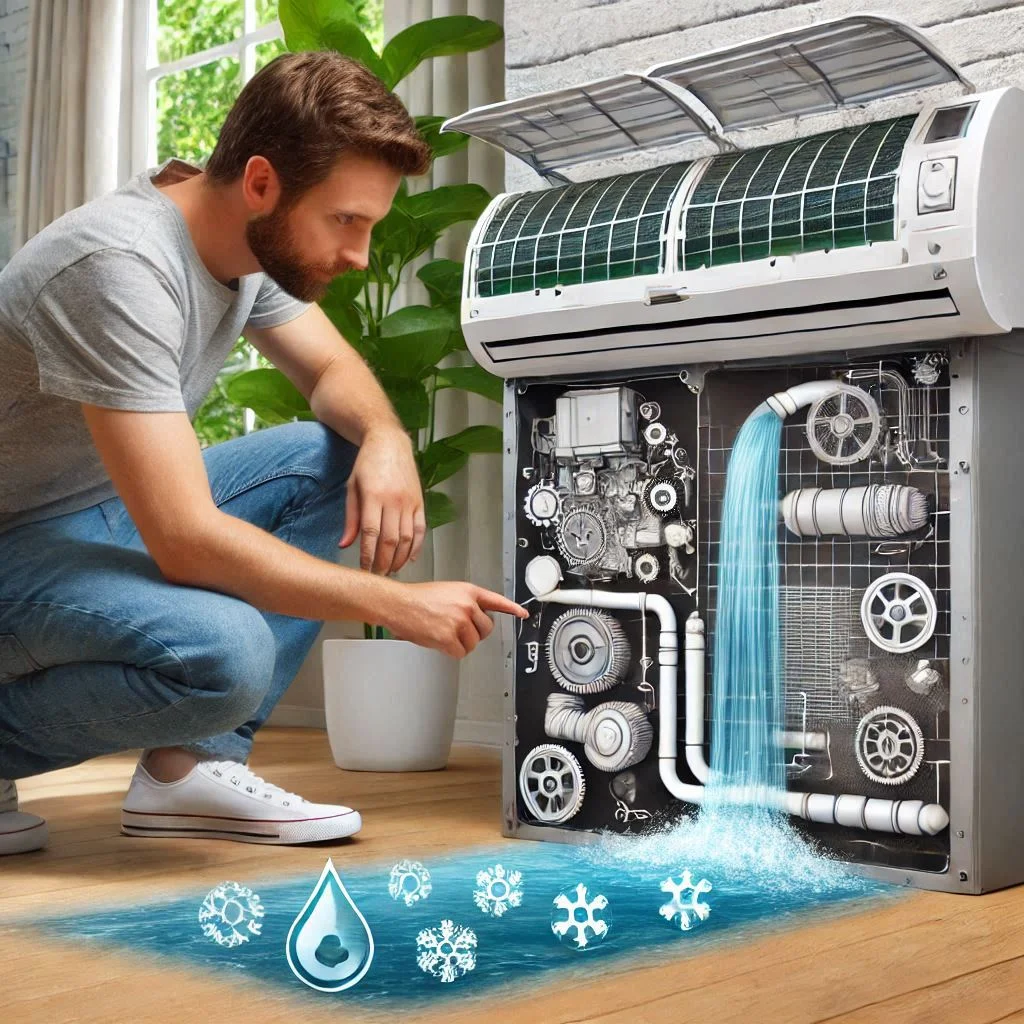
Cleaning the Drainage System and Replacing Parts
Properly maintaining your window air conditioner involves not only cleaning the internal components but also ensuring that the drainage system is functioning correctly and replacing any worn-out parts. This section will guide you through cleaning the drainage system and replacing crucial parts such as filters and foam.
Cleaning the Drainage System
How to Ensure the Drainage System is Clear for Proper Airflow
The drainage system in your window air conditioner is designed to remove the condensation that builds up during the cooling process. If the drainage system is clogged or malfunctioning, it can cause water to accumulate inside the unit, potentially leading to mold growth and reduced cooling efficiency. Here’s how to clean the drainage system and ensure it’s clear for proper airflow:
- Turn Off the Power:
- Before performing any maintenance, ensure the AC is unplugged and turned off. Safety is the priority, especially when working with water and electrical components.
- Locate the Drainage Hole:
- The drainage hole is typically located at the bottom of the unit. This is where water from the cooling process is expelled.
- Inspect the Drainage Tube:
- Check the drainage tube for any visible blockages or buildup. A clogged drainage tube can cause water to back up, leading to leaks or mold.
- Clear the Blockage:
- Use a small, flexible brush (such as a pipe cleaner or a small bottle brush) to gently scrub the inside of the drainage tube. If the blockage is stubborn, you can try flushing the tube with warm water.
- For extra cleaning power, mix a small amount of vinegar with warm water and pour it through the tube to help break down any organic material or mold.
- Check the Drainage Pan:
- Most window AC units have a drainage pan that collects excess water. Remove any debris or standing water in the pan.
- If the drainage pan is cracked or damaged, it’s essential to replace it to ensure the system functions correctly.
- Ensure Proper Drainage:
- After cleaning the tube and pan, pour water through the drainage system to ensure it flows freely and there are no blockages. If water flows smoothly, your drainage system is clear, and airflow will be optimal.
Replacing Parts
When and How to Replace Worn-Out Parts Like Filters or Foam
Over time, some parts of your window air conditioner may wear out or become inefficient. Regularly replacing these parts is crucial to maintaining the AC’s performance and ensuring optimal airflow. Here’s when and how to replace the most common parts, such as filters and foam:
- Replacing the Air Filter:
- When to Replace: If the filter is visibly clogged with dirt or dust, or if it’s too damaged to clean properly, it’s time to replace it. A clogged filter restricts airflow and forces the AC to work harder, reducing efficiency.
- How to Replace:
- Remove the filter by gently sliding it out of the air conditioner.
- Purchase a replacement filter that matches the model of your AC.
- Install the new filter by sliding it back into the slot. Ensure it fits securely and is aligned correctly to allow proper airflow.
- Replacing the Foam (Insulation):
- When to Replace: Foam insulation around the evaporator coils or on the casing can deteriorate over time, reducing the efficiency of your air conditioner. If the foam is frayed, torn, or missing in places, it’s time to replace it.
- How to Replace:
- Carefully remove the old foam insulation by gently peeling it away from the surface.
- Cut a piece of new foam insulation to the correct size and shape.
- Apply the new foam to the relevant areas of the air conditioner, ensuring it fits snugly and covers all gaps.
- Other Parts to Replace:
- Coils: If the evaporator or condenser coils are damaged, they may need to be replaced. Coils can become dirty over time, leading to poor performance, so it’s important to clean them regularly. If cleaning doesn’t improve performance, consider replacing them.
- Fan Blades: If the fan blades are broken or damaged, replace them to maintain proper airflow and cooling performance.
By replacing worn-out parts like filters and foam, you ensure that your air conditioner operates at peak efficiency, reduces energy consumption, and continues to cool your space effectively.
Natural vs. Chemical Cleaners for Styrofoam Cleaning
When cleaning the styrofoam in your window air conditioner, choosing the right cleaning solution is crucial for both effective cleaning and the longevity of the unit. You have the option of using natural, eco-friendly cleaners or chemical-based cleaners. In this section, we will compare the two types, explore the pros and cons of each, and help you determine the best choice for cleaning your AC’s styrofoam.
Comparing Eco-Friendly Options with Chemical Cleaners
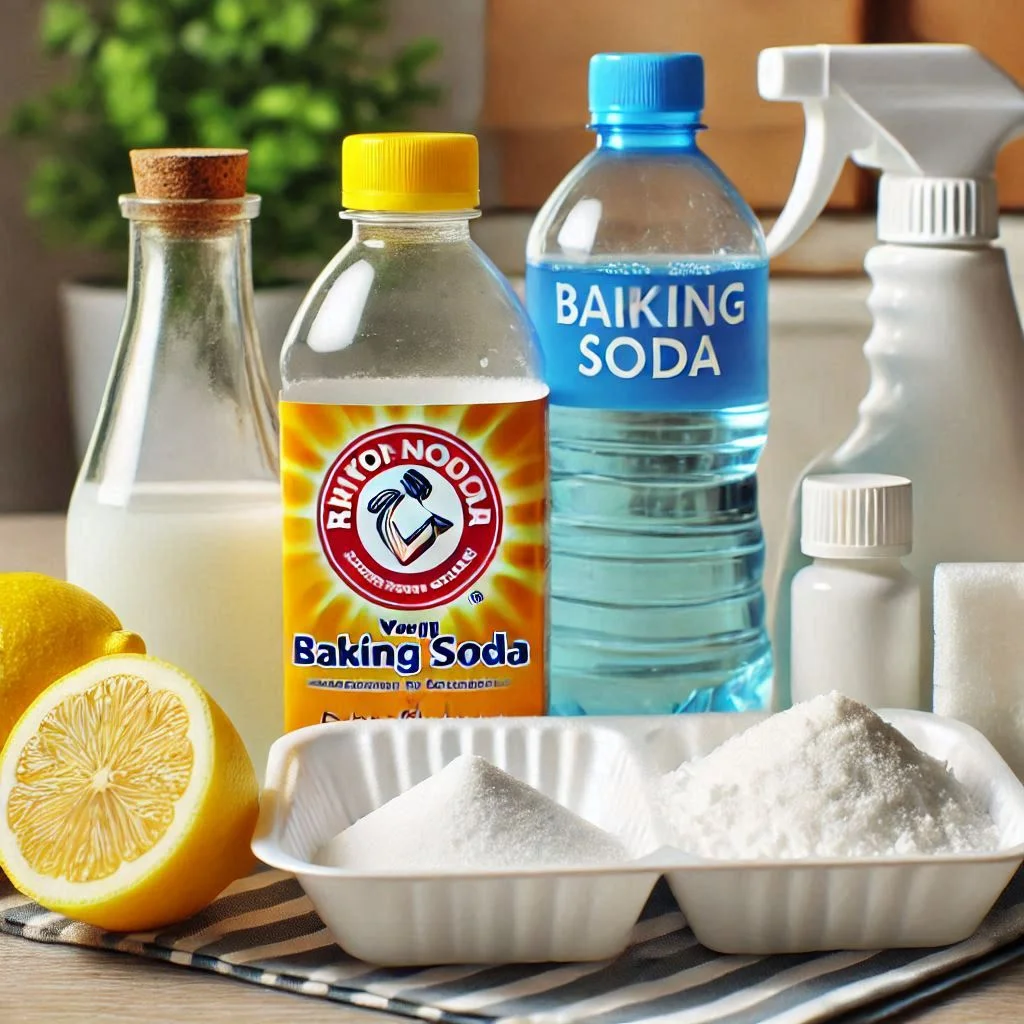
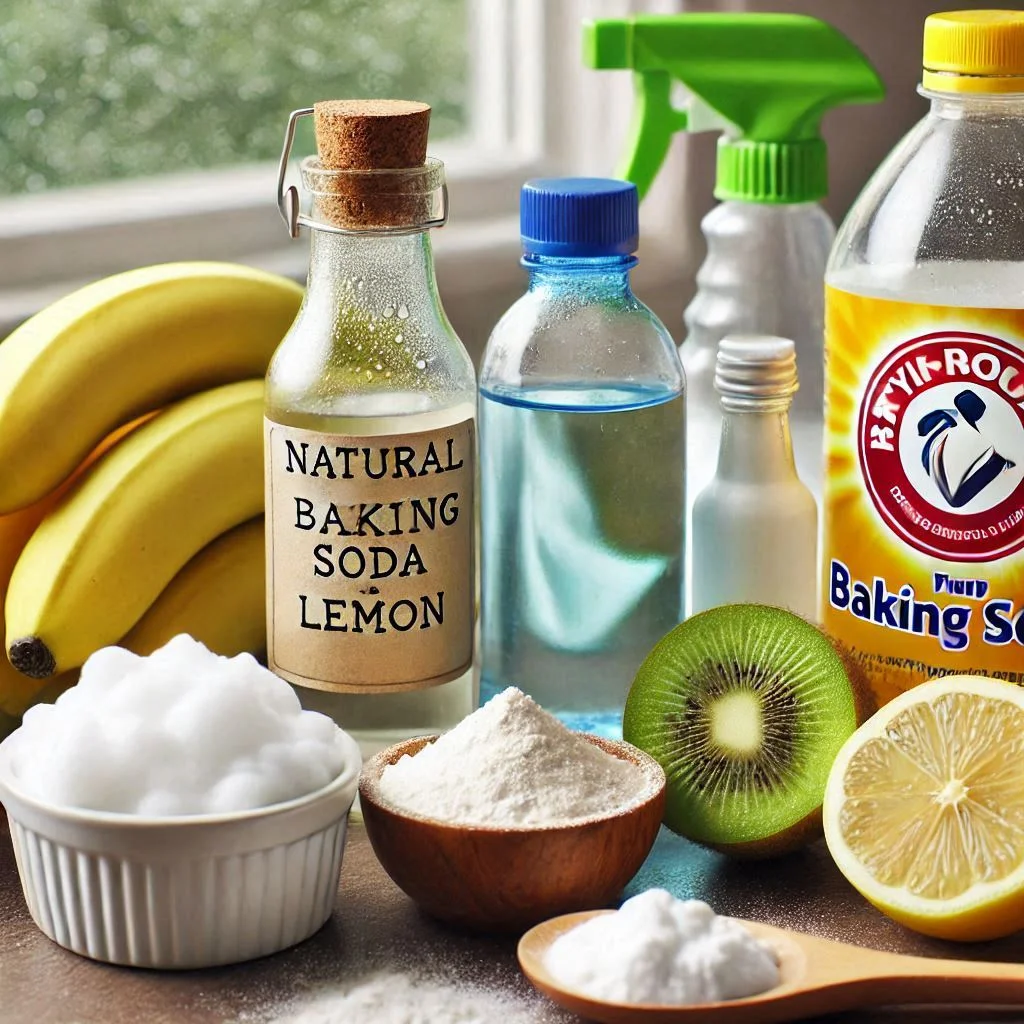
Eco-Friendly (Natural) Cleaners:
Natural cleaning solutions are made from non-toxic, biodegradable ingredients that are safer for both your health and the environment. These cleaners can be just as effective as chemical cleaners for cleaning styrofoam, provided they are used properly. Here are some common eco-friendly options:
- Vinegar and Water Solution: White vinegar is a natural disinfectant and deodorizer that can help break down grime and remove stains on styrofoam.
- Baking Soda Paste: A mixture of baking soda and water creates a gentle abrasive paste that can scrub off dirt and stains without damaging the styrofoam.
- Lemon Juice: Lemon juice has natural antibacterial properties and a fresh scent that helps clean and deodorize styrofoam.
- Castile Soap: This plant-based soap is mild and effective for cleaning delicate surfaces like styrofoam without harsh chemicals.
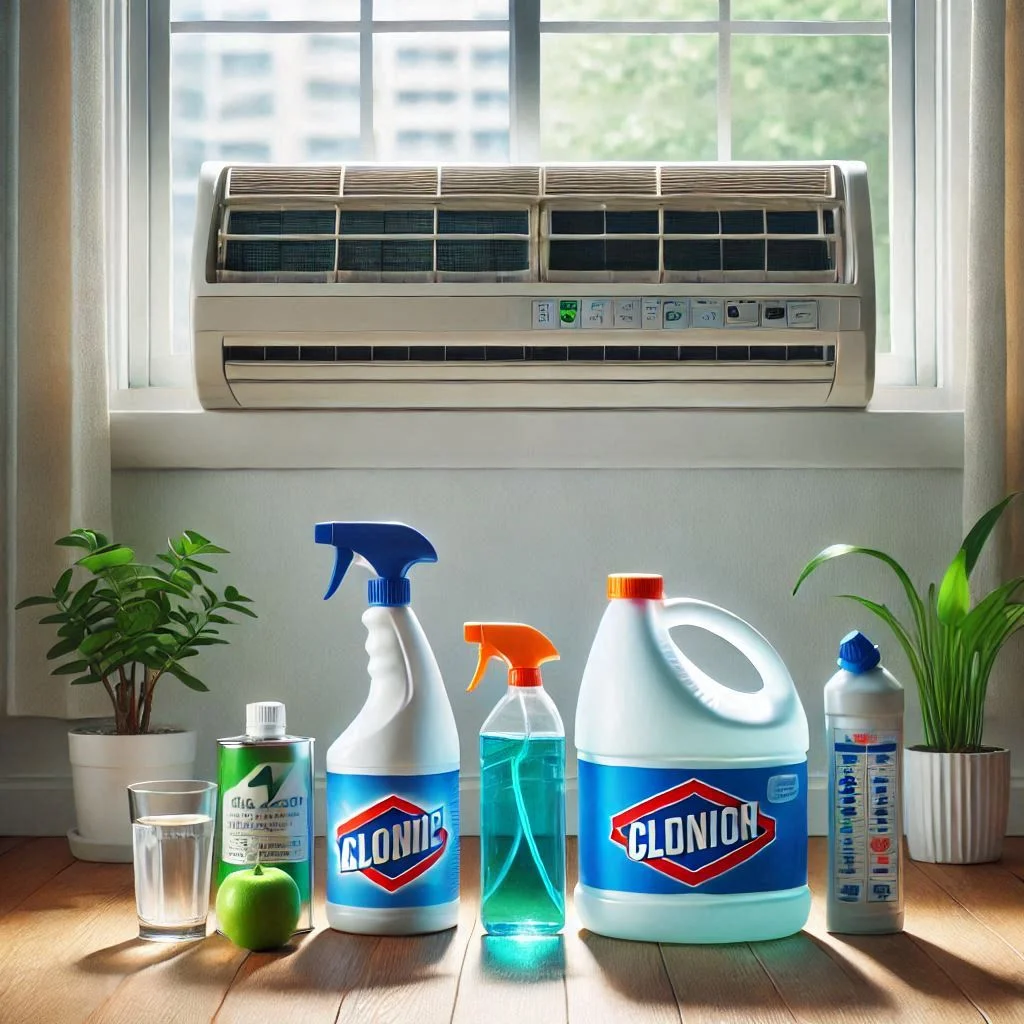
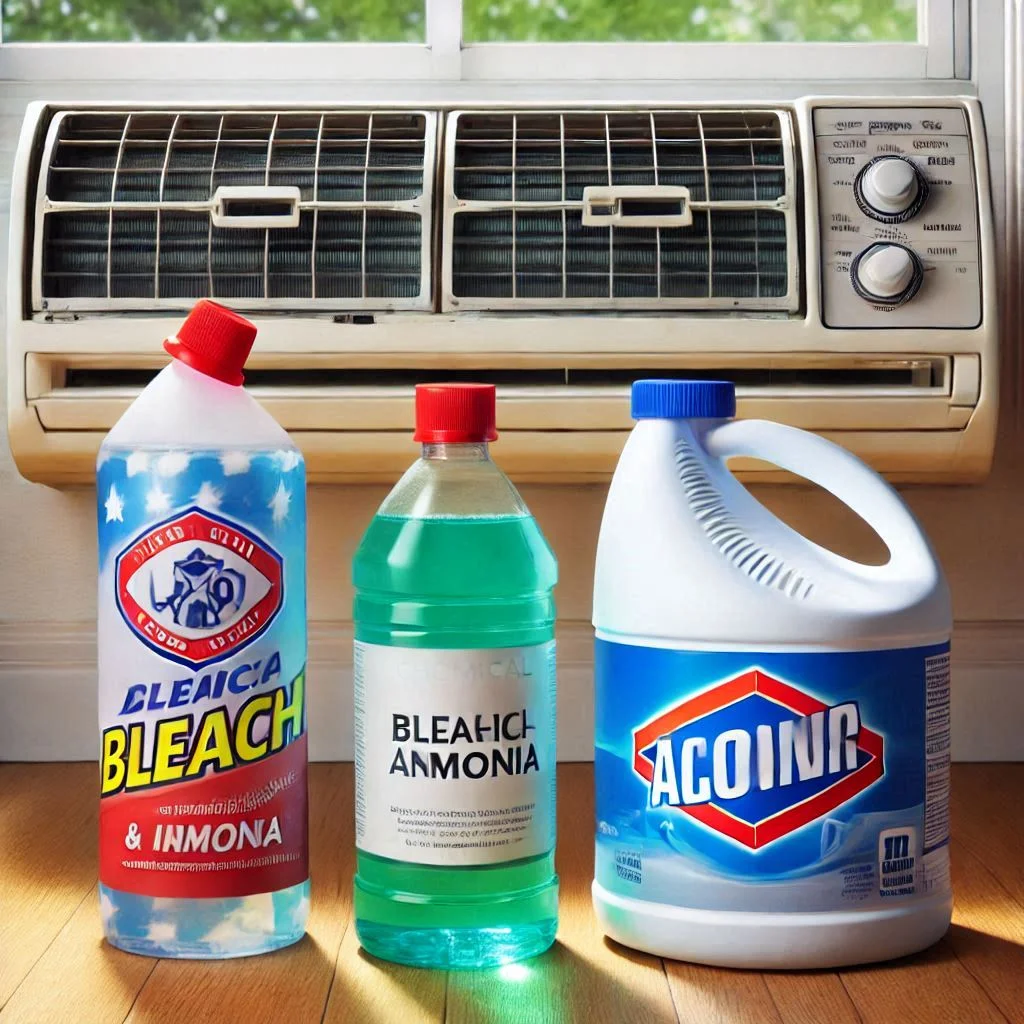
Chemical Cleaners:
Chemical-based cleaners, such as bleach or commercial air conditioner cleaning products, are often stronger and faster at cleaning than natural alternatives. However, they can contain harsh substances that may damage the styrofoam, harm your health, or affect indoor air quality. Some common chemical cleaners include:
- Bleach Solution: Bleach is effective in killing bacteria, mold, and mildew on styrofoam but can cause discoloration or deterioration of the foam.
- Ammonia-Based Cleaners: These cleaners are powerful but can release strong fumes that may be harmful if not used in well-ventilated areas.
- Store-Bought AC Cleaners: Some specialized cleaning solutions are formulated for air conditioners and may contain chemicals that can break down dirt and grime efficiently but can also be toxic if mishandled.
Pros and Cons of Each Cleaner Type for Styrofoam
Eco-Friendly Cleaners:
Pros:
- Non-Toxic: Eco-friendly cleaners are safe for you, your family, and pets. They are free from harmful chemicals, making them ideal for people with sensitivities or allergies.
- Environmentally Safe: Natural ingredients like vinegar, baking soda, and lemon juice are biodegradable, which makes them less harmful to the environment.
- Gentle on Styrofoam: These cleaners are less likely to damage the styrofoam, preserving the material’s integrity and preventing any breakdown due to harsh chemicals.
- Cost-Effective: Common household ingredients like vinegar and baking soda are inexpensive and can be found in most homes, making them a budget-friendly option.
Cons:
- Less Powerful: Natural cleaners may not be as effective at breaking down tough dirt, mold, or grime, especially if the AC unit hasn’t been cleaned for a long time.
- Time-Consuming: You may need to apply multiple rounds of cleaning with natural solutions for stubborn stains or buildup.
Chemical Cleaners:
Pros:
- Powerful Cleaning: Chemical cleaners are often more effective at removing stubborn dirt, mold, and stains, providing quicker results.
- Specialized Formulations: Many store-bought cleaners are designed specifically for air conditioners and can break down grime efficiently without leaving residue.
- Disinfecting Properties: Chemicals like bleach or ammonia can kill bacteria and mold, ensuring a more hygienic cleaning experience.
Cons:
- Toxic and Harmful: Many chemical cleaners contain substances that can release fumes or vapors harmful to health. Prolonged exposure can lead to respiratory issues or skin irritation.
- Environmental Impact: Harsh chemicals can pollute the environment when not disposed of properly and are often non-biodegradable.
- Risk of Damage: Chemicals such as bleach can discolor or degrade the styrofoam material over time, leading to the need for replacement.
- Cost: Store-bought chemical cleaners are often more expensive compared to natural alternatives.
Conclusion
When choosing between natural and chemical cleaners for cleaning the styrofoam in your window air conditioner, the decision ultimately depends on your preferences for safety, effectiveness, and environmental impact.
- Eco-Friendly Cleaners are best for those who want a safe, non-toxic, and gentle option for regular maintenance, especially for homeowners with pets, children, or sensitive individuals.
- Chemical Cleaners can be a good choice for tackling tough grime or mold, but they should be used with caution, considering their potential harm to health and the environment.
Both types of cleaners have their place in maintaining a clean, efficient window air conditioner. Weigh the pros and cons of each option to decide which is best suited to your needs and preferences.
Natural vs. Chemical Cleaners for Styrofoam Cleaning
When cleaning the styrofoam in your window air conditioner, choosing the right cleaning solution is crucial for both effective cleaning and the longevity of the unit. You have the option of using natural, eco-friendly cleaners or chemical-based cleaners. In this section, we will compare the two types, explore the pros and cons of each, and help you determine the best choice for cleaning your AC’s styrofoam.
Comparing Eco-Friendly Options with Chemical Cleaners
Eco-Friendly (Natural) Cleaners:
Natural cleaning solutions are made from non-toxic, biodegradable ingredients that are safer for both your health and the environment. These cleaners can be just as effective as chemical cleaners for cleaning styrofoam, provided they are used properly. Here are some common eco-friendly options:
- Vinegar and Water Solution: White vinegar is a natural disinfectant and deodorizer that can help break down grime and remove stains on styrofoam.
- Baking Soda Paste: A mixture of baking soda and water creates a gentle abrasive paste that can scrub off dirt and stains without damaging the styrofoam.
- Lemon Juice: Lemon juice has natural antibacterial properties and a fresh scent that helps clean and deodorize styrofoam.
- Castile Soap: This plant-based soap is mild and effective for cleaning delicate surfaces like styrofoam without harsh chemicals.
Chemical Cleaners:
Chemical-based cleaners, such as bleach or commercial air conditioner cleaning products, are often stronger and faster at cleaning than natural alternatives. However, they can contain harsh substances that may damage the styrofoam, harm your health, or affect indoor air quality. Some common chemical cleaners include:
- Bleach Solution: Bleach is effective in killing bacteria, mold, and mildew on styrofoam but can cause discoloration or deterioration of the foam.
- Ammonia-Based Cleaners: These cleaners are powerful but can release strong fumes that may be harmful if not used in well-ventilated areas.
- Store-Bought AC Cleaners: Some specialized cleaning solutions are formulated for air conditioners and may contain chemicals that can break down dirt and grime efficiently but can also be toxic if mishandled.
Pros and Cons of Each Cleaner Type for Styrofoam
Eco-Friendly Cleaners:
Pros:
- Non-Toxic: Eco-friendly cleaners are safe for you, your family, and pets. They are free from harmful chemicals, making them ideal for people with sensitivities or allergies.
- Environmentally Safe: Natural ingredients like vinegar, baking soda, and lemon juice are biodegradable, which makes them less harmful to the environment.
- Gentle on Styrofoam: These cleaners are less likely to damage the styrofoam, preserving the material’s integrity and preventing any breakdown due to harsh chemicals.
- Cost-Effective: Common household ingredients like vinegar and baking soda are inexpensive and can be found in most homes, making them a budget-friendly option.
Cons:
- Less Powerful: Natural cleaners may not be as effective at breaking down tough dirt, mold, or grime, especially if the AC unit hasn’t been cleaned for a long time.
- Time-Consuming: You may need to apply multiple rounds of cleaning with natural solutions for stubborn stains or buildup.
Chemical Cleaners:
Pros:
- Powerful Cleaning: Chemical cleaners are often more effective at removing stubborn dirt, mold, and stains, providing quicker results.
- Specialized Formulations: Many store-bought cleaners are designed specifically for air conditioners and can break down grime efficiently without leaving residue.
- Disinfecting Properties: Chemicals like bleach or ammonia can kill bacteria and mold, ensuring a more hygienic cleaning experience.
Cons:
- Toxic and Harmful: Many chemical cleaners contain substances that can release fumes or vapors harmful to health. Prolonged exposure can lead to respiratory issues or skin irritation.
- Environmental Impact: Harsh chemicals can pollute the environment when not disposed of properly and are often non-biodegradable.
- Risk of Damage: Chemicals such as bleach can discolor or degrade the styrofoam material over time, leading to the need for replacement.
- Cost: Store-bought chemical cleaners are often more expensive compared to natural alternatives.
Conclusion
When choosing between natural and chemical cleaners for cleaning the styrofoam in your window air conditioner, the decision ultimately depends on your preferences for safety, effectiveness, and environmental impact.
- Eco-Friendly Cleaners are best for those who want a safe, non-toxic, and gentle option for regular maintenance, especially for homeowners with pets, children, or sensitive individuals.
- Chemical Cleaners can be a good choice for tackling tough grime or mold, but they should be used with caution, considering their potential harm to health and the environment.
Both types of cleaners have their place in maintaining a clean, efficient window air conditioner. Weigh the pros and cons of each option to decide which is best suited to your needs and preferences.
FAQ: How to Clean a Window Air Conditioner Styrofoam
Cleaning the styrofoam in your window air conditioner can seem like a daunting task, but with the right approach and techniques, it’s an easy and effective way to maintain your AC unit’s efficiency. Below, we’ve answered some of the most common questions regarding cleaning styrofoam in window air conditioners to help guide you through the process.
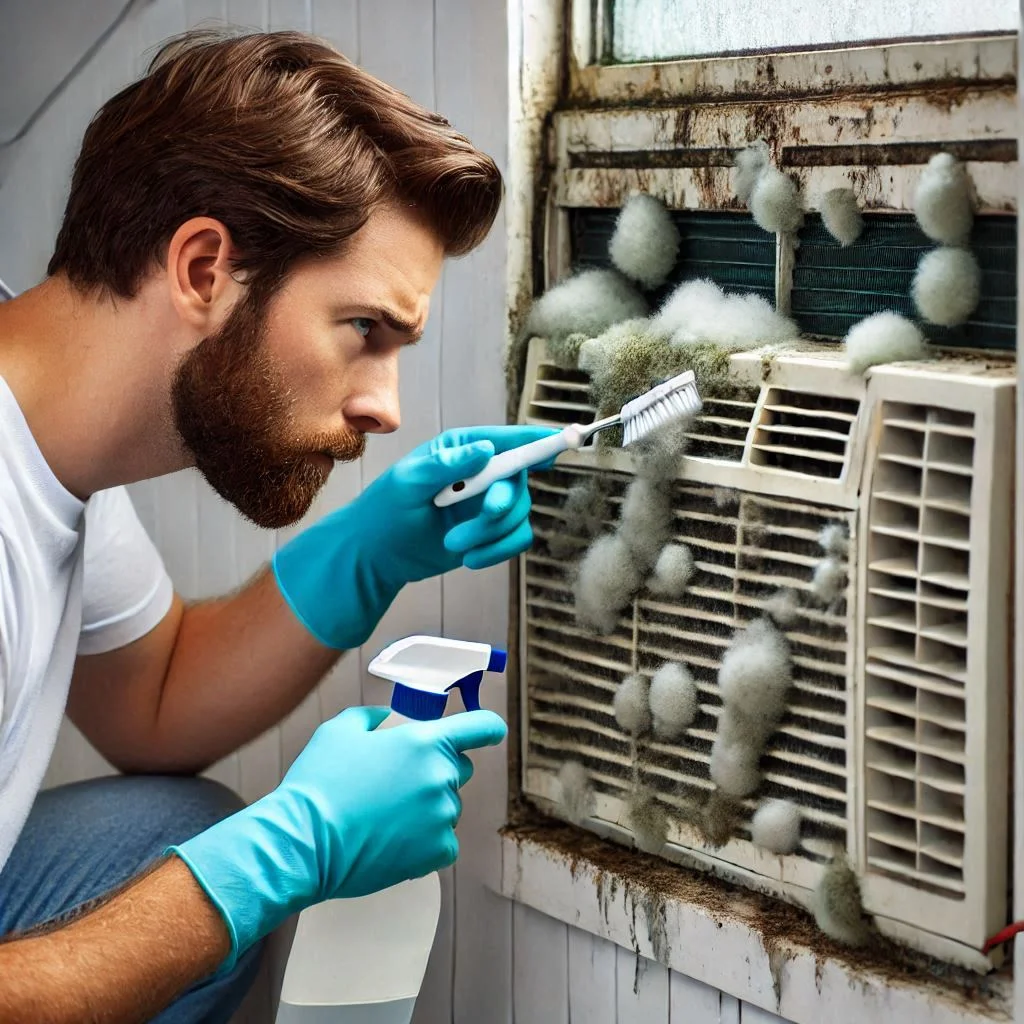
How to Clean the Mold Inside the Window Air Conditioner?
Mold buildup inside your window air conditioner is a common problem, especially in areas with high humidity. Mold can grow on the styrofoam, coils, or even the drainage system if moisture is trapped inside. Here’s how to clean mold effectively:
Step-by-Step Mold Removal:
- Turn off the AC and unplug it: Always ensure the unit is powered off before attempting any cleaning.
- Disassemble the AC: Remove the face panel and outer case of the window unit to access the styrofoam and other components.
- Use a Mold Remover: Apply a mild mold remover, such as white vinegar or a specialized mold cleaner, to the affected areas. Let it sit for a few minutes to allow the cleaner to break down the mold.
- Scrub the Area: Gently scrub the moldy surfaces using a soft brush or sponge to remove the growth.
- Rinse and Dry: Once the mold is removed, rinse the surfaces with clean water. Ensure all parts are completely dry before reassembling the unit to prevent mold from regrowing.
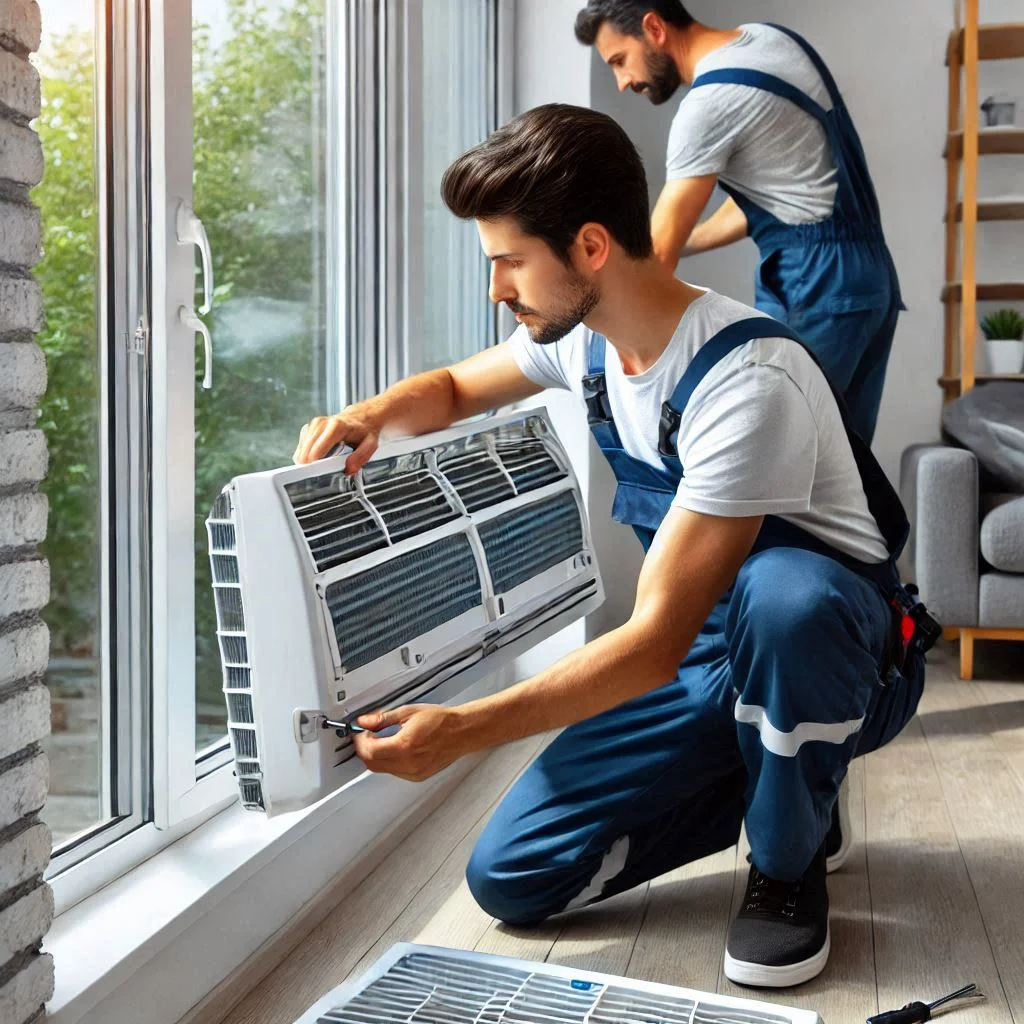
Do You Have to Take Your AC Unit Out of the Window to Clean It?
While it’s not always necessary to remove your window air conditioner from the window, doing so can provide easier access to the internal components, especially when cleaning the styrofoam and other hard-to-reach parts. Here’s when you might want to consider removing the unit:
When to Remove the AC:
- Deep Cleaning: If you need to clean the coils, fan blades, or the drainage system, removing the AC will make the process easier.
- Mold or Mildew Issues: If there is extensive mold or mildew growth inside the unit, removing it from the window will allow for a more thorough cleaning.
- Filter Replacement: If the air filter is difficult to access while the AC is still mounted, it may be easier to remove the unit.
Steps to Remove the Unit:
- Unplug the AC: Safety first! Always turn off and unplug the unit.
- Remove the Screws and Paneling: Carefully unscrew the mounting brackets and remove any securing components.
- Lift the Unit Out: Gently lift the air conditioner out of the window, ensuring that it’s not too heavy or unbalanced.
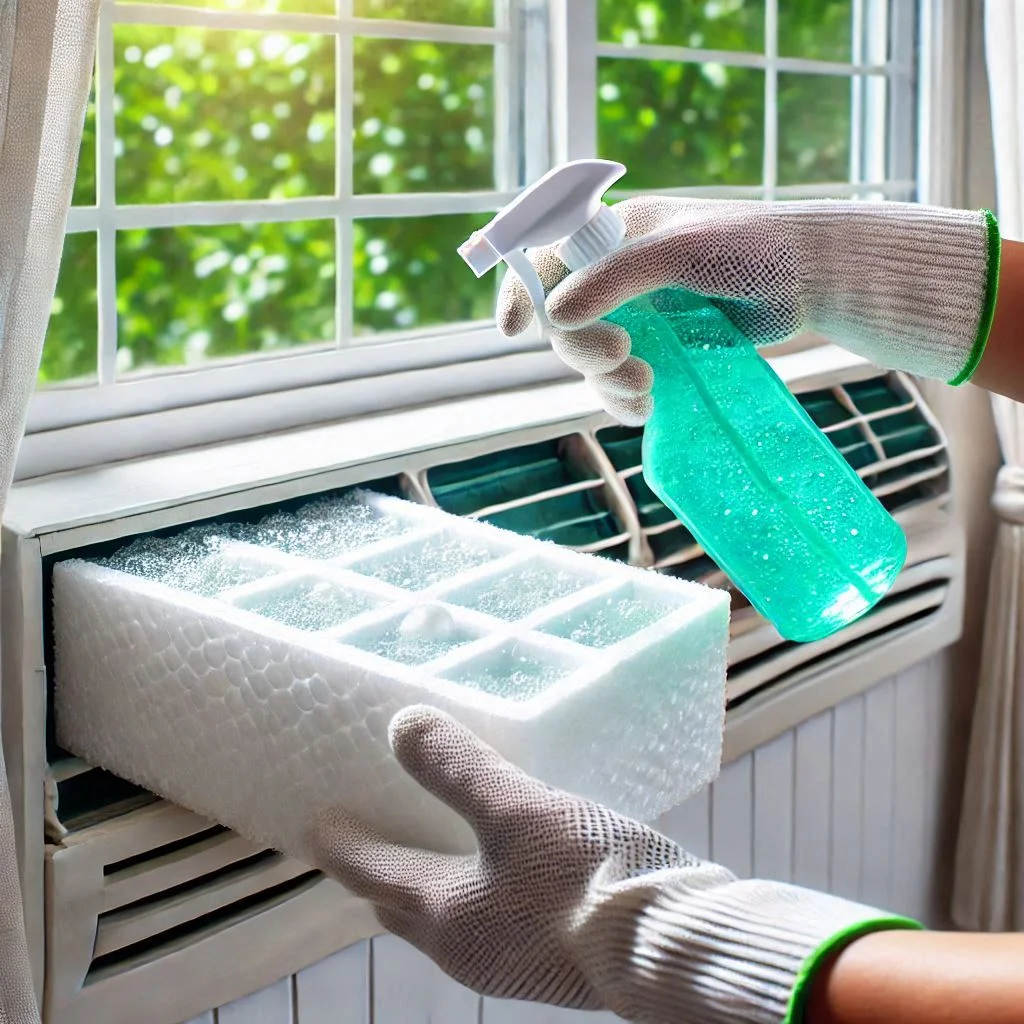
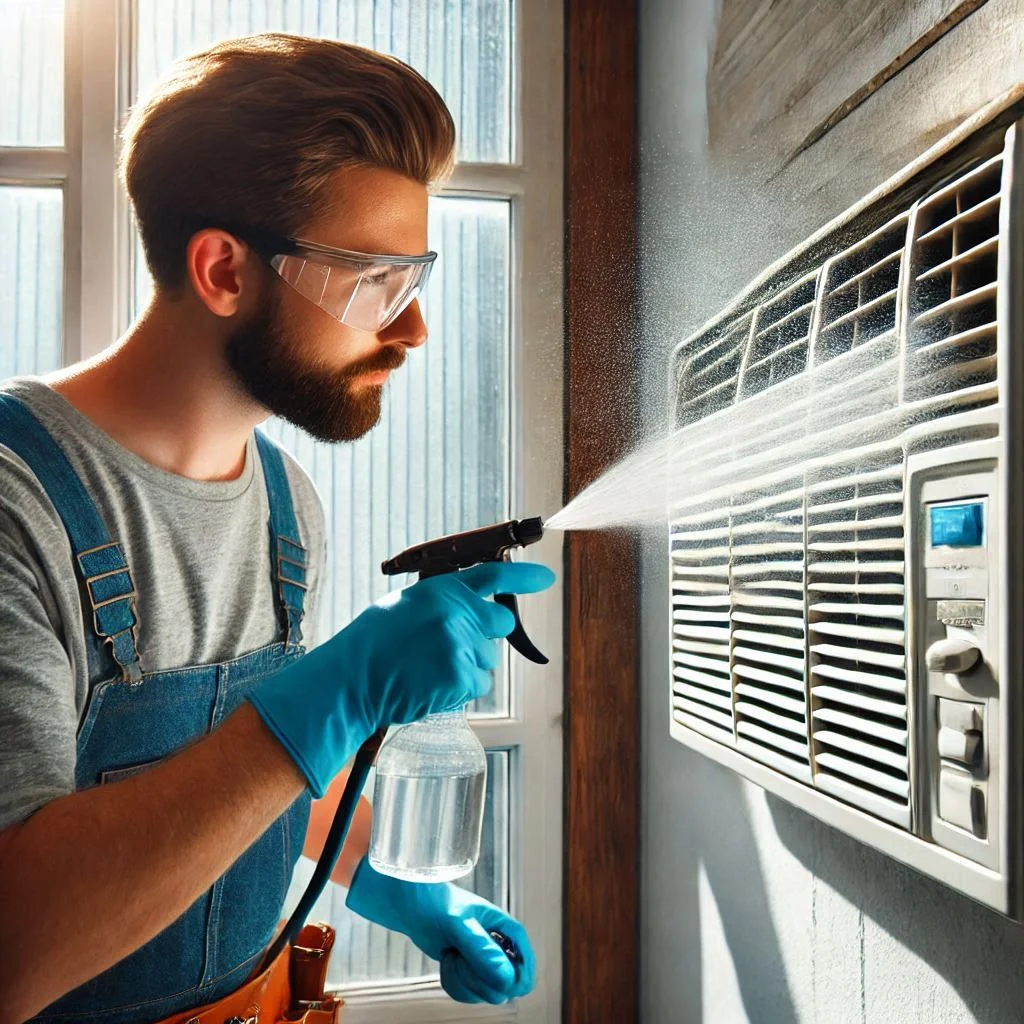
Is It Safe to Spray Your Air Conditioner with Water?
Spraying your air conditioner with water can be effective for cleaning the outside and removing dirt and dust. However, it’s essential to be cautious when applying water to any electrical components. Here’s how to safely clean your AC:
Guidelines for Using Water:
- Avoid Electrical Components: Never spray water directly on electrical components, such as the motor or electrical connections, as this can cause a short circuit or other damage.
- Use a Gentle Spray: If you decide to spray water, use a light mist, not a strong jet of water, to avoid forcing water into delicate parts of the unit.
- Dry Thoroughly: After cleaning with water, make sure all parts, especially the styrofoam and filter, are thoroughly dried before reassembling and using the unit.
- Use Water for Exterior Cleaning Only: It’s safest to use water only for cleaning the outer casing and coils, and not for the internal components unless specified by the manufacturer.
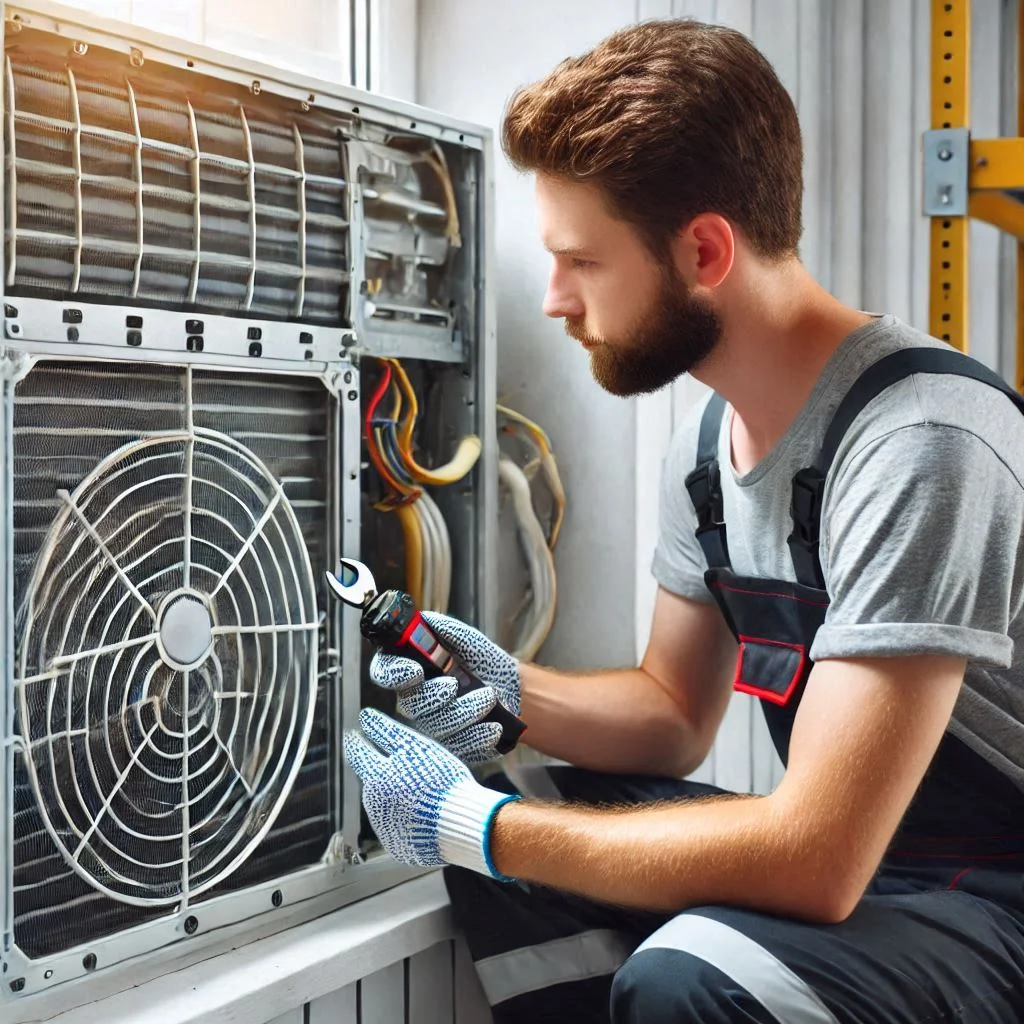
Why Is My AC Unit Blowing Hot Air After Cleaning?
If your air conditioner starts blowing hot air after cleaning, there are a few possible causes to investigate. Here’s how to troubleshoot the problem:
Possible Causes of Hot Air:
- Refrigerant Leaks: If the refrigerant has leaked or is low, the air conditioner may not be able to cool effectively. Check for any refrigerant leaks or signs of damage to the refrigerant line.
- Dirty Coils: If the evaporator or condenser coils are dirty or clogged, the AC won’t be able to cool the air efficiently. Clean the coils using a brush or coil cleaner to remove any dirt or grime buildup.
- Incorrect Reassembly: After cleaning, ensure that all components, including the fan and coils, are properly reassembled. If something was left loose or out of place, it could cause airflow issues or a malfunction.
- Malfunctioning Thermostat: Sometimes, the thermostat might be faulty, causing the AC to blow hot air even if the unit is functioning correctly. Test the thermostat or consider replacing it if necessary.
- Airflow Issues: Poor airflow can prevent the AC from cooling the air properly. Check the air filter, fan, and vents to ensure there are no blockages.
Conclusion
In conclusion, cleaning your window air conditioner, particularly the styrofoam, is essential for maintaining optimal performance and prolonging the lifespan of your unit. By following the proper steps outlined in this guide—from thorough cleaning and mold removal to ensuring proper airflow and drainage—you can keep your AC running efficiently. Remember to choose the right cleaning methods, whether using natural or chemical cleaners, and always troubleshoot common issues such as poor airflow or mold buildup. Regular maintenance is key to avoiding costly repairs and ensuring your AC continues to provide cool, fresh air. With these tips and techniques, you’ll be well-equipped to keep your window air conditioner in top shape, enhancing comfort and energy efficiency in your home.