
Understanding the Basics of Your RV Air Conditioning System
RV air conditioners are vital for maintaining a comfortable environment during your travels, especially in hot weather. Understanding how they function and why they might need a reset can help you troubleshoot issues efficiently and prolong the life of the unit.
Overview of RV Air Conditioning Components
Your RV’s air conditioning system consists of several essential components that work together to cool your space effectively. Here’s a breakdown:
- Compressor
- The heart of the AC system, compressing refrigerant gas to high pressure and temperature.
- Converts the refrigerant into a liquid that facilitates the cooling process.
- Condenser Coils
- Responsible for releasing heat absorbed from your RV into the outside air.
- Requires proper airflow and regular cleaning for optimal performance.
- Evaporator Coils
- Absorbs heat from inside the RV and cools the air.
- Clogged or dirty coils can reduce efficiency and lead to system overheating.
- Thermostat
- Controls the desired temperature settings.
- Malfunctioning thermostats can disrupt normal AC operation.
- Fan and Blower Motor
- Distributes cool air evenly throughout the RV.
- Issues like wear and tear can reduce airflow and cooling performance.
- Filter
- Traps dust, dirt, and debris to ensure clean airflow.
- Dirty filters are a common cause of inefficient cooling and system failures.

Common Reasons Why Your RV AC Might Need a Reset
Several factors can disrupt the normal functioning of your RV air conditioner, necessitating a reset to restore operation:
- Power Surges or Interruptions
- Fluctuations in power supply can disrupt the AC’s internal system.
- A reset can clear electrical issues and restore functionality.
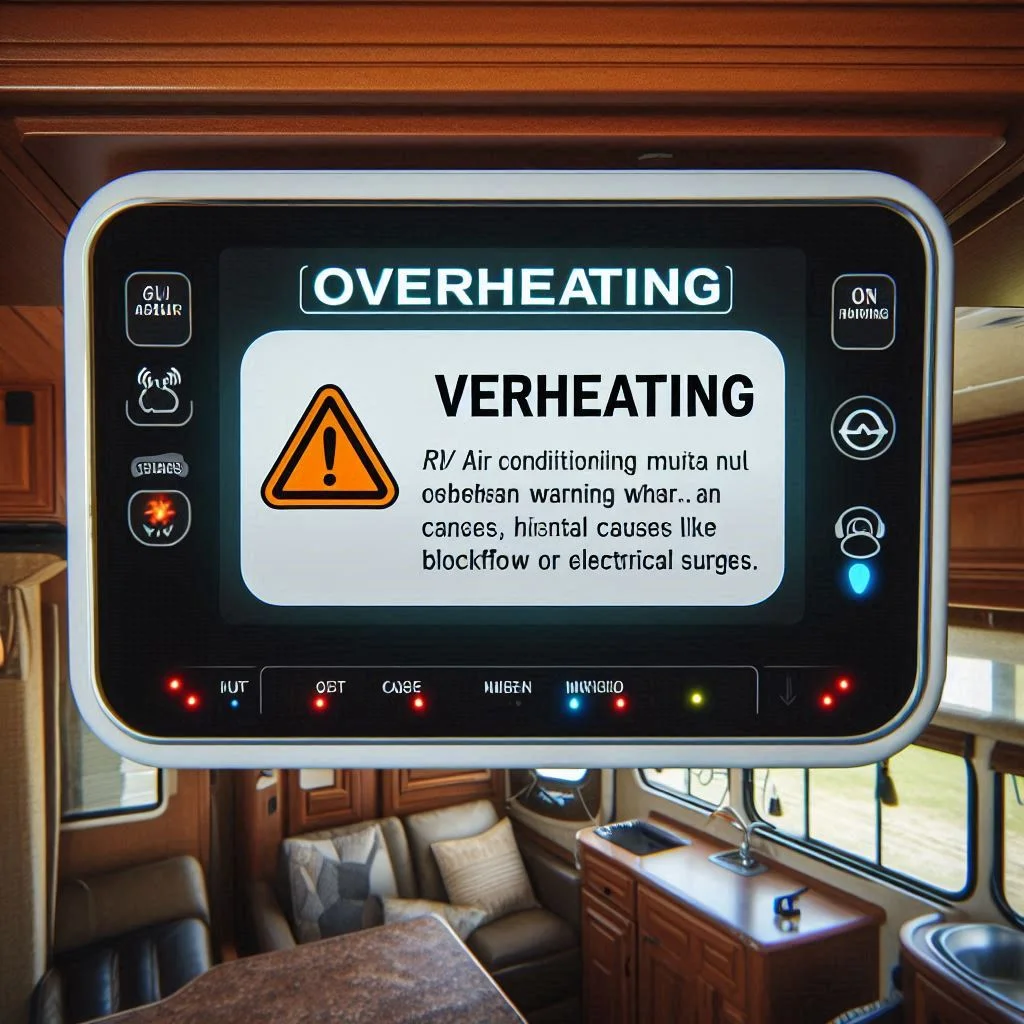
- Overheating of the System
- Prolonged use in hot climates or restricted airflow can cause the AC to overheat.
- Resetting allows the unit to cool down and reboot safely.
- Thermostat Malfunctions
- Incorrect readings or settings can lead to improper cooling.
- Resetting the system helps recalibrate the thermostat.
- Tripped Circuit Breaker
- An overloaded circuit can trip the breaker, cutting off power to the AC.
- Resetting the breaker and the AC unit can resolve the issue.
- System Errors or Faulty Wiring
- Internal errors or loose connections can trigger the need for a reset.
- Regular maintenance can prevent these problems.
Benefits of Understanding These Basics
Knowing how your RV air conditioner works and recognizing the common reasons for resets can:
- Help you perform quick troubleshooting.
- Minimize downtime during travels.
- Reduce repair costs by addressing minor issues yourself.
- Prolong the life of your AC system through preventative care.

Step-by-Step Guide to Resetting Your RV Air Conditioner
Resetting your RV air conditioner can resolve many common issues, such as overheating, electrical surges, or minor malfunctions. Follow these step-by-step instructions to safely reset your RV AC unit and restore optimal performance.
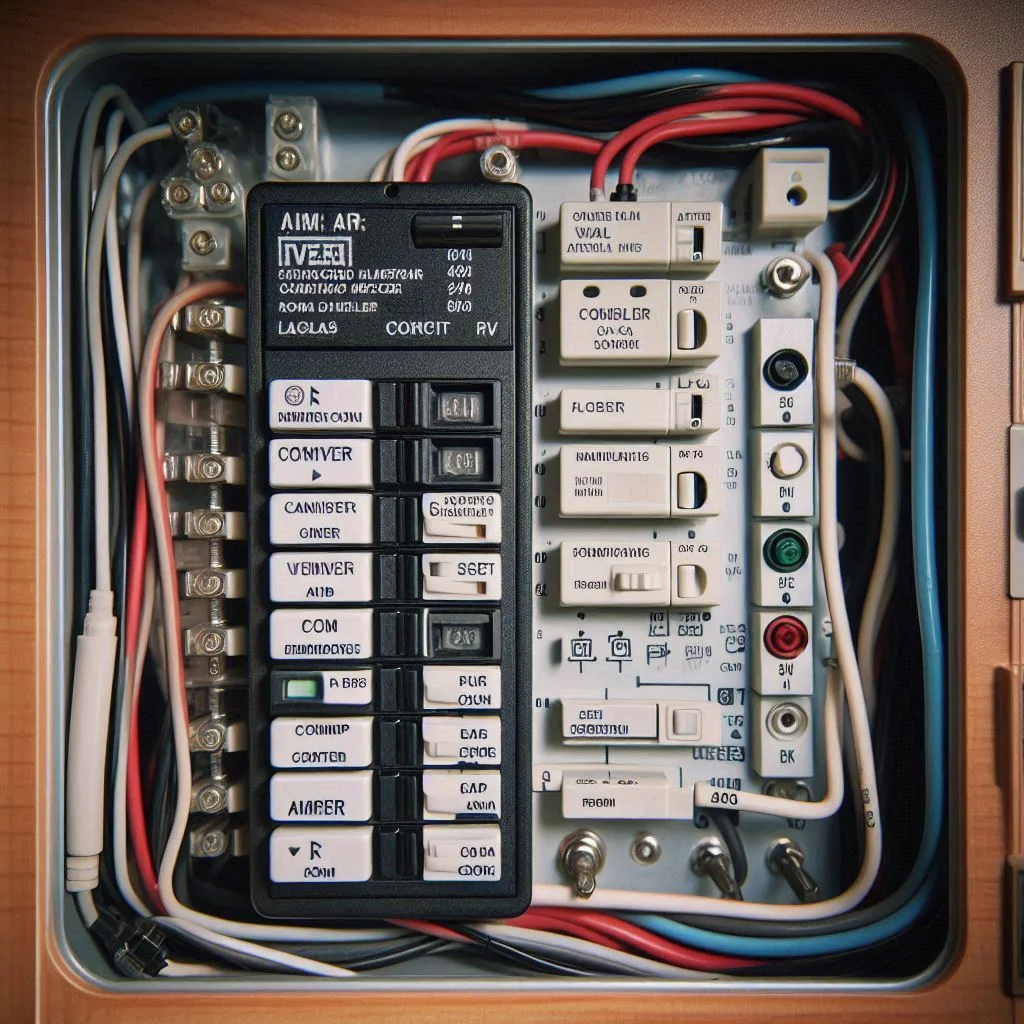
Step 1: Identify and Locate the Circuit Breaker Box
The circuit breaker box in your RV is a vital component for managing electrical systems, including the air conditioner.
- Typically located in an accessible area like a storage compartment or near the electrical panel.
- Contains switches that control power to various systems in your RV.
Why This Is Important:
Identifying the correct breaker prevents accidental shutdown of other systems and ensures targeted troubleshooting.
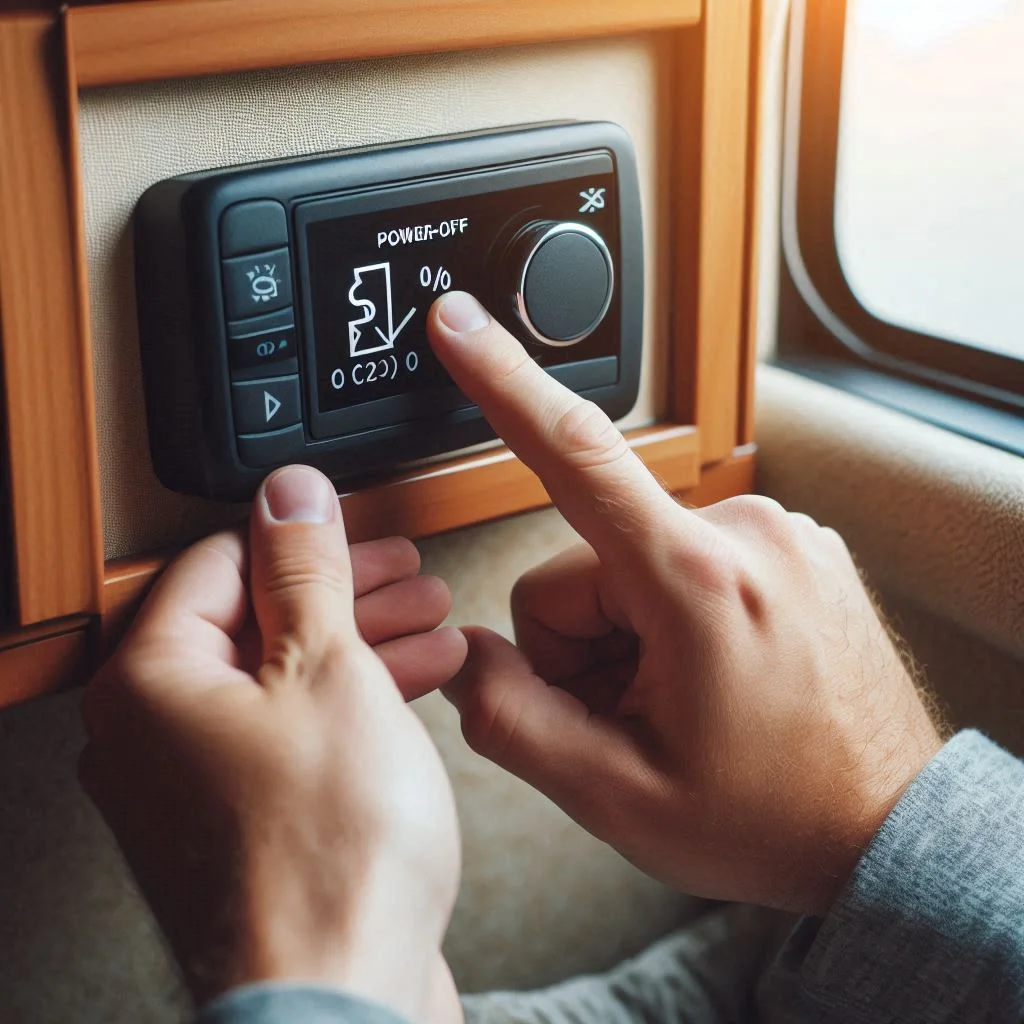
Step 2: Turn Off the Air Conditioner to Ensure Safety
Before making any adjustments, it’s crucial to power down the air conditioner to avoid electrical hazards.
- Switch off the AC unit from the control panel or thermostat.
- Confirm that the system has stopped running completely.
Safety Tip:
Always work on the electrical system with the power off to prevent injury or damage to the unit.
Step 3: Reset the Circuit Breaker If Necessary
A tripped circuit breaker can often disrupt your RV air conditioner’s functionality. Resetting it is simple:
- Open the circuit breaker box.
- Look for the switch labeled for the air conditioner.
- If the breaker is tripped (positioned in the middle), switch it off completely and then back on.
Why Resetting Works:
Resetting the breaker restores power flow and can clear temporary electrical faults.

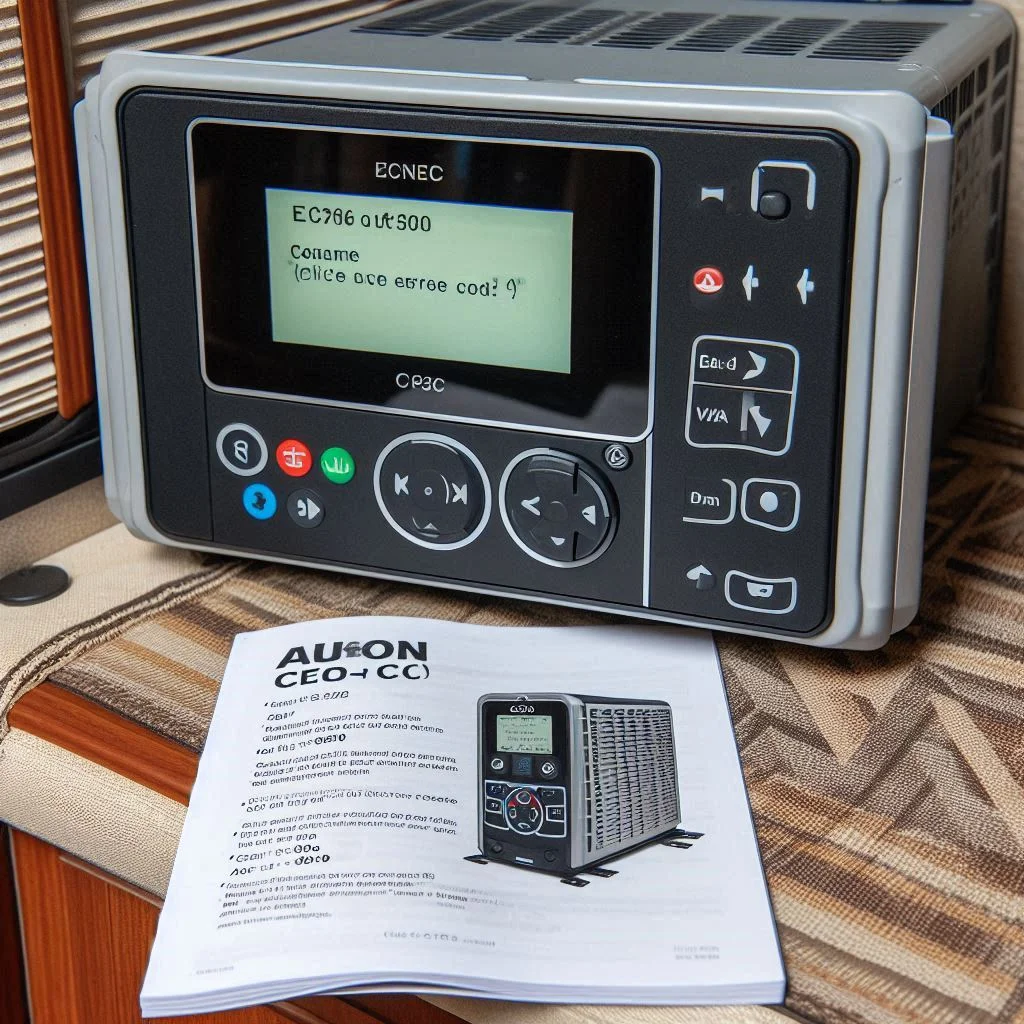
Step 4: Locate and Press the Reset Button on the Unit
Many RV air conditioners feature a reset button, typically located on the control panel or near the motor housing.
- Check your user manual for the exact location.
- Press and hold the reset button for 3-5 seconds or as instructed.
- Release the button and wait for the system to reboot.
Pro Tip:
Ensure the air conditioner is connected to a stable power source before pressing the reset button.
Why This Guide Matters
Following these steps ensures a safe and effective reset, helping you:
- Address minor malfunctions without professional help.
- Restore your RV air conditioner quickly during your travels.
- Avoid unnecessary wear and tear on the system.
By taking a systematic approach, you can maintain your RV air conditioner’s performance and enjoy a comfortable environment wherever the road takes you.
Additional Tips for a Successful Reset
Resetting your RV air conditioner is a straightforward process, but ensuring success requires some additional considerations. These tips will help you confirm the reset’s effectiveness and optimize your AC’s performance for the best cooling experience.
How Long to Wait After Resetting the Unit
Patience is crucial after resetting your RV air conditioner.
- Recommended Wait Time:
After pressing the reset button or flipping the breaker, wait at least 3 to 5 minutes before powering the unit back on. - Why This Matters:
This pause allows the internal components, such as the compressor and thermostat, to recalibrate and stabilize. Immediate power restoration may cause the system to overload or fail to reboot properly.

Verifying If the Reset Has Resolved the Issue
After the reset, you need to ensure that your air conditioner is functioning correctly. Here’s how:
- Check Airflow:
- Turn the AC on and check if cool air is flowing steadily from the vents.
- Weak or warm airflow may indicate an unresolved issue.
- Listen for Unusual Sounds:
- Ensure the unit operates without strange noises like grinding or buzzing, which may signal mechanical problems.
- Inspect for Error Codes:
- Some RV air conditioners display error codes on the control panel.
- Verify if the error code has cleared after the reset.

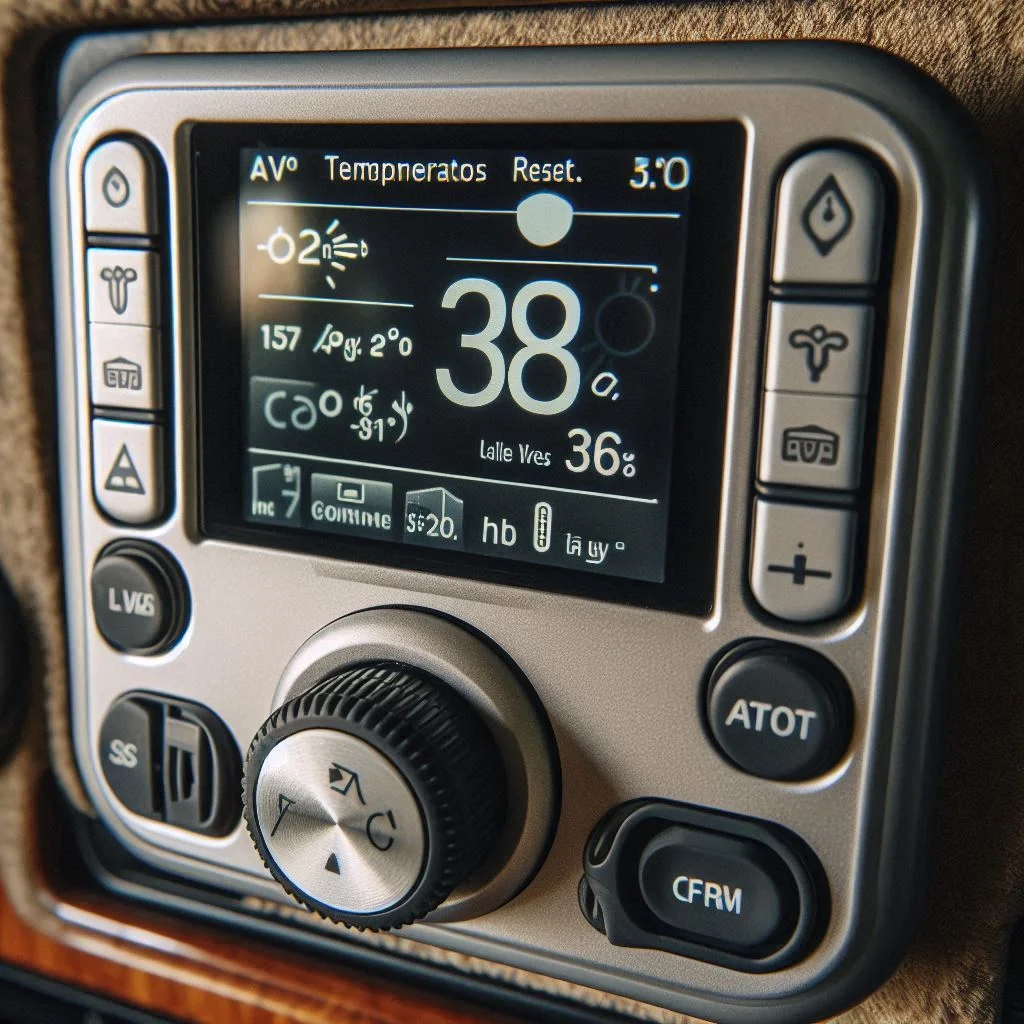
Adjusting Thermostat Settings After a Reset
Once you’ve confirmed the reset, reconfigure your thermostat settings for optimal comfort.
- Set the Desired Temperature:
- Adjust the thermostat to a comfortable level, typically between 72°F and 78°F.
- Ensure it’s in “Cooling” mode and not “Fan” or “Auto.”
- Test Responsiveness:
- Increase or decrease the temperature slightly and check if the AC adjusts accordingly.
- Calibrate If Necessary:
- If the thermostat doesn’t respond accurately, it may require recalibration or replacement.
Pro Tip:
Avoid setting the thermostat to extreme temperatures immediately after a reset, as this may strain the system.
Common Reasons for Resetting Your RV Air Conditioner
Resetting your RV air conditioner is often a quick fix for various operational issues. Understanding these common problems will help you identify when a reset is necessary and how to prevent recurring issues.
Overheating Issues in the System
Overheating is a frequent problem in RV air conditioning systems, especially in hot climates or during extended use.
- Causes of Overheating:
- Blocked airflow due to dirty filters or obstructed vents.
- Prolonged operation without adequate rest periods.
- Malfunctioning compressor or evaporator coils.
- Signs of Overheating:
- The unit shuts off unexpectedly.
- A burning smell or unusually warm air from the vents.
- Increased energy consumption with reduced cooling performance.
- How a Reset Helps:
Resetting allows the system to cool down, recalibrate internal components, and resume normal operation.

Electrical Surges or Fluctuations
Electrical issues can disrupt the normal operation of your RV air conditioner, requiring a reset to restore functionality.
- Common Causes:
- Power surges caused by unstable campground power sources.
- Fluctuations when switching between shore power and a generator.
- Loose wiring or faulty electrical connections.
- Symptoms of Electrical Surges:
- The AC unit fails to turn on or off.
- Flickering control panel lights or unresponsive buttons.
- The breaker trips frequently when the AC is running.
- How a Reset Helps:
Resetting clears electrical errors and helps the system synchronize with the current power supply.

System Malfunction or Error Codes
Modern RV air conditioners are equipped with diagnostic systems that display error codes when a malfunction occurs.
- Types of System Malfunctions:
- Refrigerant leaks leading to insufficient cooling.
- Thermostat miscommunication with the AC unit.
- Fan motor or blower assembly failure.
- How Error Codes Help:
- They indicate specific problems, such as E1 for sensor issues or E3 for compressor malfunctions.
- Refer to your AC unit’s manual to decode the error messages.
- How a Reset Helps:
A reset often clears temporary glitches and allows the system to resume normal operation. If the error persists, further inspection may be required.
Preventative Measures to Avoid Frequent Resets
Frequent resets of your RV air conditioner can indicate underlying issues that may shorten the unit’s lifespan. By adopting preventative measures, you can reduce the likelihood of resets and keep your AC unit running efficiently.
Regular Maintenance Tips for RV Air Conditioners
Consistent maintenance is the foundation of a reliable air conditioning system.
- Inspect Components Regularly:
- Check for wear and tear on the compressor, fan motor, and refrigerant lines.
- Ensure there are no loose connections in the electrical system.
- Schedule Professional Servicing:
- Have your AC unit inspected annually by an HVAC professional.
- Professional servicing includes refrigerant level checks and deep cleaning of the internal components.
- Prolonged Storage Considerations:
- Before storing your RV, run the AC unit briefly to ensure it’s in good condition.
- Cover the unit during long periods of inactivity to prevent dust and moisture buildup.

Keeping the Air Filters Clean and Debris-Free
Dirty air filters are a primary cause of reduced airflow and overheating in RV air conditioners.
- Cleaning Frequency:
- Clean the filters every 2-4 weeks during frequent use.
- Replace filters every 6-12 months or as needed, depending on usage and environment.
- How to Clean Filters:
- Remove the filter from the AC unit.
- Rinse under running water to remove dust and debris.
- Allow the filter to dry completely before reinstalling.
- Benefits of Clean Filters:
- Improved airflow and cooling efficiency.
- Reduced strain on the compressor, extending the unit’s lifespan.

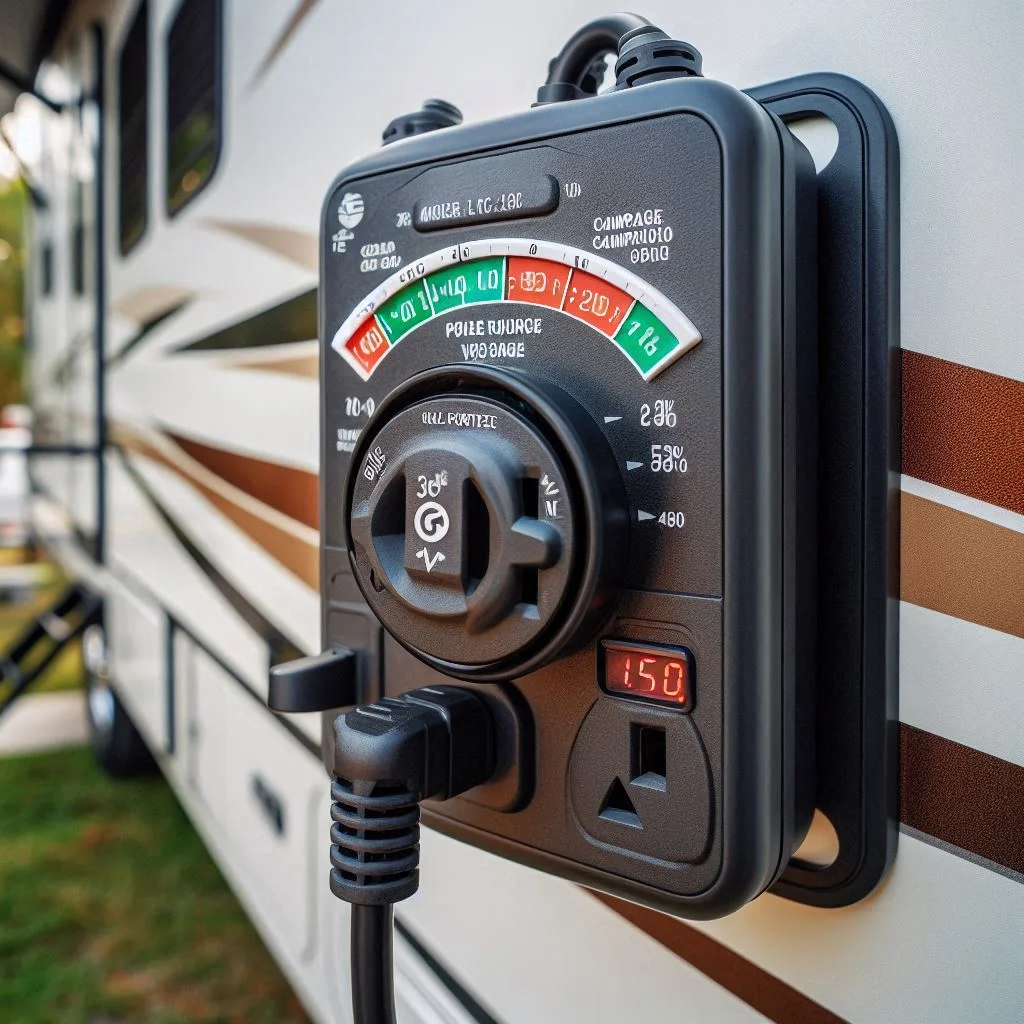
Ensuring Proper Voltage Supply to the Unit
Voltage fluctuations can lead to frequent resets and potential damage to your RV air conditioner.
- Monitor Voltage Levels:
- Use a multimeter or voltage monitoring device to ensure a stable power supply.
- Ideal operating voltage for most RV air conditioners is between 110V and 120V.
- Invest in Surge Protectors:
- Surge protectors safeguard your AC unit from power spikes and surges.
- Portable surge protectors are widely available for RV-specific use.
- Check Shore Power Connections:
- Ensure the power supply at campgrounds or other external sources is reliable.
- Avoid using damaged or frayed power cables.
Pro Tip:
Avoid running multiple high-power devices simultaneously to prevent voltage drops that can strain your AC unit.
FAQs: How Do You Reset an RV Air Conditioner?
Resetting your RV air conditioner can resolve many common issues, but having the correct information ensures a smooth process. Here are detailed answers to frequently asked questions about resetting your RV AC.
Q1: Where is the reset button located on an RV air conditioner?
A: The reset button is usually found:
- On the control panel of the air conditioning unit.
- Near the thermostat, especially for units with advanced controls.
Tips for Locating the Reset Button:
- Consult your RV air conditioner’s user manual for the exact location.
- Look for a small, often recessed button labeled “Reset” or a similar term.
What If You Can’t Find It?
If your unit lacks a dedicated reset button, follow the manual reset method by turning off the breaker, waiting, and restarting the system.

Q2: How long should I wait after turning off the breaker before resetting my RV AC?
A: Wait for at least 30 minutes after switching off the breaker.
Why This Wait Time Is Important:
- It allows the system’s internal components, like the compressor and sensors, to cool down.
- Gives the AC unit’s capacitors time to discharge completely, ensuring a proper reset.
Pro Tip: Use this waiting period to check and clean the air filters or inspect the vents for obstructions.

Q3: What should I do if resetting the AC doesn’t solve the problem?
A: If the issue persists after a reset, check for the following:
- Dirty Air Filters: Clogged filters can impede airflow and cause system malfunctions.
- Electrical Issues: Inspect for loose wiring, damaged connections, or tripped breakers.
- Error Codes: Modern units display error codes that point to specific problems—refer to the user manual to decode these.
When to Call a Professional:
- Persistent overheating or failure to cool properly.
- Frequent electrical trips or unresponsive controls.
- Unusual noises or smells from the AC unit.

Q4: Can I reset my RV AC manually if there’s no reset button?
A: Yes, follow these steps for a manual reset:
- Turn off the air conditioner at the breaker.
- Wait for at least 30 minutes to ensure the system resets.
- Turn the breaker back on and test the unit.
Why Manual Resets Are Useful:
- They’re a universal solution when dedicated reset buttons are unavailable.
- They allow the system to recalibrate, resolving temporary glitches.
Q5: How often should I perform maintenance on my RV air conditioner?
A: Maintenance should be performed every 6-12 months, depending on usage frequency and environmental conditions.
Key Maintenance Tasks:
- Clean Air Filters: Check and clean every 2-4 weeks during heavy usage.
- Inspect Coils and Fins: Ensure they’re free of dirt and debris to maintain optimal efficiency.
- Test Electrical Connections: Ensure all wires and components are secure and functioning correctly.
Benefits of Regular Maintenance:
- Extends the lifespan of your AC unit.
- Prevents issues that require frequent resets.
- Improves energy efficiency and cooling performance.
Conclusion
Resetting your RV air conditioner doesn’t have to be a daunting task. By understanding the components of your AC system, identifying common reasons for resets, and following the outlined step-by-step guide, you can troubleshoot and resolve many issues effectively. Additionally, adopting preventative maintenance measures and addressing potential problems proactively will ensure your RV air conditioner operates efficiently and reliably, providing a comfortable environment for your travels.
For persistent issues or advanced repairs, don’t hesitate to consult a professional to avoid further complications. By staying informed and prepared, you can enjoy a hassle-free cooling experience on all your adventures.