Preparation for Installing an In-Wall Air Conditioner
Installing a wall-mounted air conditioner is a great way to cool your home without taking up window space. If you’re wondering how to install an air conditioner in a wall, the process involves precise measurements, cutting through drywall or masonry, and ensuring proper ventilation for efficient cooling. A well-installed unit improves airflow and energy efficiency while keeping your space comfortable. In this guide, we’ll walk you through the step-by-step installation process, from choosing the right AC unit to securing it in place for optimal performance.
Measuring and Marking the Location
The first step in installing an in-wall air conditioner is selecting the right location for the unit. Proper measurement ensures that the unit fits comfortably within the wall and that it has adequate airflow for maximum performance.
Steps to follow:
- Determine the Ideal Spot:
- Find a location where the air flow is unrestricted. Avoid placing the AC unit near obstructions such as furniture or drapes. A clear and central location is essential for even cooling throughout the room. Make sure the spot is within reach of an electrical outlet.
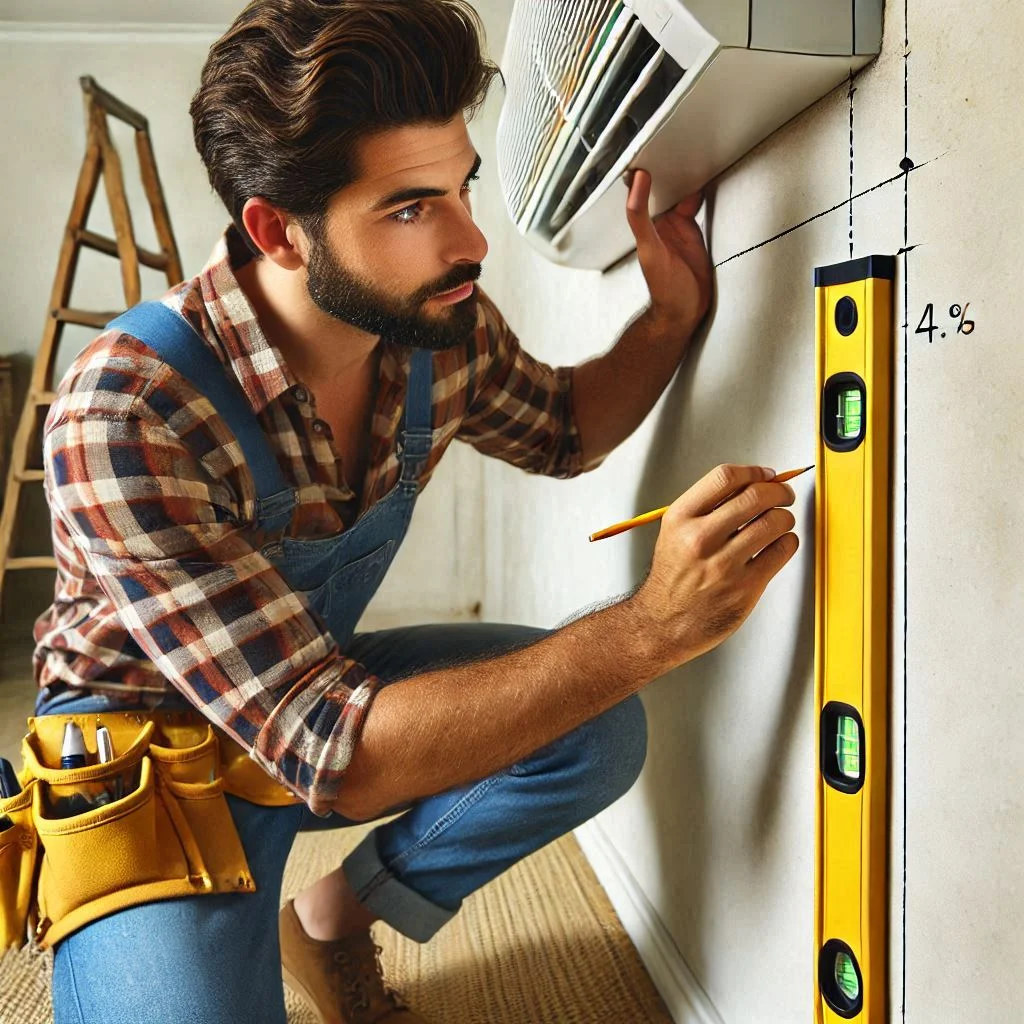
- Use a Level to Mark the Location:
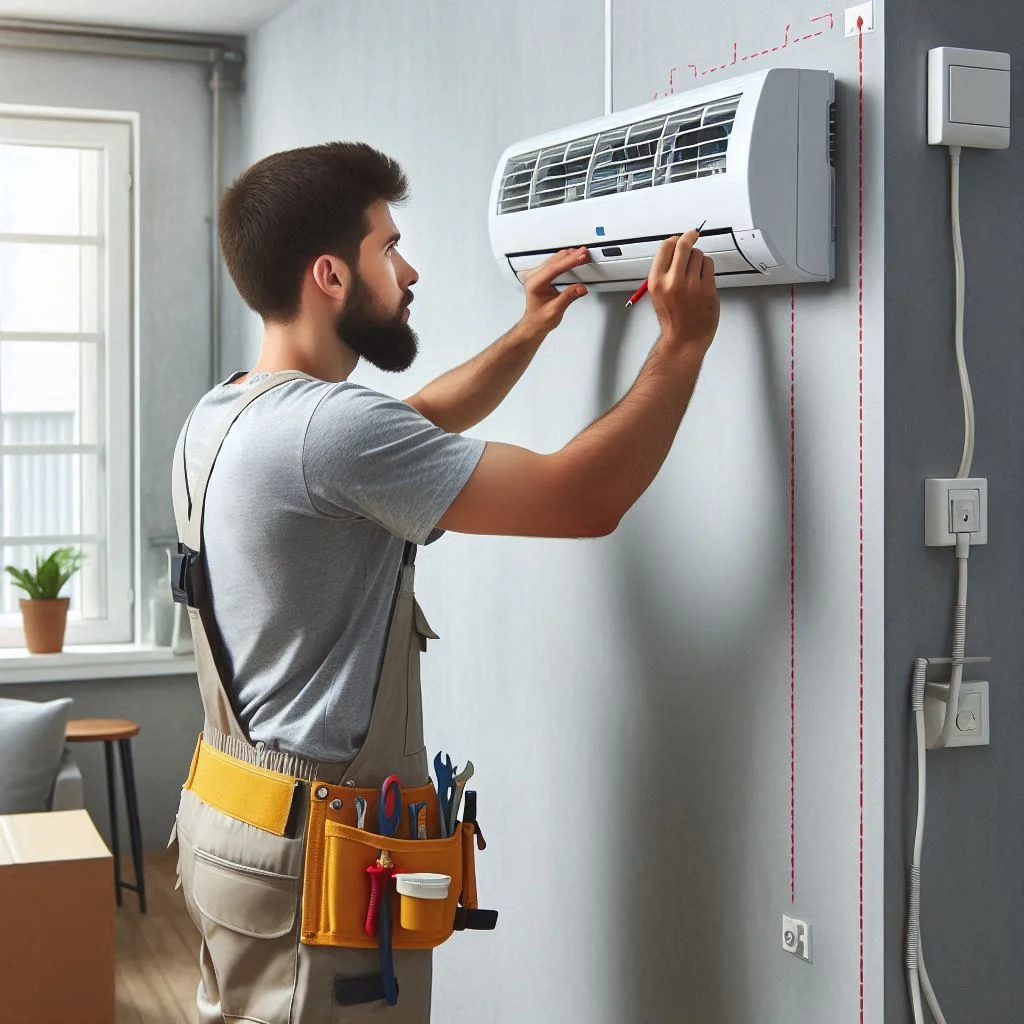
- Using a level, measure the area where the AC will be installed. Mark the top and bottom edges of the air conditioner on the wall with a pencil. This ensures that the unit is installed horizontally, preventing operational issues that can occur with an uneven installation.
- Check for Studs:
- It’s important to find wall studs in the area where the unit will be mounted. Use a stud finder to locate these studs, as the wall sleeve and AC unit will need to be securely anchored to them.
Site Inspection and Preparation
Once you have marked the installation site, it’s time to inspect the area to ensure it’s suitable for mounting the air conditioner. Proper preparation of the wall and surroundings is crucial to avoid complications during the installation process.
Steps to follow:
- Inspect the Wall Condition:
- Ensure that the wall is strong and capable of supporting the weight of the AC unit. Drywall, brick, or concrete are ideal surfaces for in-wall AC installations. If you’re installing the unit in drywall, reinforcing the area with plywood may be necessary to ensure a stable mount.
- Check for Electrical Compatibility:
- Before proceeding, check that there is an existing electrical outlet near the selected location for the AC. The outlet must match the voltage requirements of the unit. If there is no outlet, it’s advisable to have an electrician install one in the proper location to avoid potential hazards.
- Assess Room Layout and Airflow:
- Ensure the room layout allows for unobstructed airflow. Ideally, the air conditioner should be installed in a position where air can circulate freely without being blocked by furniture or other objects. You should also check if there is any external obstruction to the outdoor unit location.
- Prepare for Wall Opening:
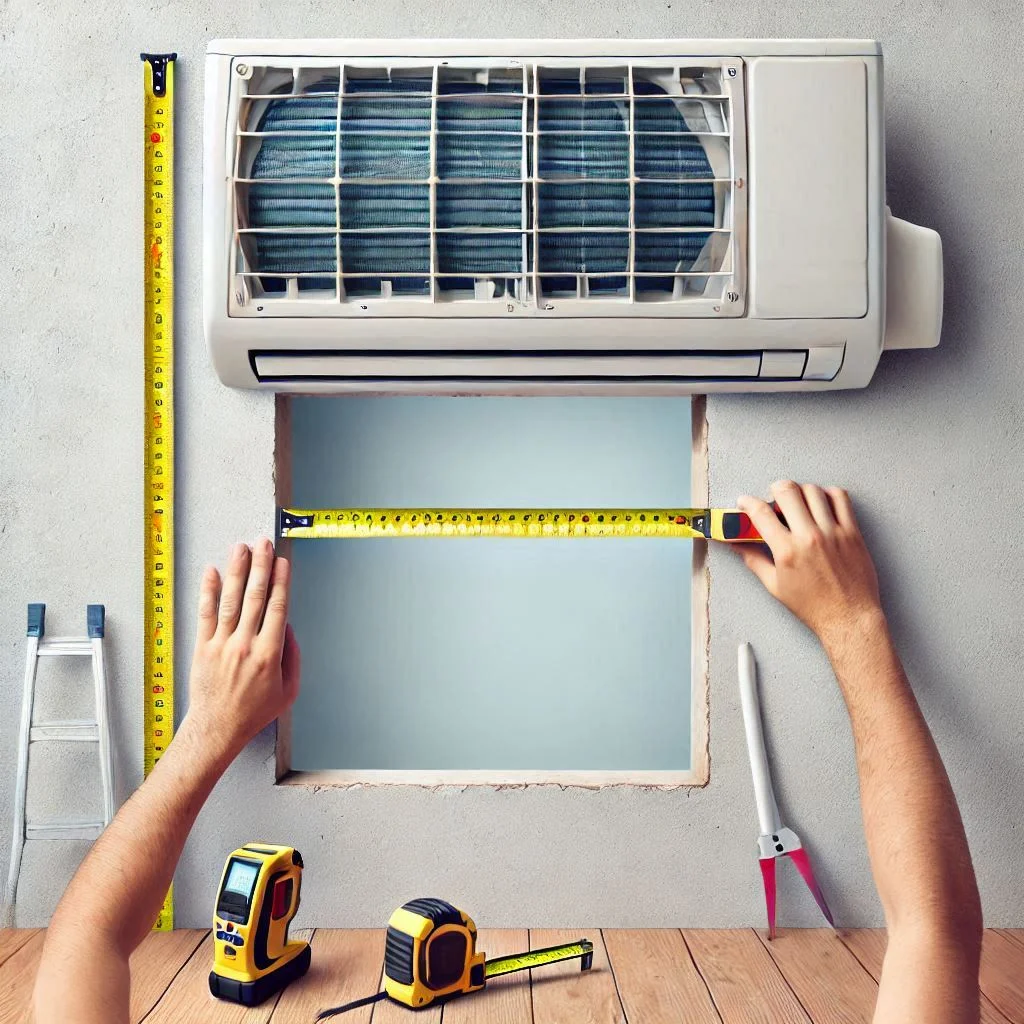
- Plan for the necessary wall opening to fit the sleeve and the unit. It’s important to measure the size of the unit’s wall sleeve and mark it clearly on the wall. The wall opening should be slightly larger than the sleeve to ensure a proper fit and adequate air circulation.
Creating the Wall Opening for Your Air Conditioner
Once you’ve selected the right spot and completed the preliminary measurements and site inspection, the next critical step is creating the opening in the wall to fit the air conditioner. A proper wall opening is essential to ensure a secure, stable installation and to maintain the air conditioner’s efficiency. This phase of the installation requires precise cutting and the proper installation of the wall sleeve to hold the unit.
Cutting and Preparing the Wall for the Unit
Cutting the wall for an in-wall air conditioner requires precision to ensure the sleeve fits properly and the unit is securely mounted. Proper preparation of the wall will also help prevent damage and allow for adequate airflow.
Steps to follow:
- Use the Wall Opening Template:
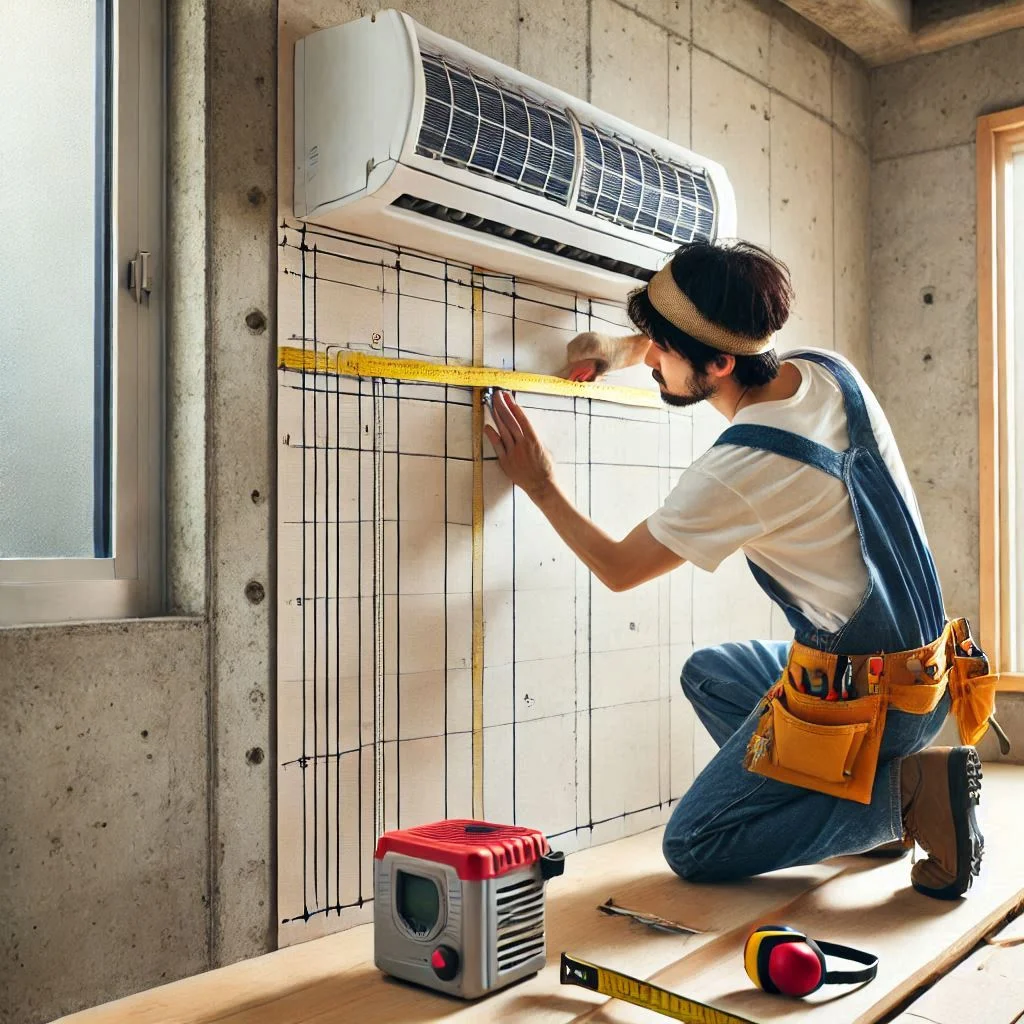
- Most air conditioners come with a wall sleeve that includes a template or instructions for cutting the wall opening. Start by positioning the template on the wall at the marked location. Use a pencil to outline the area that needs to be cut. Make sure the lines are straight and accurately represent the dimensions of the sleeve.
- Measure and Double-Check:
- Before cutting, double-check the measurements to ensure the hole is the correct size for the sleeve. It’s important to have the right dimensions to prevent air gaps, which can reduce cooling efficiency. Make sure the hole is slightly larger than the sleeve’s dimensions to allow easy insertion.
- Cut the Wall:
- Once the measurements are confirmed, use a saw or utility knife to cut through the drywall or the wall material. If you’re working with a concrete or brick wall, use a masonry saw or drill to make the hole. Be cautious and ensure the opening is neat, as rough edges can cause the sleeve and unit to fit poorly.
- Smooth the Edges:
- After the hole is cut, use sandpaper or a file to smooth the edges. Sharp edges can damage the sleeve or the air conditioner during installation. A smooth opening helps the sleeve slide into place easily.
Installing the Wall Sleeve
The wall sleeve serves as a structural support for the air conditioner, ensuring that the unit is securely mounted and preventing potential air leaks. Installing the sleeve properly is a key step in ensuring the longevity and effectiveness of the installation.
Steps to follow:
- Insert the Wall Sleeve into the Opening:
- Carefully slide the wall sleeve into the hole you’ve created. Ensure it fits snugly in the opening. The sleeve should be level, so use a level tool to check that it is aligned horizontally. This will prevent any issues with drainage and airflow during operation.
- Secure the Sleeve:
- Once the sleeve is in place, secure it to the wall by attaching screws or nails through the mounting holes on the sleeve into the wall studs. Ensure that the sleeve is firmly in place to prevent it from shifting or becoming loose over time.
- Check for Proper Drainage:
- The sleeve should have a slight tilt to allow proper drainage of condensation from the air conditioner. Ensure the bottom of the sleeve slopes slightly outward to allow water to flow out of the unit and not into the wall.
- Seal the Gaps:
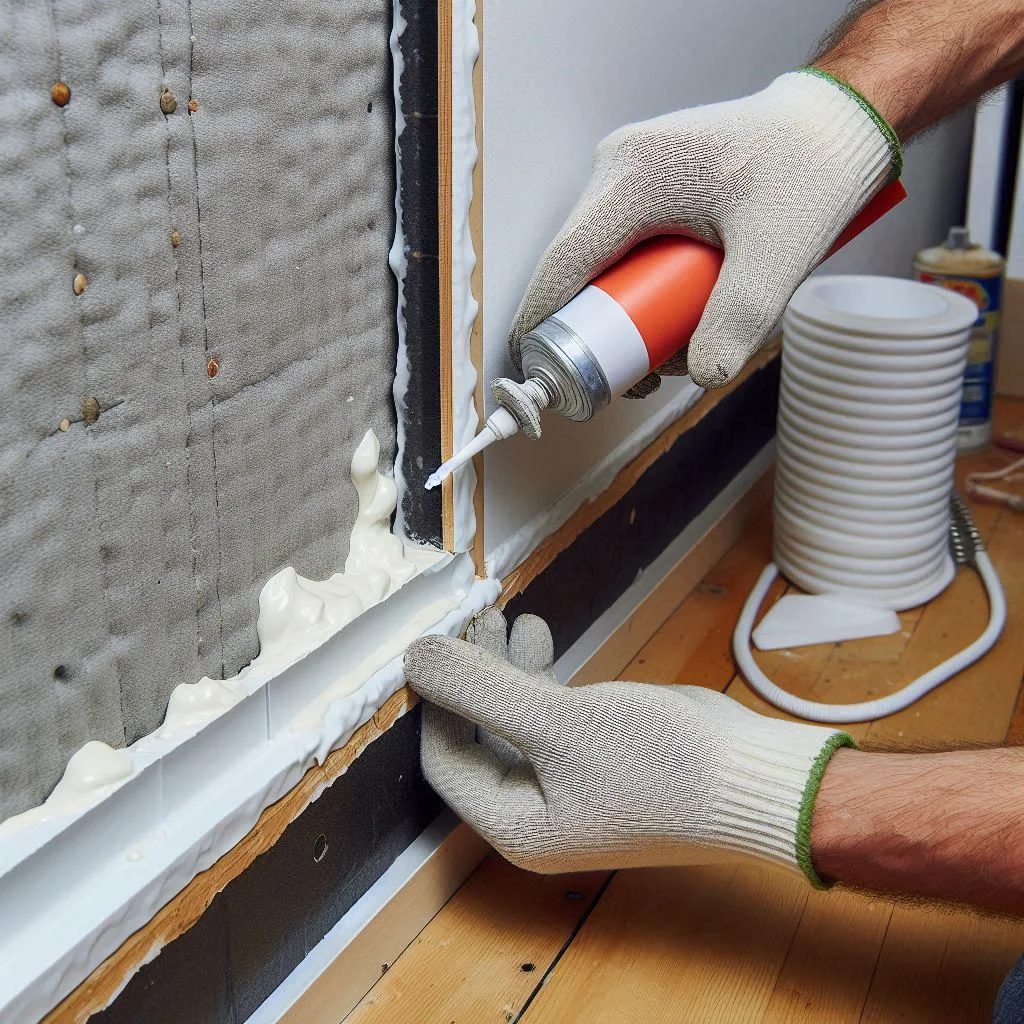
- After the sleeve is installed, use caulk or foam sealant around the edges of the sleeve where it meets the wall to prevent air leaks and water penetration. This step is critical for energy efficiency and to avoid future damage.
- Verify the Installation:
- Finally, double-check the alignment of the sleeve and ensure it is securely installed. Test the fit of the air conditioner by sliding it into the sleeve to ensure the unit will sit correctly.
Installing the Wall-Mounted Air Conditioner
Once you have completed the preparation work, including measuring the location, cutting the wall, and installing the sleeve, it’s time to mount the air conditioner. Proper installation of the indoor unit is crucial for the system’s overall performance, safety, and longevity. This phase of the installation involves mounting the indoor unit securely, ensuring the electrical connections are correct, and setting up the pipes and cables needed for the unit to operate efficiently.
Mounting the Indoor Unit
The indoor unit is the heart of the wall-mounted air conditioner. Proper mounting is essential to ensure the unit stays in place and operates as expected.
Steps to follow:
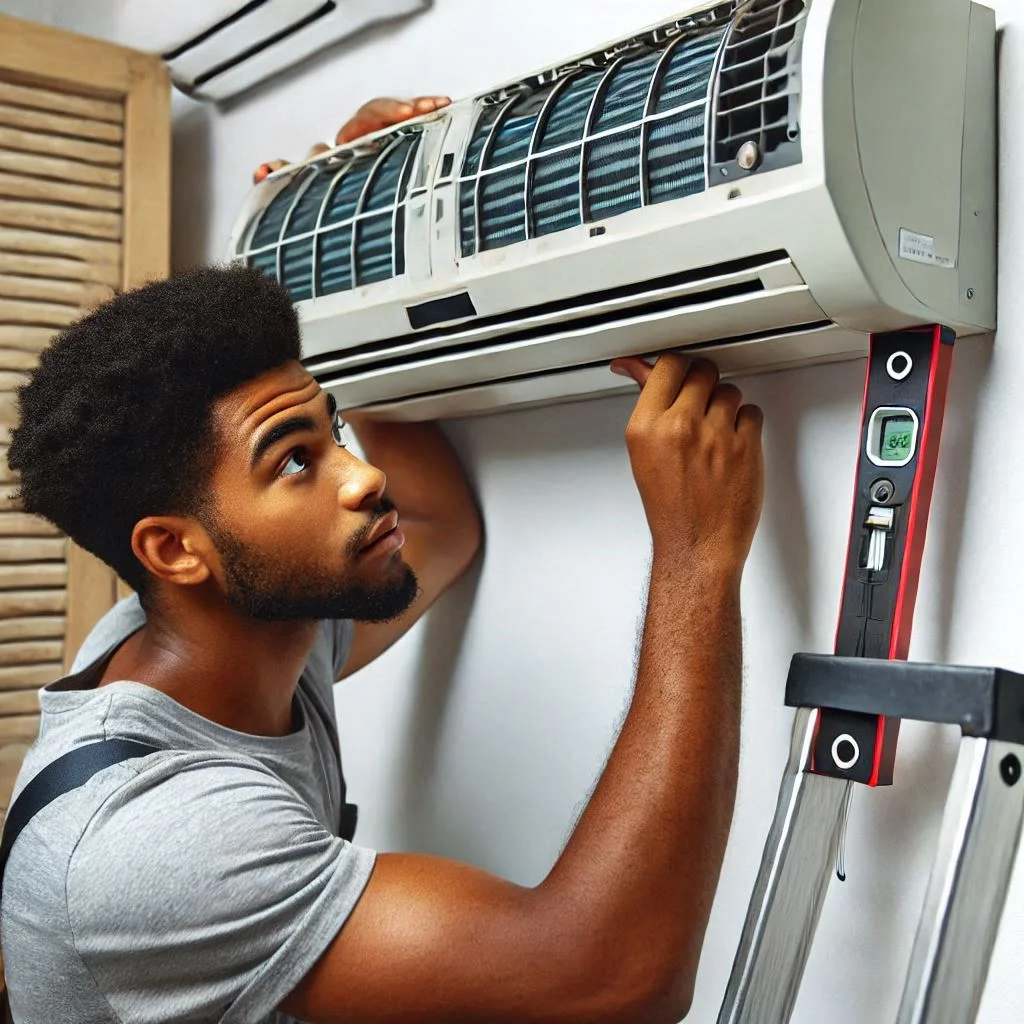
- Align the Mounting Bracket:
- The mounting bracket or plate for the indoor unit must be installed first. It is important to ensure the bracket is level and securely fastened to the wall studs. Use a level to check that the bracket is positioned horizontally, as a misaligned bracket can cause operational problems such as leaks or poor airflow.
- Position the Indoor Unit on the Bracket:
- Once the mounting bracket is securely in place, carefully lift the indoor unit and hang it on the bracket. Ensure that the unit is placed firmly and that it is locked into place to prevent it from shifting over time.
- Secure the Indoor Unit:
- After placing the unit on the mounting bracket, use screws or bolts to secure the unit in place. Tighten all screws carefully to ensure the unit is firmly held on the bracket, but avoid overtightening, which could cause damage.
- Check for Adequate Airflow:
- Before finalizing the installation, check that there is sufficient space around the unit for proper airflow. Make sure the front of the air conditioner is unobstructed by furniture or other objects, as this will hinder its performance.
Checking Indoor Electrical Connections
Proper electrical connections are critical for the air conditioner’s performance and safety. Incorrect wiring can lead to malfunctions or even electrical hazards. It’s essential to follow the manufacturer’s guidelines and local electrical codes when connecting the indoor unit.
Steps to follow:
- Ensure Power Is Turned Off:
- Before handling any electrical connections, make sure the power is turned off at the circuit breaker. This is a critical safety step to avoid electrical shock or damage to the unit.
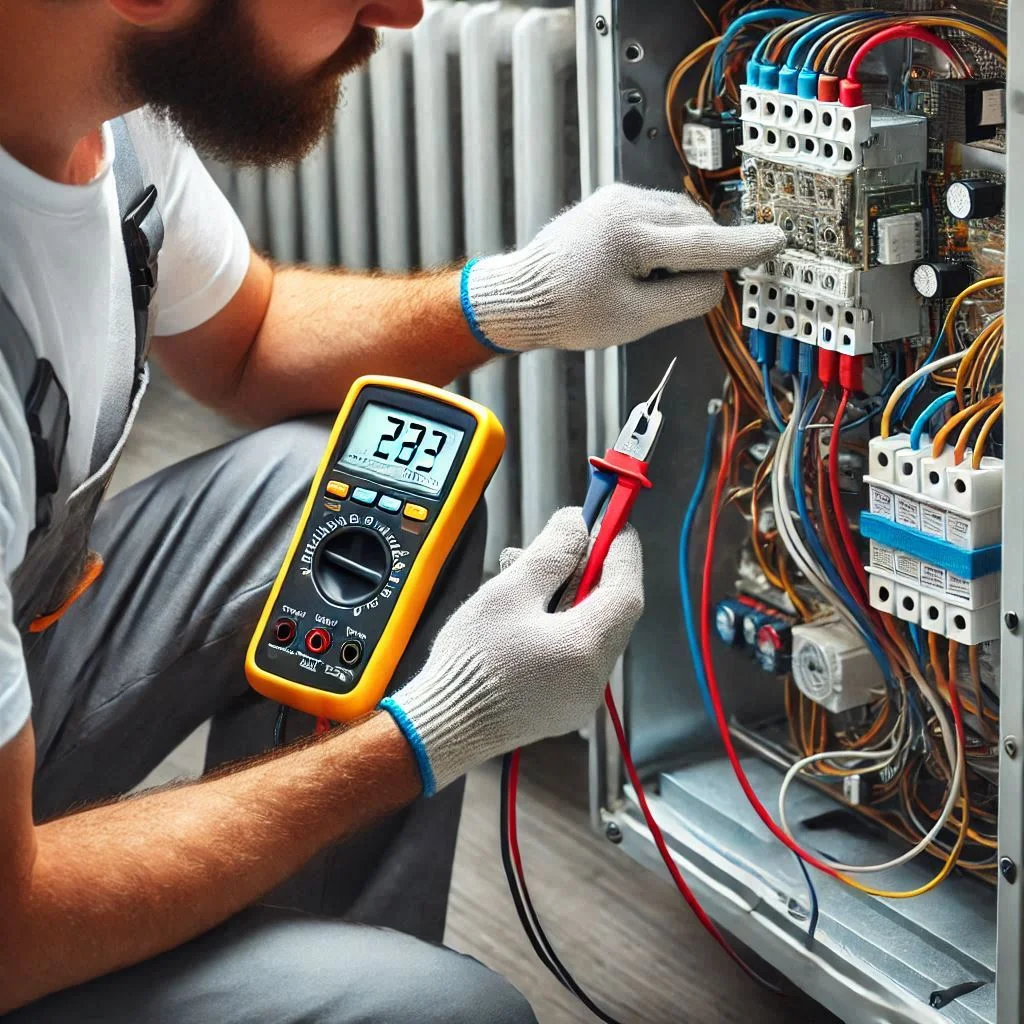
- Verify Electrical Compatibility:
- Ensure that the indoor unit is compatible with the electrical system in your home. Check the voltage requirements listed in the manufacturer’s manual. Use a multimeter to confirm that the voltage matches the air conditioner’s specifications.
- Connect the Wires to the Indoor Unit:
- Connect the electrical wires from the power source to the terminals on the indoor unit. Most air conditioners have clearly labeled terminal blocks to guide the wiring process. Ensure that the connections are secure and that no exposed wires are left exposed, as this can cause electrical shorts.
- Double-Check the Connections:
- After completing the electrical connections, double-check everything to ensure the wires are securely connected and that there are no loose or exposed wires. Tighten any loose screws and use wire nuts to secure connections.
- Restore Power and Test the Unit:
- Once you have completed the electrical connections, restore the power and test the unit to ensure it is functioning properly. If the unit does not turn on, recheck the connections and make sure the electrical supply is intact.
Connecting Pipes and Cables to the Unit
The final step in installing a wall-mounted air conditioner involves connecting the refrigerant pipes, drainage pipes, and electrical cables to the unit. Proper pipe installation is necessary to ensure the unit cools effectively and efficiently.
Steps to follow:
- Connect the Refrigerant Pipes:
- The refrigerant pipes are essential for transferring the refrigerant between the indoor and outdoor units. These pipes are typically copper and should be connected carefully to the ports on the indoor unit. Use a wrench to tighten the fittings securely but avoid overtightening to prevent damage to the threads.
- Ensure Proper Drainage:
- Next, connect the drainage pipe to the indoor unit. The drainage pipe is responsible for removing the condensed water that forms as the air conditioner operates. Ensure the pipe is connected tightly and slopes downward to allow for proper drainage.
- Run the Electrical Cables:
- Run the electrical cables from the indoor unit to the outdoor unit. The cables should be neatly organized to avoid damage and should be secured in place using cable ties. Make sure there is enough slack to allow for movement and expansion without putting stress on the connections.
- Test the Connections:
- Once all the pipes and cables are connected, double-check that they are securely fastened and correctly positioned. Test the system to ensure the refrigerant is circulating properly and the drainage is functioning.
- Insulate the Pipes:
- Insulate the refrigerant pipes and the drainage pipe to improve efficiency and prevent condensation. Use foam or rubber insulation sleeves to cover the pipes, which will also protect them from environmental damage.

Installing the Outdoor Unit for a Wall-Mounted Air Conditioner
The outdoor unit plays a vital role in the operation of a wall-mounted air conditioner. It is responsible for releasing heat absorbed by the refrigerant, ensuring the unit operates efficiently. Proper installation of the outdoor unit is critical for system performance, safety, and longevity. In this section, we will discuss how to choose an appropriate location for the outdoor unit and the necessary steps for installing it correctly.
Choosing a Suitable Place for the Outdoor Unit
Choosing the right location for the outdoor unit is crucial for optimizing the cooling efficiency of your air conditioner. The placement affects airflow, noise levels, and the unit’s long-term durability.
Factors to Consider:
- Adequate Space and Ventilation:
- Ensure that the location you choose allows for sufficient airflow around the outdoor unit. There should be at least a few feet of clearance on all sides to ensure the air conditioner can expel heat effectively. Avoid placing the unit near tall structures, walls, or shrubs that could block airflow and reduce the system’s efficiency.
- Proximity to the Indoor Unit:
- The outdoor unit should be placed as close as possible to the indoor unit to minimize the length of the refrigerant lines. This will help reduce the potential for refrigerant leaks and ensure the system works at optimal efficiency.
- Avoid Direct Sunlight:
- While air conditioners are designed to handle heat, placing the outdoor unit in direct sunlight can make it work harder than necessary, reducing its efficiency. Ideally, the unit should be placed in a shaded area, such as on the side or back of your home, to protect it from the sun.
- Access for Maintenance and Repairs:
- Select a location that allows easy access to the unit for regular maintenance and repairs. Ensure there’s enough space around the unit for technicians to work without obstruction.
- Noise Considerations:
- Outdoor units generate noise, and placing them too close to bedrooms, windows, or outdoor living spaces may disturb the occupants. Aim for a location that minimizes the impact of noise on your living environment.
Laying a Concrete Pad or Fixing Brackets on the Exterior Wall
Once you’ve chosen the optimal location for the outdoor unit, the next step is to prepare the surface for installation. The unit needs to be mounted securely to avoid vibrations and ensure it remains stable over time. This step involves laying a concrete pad or fixing brackets on the exterior wall.
Steps to Follow:
- Laying a Concrete Pad:
- Prepare the Area:
- If you are installing a concrete pad, the first step is to clear the ground where the pad will be placed. Make sure the area is level and free of debris. Use a shovel to level the ground if needed.
- Pour the Concrete:
- Once the area is prepared, pour the concrete into a mold to create the pad. The pad should be large enough to accommodate the base of the outdoor unit and provide a stable foundation. Typically, a pad should be at least 3-4 inches thick.
- Level and Smooth the Surface:
- Use a level to ensure that the concrete pad is perfectly flat. Smooth the surface using a trowel to eliminate any bumps or inconsistencies. Allow the concrete to set and cure for 24-48 hours before placing the outdoor unit on top.
- Install the Unit on the Pad:
- After the concrete pad is fully set, position the outdoor unit on top. Ensure that it is level and aligned correctly. Secure the unit in place by attaching it with bolts or screws to prevent movement.
- Prepare the Area:
- Fixing Brackets on the Exterior Wall:
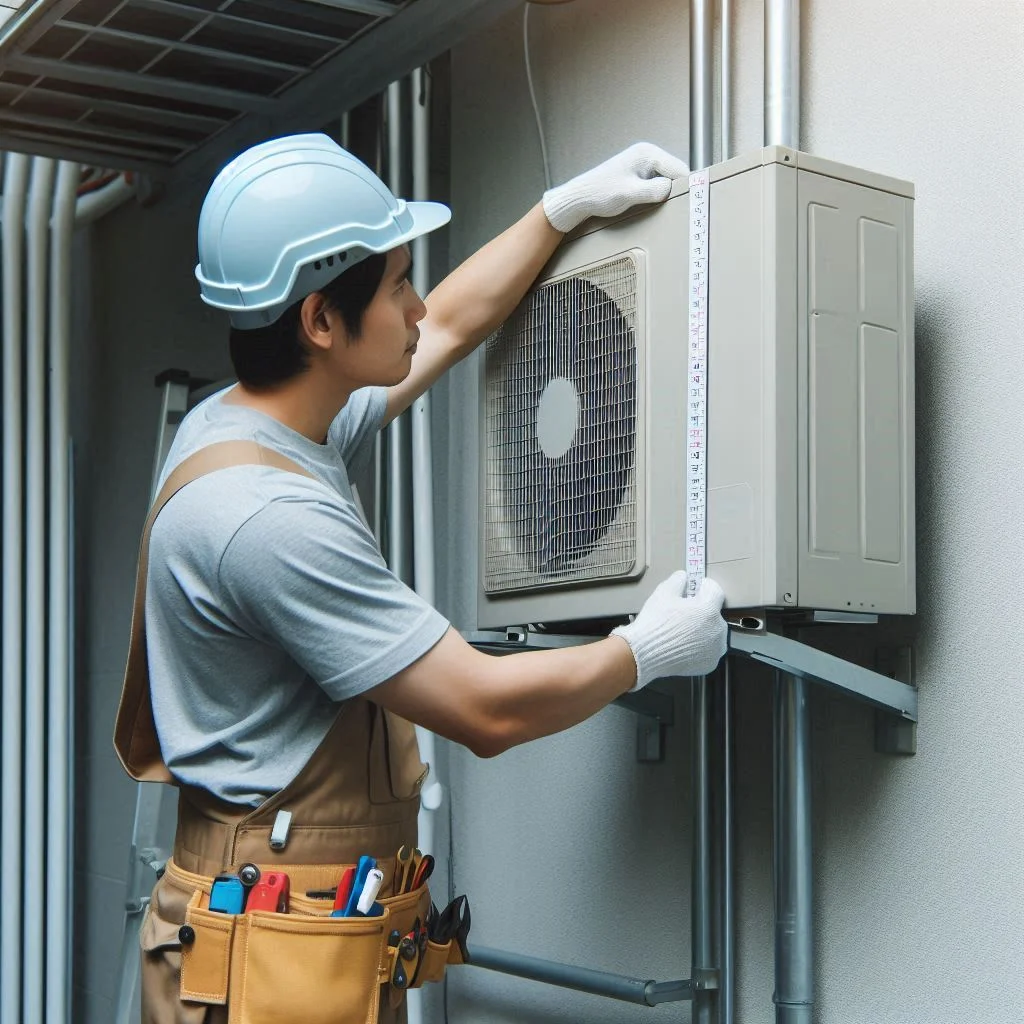
- Determine the Placement of Brackets:
- If you are fixing the outdoor unit to the exterior wall, use a measuring tape to ensure the brackets are placed at the correct height and angle. Mark the spots where the brackets will be installed.
- Install the Brackets:
- Drill holes into the wall to secure the brackets. Use appropriate wall anchors or screws to ensure the brackets are firmly attached to the structure. Make sure the brackets are level to prevent the unit from tilting or causing unnecessary strain on the mounting.
- Mount the Outdoor Unit on the Brackets:
- Once the brackets are installed, carefully lift the outdoor unit and secure it onto the brackets. Ensure the unit is firmly attached to prevent it from shifting or falling over time.
- Determine the Placement of Brackets:
Tips, Warnings, and Things You’ll Need
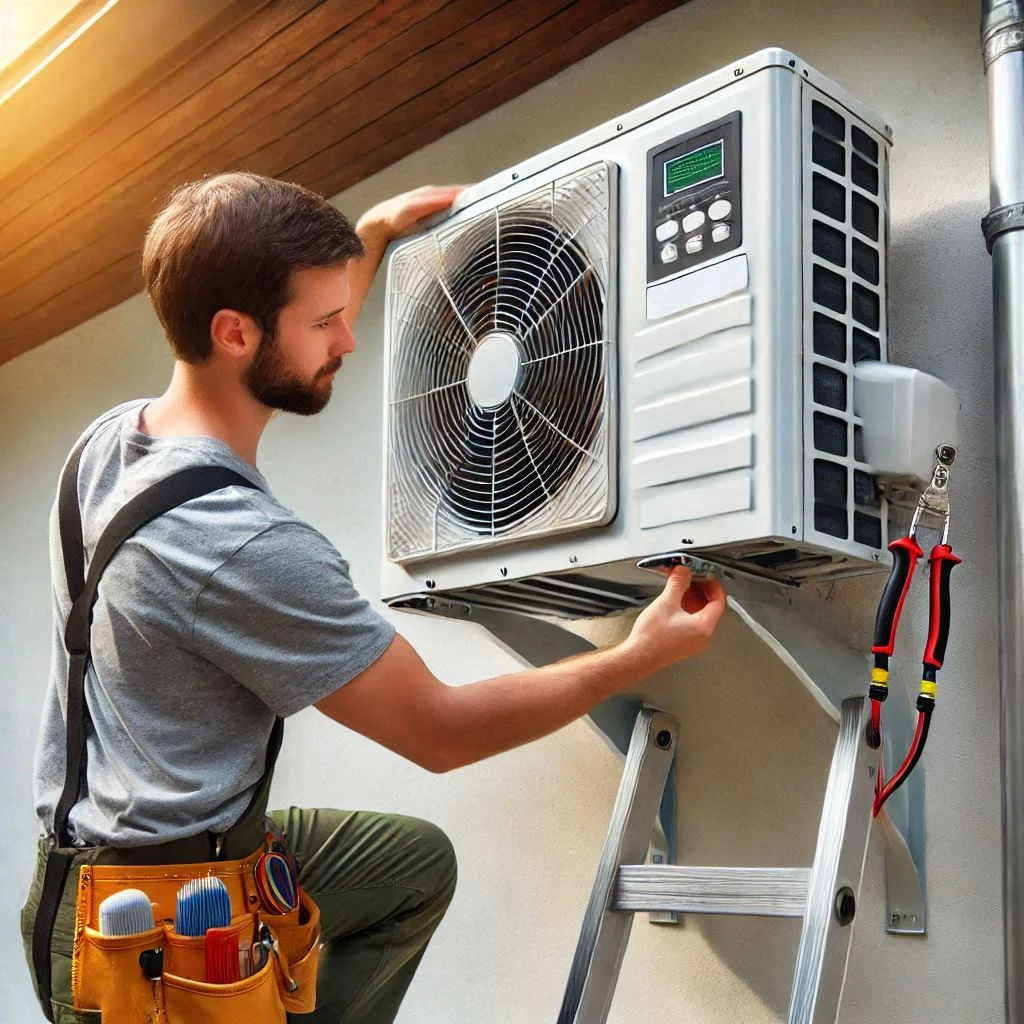
When installing a wall-mounted air conditioner, it’s essential to have the right tools, materials, and knowledge. This section provides helpful tips, outlines important warnings, and lists the essential tools you’ll need to ensure a successful and smooth installation process. Proper preparation can save you time, reduce errors, and improve the performance of your air conditioning system.
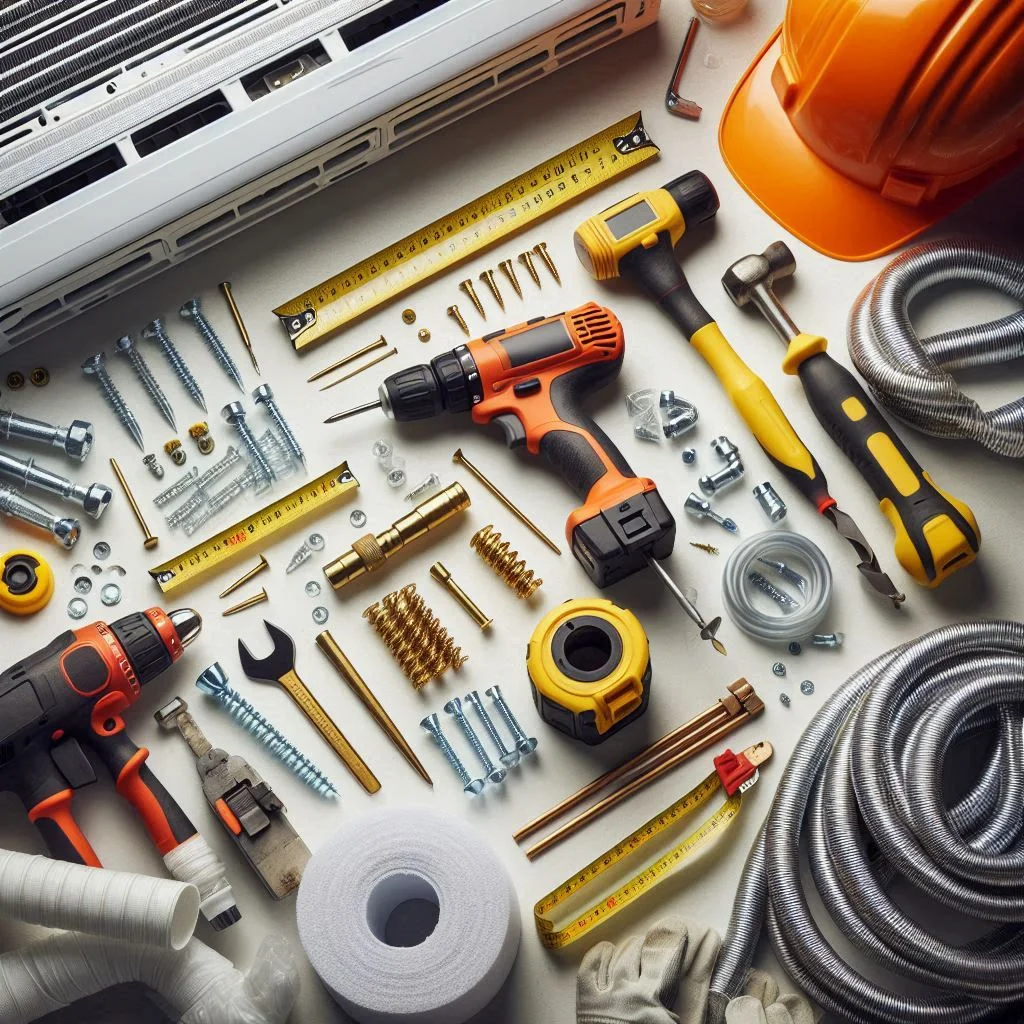
Essential Tools and Materials for the Installation
Before beginning the installation of your wall-mounted air conditioner, it is important to gather all the necessary tools and materials. The right equipment will not only make the process easier but also ensure that everything is installed securely and correctly.
Here are the key tools and materials required:
- Measuring Tape and Level:
- These are essential for accurately measuring and marking the location of the unit. A level ensures that the air conditioner is properly aligned during mounting.
- Drill and Drill Bits:
- A power drill is necessary to create holes for screws and brackets. Make sure to use the correct drill bit size for the screws you are using.
- Screwdriver and Screws:
- A screwdriver (manual or electric) will be required to fasten the screws to mount the brackets or attach the indoor unit. Use high-quality screws that are compatible with the mounting surface.
- Saw (for wall cutting):
- If you are cutting through drywall or other materials to create the opening for the unit, a saw (either a jigsaw or hand saw) will be necessary. Ensure the blade is sharp for clean cuts.
- Concrete Mix (if laying a pad):
- If you need to install a concrete pad for the outdoor unit, you’ll need bags of concrete mix, a shovel, and a bucket to mix the concrete.
- Refrigerant Pipes and Electrical Wiring:
- You’ll need refrigerant pipes (usually copper) to connect the indoor and outdoor units, as well as electrical wiring to connect the system to the power source. Make sure the refrigerant lines are of the correct size for the unit.
- Insulation for Pipes:
- Insulating the refrigerant pipes is crucial to prevent condensation and improve the energy efficiency of the unit. You will need foam or rubber insulation sleeves for the pipes.
- Sealant or Caulking:
- After mounting the indoor unit and installing the pipes, seal any gaps around the unit and wall with weatherproof sealant to prevent air leaks.
Helpful Tips for a Smooth Installation
To ensure a smooth and efficient installation process, here are some helpful tips that can make a significant difference:
- Plan the Installation Carefully:
- Take your time to plan the entire installation before starting. Ensure you have all the materials and tools at hand and create a step-by-step checklist to avoid missing any crucial steps.
- Ensure Proper Alignment and Leveling:
- As you mount the unit, constantly check for level alignment. An improperly aligned unit can lead to operational problems, such as improper airflow and drainage.
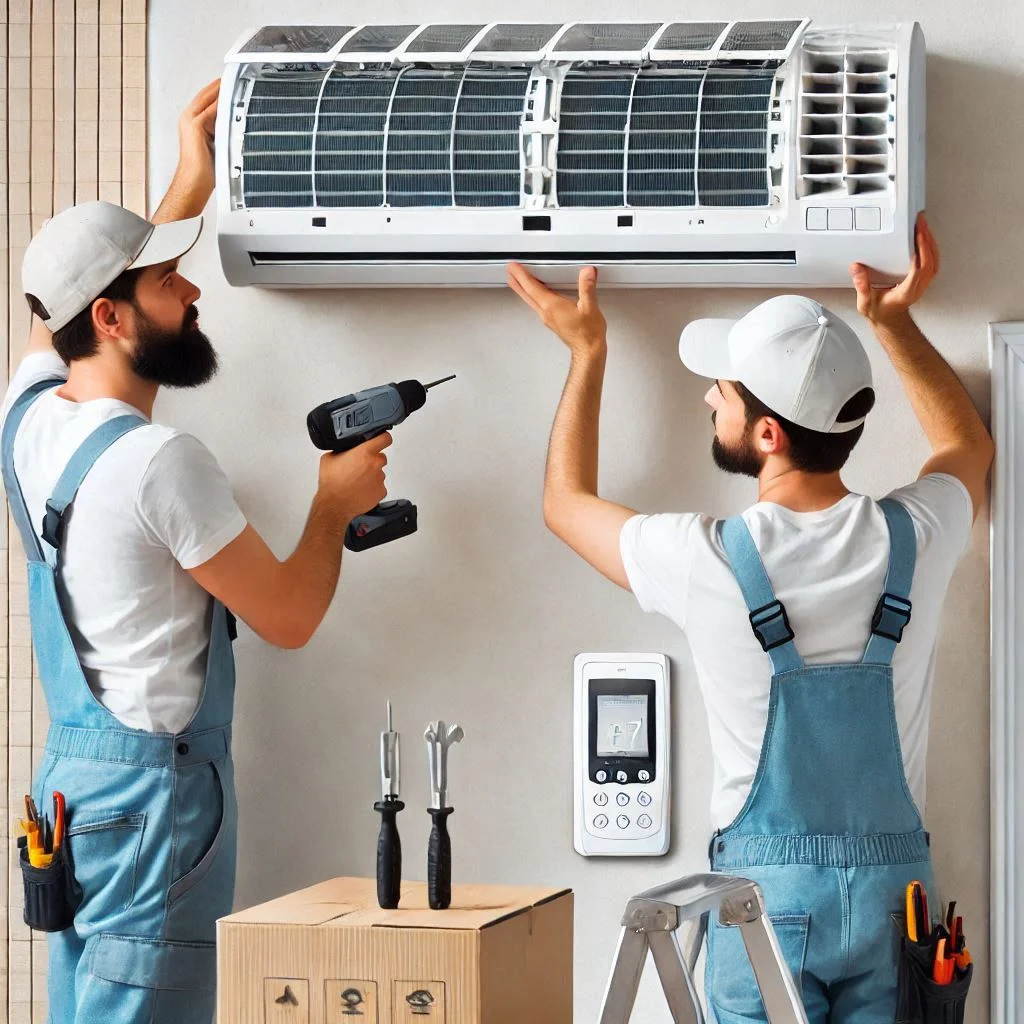
- Work with a Partner:
- Installing a wall-mounted air conditioner can be a two-person job. One person can hold the unit in place while the other secures it. This will help ensure accuracy and reduce the risk of accidents or damage.
- Check for Obstructions:
- Before drilling or cutting, double-check the wall for any electrical wiring or plumbing behind the surface. Use a stud finder to locate wall studs, which will provide a secure anchor for the mounting brackets.
- Test the Unit Before Sealing Everything:
- Once the unit is mounted and connected, perform a test run to ensure everything is working properly. This will help you spot any issues before permanently sealing the unit into place.
- Clean the Area:
- After installation, make sure to clean up the area. Remove any dust, debris, or excess sealant to ensure the system runs smoothly.
Important Warnings to Keep in Mind
While installing a wall-mounted air conditioner, there are several important warnings you should be aware of. These precautions are crucial for your safety and the proper functioning of the unit.
- Avoid Electrical Hazards:
- Always ensure the power is turned off at the breaker before handling electrical connections. Failure to do so can lead to electrical shock or damage to the air conditioner. If you are not confident in handling electrical wiring, consider hiring a licensed electrician.
- Check for Leaks and Tighten Connections:
- After connecting the refrigerant pipes and electrical cables, always check for leaks. Even a small refrigerant leak can compromise the efficiency of your air conditioner. Tighten connections properly to avoid leaks.
- Don’t Overload the Unit:
- Never try to overwork your air conditioner by setting the temperature too low or running it continuously at full capacity. Doing so can shorten the lifespan of the system and increase energy consumption.
- Secure the Unit Properly:
- Ensure that the indoor and outdoor units are mounted securely to avoid accidents. An unsecured unit may fall off the wall or pad, causing significant damage to the unit or surrounding property.
- Properly Insulate Pipes:
- Failing to insulate the refrigerant pipes properly can lead to energy loss, condensation buildup, and inefficiency. Always use high-quality insulation materials for your pipes.
- Consult the Manufacturer’s Manual:
- Every air conditioner is different, and it is essential to follow the manufacturer’s installation instructions. Failure to do so could void the warranty or cause damage to the system.

FAQ – How to Install Air Conditioner in Wall
When installing a wall-mounted air conditioner, there are many steps and considerations to ensure everything goes smoothly. Below are the most frequently asked questions (FAQs) about this process, along with answers to help guide you through the installation.
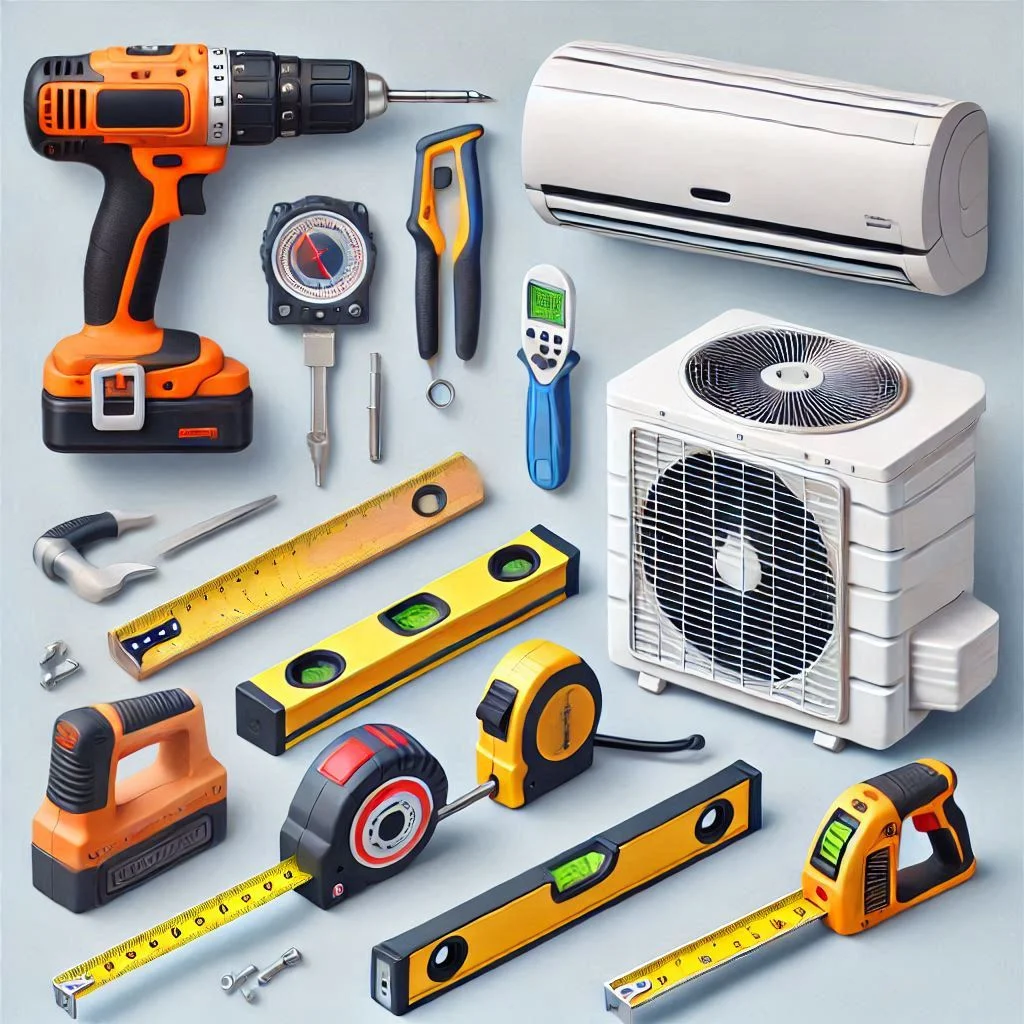
1. What tools do I need to install a wall-mounted air conditioner?
Answer:
Installing a wall-mounted air conditioner requires a few essential tools. Here’s a list of what you’ll need:
- Measuring tape to measure the space for the AC unit and ensure proper placement.
- Level to ensure the air conditioner is mounted straight, which helps with proper airflow and drainage.
- Power drill with the appropriate drill bits to create holes for screws and the wall sleeve.
- Screwdriver for securing the mounting brackets and the air conditioning unit.
- Saw (preferably a jigsaw) for cutting the wall opening if necessary.
- Refrigerant pipes for connecting the indoor and outdoor units, usually copper.
- Sealant or weatherproof caulking to seal any gaps and improve insulation.
- Concrete mix (if needed) for laying a concrete pad for the outdoor unit.
These tools will ensure a successful installation process. Always follow manufacturer guidelines for specific installation tools required for your model.
2. Can I install a wall-mounted air conditioner by myself, or do I need a professional?
Answer:
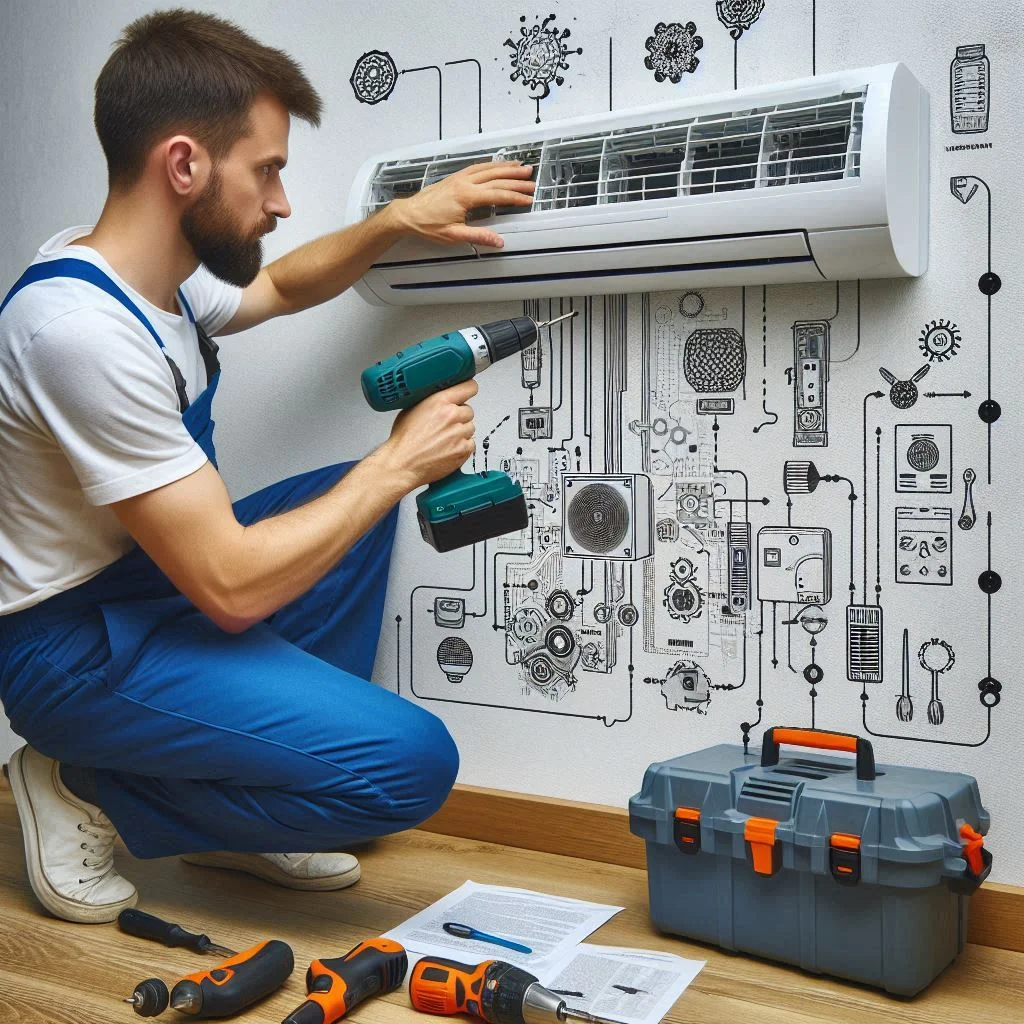
While it is possible to install a wall-mounted air conditioner yourself if you have basic DIY skills, it’s important to consider the complexity of the installation process. For simpler installations, such as a direct replacement of an existing unit, a DIY approach may work well. However, the installation involves handling electrical connections, refrigerant lines, and ensuring the unit is properly aligned and sealed.
For optimal performance and to avoid potential risks, consider hiring a professional HVAC technician if you are not comfortable with:
- Electrical wiring and connections.
- Cutting through walls to create the proper opening.
- Handling refrigerant pipes and ensuring no leaks.
An experienced professional will have the right knowledge and tools to ensure the air conditioner is installed safely and efficiently.
3. How do I know if the wall can support the air conditioner?
Answer:
Before mounting a wall-mounted air conditioner, you must ensure that the wall is strong enough to support the weight of the unit. Here’s how to check:
- Wall Type:
- Drywall, plaster, and concrete walls are commonly used for AC installation. Drywall and plaster may require additional support, such as wall anchors or studs, to securely mount the unit. Concrete walls, on the other hand, can usually support the weight of the unit without additional support.
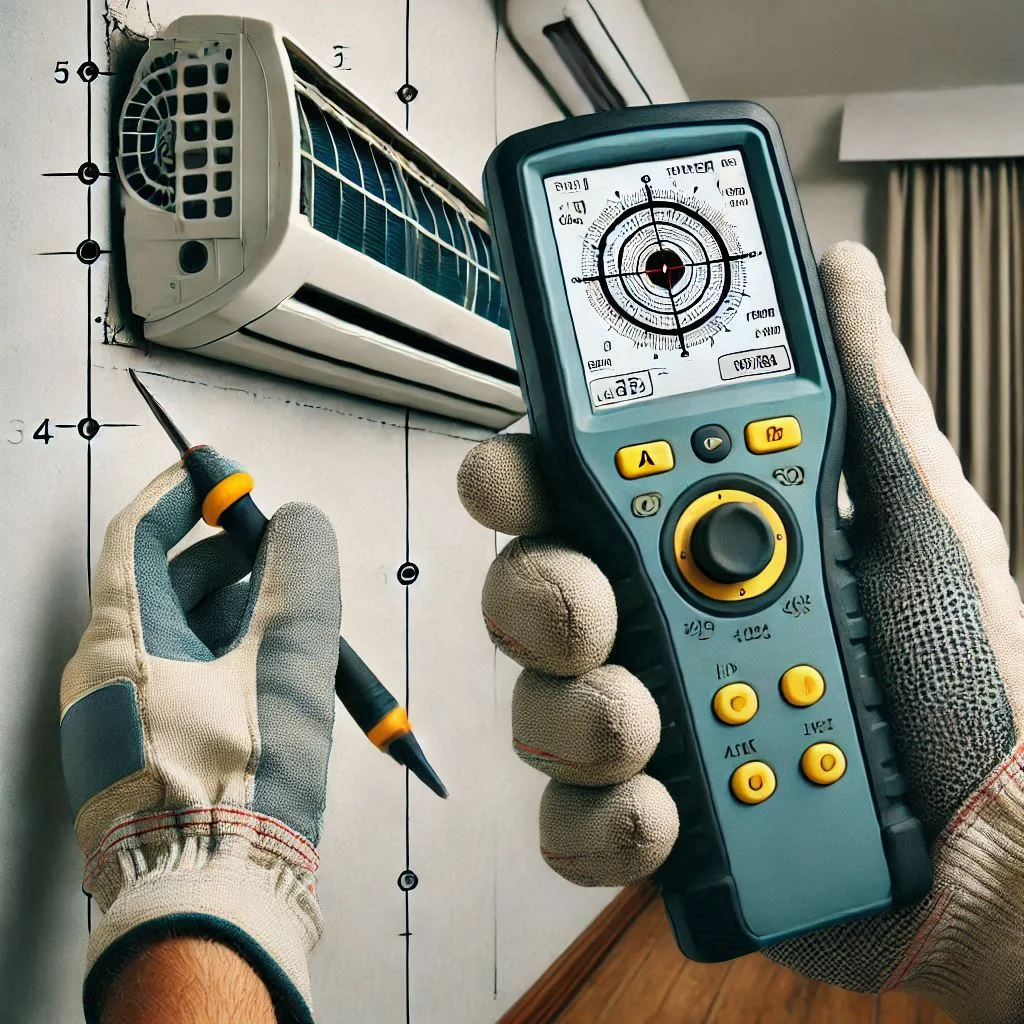
- Use a Stud Finder:
- A stud finder can help locate studs behind the wall. These studs provide a secure surface to fasten the mounting brackets. Mounting the unit on studs will distribute the weight more evenly, ensuring stability.
- Check for Structural Integrity:
- Ensure the wall is free of cracks or damage. A weakened wall structure can compromise the AC unit’s installation.
If the wall does not have enough support, it’s recommended to install additional mounting hardware or consider another location.
4. What are the most common mistakes during AC wall installation?
Answer:
There are several common mistakes people make during the installation of a wall-mounted air conditioner. Avoid these errors to ensure the unit works efficiently and safely:
- Improper Placement:
- Not checking the placement before mounting can result in poor airflow or difficulty reaching controls. Ensure that the air conditioner is placed in a location where airflow is unobstructed.
- Incorrect Leveling:
- Installing the unit at an angle can cause drainage problems, leading to water leakage or reduced cooling efficiency. Always use a level during the installation process.
- Not Sealing Gaps Properly:
- Failing to properly seal gaps between the air conditioner and the wall can lead to energy loss and reduced performance. Use weatherproof caulking or sealant to fill any gaps.
- Not Checking Electrical Connections:
- Electrical connections should always be done by a licensed electrician. Incorrect wiring can cause system failure or pose a fire hazard.
- Skipping a Test Run:
- After installation, always test the system to ensure everything is functioning correctly. Checking for leaks, airflow, and power connection before sealing the unit ensures that any issues are caught early.
5. How long does it take to install a wall-mounted air conditioner?
Answer:
The time required to install a wall-mounted air conditioner can vary based on several factors, such as the complexity of the installation, the type of wall, and whether you’re working alone or with a partner. On average, here’s what you can expect:
- Basic Installation: For a straightforward installation, it may take about 3 to 5 hours. This includes measuring, cutting the wall opening, mounting the unit, and connecting the pipes and electrical components.
- Complex Installation: If additional work is required, such as installing a concrete pad for the outdoor unit or if the wall is more difficult to work with, it may take up to a full day (6-8 hours).
To speed up the process, plan ahead, ensure you have all the required tools, and, if possible, have a helper.

Conclusion
Installing a wall-mounted air conditioner is a straightforward but meticulous task that requires proper planning, the right tools, and attention to detail. From preparing the wall and ensuring the unit is correctly mounted to securing the outdoor unit and making all the necessary electrical connections, every step is essential for a successful installation. By following the detailed steps outlined in this guide, you can confidently take on this project and enjoy the cooling comfort your new air conditioner provides. However, if you’re unsure about any part of the installation process or if you lack the required expertise, it’s always a good idea to consult a professional HVAC technician to ensure optimal performance and safety. Whether you’re tackling the job yourself or enlisting expert help, remember that a proper installation will enhance your air conditioner’s efficiency and longevity, keeping your home cool for years to come.

