Why Choose a Window Air Conditioner for Your Pop Up Camper?
Camping in a pop-up camper during the summer can get uncomfortably hot. If you’re wondering how to install a window air conditioner in a pop-up camper, you’re in the right place. A window AC unit is a cost-effective way to keep your camper cool, but proper installation is crucial to ensure efficiency and stability. In this guide, we’ll walk you through the step-by-step process, from choosing the right AC unit to securely mounting it for optimal cooling on your adventures.
Benefits of Using a Window Air Conditioner in a Pop-Up Camper
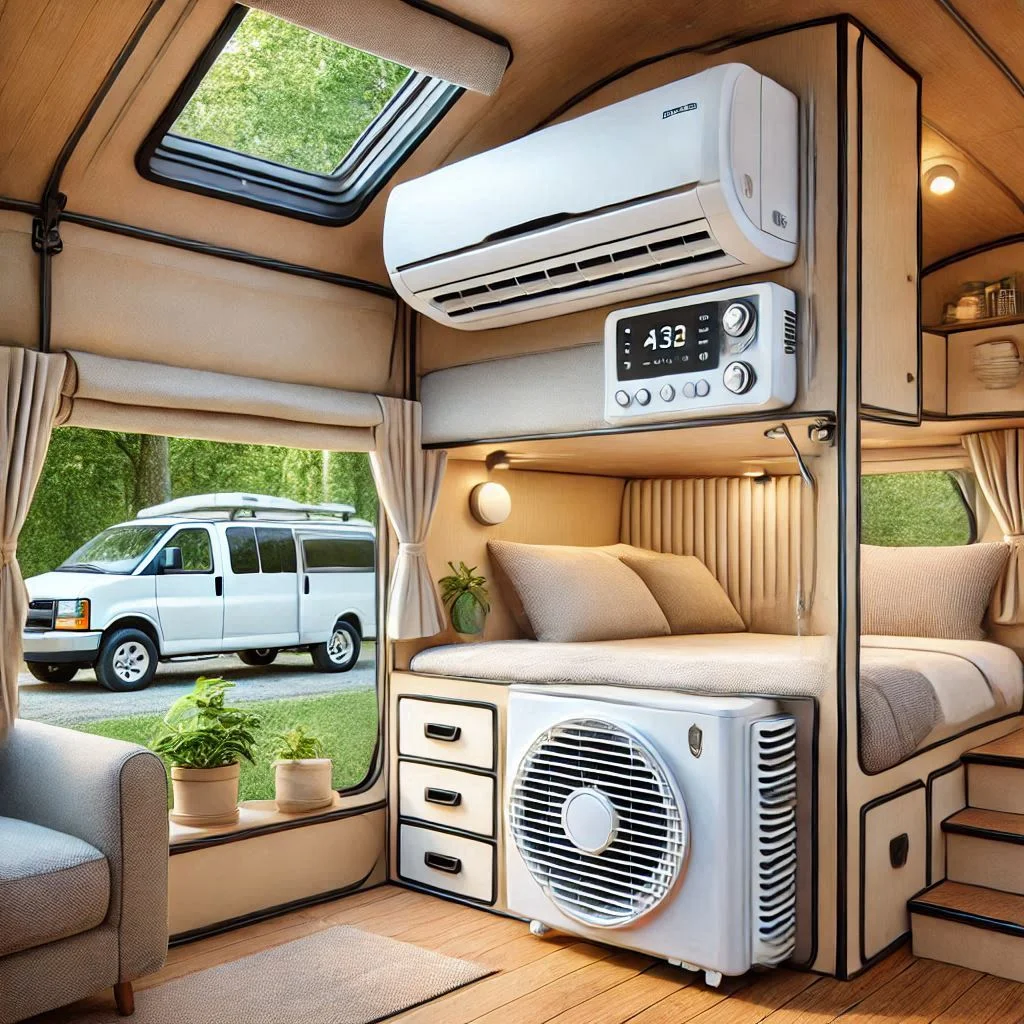
Window air conditioners are designed to be compact and efficient, which makes them perfect for small spaces like a pop-up camper. These units are designed to cool specific areas rather than large, open spaces, which means you can efficiently cool your camper without using excessive energy. A well-fitted window AC unit can help regulate the temperature inside the camper, ensuring a comfortable environment no matter how hot it gets outside.
Additionally, window air conditioners are easy to install and require minimal space. They don’t take up any floor or counter space, which allows you to make the most out of the limited room in your camper. Unlike larger portable air conditioners that can be bulky and take up valuable floor space, a window unit fits snugly into the window frame, freeing up space for other essentials.
Why Window AC Units Are a Good Fit for Mobile and Compact Spaces
Pop-up campers are designed to be lightweight and easy to move, so having a bulky air conditioning unit may not be practical. Window air conditioners are the perfect solution because they fit neatly into the camper’s window frame, making them both space-efficient and easy to transport.
The portability of window AC units makes them an excellent choice for campers that travel to different locations. You don’t have to worry about complicated installation processes at every new campsite or destination. Additionally, since the unit doesn’t take up valuable interior space, it doesn’t compromise the comfort or layout of your camper.
Moreover, window AC units are typically more affordable than larger cooling systems, such as roof-mounted or central AC units, making them an ideal budget-friendly option for campers looking for an efficient way to beat the heat on a budget.
Energy Efficiency and Cost Considerations
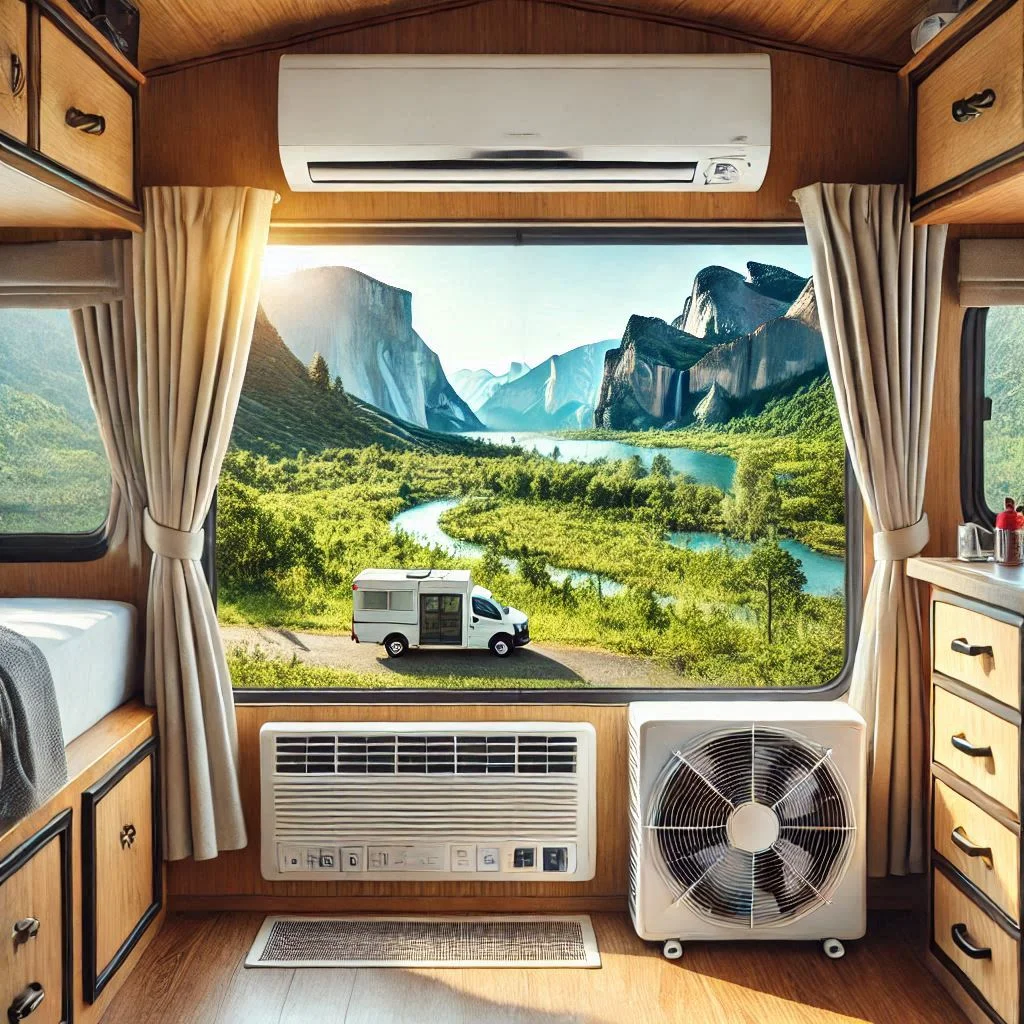
Window air conditioners are known for their energy efficiency. Compared to larger cooling systems, they consume less electricity, which is crucial when you’re camping in areas where you may have limited access to power sources. This efficiency is especially important in a pop-up camper, where electricity may be limited, and you want to avoid overloading your power supply.
In addition to energy efficiency, window AC units tend to be more affordable in terms of upfront costs and long-term operating costs. They are more energy-efficient than portable units and tend to have lower installation and maintenance costs compared to roof-mounted AC systems.
By choosing a window air conditioner for your pop-up camper, you can enjoy a comfortable living space without worrying about the high costs associated with larger, less energy-efficient systems. The cost-saving benefits, along with the reduced energy consumption, make window AC units a smart choice for anyone looking to cool their camper efficiently.
Preparing Your Pop Up Camper for Air Conditioner Installation
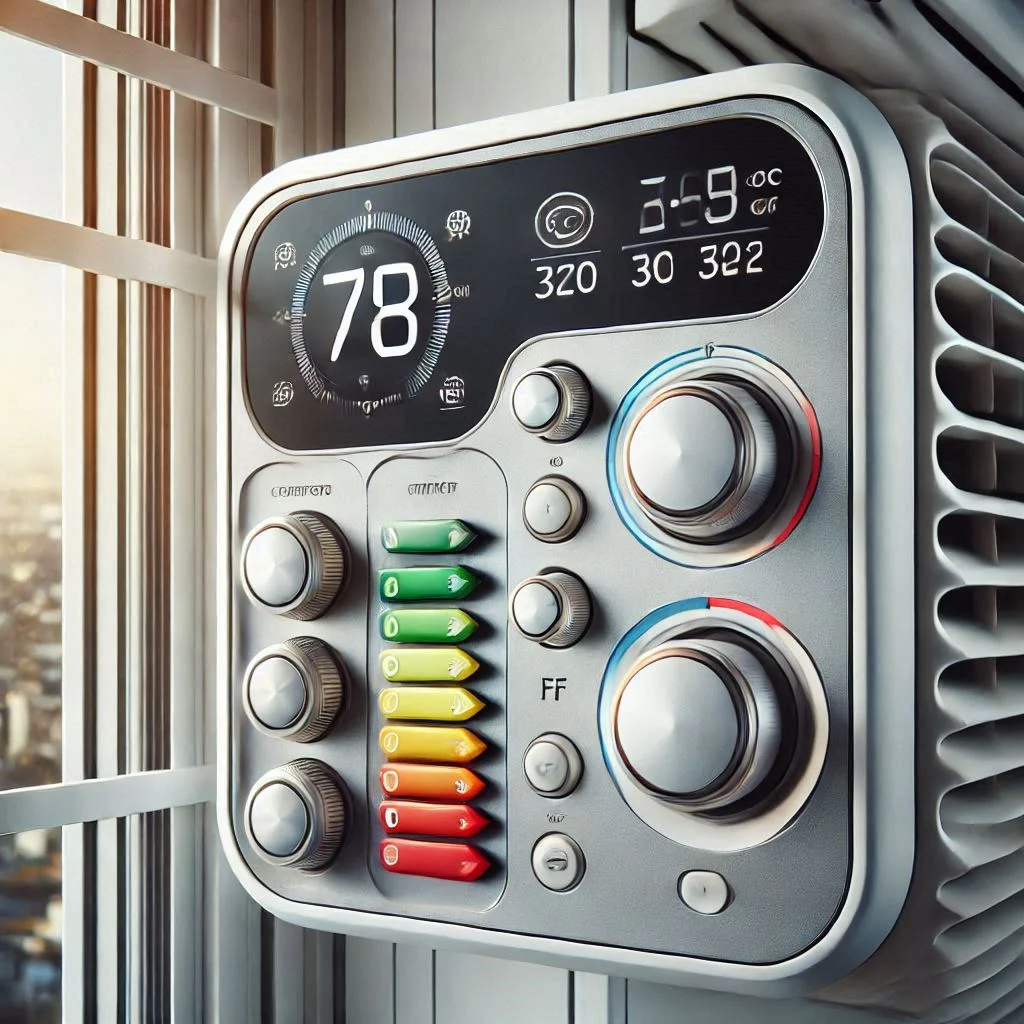
Before installing a window air conditioner in your pop-up camper, it’s essential to properly prepare the camper to ensure the installation goes smoothly. By following a few simple steps, you can ensure that your AC unit will be securely installed and function optimally.
Assessing Your Camper’s Window Space and Choosing the Right Size AC Unit
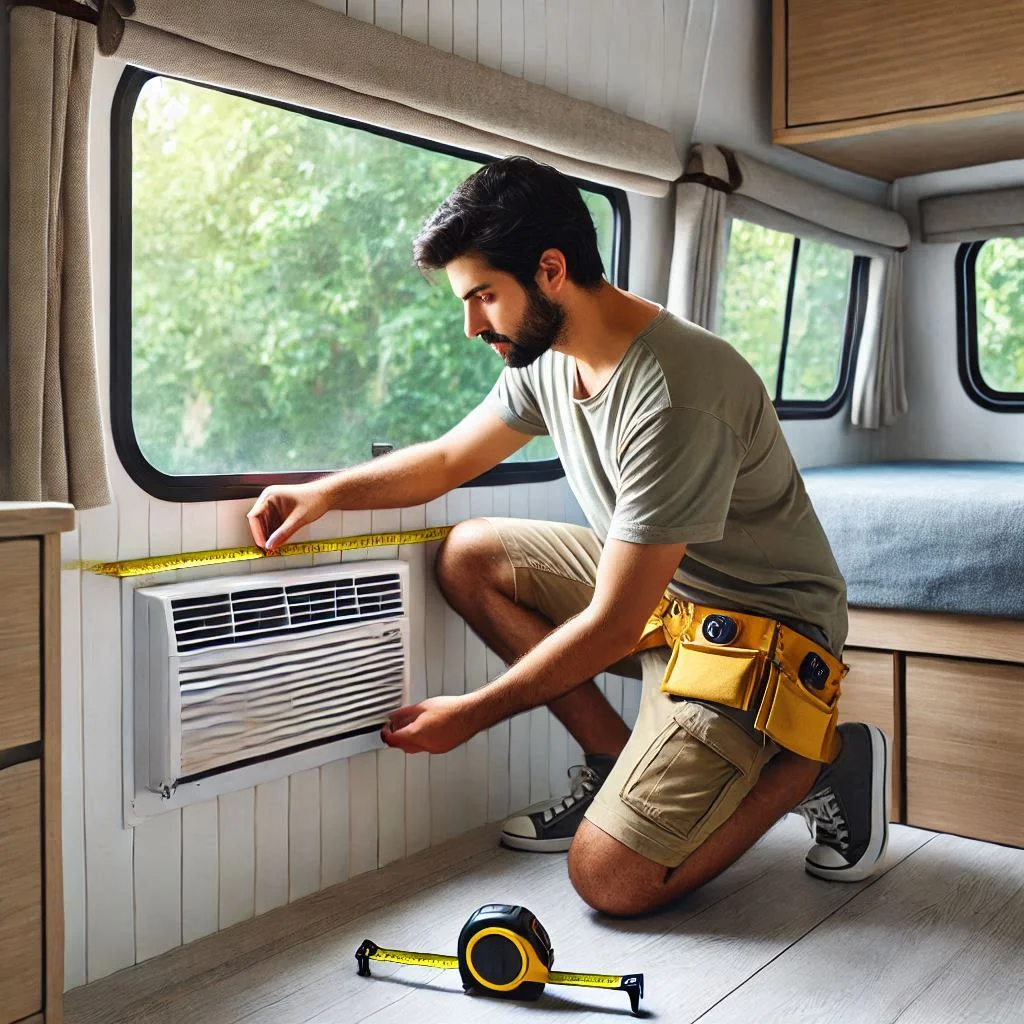
The first and most crucial step in preparing your camper for air conditioner installation is evaluating the window space where the AC will be installed. Measure the dimensions of the window where you plan to place the unit to ensure it fits properly. A window AC unit comes in various sizes, so selecting one that matches the size of your window is important. A unit that’s too small may not cool effectively, while a unit that’s too large may result in inefficient energy use.
Window Size Considerations:
- Measure both the width and height of the window frame where you intend to install the AC unit.
- Ensure that the window can support the weight of the air conditioner once it is installed.
- Check the structure around the window to ensure that there’s adequate support for the unit.
Once you’ve measured the window, you can choose an air conditioner that will fit perfectly into the space. It’s a good idea to check the cooling capacity (measured in BTUs) of the unit, as you want to choose an AC that’s powerful enough to cool the interior of your camper. For small pop-up campers, a 5,000 to 8,000 BTU window air conditioner should be sufficient.
Essential Tools and Materials Needed for Installation
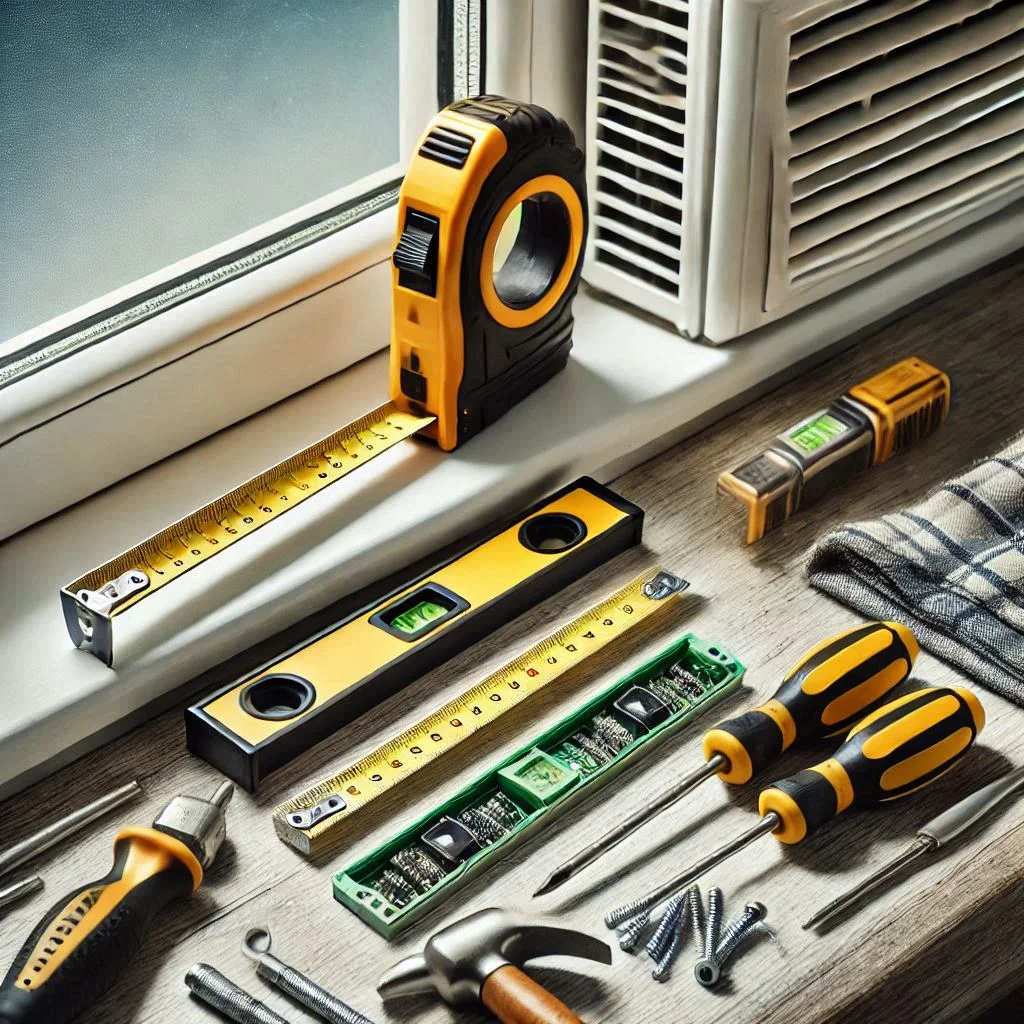
To successfully install a window air conditioner in your pop-up camper, you will need a few essential tools and materials. Gathering these items beforehand will save time and ensure the installation process goes smoothly.
Tools and Materials Required:
- Screwdriver: Used to secure the air conditioner to the window frame.
- Measuring Tape: To accurately measure the dimensions of your camper’s window.
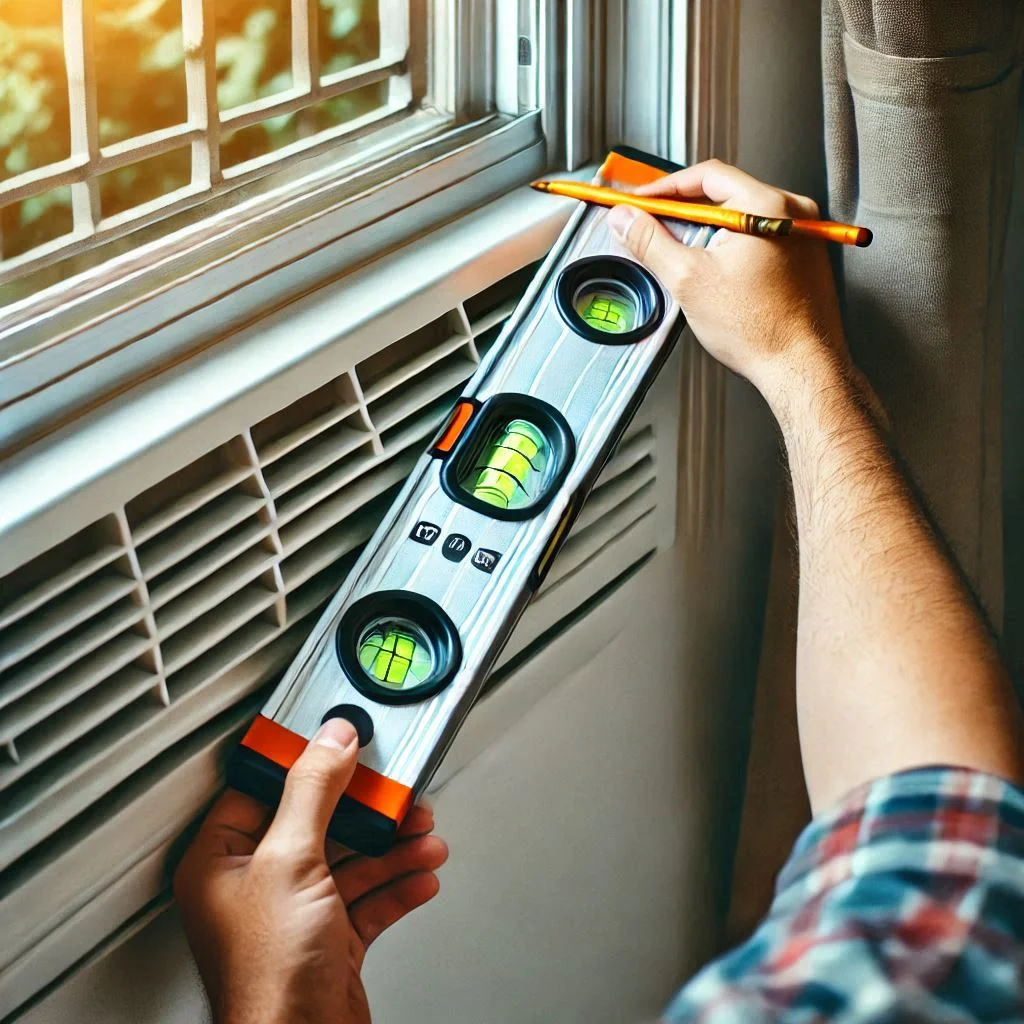
- Level: Ensures the AC unit is installed evenly to avoid water drainage issues.
- Weatherproofing Materials: Sealant strips, foam padding, or insulation materials to prevent air leaks.
- Bracket or Support Kit: For additional support, especially if the window AC unit is heavy.
- Power Drill: For drilling any necessary holes to mount the AC unit securely.
Having the right tools will make the installation process easier, reducing the risk of mistakes and ensuring that the air conditioner stays secure during travel. Be sure to have the proper screws and mounting brackets for your specific model, as these can vary depending on the make and size of the air conditioner.
Safety Precautions and Setup Steps Before Installing the Unit
Before you begin installing the window air conditioner, take the necessary safety precautions to ensure your well-being and the protection of your camper. It’s important to follow these steps to avoid potential issues.
1. Safety First:
- Always turn off the camper’s power source before starting any installation to avoid the risk of electrical shock.
- Wear gloves and safety glasses to protect yourself from sharp edges or debris that may be present during installation.
2. Preparing the Camper’s Window:
- Remove any existing window coverings or curtains that may obstruct the installation process.
- Clean the window frame and surrounding area to ensure there’s no dirt or debris that could interfere with the seal or mounting of the air conditioner.
- Check the window track for any damage and ensure it is functioning properly.
3. Ensure Proper Ventilation and Power Source:
- Make sure your camper has a reliable power source that can support the electrical load of the air conditioner. Some window units require dedicated circuits, so it’s a good idea to consult the unit’s manual to verify power requirements.
- Position the camper in a way that ensures good airflow around the unit to prevent overheating. Make sure the camper is level so the air conditioner operates efficiently.
4. Protect the Interior:
- To protect the interior of your camper from moisture and debris, place a towel or drop cloth on the floor below the window.
- Place a piece of wood or another sturdy material below the window to catch any falling tools or parts.
By following these steps, you can make the installation process safer, easier, and more effective. Preparing both the window space and ensuring the camper’s setup is ready for the AC unit will help avoid common issues during the installation process.

Step-by-Step Guide to Installing a Window Air Conditioner
Installing a window air conditioner in your pop-up camper is a manageable task with the right tools, preparation, and knowledge. In this guide, we’ll walk you through the key steps to ensure that your installation is efficient, secure, and long-lasting. Follow this step-by-step process to install your window AC unit with ease.
How to Measure Your Window for a Secure Fit
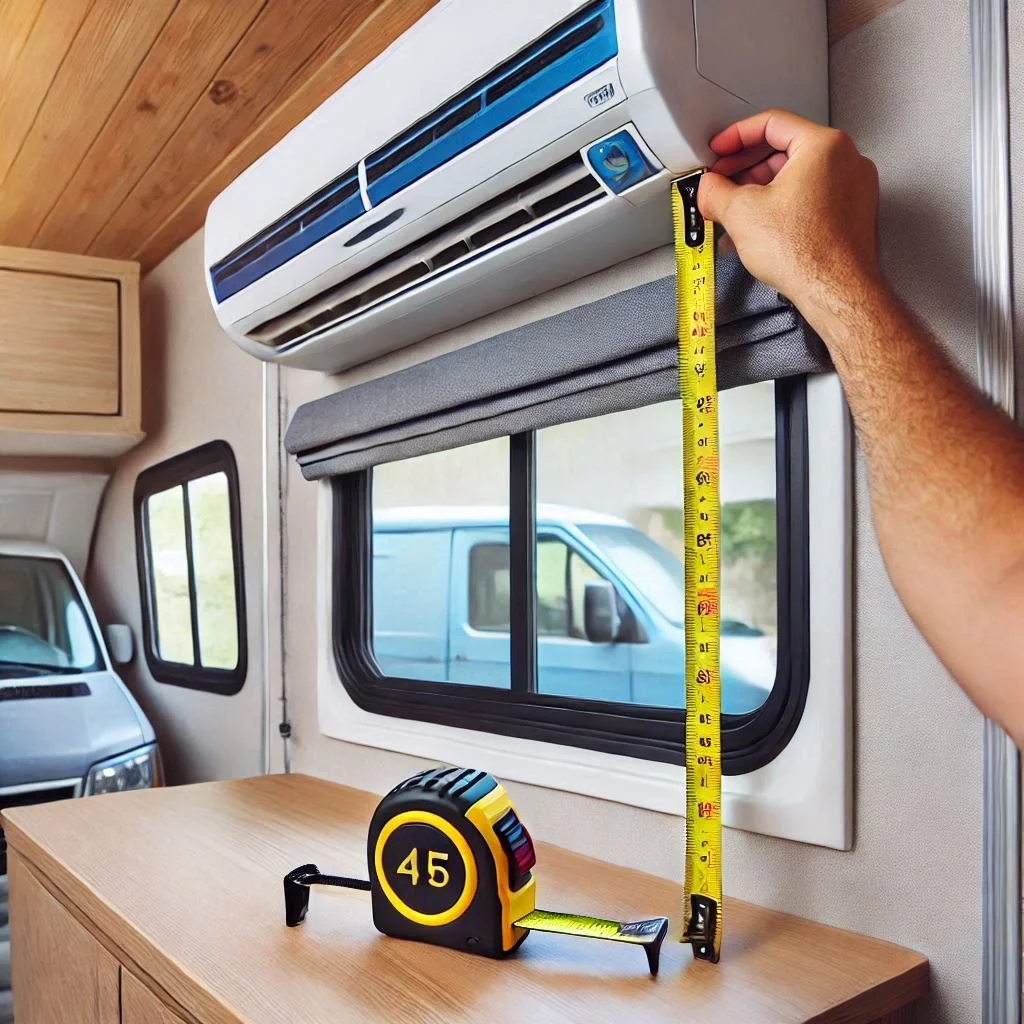
The first crucial step in installing a window air conditioner is measuring the window to ensure the unit will fit securely. An improperly sized AC unit can cause energy inefficiency, water leaks, and potential damage to both the unit and the window.
Measuring the Window:
- Measure the Width: Using a tape measure, measure the width of your camper’s window from left to right at the point where you plan to install the AC unit. Be sure to measure at both the top and bottom of the window, as the window may not be perfectly rectangular.
- Measure the Height: Measure the height of the window frame. This will ensure that the AC unit fits snugly without leaving gaps.
- Check the Window’s Weight Capacity: Ensure that your window frame can support the weight of the air conditioner. Most window AC units are designed to be placed in a window that can hold a few dozen pounds, but it’s always a good idea to double-check the specifications of both your camper’s window and the air conditioner.
- Account for Extra Space: You should also leave extra space around the edges of the unit for air circulation and sealing materials.
By taking precise measurements, you’ll be able to select an AC unit that fits properly and ensures optimal cooling efficiency.
Proper Sealing Techniques to Ensure Efficiency and Prevent Leaks
Once you’ve selected the right size air conditioner, the next critical step is sealing around the unit to maximize energy efficiency and prevent any air leaks that could reduce its effectiveness.
Sealing the Unit Properly:
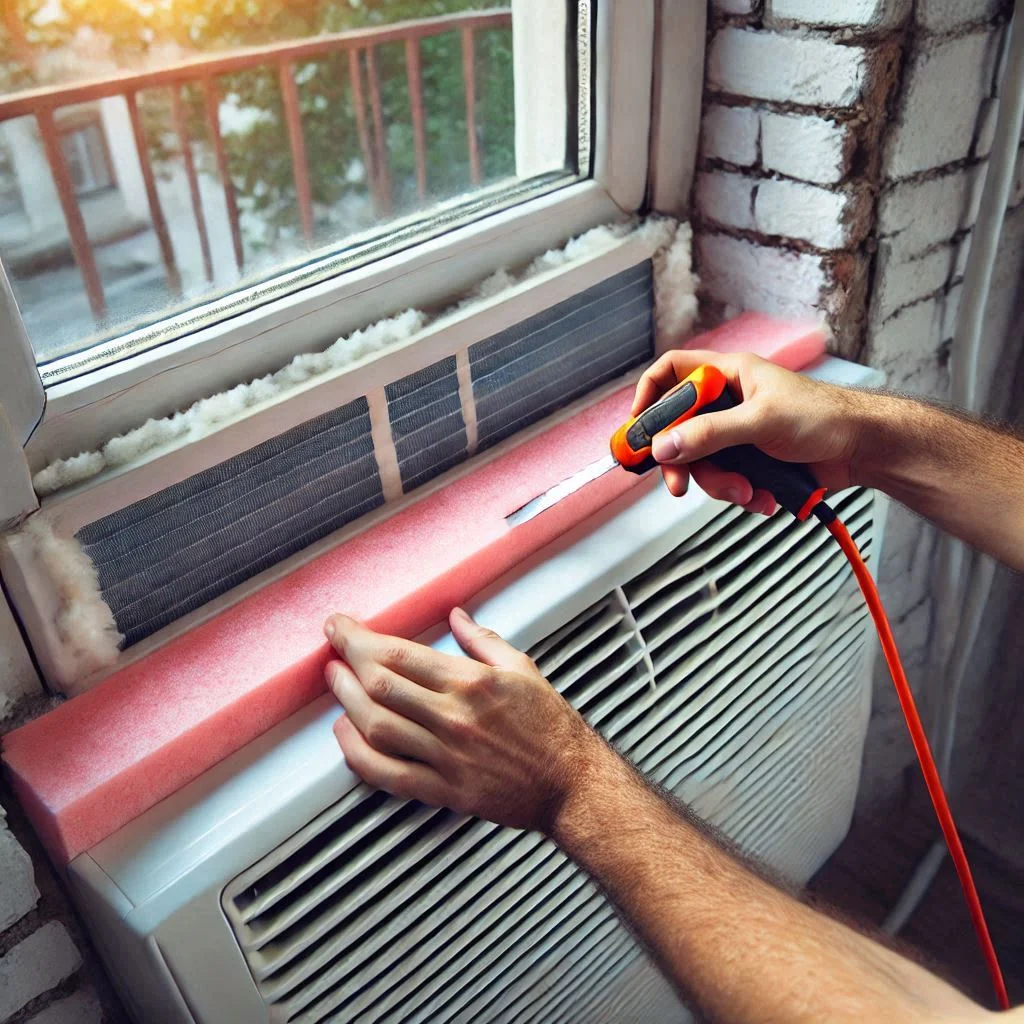
- Apply Weather Stripping: Before installing the AC, apply weather stripping around the window frame where the air conditioner will sit. This will help create a tight seal and prevent cool air from escaping or hot air from entering.
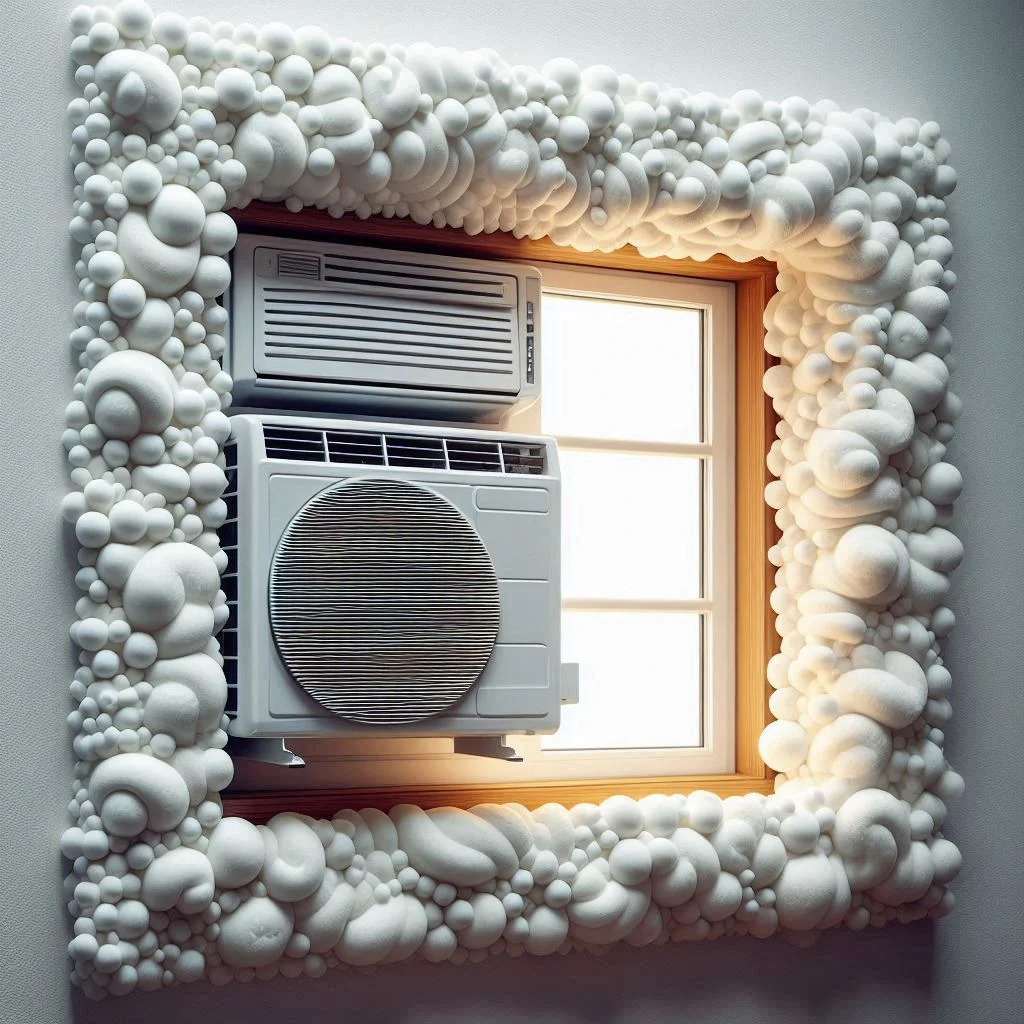
- Use Insulation Foam: Fill any gaps between the AC unit and the window frame with foam insulation or caulk. This will improve the unit’s energy efficiency by minimizing air leaks.
- Seal the Edges: Use a high-quality sealant around the edges of the air conditioner. This helps create an airtight seal and prevents moisture from entering the camper. Make sure to check the manufacturer’s recommendations for the best sealing materials to use.
- Install Window Panels or Side Curtains: Many window AC units come with adjustable panels or curtains that can be placed on the sides to further seal off the window and improve cooling efficiency.
Proper sealing is crucial because it helps the AC unit work more efficiently by reducing the load on the compressor and ensuring that the air conditioning process is effective, even in hotter climates.
Mounting and Securing the AC Unit in Place
Once your window is prepared and sealed, it’s time to mount the air conditioner securely. Proper mounting ensures that the unit stays in place and prevents shifting or falling during travel.
Steps to Mount the AC:
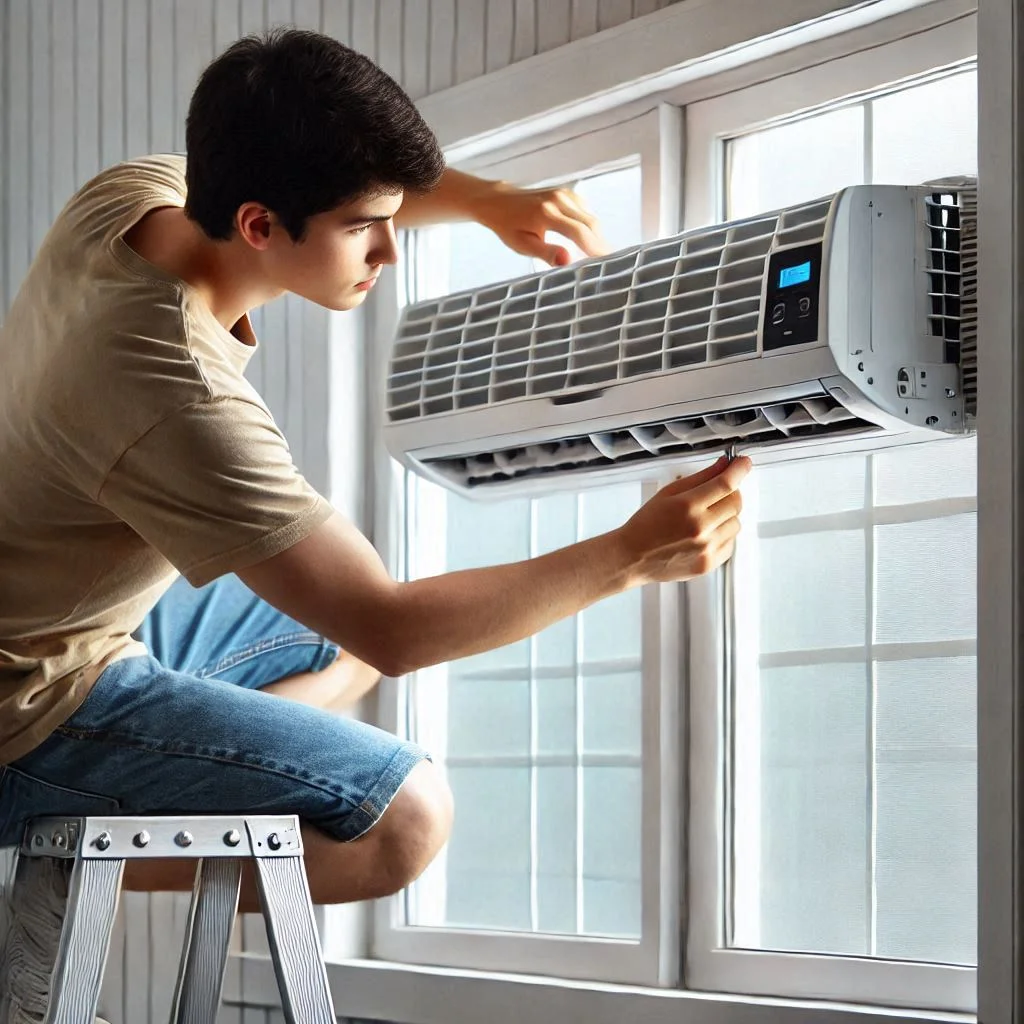
- Place the AC Unit in the Window: Carefully lift the air conditioner and place it into the window frame. Ensure that the unit is positioned in a way that allows for proper drainage (most AC units have a drainage hole at the back). Make sure the unit is slightly tilted to the outside to ensure proper drainage and prevent water buildup.
- Secure the AC with Support Brackets: Most window AC units come with brackets to secure the unit to the window frame. Attach these brackets to the sides of the window frame to hold the unit securely in place. If your unit doesn’t include brackets, you may need to purchase them separately.
- Use Screws for Extra Security: If the AC unit doesn’t feel stable enough, you can drill screws into the window frame to secure it further. Be cautious when drilling, as you don’t want to cause damage to the window structure.
By mounting the AC unit properly, you prevent it from shifting during travel, and you ensure that the unit operates efficiently without causing undue stress on the window or frame.
Connecting the Power Source and Ensuring Proper Airflow
The final step in installing your window air conditioner is connecting it to the power source and ensuring proper airflow to maximize cooling efficiency.
Power Source Connection:
- Plug the AC into an Electrical Outlet: Most window AC units come with a standard electrical plug that can be plugged into an electrical outlet inside your camper. Ensure that the outlet is capable of handling the unit’s power requirements, which can usually be found in the user manual.
- Check the Power Capacity: Make sure your camper’s electrical system can support the additional power consumption from the AC. Some units require a dedicated circuit to avoid overloading the camper’s power system.
- Ensure Proper Ventilation: To maintain proper airflow, ensure that the back of the air conditioner is free from obstructions, allowing hot air to be vented out. If the AC unit has adjustable vents, direct them towards the interior of the camper for optimal cooling.
Final Checks:
- Turn on the air conditioner and test the unit to make sure it’s cooling effectively.
- Check for any vibrations or noises, which could indicate that the unit is not securely mounted.
- Verify that there are no air leaks around the unit, and ensure that the seal is intact.
By ensuring proper airflow and power connection, you can enjoy a comfortable, cool environment in your pop-up camper during your travels.
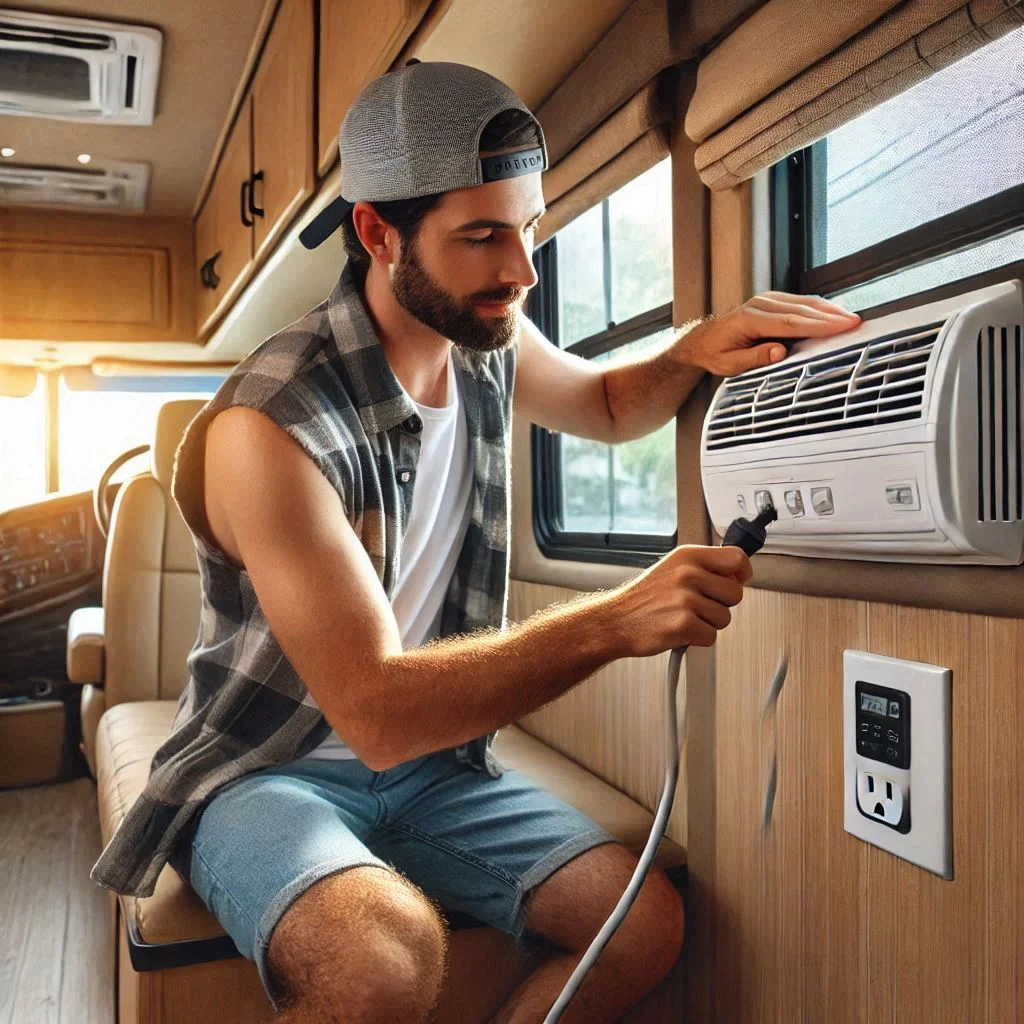
Tips for Ensuring Maximum Efficiency with Your Window Air Conditioner
To get the most out of your window air conditioner and ensure a comfortable environment inside your pop-up camper, it’s important to implement strategies that enhance the unit’s cooling power while reducing energy consumption. Below are some essential tips to optimize the efficiency of your window AC and maximize its performance.
Insulating the Camper to Keep the Cool Air In and the Hot Air Out
One of the most effective ways to improve the efficiency of your window air conditioner is by insulating your camper properly. Proper insulation helps maintain the temperature inside, reducing the workload on your AC unit. By keeping the cool air inside and blocking the hot air from entering, your window AC will run more efficiently, and you will save energy.
How to Insulate Your Pop-Up Camper:
- Insulate the Windows: In addition to sealing the window around the air conditioner, it’s a good idea to insulate the other windows in your camper. Use reflective window insulation or thermal window coverings to prevent heat from entering. Reflective film on the windows can also help minimize heat absorption.
- Use Foam or Insulation Panels: Add foam insulation panels to the interior of the camper walls or under the floor to reduce heat transfer. These materials are effective in blocking the transfer of hot air from the outside while maintaining the cool air inside.
- Seal Gaps and Cracks: Inspect the camper for any gaps or cracks around doors, windows, and seams. Seal these areas with weatherproofing tape or caulk to prevent warm air from infiltrating. Even small gaps can significantly reduce the cooling efficiency of your air conditioner.
By insulating your camper properly, you ensure that the cool air produced by your window AC stays inside, requiring less effort from the unit to maintain a comfortable temperature.

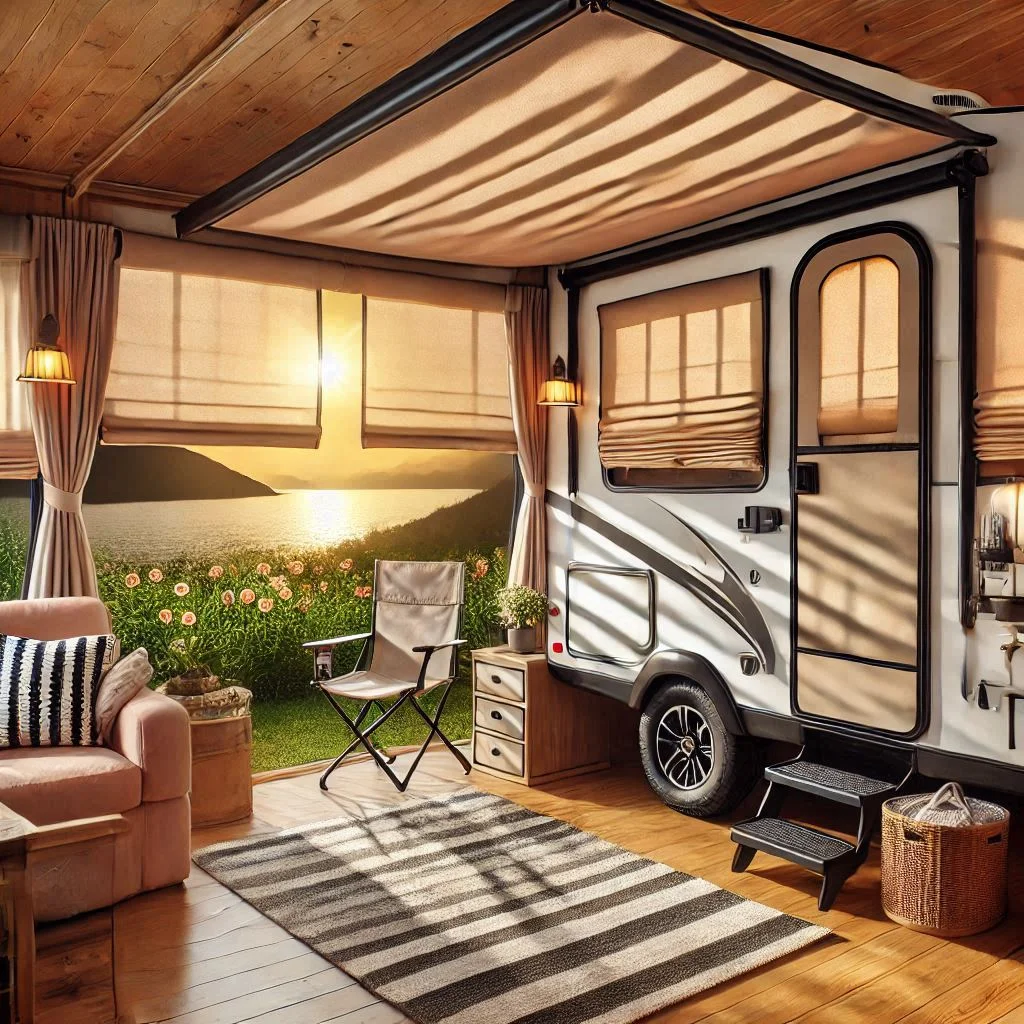
Using Curtains or Shades to Reduce Heat Exposure
Curtains or shades can be a game-changer in managing the temperature inside your camper. These window coverings not only provide privacy but also help block out direct sunlight, which can significantly increase the internal temperature of your camper.
How Curtains and Shades Help:
- Block Direct Sunlight: Use heavy-duty or thermal curtains to block out the sun’s rays, especially during the hottest parts of the day. Darker curtains can absorb sunlight, keeping your camper cooler by reducing the amount of heat that enters.
- Reflective Blinds: Another great option is reflective blinds or solar shades, which are designed to reflect the sun’s rays and prevent them from entering the camper. These are highly effective in maintaining a cool temperature without overworking the air conditioner.
- Close Curtains During Peak Heat: When the sun is at its strongest, keep the curtains or shades closed. This can reduce the heat buildup and make it easier for your window AC to maintain a cooler temperature inside the camper.
By reducing heat exposure through proper shading, your air conditioner will work more efficiently, cooling the space without wasting energy.
Maintenance Tips for Optimal Performance and Longevity
Regular maintenance is key to ensuring that your window air conditioner performs at its best over the long term. Neglecting maintenance can lead to reduced cooling performance, higher energy costs, and a shorter lifespan for the unit.
Essential AC Maintenance Tips:
- Clean the Filter Regularly: One of the most important maintenance tasks for your air conditioner is cleaning the air filter. A clogged or dirty filter restricts airflow, reducing the AC’s efficiency and forcing it to work harder. Clean or replace the filter every month, especially during the peak summer season.
- Check the Coils: Over time, the evaporator and condenser coils inside the AC unit can become dirty. Dirt buildup on the coils can cause the unit to overheat and malfunction. Clean the coils at least once a year to ensure they’re free from dust and debris.
- Inspect Drainage: Ensure that the drainage system of the AC is working properly. A clogged drain can lead to water accumulation, causing the unit to freeze or malfunction. Check the drain hole regularly and clear any blockages.
- Inspect Seals and Insulation: During routine maintenance, also check the insulation and seals around the window AC. Any gaps or breaks in the seal can lead to air leaks, which reduce the AC’s efficiency. Reapply insulation or sealing materials as needed.
By performing regular maintenance, you can extend the lifespan of your window air conditioner and maintain its optimal performance throughout your travels.

Troubleshooting Common Issues During Installation
While installing a window air conditioner in your pop-up camper, you may encounter a few challenges. These issues can range from gaps around the unit to cooling or drainage problems. Understanding how to troubleshoot these common installation issues will help ensure your air conditioner functions efficiently and provides maximum cooling performance. Below are some key troubleshooting tips to address potential problems during the installation process.
Addressing Gaps or Improper Fittings
Improper fitting of the air conditioner into the window can lead to air leaks, energy inefficiency, and a less-than-ideal cooling performance. It’s crucial to ensure that your window air conditioner fits snugly and is sealed properly.
Common Problems and Solutions:
- Gaps Around the AC Unit: If you notice gaps between the AC unit and the window frame, this can result in hot air leaking into the camper and cool air escaping.
- Solution: Apply weather stripping or foam insulation around the edges of the unit to seal any gaps. Be sure to use high-quality weather stripping material that provides a durable, airtight seal.
- Solution: If the unit is too small for the window, consider using expandable window panels or insulation boards to fill in the gaps. These panels can be adjusted to the window size and provide additional insulation.
- Misalignment of the AC Unit: Sometimes the air conditioner may not be aligned properly, which can affect its efficiency and even cause it to fall out of the window.
- Solution: Double-check that the unit is level and properly secured in the window. Use brackets or screws to keep it firmly in place and avoid any shifting or tilting during operation.
By ensuring a tight, secure fit and sealing any gaps, you can improve the air conditioner’s performance and prevent air leaks that could lead to increased energy usage.
Dealing with Insufficient Cooling or Electrical Issues
If your window air conditioner is not providing sufficient cooling or experiences electrical issues, it can be frustrating. These problems can often be traced back to installation errors, electrical connection issues, or the unit’s power needs not being met.
Common Problems and Solutions:
- Insufficient Cooling:
- Cause: If the unit is not cooling effectively, the cause could be poor air circulation, improper installation, or an undersized AC unit.
- Solution: Ensure that the AC unit is properly sealed and that there are no obstructions around the unit preventing airflow. Check that the vents are clear and not obstructed by curtains or other objects.
- Solution: If the unit seems too small for the space, consider upgrading to a larger capacity air conditioner that can handle the size of your camper.
- Electrical Issues:
- Cause: A common issue with window air conditioners is electrical problems, such as tripping circuit breakers or failing to power on.
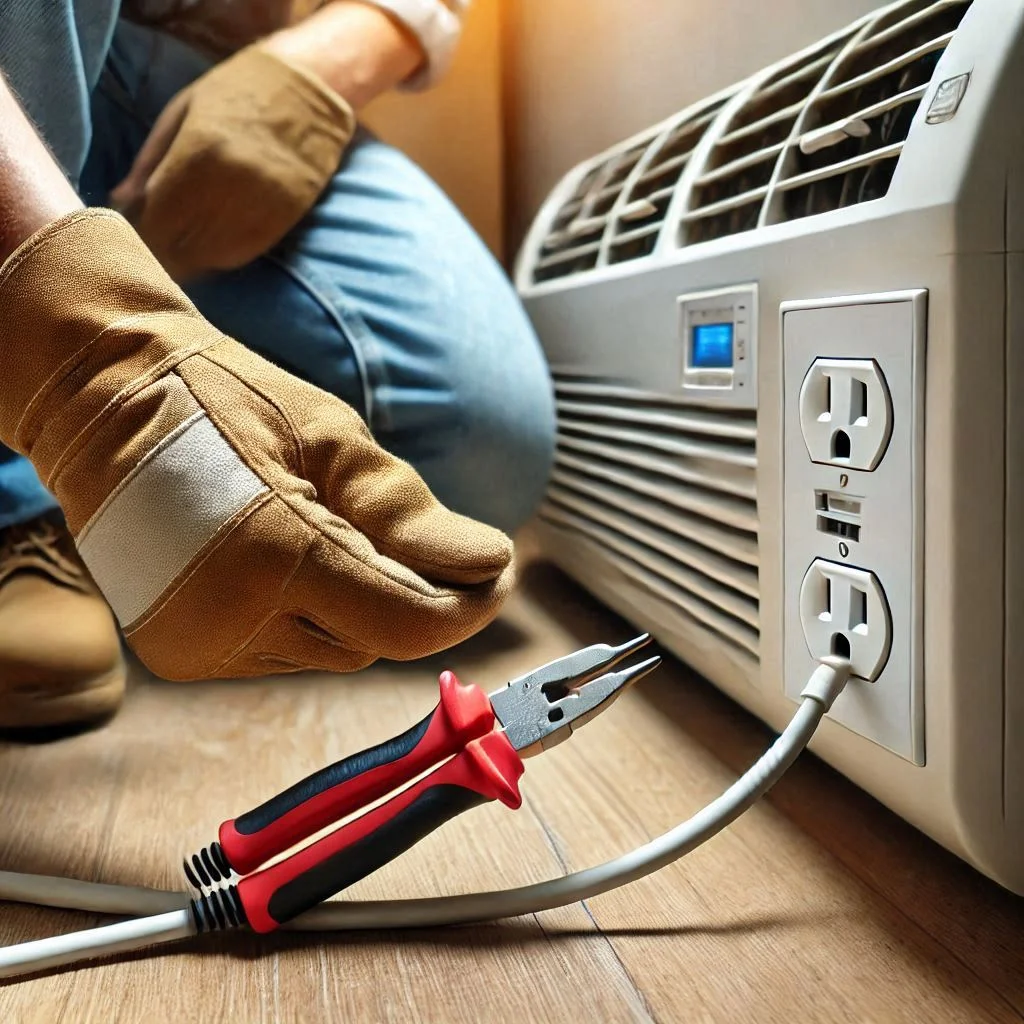
- Solution: Check the power outlet to ensure it’s supplying enough voltage for the unit. Refer to the user manual to verify the unit’s voltage requirements. If needed, use a dedicated circuit for the air conditioner to prevent overloading.
- Solution: Inspect the power cord for any visible signs of wear or damage. If the cord is frayed or broken, it could be causing a short circuit or power failure.
- Solution: Reset the circuit breaker if it’s tripped and check the fuse inside the air conditioner to ensure it hasn’t blown.
Ensuring proper electrical connections and verifying the air conditioner’s capacity for the space are key steps to solving cooling and electrical issues.
Solving Drainage Problems and Keeping the Unit Level
Proper drainage is essential for your window air conditioner to function efficiently. If the drainage system is blocked or the unit is not level, it can cause excess water buildup, leading to potential malfunctions and reduced cooling efficiency.
Common Problems and Solutions:
- Clogged Drainage System:
- Cause: A clogged drain can cause water to back up inside the unit, resulting in poor cooling or the AC freezing up.
- Solution: Regularly check the drainage hole for blockages and clean it with a soft brush or compressed air. Ensure that the drain line is clear and free from debris.
- Solution: If the unit is not draining properly, try repositioning the unit slightly to ensure it’s tilted outward for better drainage.
- Improper Leveling of the Unit:
- Cause: If the air conditioner is not installed at the correct angle, it can affect the drainage and cause water buildup inside the unit.
- Solution: Make sure the unit is slightly tilted outward (about 1/4 inch downward) to allow proper drainage of condensate water. This helps prevent water from accumulating inside the unit, which can lead to freezing or inefficient operation.
- Solution: Check the level of the unit with a bubble level and adjust the mounting brackets or support to achieve the correct tilt.
By ensuring that the unit is properly leveled and that the drainage system is clear, you can maintain the optimal performance of your air conditioner.
FAQ: How Long Does It Take to Install a Window Air Conditioner in a Pop-Up Camper?
Installing a window air conditioner in a pop-up camper is a relatively straightforward task that most people can complete in a few hours with the right preparation and tools. However, the total installation time can vary depending on several factors, including your experience, the type of AC unit, and the condition of the camper. In this FAQ, we will discuss the typical installation time and provide tips on how to complete the process efficiently.
Typical Installation Time and Factors That May Affect the Process
On average, installing a window air conditioner in a pop-up camper can take anywhere from 2 to 4 hours. However, several factors can influence this time frame:
- Experience Level: If you’re familiar with basic DIY tasks or have previous experience installing air conditioners, you’ll likely complete the installation more quickly. Beginners may need additional time to familiarize themselves with the process, but it should still be manageable within the same timeframe.
- Size and Weight of the AC Unit: Larger or heavier AC units may require additional assistance, such as another person to help lift and position the unit properly. Larger units may also take longer to install due to their complex features and setup.
- Camper Condition: If the camper’s window frame is already in good condition and fits the air conditioner, the process will go more smoothly. However, if the window requires modifications or if additional support or sealing materials are needed, it may take longer to properly secure the unit.
- Preparation Work: Pre-installation tasks, such as gathering tools and materials (weather stripping, insulation, brackets), could add to the time needed. If you need to adjust the window or install extra brackets to support the AC, this will add time to the overall process.
- Weather Conditions: Installing the AC in hot or humid weather could slow you down due to discomfort or the need to take more frequent breaks. Ensuring that you have enough space and ventilation while working can help expedite the installation process.
By taking these factors into account, you can prepare yourself for a more accurate timeline and plan your installation accordingly.
Tips for Completing the Installation in a Single Day
If you want to complete the installation of your window air conditioner in a single day, here are a few tips that can help speed up the process:
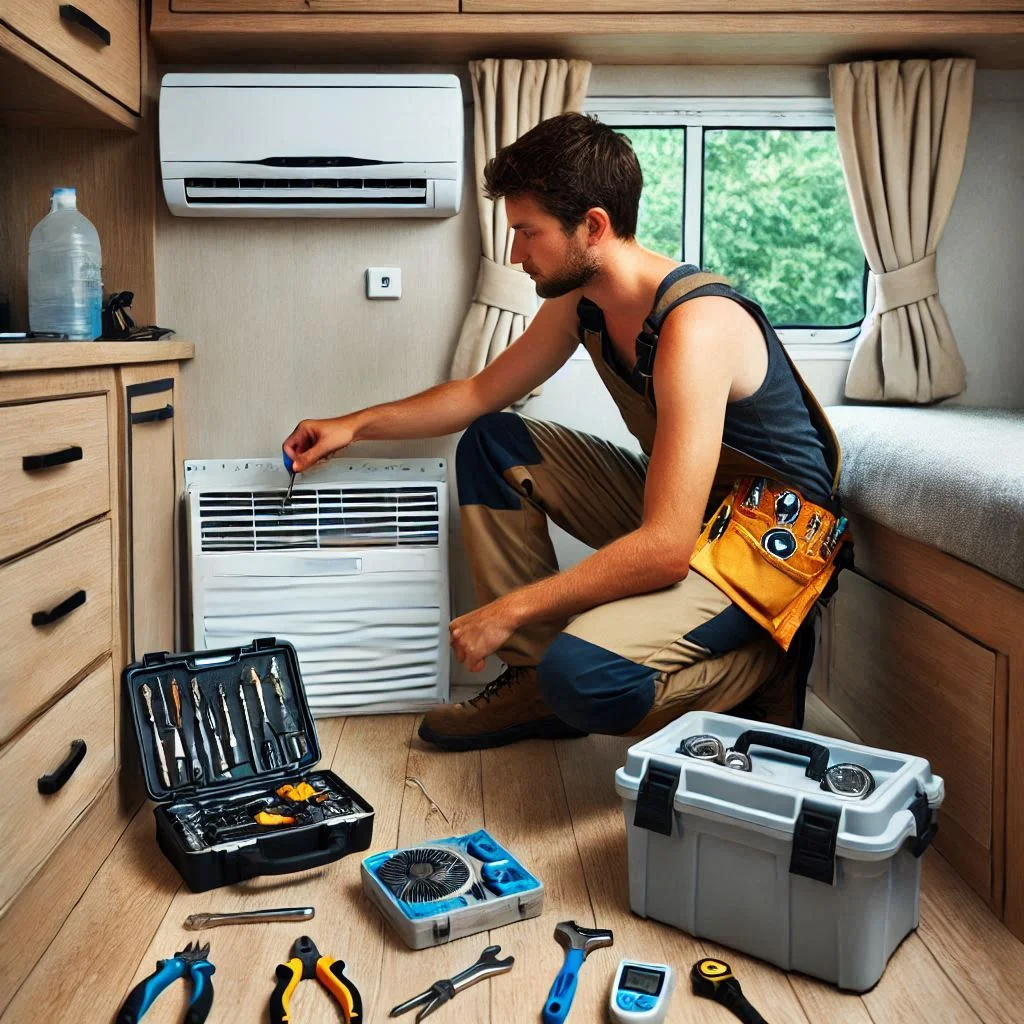
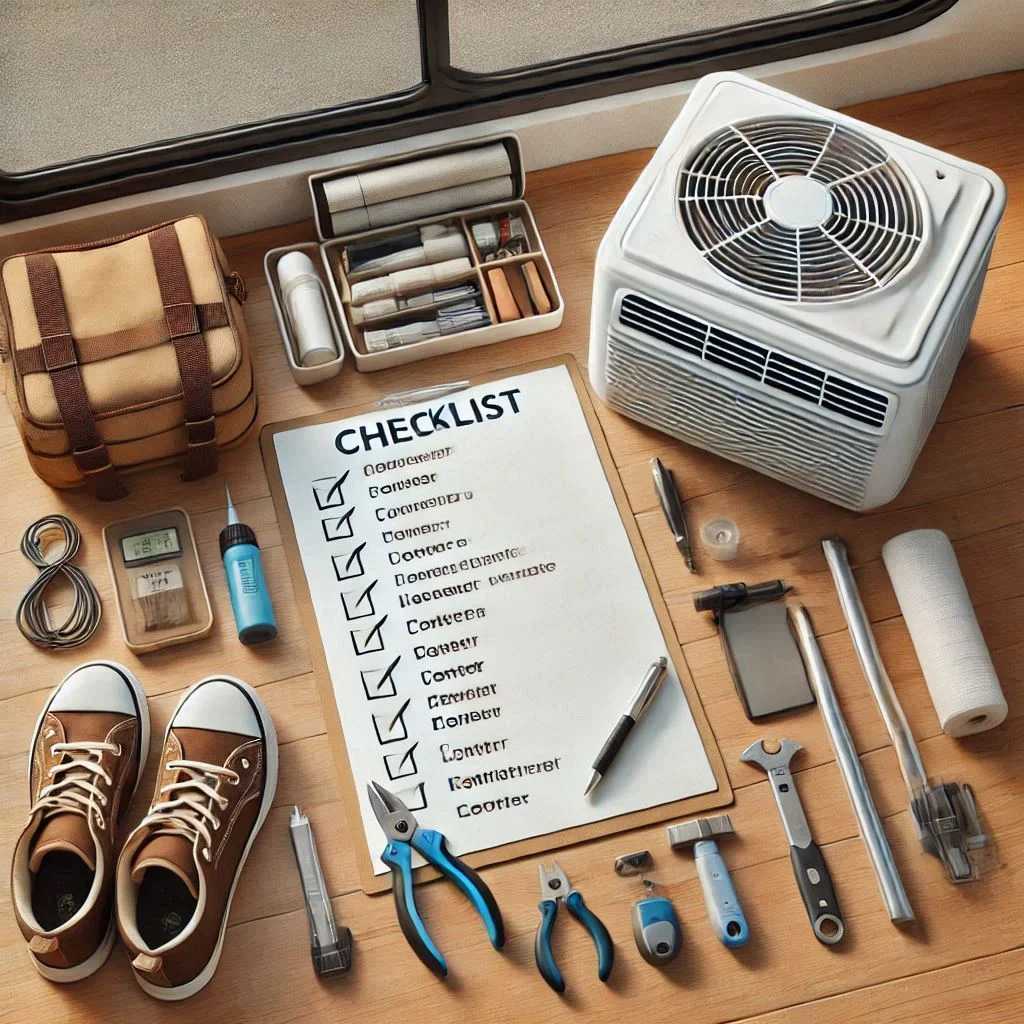
- Prepare Everything in Advance: Before starting the installation, gather all necessary tools and materials. You’ll need the air conditioner, a screwdriver, weather stripping, insulation, brackets, and a level. Having everything on hand will prevent unnecessary interruptions during the installation process.
- Follow a Step-by-Step Guide: To ensure that you stay on track, follow a clear, detailed step-by-step guide to the installation process. Break down each task and set realistic expectations. This will help you avoid mistakes and reduce the need for rework.
- Get Help If Needed: If the air conditioner is heavy or difficult to lift, ask a friend or family member to assist you. This will speed up the process and ensure that the unit is installed securely without the risk of damage.
- Pre-Seal the AC Unit: Before placing the air conditioner in the window, apply weather stripping or foam insulation to the sides of the unit. This will save time once the unit is in place, as you won’t have to pause to do this step after installation.
- Check for Proper Drainage: Ensure that your AC unit is tilted properly to allow for adequate drainage. If the unit is not leveled, it may cause drainage issues that can take extra time to fix later.
- Take Breaks to Stay Efficient: While it’s important to complete the installation in a timely manner, don’t overexert yourself. Taking short breaks will help you maintain focus and reduce the chances of making errors during the installation.
By staying organized, working efficiently, and following the installation steps carefully, it’s entirely possible to install your window air conditioner in a pop-up camper in a single day.
Conclusion
Installing a window air conditioner in your pop-up camper is a practical and efficient way to stay cool while enjoying your travels. By following the step-by-step guide and troubleshooting tips provided in this blog, you can ensure a smooth installation process and avoid common issues that may arise. Whether you’re addressing gaps, securing the unit properly, or ensuring efficient drainage, each step plays a crucial role in optimizing your air conditioner’s performance. With proper preparation, attention to detail, and a few helpful tips, you’ll have your AC unit up and running in no time. Embrace the comfort of a cool camper and enjoy your adventures, knowing that your window air conditioner is installed securely and functioning efficiently.

