Understanding the Components of a DIY Solar Powered Air Conditioner
Building your own solar-powered air conditioner is an exciting project that allows you to leverage renewable energy for cooling purposes. The effectiveness and efficiency of a DIY solar-powered air conditioner depend on several key components that work together to generate, store, and use solar energy. Let’s explore these components in detail:
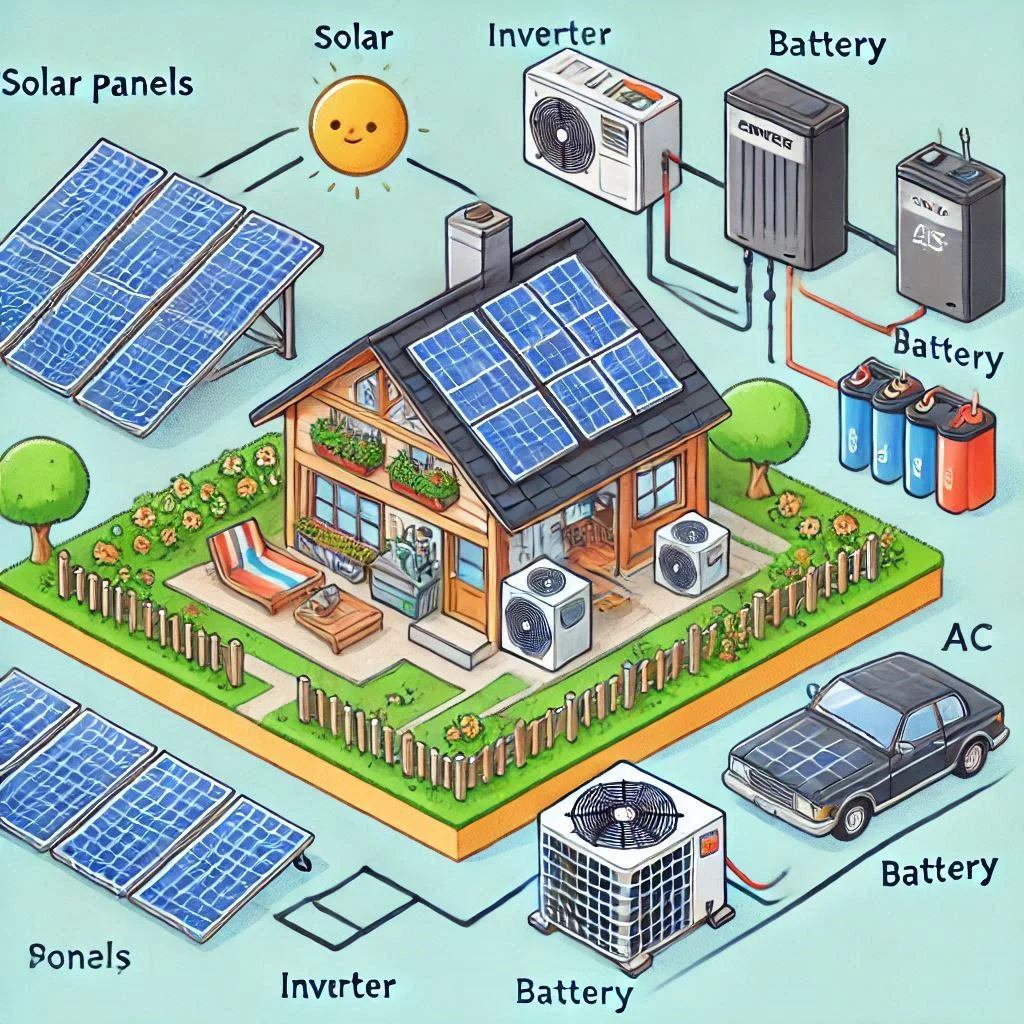
Key Components: Solar Panels, Inverter, Batteries, and AC Unit
Solar Panels:
Solar panels are the most crucial component of your DIY solar-powered air conditioner. These panels capture sunlight and convert it into direct current (DC) electricity. When selecting solar panels, it’s essential to consider their efficiency, wattage, and size. Typically, you’ll need a solar panel system with enough wattage to power your air conditioning system. Depending on the climate and the energy needs of your AC unit, you may need to install multiple panels to ensure reliable performance.
Inverter:
The inverter is responsible for converting the DC electricity generated by the solar panels into alternating current (AC), which is used by most air conditioning units. Inverters come in various types, including string inverters and micro-inverters. For a DIY solar-powered air conditioner, a good quality inverter is necessary to ensure stable energy conversion without causing interruptions in the cooling system.
Batteries:
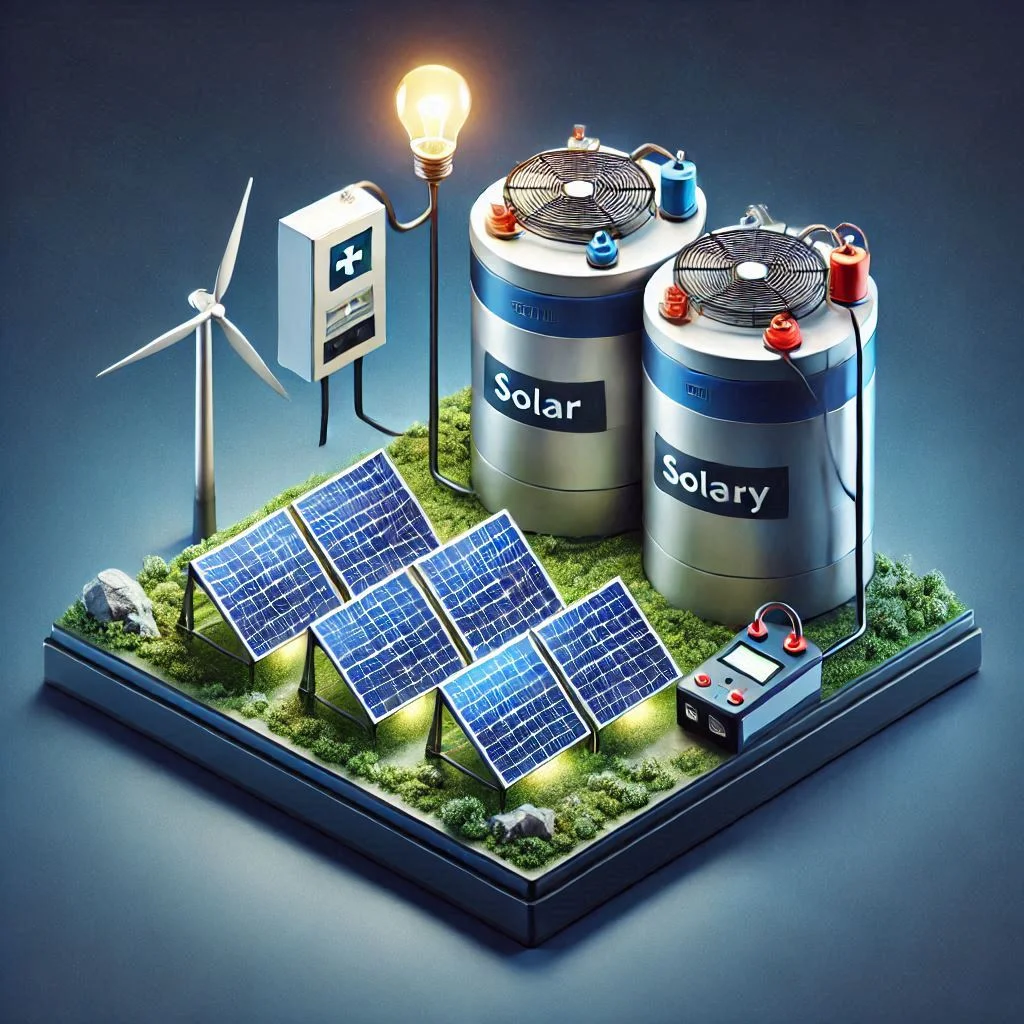
Solar batteries store the excess energy produced by the solar panels during the day, which can be used to power the air conditioner at night or during cloudy weather. The size of the battery bank will depend on your energy needs and how much energy you want to store for later use. Lithium-ion batteries are commonly used due to their efficiency, longevity, and safety features.
AC Unit:
The AC unit is where the solar energy is ultimately put to work. You’ll need to select an energy-efficient air conditioning unit that is compatible with the solar system. The size of the AC unit will depend on the area you wish to cool and the amount of energy your solar system can provide. Smaller, energy-efficient models are ideal for DIY solar projects, as they require less energy to operate.
How it Works: Solar-Powered Cooling Mechanism
A solar-powered air conditioner operates similarly to a conventional AC unit, with the major difference being the energy source. Here’s how the system works:
- Solar Panels Capture Sunlight:
The solar panels absorb sunlight during the day and convert it into DC electricity. - Energy Conversion by the Inverter:
The DC electricity from the panels is fed into the inverter, which converts it into AC electricity that can power the air conditioning unit. - Cooling Process:
Once powered, the AC unit performs its usual cooling process by circulating refrigerant through the evaporator coils and condenser coils, cooling the air inside your home or room. - Energy Storage (If Necessary):
If there is excess energy, it is stored in the batteries for later use, ensuring that your AC continues to run even when the sun isn’t shining. - Air Conditioning Operation:
With continuous energy supply from either the solar panels or the battery bank, the AC unit cools the air effectively, creating a comfortable environment.
Efficiency Tips: Maximizing Energy Usage
To ensure that your DIY solar-powered air conditioner operates efficiently and reduces energy consumption, follow these tips:
- Proper Sizing of Solar Panels and AC Unit:
Ensure that your solar panels have enough capacity to meet the energy demands of your AC unit. An underpowered solar system can result in inadequate cooling. Similarly, choose an appropriately sized air conditioner that matches the output of your solar system. - Use Energy-Efficient AC Units:
Choose an energy-efficient air conditioning unit with a high SEER (Seasonal Energy Efficiency Ratio) rating. The higher the SEER rating, the less energy the unit consumes while providing the same cooling power. This will help reduce the load on your solar system. - Optimize Placement of Solar Panels:
Install your solar panels in a location that receives maximum sunlight throughout the day. The angle and direction of the panels can affect their efficiency. Consider using adjustable mounts to optimize their positioning based on the sun’s path. - Insulate Your Space:
Proper insulation is crucial for maximizing the efficiency of your solar-powered air conditioner. Ensure your home or room is well-insulated to prevent the cooling air from escaping and warm air from entering. This will reduce the overall workload of the AC unit. - Use a Battery Storage System:
A battery storage system allows you to store excess energy generated during the day, which can be used to power your AC at night or on cloudy days. This ensures that the AC unit continues to operate without relying on the grid. - Monitor Performance:
Regularly monitor the performance of your solar-powered air conditioner to identify any inefficiencies or potential issues. Installing a monitoring system that tracks energy generation, consumption, and battery levels can help you stay on top of maintenance and performance optimization.
Planning and Designing Your DIY Solar Powered Air Conditioner
The process of planning and designing your own solar-powered air conditioner is crucial for ensuring its efficiency and functionality. Proper planning will help you avoid common mistakes, optimize energy usage, and select the right components for your system. Below, we dive into the steps for assessing location, calculating energy requirements, and choosing the essential parts needed for your DIY project.
Assessing Location and Sun Exposure for Optimal Efficiency
Location and Sun Exposure
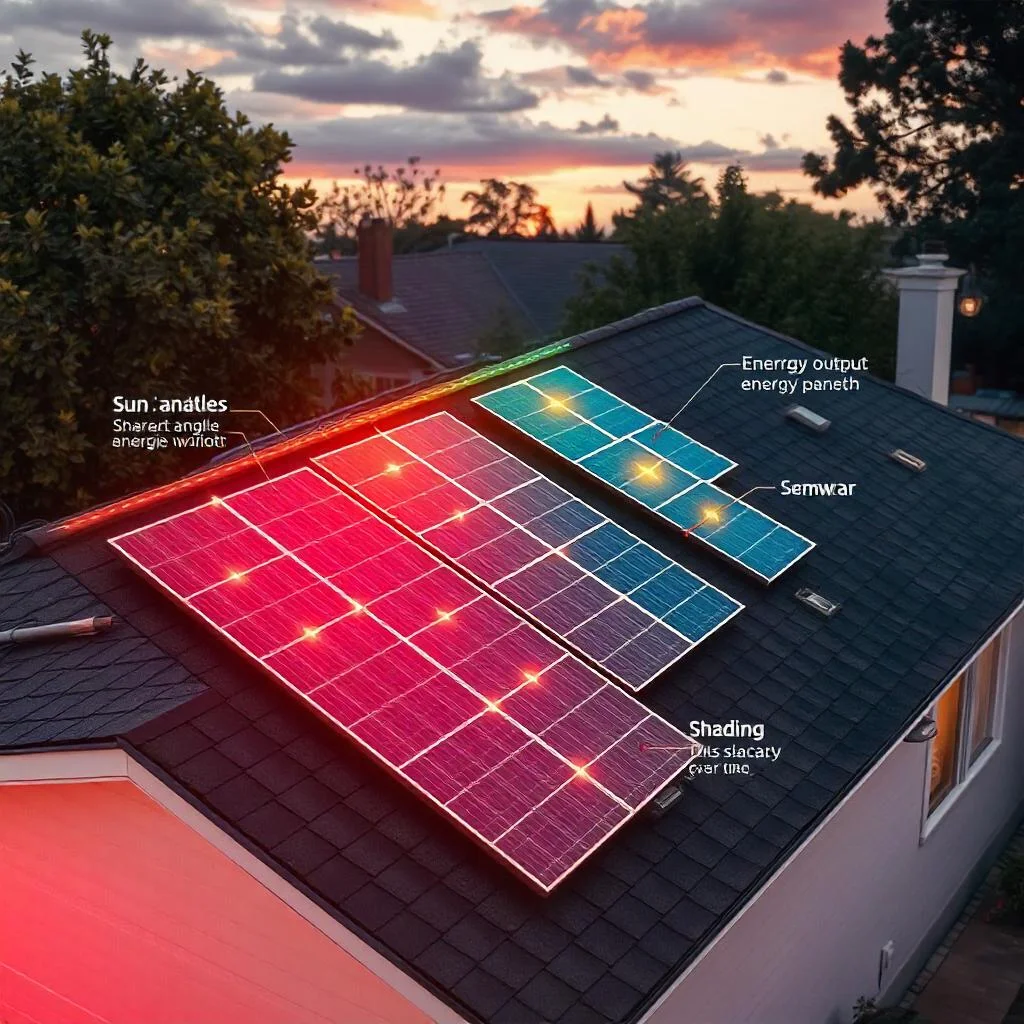
The efficiency of your solar-powered air conditioner depends heavily on the amount of sunlight your location receives. To maximize energy generation, you must install solar panels in an area with unobstructed access to sunlight throughout the day. The orientation and tilt angle of your solar panels play a crucial role in their performance.
- Roof Orientation and Tilt:
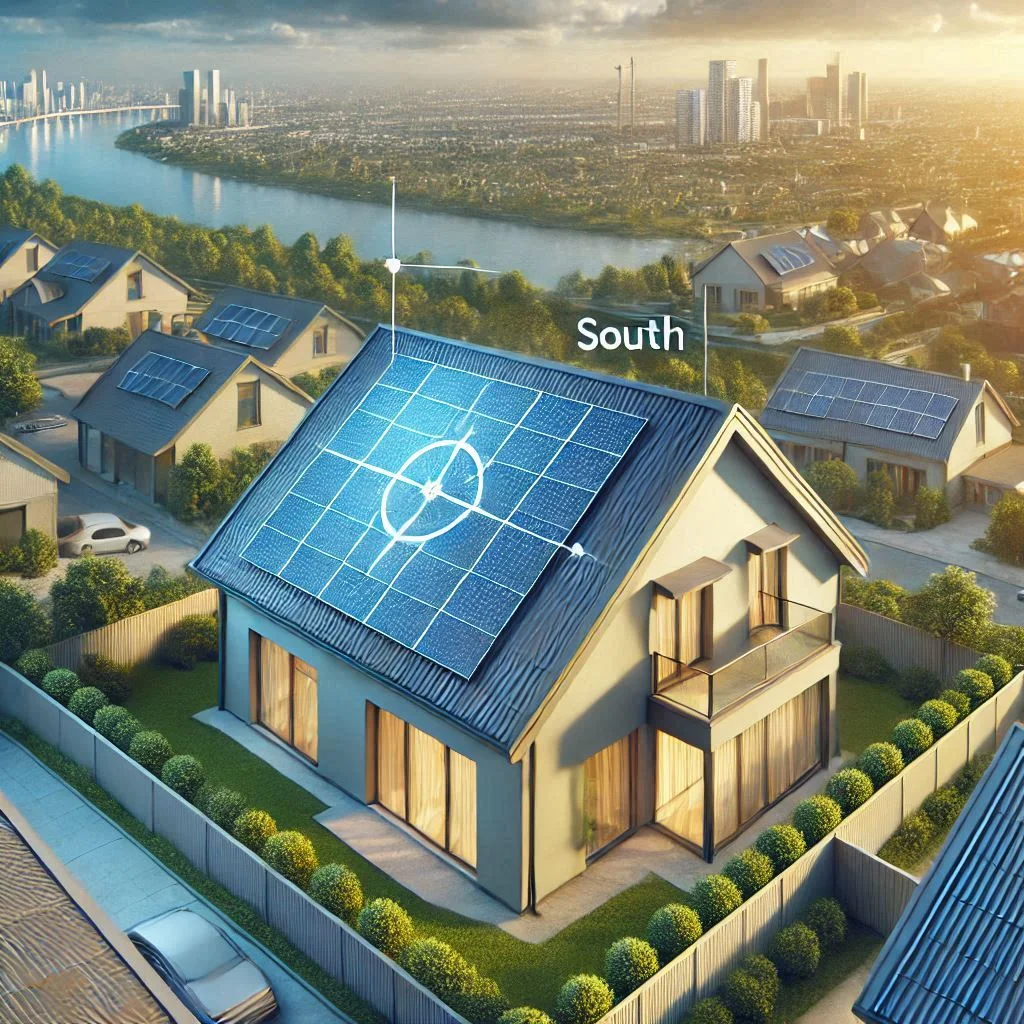
In most cases, south-facing roofs receive the most sunlight in the northern hemisphere, making them ideal for solar panel installation. For optimal energy generation, panels should be tilted at an angle equal to your geographical latitude. This helps capture sunlight throughout the year, ensuring your air conditioner gets sufficient power.
- Shading and Obstructions:
Make sure your solar panels are free from shading caused by trees, buildings, or other obstructions, especially during peak sunlight hours (10 a.m. to 4 p.m.). Even a small amount of shading can significantly reduce energy output and efficiency. - Local Climate Considerations:
The amount of sunlight you receive will vary depending on your location. If you live in an area with long winters or frequent cloudy days, you may need a larger battery storage system to store excess energy for later use. If you’re in a sunny region, the energy generated will be more abundant, which could reduce the need for large battery banks.
Calculating Energy Requirements and Sizing the System
Energy Requirements
To design an efficient DIY solar-powered air conditioner, you need to calculate the energy required to power the air conditioning unit and other components. This involves estimating the energy consumption of the AC unit, as well as the power generated by your solar system.
- Determine AC Unit Power Consumption:
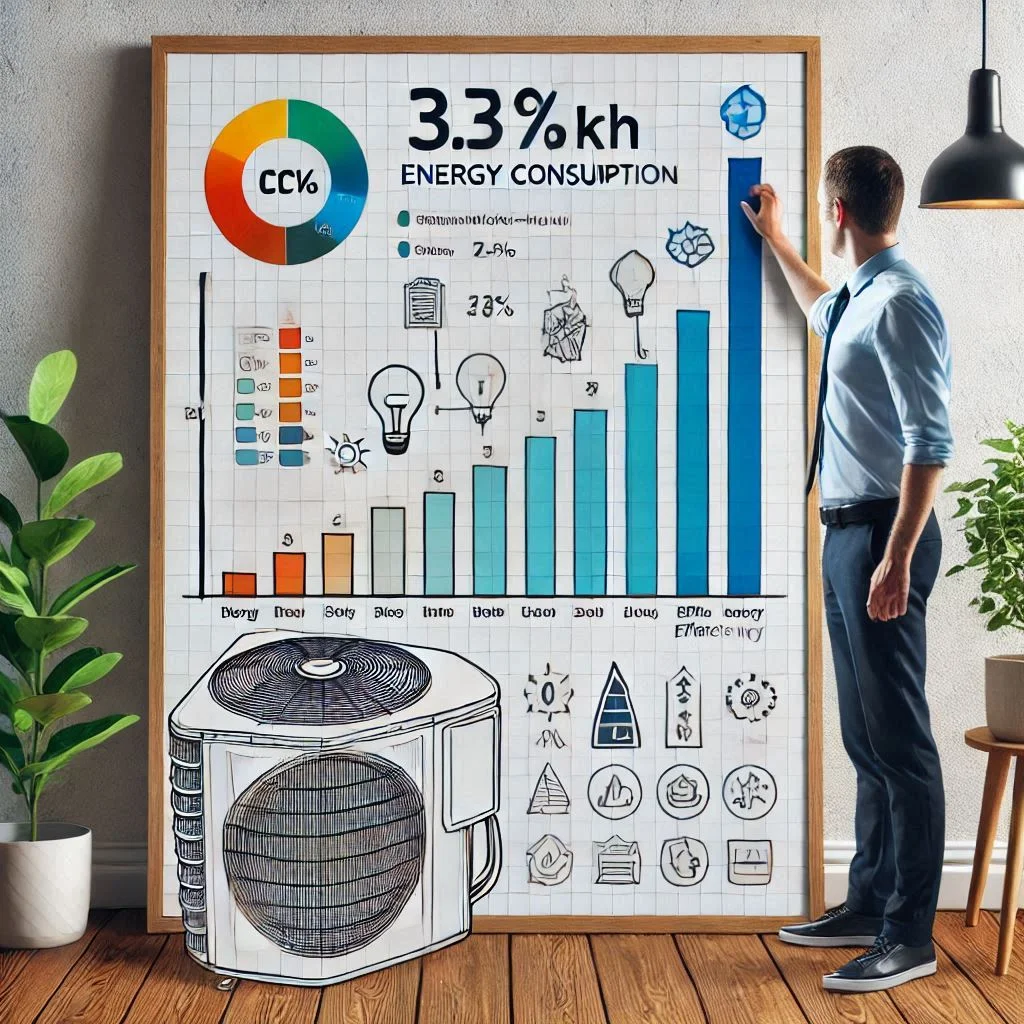
Check the energy consumption of the air conditioning unit you plan to use. The power consumption is usually measured in watts (W) or kilowatts (kW). Divide the total watts consumed per hour by 1000 to get kilowatts (kW). For example, if your AC unit consumes 2000 watts (2 kW) per hour and runs for 5 hours per day, it will use 10 kWh daily.
- Solar Panel Output and Energy Production:
Solar panels have a specific wattage rating, typically ranging from 250 to 400 watts per panel. To determine how many panels you’ll need, calculate the total energy consumption (kWh) of your AC unit and divide it by the average daily output of each panel. For example, if your solar panel generates 300 watts per hour and you need 10 kWh per day, you’d need 34 solar panels (10,000 ÷ 300 = 33.33). - Battery Storage and Sizing:
If you plan to run your air conditioner during non-sunny hours, you’ll need batteries to store excess energy generated during the day. To determine the battery capacity, multiply your AC unit’s energy usage (kWh) by the number of days you want to store power for. For example, if your AC unit consumes 10 kWh daily and you want 3 days of backup, you’ll need a battery system capable of storing 30 kWh. - Choosing the Right Inverter:
The inverter you select must be capable of handling the power requirements of both the AC unit and any other components of your system. For example, if your AC unit uses 2 kW of power, select an inverter with a capacity of at least 3 kW to ensure it can handle peak loads without overload.
Choosing Solar Panels, Batteries, Inverters, and Other Essential Parts
Choosing Solar Panels:
When selecting solar panels for your DIY solar-powered air conditioner, look for panels that offer a good balance between efficiency, cost, and durability. Consider the following factors:
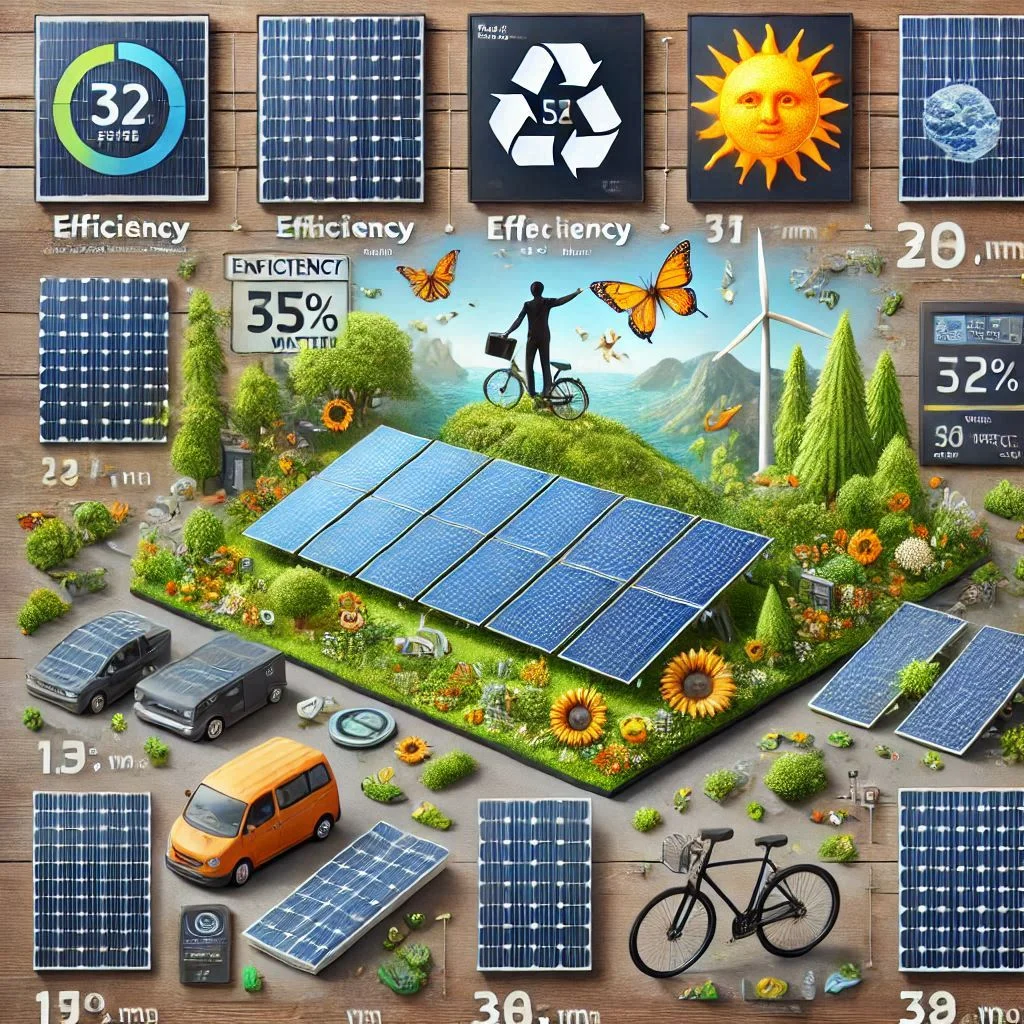
- Efficiency: Higher-efficiency panels convert more sunlight into electricity and require less space. Choose panels with efficiency ratings between 18% and 22%.
- Wattage: Choose panels with enough wattage to meet your energy needs. Consider panels with ratings of 300W or higher for better performance.
- Warranty: Ensure the panels come with a reliable warranty, typically 20–25 years, to guarantee long-term durability.
Choosing Batteries:
Battery storage is essential for storing excess solar energy. The two most common types of batteries for solar systems are lead-acid and lithium-ion. Lithium-ion batteries are more efficient, have a longer lifespan, and are more compact, but they are also more expensive. When sizing your battery bank, make sure to account for the power requirements of your air conditioner and how much energy you want to store.
Choosing an Inverter:
The inverter you choose must match the energy output of your solar panel system. It should also be compatible with the voltage and wattage requirements of your air conditioner. Some inverters come with built-in charge controllers, while others may require an external controller to optimize battery charging.
Other Essential Parts:
- Charge Controller: Regulates the power going from your solar panels to your batteries, preventing overcharging.
- Wiring and Fuses: Proper wiring ensures safe and efficient energy transfer between the components. Use high-quality wires and fuses rated for your system’s power output.
- Mounting System: Ensure your solar panels are securely mounted on your roof or in a ground-mounted array to withstand weather conditions.
Step-by-Step Guide: Assembling Your DIY Solar Powered Air Conditioner
Assembling a DIY solar-powered air conditioner involves carefully following a step-by-step process to ensure all components are installed correctly and function efficiently. Below is a detailed guide on assembling your own solar-powered AC system, from gathering materials to wiring and connecting the electrical components.
Materials and Tools Required
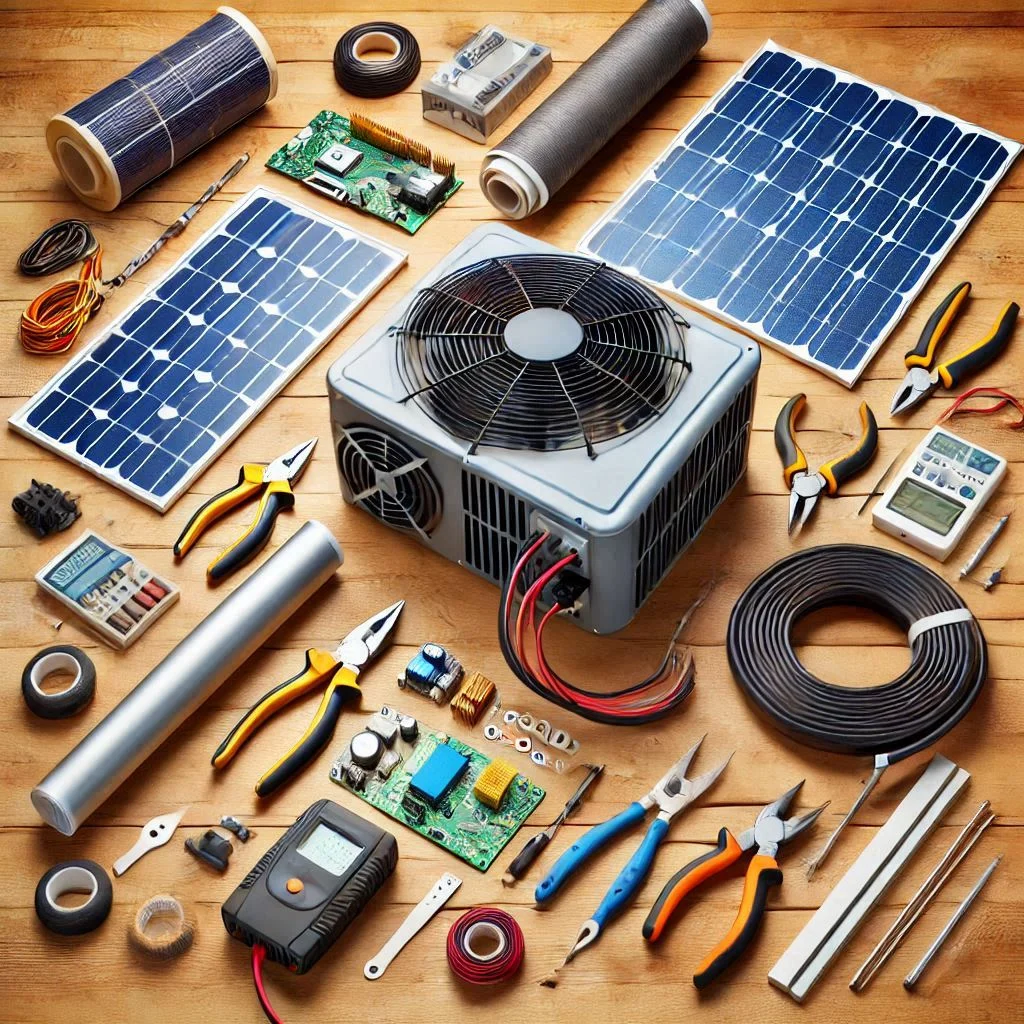
Before you begin assembling your DIY solar-powered air conditioner, gather all the necessary materials and tools to ensure the process runs smoothly. Here’s a comprehensive list of what you’ll need:
Materials:
- Solar Panels: A minimum of 3–5 panels (depending on your energy needs) rated between 250W–400W each.
- Inverter: A high-quality inverter with enough power capacity to convert the DC from your solar panels to AC for your air conditioner. Look for an inverter with at least 20% more power than your system’s total energy requirement.
- Batteries: Either lithium-ion or lead-acid batteries to store excess energy. The battery bank should store enough energy to power the air conditioner during non-sunny hours.
- Air Conditioning Unit: A small, energy-efficient air conditioner that is compatible with your solar-powered system.
- Wires and Connectors: Heavy-duty wires for electrical connections, MC4 connectors for solar panel connection, and fuses to protect the system.
- Charge Controller: A device to prevent overcharging and regulate the battery’s charge level.
- Mounting Brackets/Frame: For securely mounting the solar panels on your roof or ground.
- Cooling System Components: Condenser, evaporator, compressor, refrigerant, and other components specific to your air conditioning system.
- Insulation Material: To insulate the air conditioning ducts for optimal energy efficiency.
Tools:
- Drill and screws (for mounting panels and assembling the frame)
- Screwdrivers (for wiring connections)
- Multimeter (for electrical checks)
- Cable ties or clamps (for securing wires)
- Adjustable wrench (for tightening bolts)
- Soldering iron (optional, for more secure wire connections)
Constructing the Frame and Attaching the Cooling System
Constructing the Frame for Solar Panels:
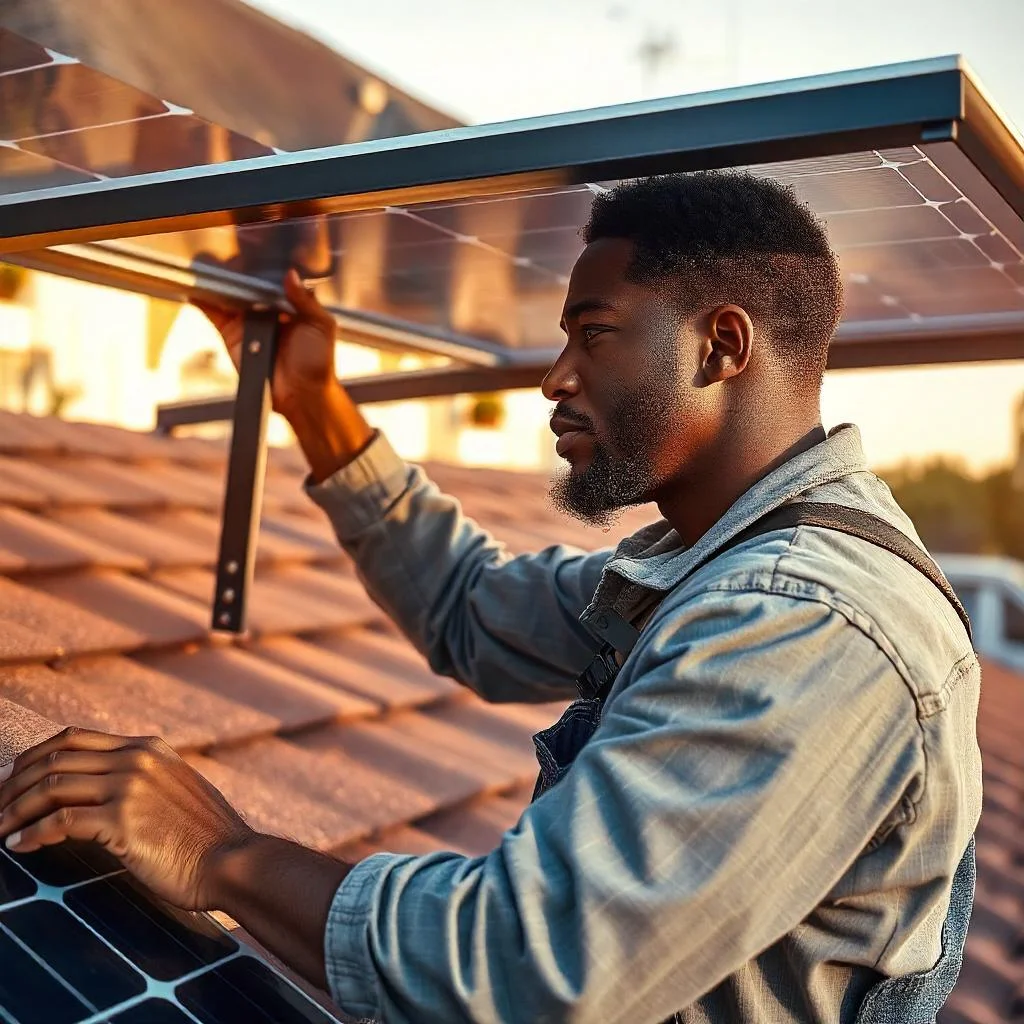
Begin by building a solid frame or structure to mount the solar panels. The frame should be sturdy enough to hold the weight of the panels and should allow for optimal panel tilt (about 30–45 degrees) to capture the most sunlight. Depending on the roof or ground space, you can either build a fixed or adjustable mounting system.
- Measure and Cut the Frame:
Measure the dimensions of your solar panels and cut the frame pieces accordingly. Use durable materials such as metal or treated wood that can withstand outdoor weather conditions. - Mount the Panels:
Secure the solar panels to the frame using screws or brackets. Ensure the panels are tightly attached to avoid any movement that could affect their performance. When mounting on the roof, make sure to anchor the frame properly to the roof surface.
Attaching the Cooling System to the Air Conditioning Unit:
The cooling system of your air conditioner consists of components like the evaporator, condenser, and refrigerant. These components must be installed correctly to ensure the AC functions efficiently:
- Install the Evaporator Unit:
The evaporator unit absorbs the heat from the air and is typically placed inside the space you want to cool. Mount it in an area where it can circulate air effectively. - Connect the Compressor and Condenser:
The compressor is usually placed outside the cooling area. It pumps refrigerant through the condenser, where it cools down and releases heat. Make sure to securely attach the pipes for refrigerant flow. - Seal Ducts for Maximum Efficiency:
Insulate all ducts and refrigerant lines to reduce energy loss. Properly sealing the air ducts ensures that the cooled air stays inside the space, maximizing cooling efficiency.
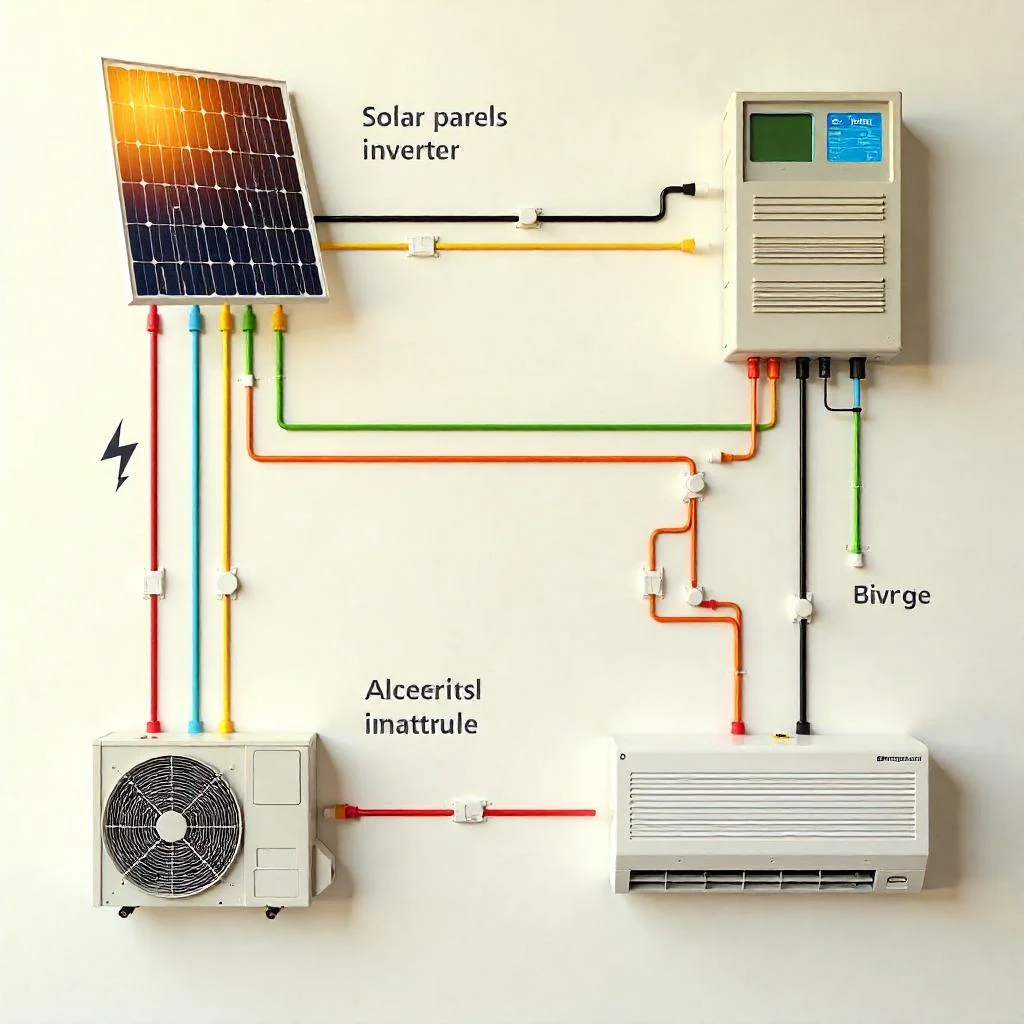
Wiring the Electrical Components and Connecting Solar Panels
Wiring the Electrical System:
The next step is to wire the electrical components of your solar-powered air conditioner. Wiring should be done carefully and securely to avoid electrical hazards.
- Connect Solar Panels to the Inverter:
First, connect the solar panels to the charge controller and then wire them to the inverter. Ensure that the wires are properly insulated and secured to prevent short circuits. The inverter converts the DC electricity from the solar panels into AC electricity for the air conditioning unit. - Connect the Battery Bank:
Wire the battery bank to the charge controller, which regulates the energy stored in the batteries. The batteries should be connected in parallel or series, depending on the system’s voltage requirements. Ensure the wiring matches the voltage ratings of your AC unit and inverter. - Fuse Protection:
Use fuses or circuit breakers to protect the wiring and components from electrical surges. Properly fuse each component, including the inverter, charge controller, and batteries. - Connect the Inverter to the Air Conditioner:
Finally, connect the inverter’s output to the air conditioning unit. Double-check that all connections are secure and that the inverter is delivering the correct voltage to the AC unit.
Testing the System:
Once everything is connected, perform a thorough test to ensure that the system operates smoothly. Check the flow of energy from the solar panels to the inverter and batteries. Start the air conditioning unit and confirm that it is cooling effectively. If everything works as expected, your DIY solar-powered air conditioner is ready to use.
Testing, Troubleshooting, and Improving Your Solar AC System
Once you’ve completed the assembly of your DIY solar-powered air conditioner, it’s important to thoroughly test the system to ensure it performs efficiently. You may also encounter some common issues during operation, which can be resolved with troubleshooting. Additionally, optimizing the system can help improve its overall performance, ensuring you get the best cooling effect while saving energy. In this section, we’ll guide you through testing, troubleshooting, and improving your solar-powered AC system.
Testing Your DIY Solar AC System for Optimal Performance
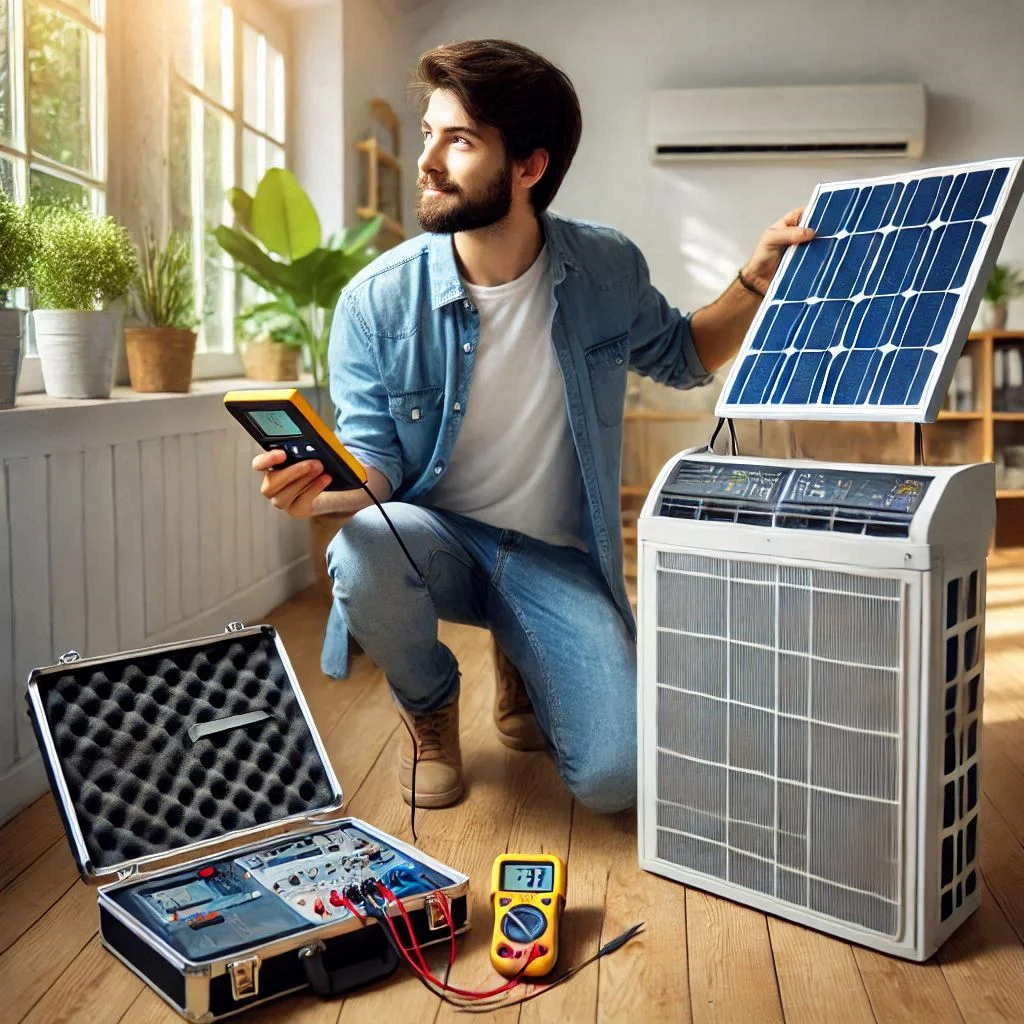
After successfully assembling your solar-powered air conditioner, the next critical step is testing the system to ensure everything is functioning as expected. This process will help identify any inefficiencies or potential issues that may affect the performance of your cooling system.
- Initial Power-Up and System Check:
- Turn on the solar-powered air conditioner and monitor how it functions over a period of time.
- Start by checking the flow of electricity from the solar panels to the inverter and the battery bank. Ensure the inverter is converting DC power into AC as expected, and that energy is being stored in the battery bank.
- The air conditioner should begin cooling the space efficiently. Observe whether the temperature drops as expected.
- Monitor Solar Panel Efficiency:
- Check if the solar panels are receiving adequate sunlight. During the daytime, ensure they are positioned in a location that receives full sun exposure for at least 6-8 hours a day.
- Use a multimeter or solar panel tester to measure the output voltage of each panel. This will help confirm whether they are generating enough power to support the AC unit.
- Assess Cooling Effectiveness:
- Monitor the temperature change in the space being cooled. A well-functioning solar-powered air conditioner should bring the temperature down by several degrees in a matter of minutes.
- Check the humidity level as well—since solar-powered AC systems also help reduce humidity, an effective unit should provide a comfortable environment.
- Battery Performance:
- During testing, note how long the battery bank lasts. The system should be able to provide cooling even after the sun sets, depending on the battery capacity. If the batteries are drained too quickly, this may indicate that you need a larger or additional battery bank.
Common Issues and How to Troubleshoot Them
Even after setting up your DIY solar-powered air conditioner, you might encounter some issues. Understanding these problems and knowing how to troubleshoot them will help you maintain optimal performance.
- Low Cooling Efficiency:
- Possible Cause: The air conditioner might not be cooling effectively, despite the system running.
- Solution: Check the refrigerant levels and ensure there are no leaks in the cooling system. If the refrigerant is low, the cooling efficiency will decrease. Also, ensure that the air conditioning unit is properly sized for the space you’re cooling.
- Pro Tip: Regular maintenance, such as cleaning the condenser coils and evaporator, can improve cooling efficiency.
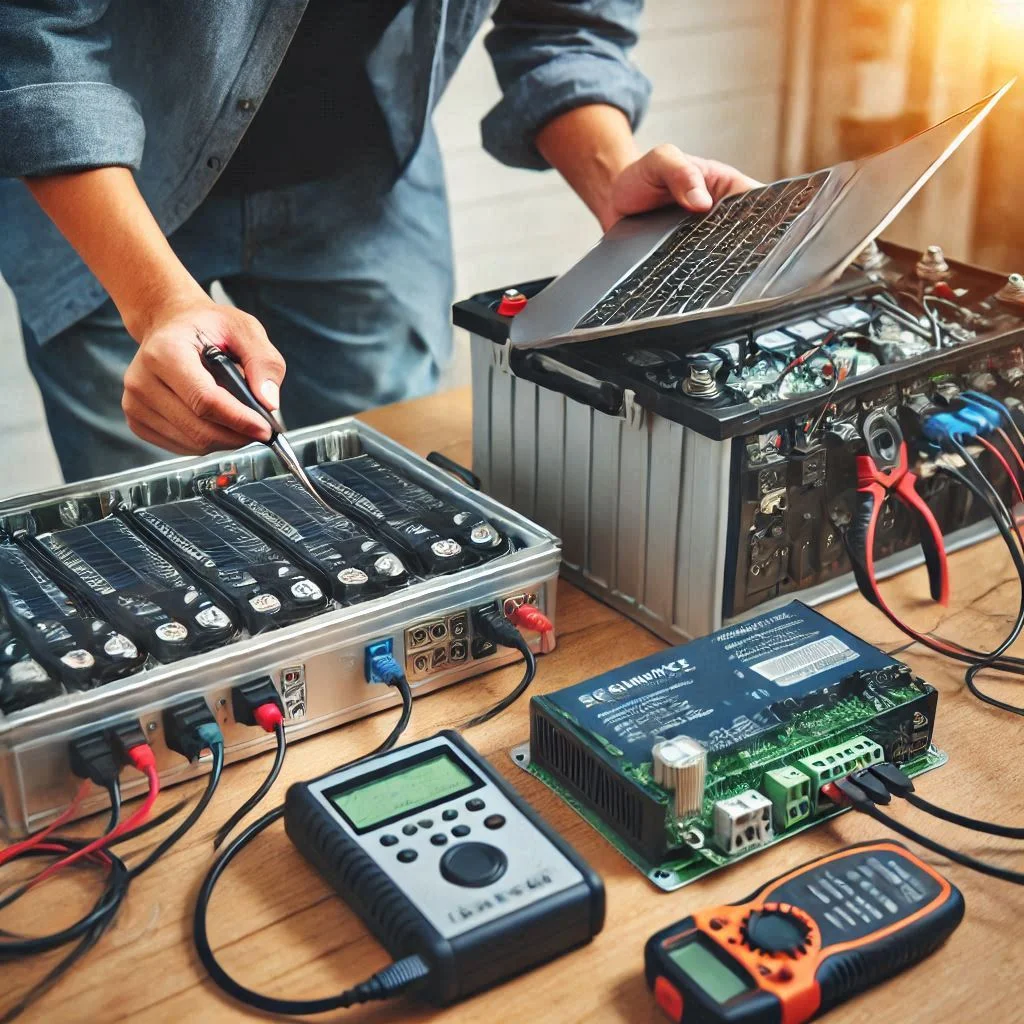
- Battery Drainage Issues:
- Possible Cause: The batteries are depleting too quickly, resulting in a loss of power when the sun goes down.
- Solution: This could indicate that the battery bank is undersized for your needs. Upgrade to a higher capacity battery or add more batteries to store enough energy for nighttime use. Also, check the charge controller to ensure it’s charging the batteries correctly.
- Pro Tip: Consider adding more solar panels to improve energy generation and storage capabilities.
- Inverter Malfunctions:
- Possible Cause: The inverter might not be converting DC power to AC properly, causing the air conditioner to malfunction.
- Solution: Check the inverter’s specifications and ensure it matches the energy requirements of your AC unit. If the inverter is overloaded, it might shut down or malfunction. Also, inspect for overheating or damaged fuses that could disrupt the inverter’s performance.
- Pro Tip: Install a cooling fan near the inverter to prevent overheating and ensure it runs efficiently.
- Solar Panel Output Issues:
- Possible Cause: The solar panels may not be producing enough power to operate the AC unit properly.
- Solution: First, check for any obstructions (trees, dirt, or debris) that may be blocking the panels’ sunlight exposure. Clean the panels regularly to remove dirt and grime that can reduce their efficiency. Ensure the panels are angled correctly and facing the sun during peak hours.
- Pro Tip: If the output is still low, you may need to add more solar panels or use higher wattage panels to meet the energy demands of the air conditioner.
- Overheating of the System:
- Possible Cause: If the solar-powered AC system is overheating, it may cause the components to malfunction.
- Solution: Ensure the air conditioner has proper ventilation, and that the inverter, charge controller, and batteries are kept in cool, dry places. Overheating can reduce the lifespan of your components.
- Pro Tip: Install fans or air vents around the system components to help with heat dissipation.
Tips for Improving the Efficiency of Your Solar AC System
- Upgrade to Higher-Efficiency Panels:
- If your solar panels are not providing enough energy, consider upgrading to higher-efficiency solar panels that convert more sunlight into electricity.
- Install a Programmable Thermostat:
- Adding a programmable thermostat can help control the temperature more efficiently, ensuring the system doesn’t run unnecessarily when it’s not needed.
- Regular Maintenance:
- Regularly clean and inspect your solar panels, air conditioning unit, and batteries. Preventive maintenance ensures the system operates at peak performance for longer periods.
- Optimize Battery Storage:
- Upgrade your battery bank to ensure you have enough stored energy for the night or cloudy days. Lithium-ion batteries are more efficient and last longer than lead-acid batteries.
- Monitor and Adjust for Seasonal Changes:
- During the summer months, the cooling demand will increase, so adjust the system’s size and capacity accordingly. You might need more solar panels or a bigger battery bank to handle the load.
Benefits and Efficiency of Solar Powered Air Conditioners
Solar-powered air conditioners offer several advantages, especially in terms of energy efficiency and environmental impact. These systems not only provide cooling but also help reduce your carbon footprint while cutting down on electricity bills. In this section, we will explore the major benefits of using solar-powered air conditioners and how you can maximize their efficiency through proper design and usage.
Cost Savings and Eco-Friendly Cooling
One of the most significant benefits of solar-powered air conditioners is their ability to reduce long-term costs, making them an attractive option for homeowners looking to save on energy expenses. Solar air conditioning systems are also environmentally friendly, providing an alternative to conventional air conditioning units that rely heavily on grid power. Here’s how they help:
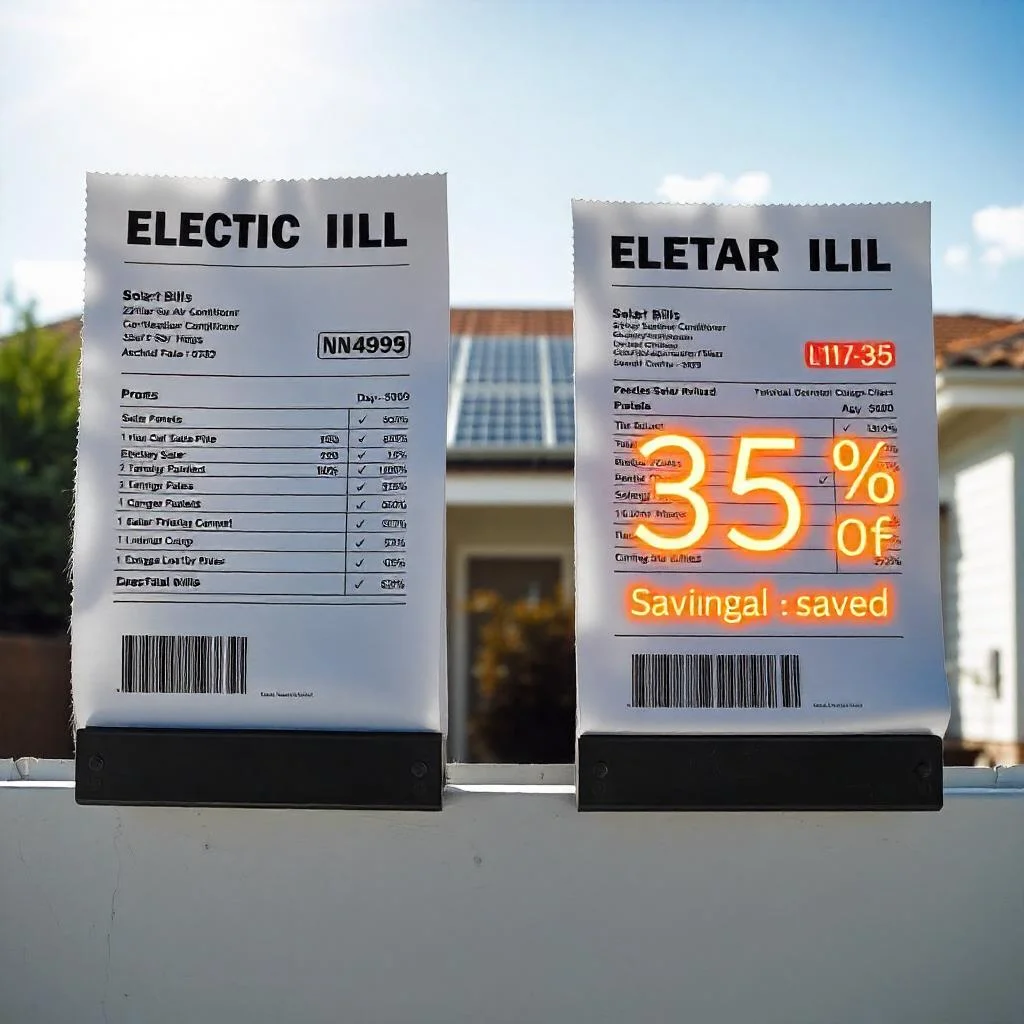
- Significant Reduction in Energy Bills:
- Initial Costs and Return on Investment (ROI): Although solar-powered AC systems require an initial investment in solar panels, batteries, and inverters, they pay for themselves over time. By harnessing the free energy from the sun, your solar AC unit operates without relying on grid electricity, which can significantly lower your monthly energy bills. Depending on your energy consumption and local electricity rates, you can expect to recoup your investment in about 3-5 years.
- Energy Independence: Solar-powered air conditioners allow homeowners to generate their own energy, reducing dependency on local utilities and protecting you from rising electricity rates. Once the system is set up, the sun provides renewable energy that powers your cooling system with minimal cost.
- Lower Carbon Footprint:
- Reduction in Carbon Emissions: Conventional air conditioners contribute to greenhouse gas emissions due to their reliance on fossil fuels. Solar-powered AC systems, however, are eco-friendly, as they use clean, renewable energy from the sun. By installing a solar-powered air conditioner, you’re actively contributing to a reduction in carbon emissions and helping combat climate change.
- Sustainable Cooling Solution: As an eco-conscious cooling solution, solar air conditioners align with global efforts to reduce reliance on non-renewable energy sources and promote sustainability.
- Government Incentives and Tax Credits:
- Many governments offer incentives, tax rebates, and subsidies for the installation of renewable energy systems such as solar panels. These financial benefits can help reduce the upfront cost of purchasing and installing a solar-powered air conditioner, making it a more affordable and attractive option for homeowners.
Maximizing Efficiency with Proper Design and Usage
To ensure that your solar-powered air conditioner operates at peak efficiency, proper design, installation, and usage are crucial. There are several factors to consider when planning and optimizing the system for maximum performance:
- Proper Sizing and System Design:
- Right Capacity for Your Space: It’s important to size your solar-powered air conditioner correctly for the area it needs to cool. Over-sizing or under-sizing the system can result in inefficient energy use and poor cooling performance. A well-sized system ensures that your AC unit runs efficiently without overburdening the solar panels.
- Optimize Solar Panel Placement: Solar panels should be positioned in an area that receives full sun exposure for the maximum number of hours throughout the day. Typically, this means placing panels on your roof or in an open area with minimal shading from trees, buildings, or other obstructions. Using a solar panel positioning tool can help determine the best angle and orientation for optimal energy generation.
- Battery Capacity and Energy Storage: The solar battery bank should be sized to handle the energy requirements of your AC unit during periods when the sun isn’t shining. A properly sized battery ensures that you can continue to operate the AC during cloudy days or at night without relying on grid power.
- Use of Energy-Efficient Components:
- High-Efficiency Solar Panels: Select solar panels with high efficiency ratings to ensure that they convert sunlight into energy effectively. Monocrystalline solar panels, for example, are known for their higher efficiency rates compared to polycrystalline panels, meaning they generate more power per square meter of space.
- Efficient Inverters and Batteries: Use high-quality inverters to ensure efficient conversion of DC power from solar panels into AC power for your air conditioner. Additionally, opt for lithium-ion batteries, which are more efficient and have a longer lifespan than traditional lead-acid batteries. These components work together to ensure that your solar-powered air conditioner runs smoothly and efficiently.
- Regular Maintenance: Routine maintenance of your solar-powered air conditioning system is key to maintaining high efficiency. Clean the solar panels regularly to remove dirt and debris that can reduce their performance. Check the air conditioner’s filters, coils, and refrigerant levels to keep the cooling system working at its best.
- Energy-Efficient Cooling Practices:
- Use a Programmable Thermostat: A programmable thermostat can help regulate the temperature and prevent the AC from running unnecessarily when the space is already cool. This minimizes energy usage while ensuring comfort.
- Insulation and Air Sealing: To maximize cooling efficiency, make sure the area you’re cooling is well-insulated. Proper insulation in the walls, roof, and floors can prevent cool air from escaping and hot air from entering, reducing the workload of your solar-powered air conditioner.
- Use Fans to Supplement Cooling: Using ceiling fans or other types of fans in conjunction with the air conditioner can help circulate cool air more effectively throughout the room, reducing the need for the air conditioner to run at full capacity all the time.
FAQs About DIY Solar Powered Air Conditioners
In this section, we answer some of the most frequently asked questions about DIY solar-powered air conditioners. Whether you are considering building your own solar AC system or already have one in place, this FAQ section will provide helpful insights to ensure you’re making the best decisions for your cooling needs.
Q1: How much does it cost to build a DIY solar-powered air conditioner?
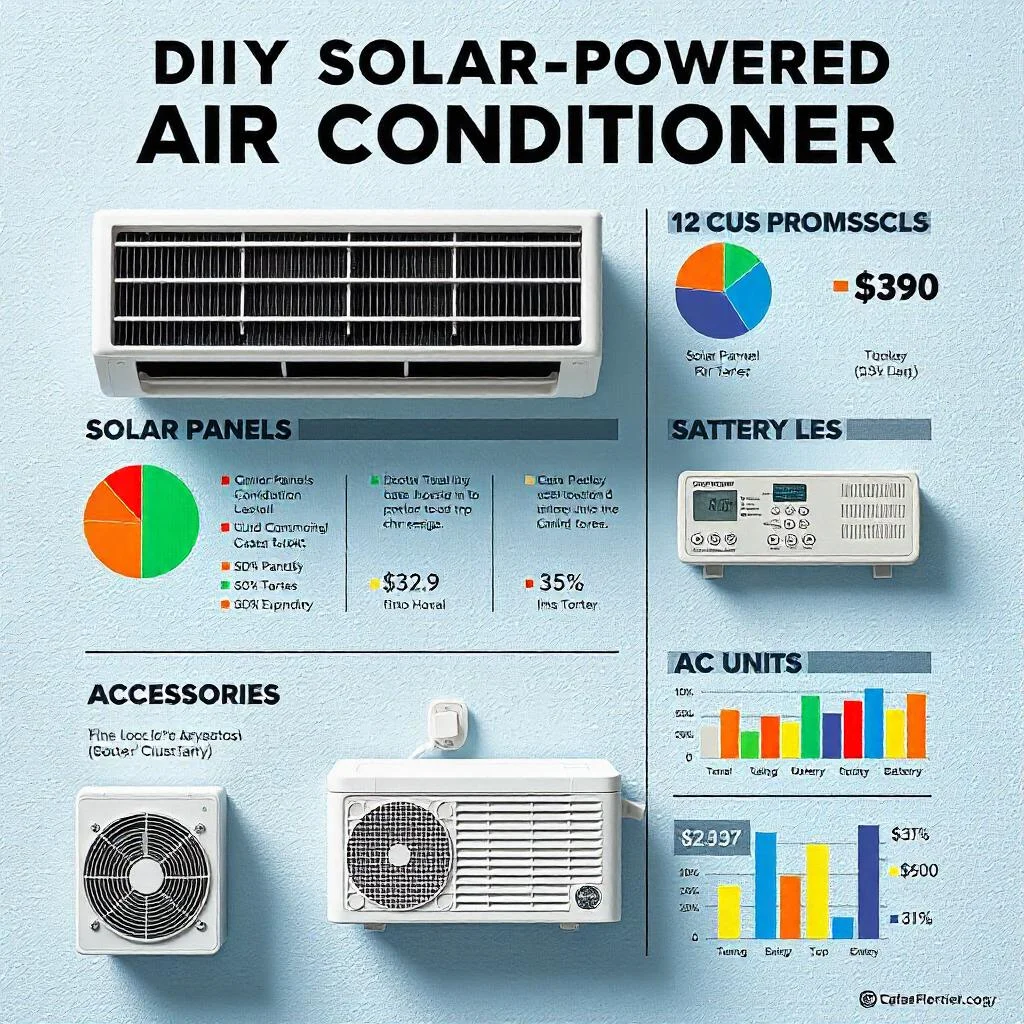
The cost of building a DIY solar-powered air conditioner can vary depending on the size of the system, the components you choose, and your location. However, the main expenses involved are for solar panels, batteries, the air conditioning unit, inverter, and additional accessories like wiring and controllers.
- Solar Panels: Depending on your cooling needs and climate, the cost of solar panels can range from $100 to $400 per panel. A typical DIY system requires several panels, typically 4 to 6 for residential use, depending on the system’s power requirements.
- Batteries: Lithium-ion batteries, which are more efficient and longer-lasting than traditional lead-acid batteries, typically cost between $500 and $1,500. The number of batteries needed depends on the amount of energy your air conditioner consumes and the battery storage capacity.
- Air Conditioning Unit: The price of an air conditioning unit can vary based on size and efficiency. A typical window AC unit suitable for a DIY solar-powered system may cost anywhere between $200 and $1,000.
- Inverter and Controller: Inverters convert DC power from solar panels into AC power for the air conditioner. A good quality inverter may cost between $300 and $600, depending on the system size.
Overall, the total cost of building a DIY solar-powered air conditioner could range from $1,000 to $3,000 or more, depending on the quality of materials used. Keep in mind that, although the upfront cost is significant, the system pays for itself over time through energy savings and a reduction in monthly utility bills.
Q2: Can a solar-powered air conditioner cool an entire home?
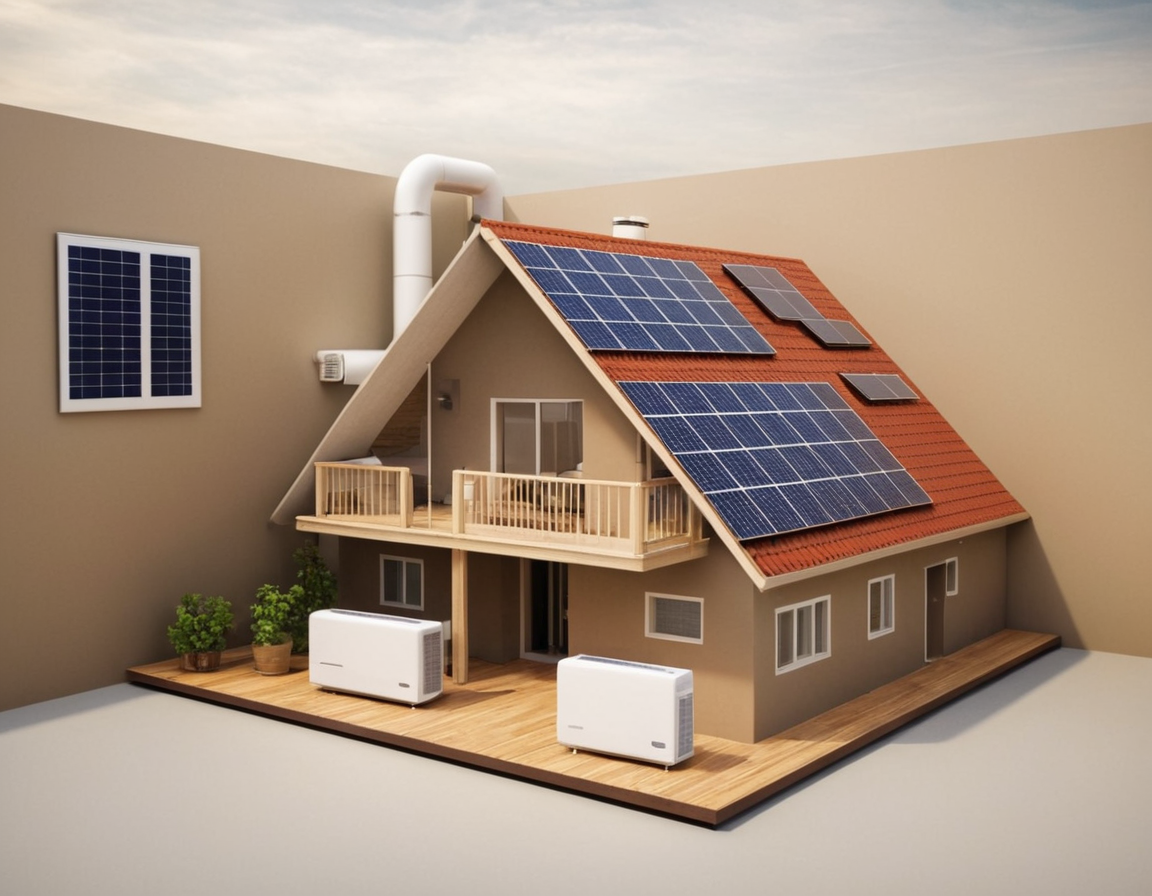
Solar-powered air conditioners are typically best suited for cooling a specific room or small to medium-sized areas, rather than cooling an entire home. While it is possible to scale up a solar-powered system to handle larger spaces, several factors must be considered:
- Energy Capacity: A typical residential solar-powered AC system is designed to cool a single room or small area. To cool an entire house, you would need a larger solar panel array, more batteries for energy storage, and a more powerful air conditioning unit.
- System Size and Design: The size of the solar-powered AC system will depend on the energy needs of your home and the climate conditions in your area. If you live in a hot climate, you may need to increase the number of solar panels and batteries to meet your cooling requirements.
- Alternative Cooling Solutions: For whole-house cooling, you may want to consider additional energy-efficient cooling solutions, such as mini-split systems that can be integrated with solar power. These systems are designed to cool multiple rooms or zones effectively.
In conclusion, while a DIY solar-powered air conditioner is typically effective for cooling a single room, it is possible to scale the system for larger homes with proper planning, sufficient solar panels, and batteries.
Q3: How long does it take to assemble a DIY solar-powered air conditioner?
The time required to assemble a DIY solar-powered air conditioner depends on your experience level, the complexity of the system, and the availability of materials. On average, here’s what you can expect:
- Research and Planning: Before you begin building, you’ll need to research the components and plan the layout of your system. This can take 1-2 days, depending on your familiarity with solar systems.
- Gathering Materials: Gathering all the necessary materials, including solar panels, batteries, air conditioner unit, inverter, and wiring, can take a day or two. Ensure that all components are compatible with each other.
- Assembly Process: The actual assembly of the system can take anywhere from 2 to 4 days, depending on the complexity of the design and whether you’re installing the solar panels on your roof or in a ground-mounted system. The assembly process includes constructing the frame, wiring the components, installing the solar panels, and setting up the air conditioning unit.
- Testing and Adjustments: After assembling the system, you’ll need to spend some time testing the setup to ensure it works properly. This step can take 1-2 days and may involve some troubleshooting to make adjustments.
In total, the entire process of building and testing a DIY solar-powered air conditioner could take 5-7 days, depending on your skill level and the system’s complexity.
Q4: What are the maintenance requirements for a solar-powered air conditioner?
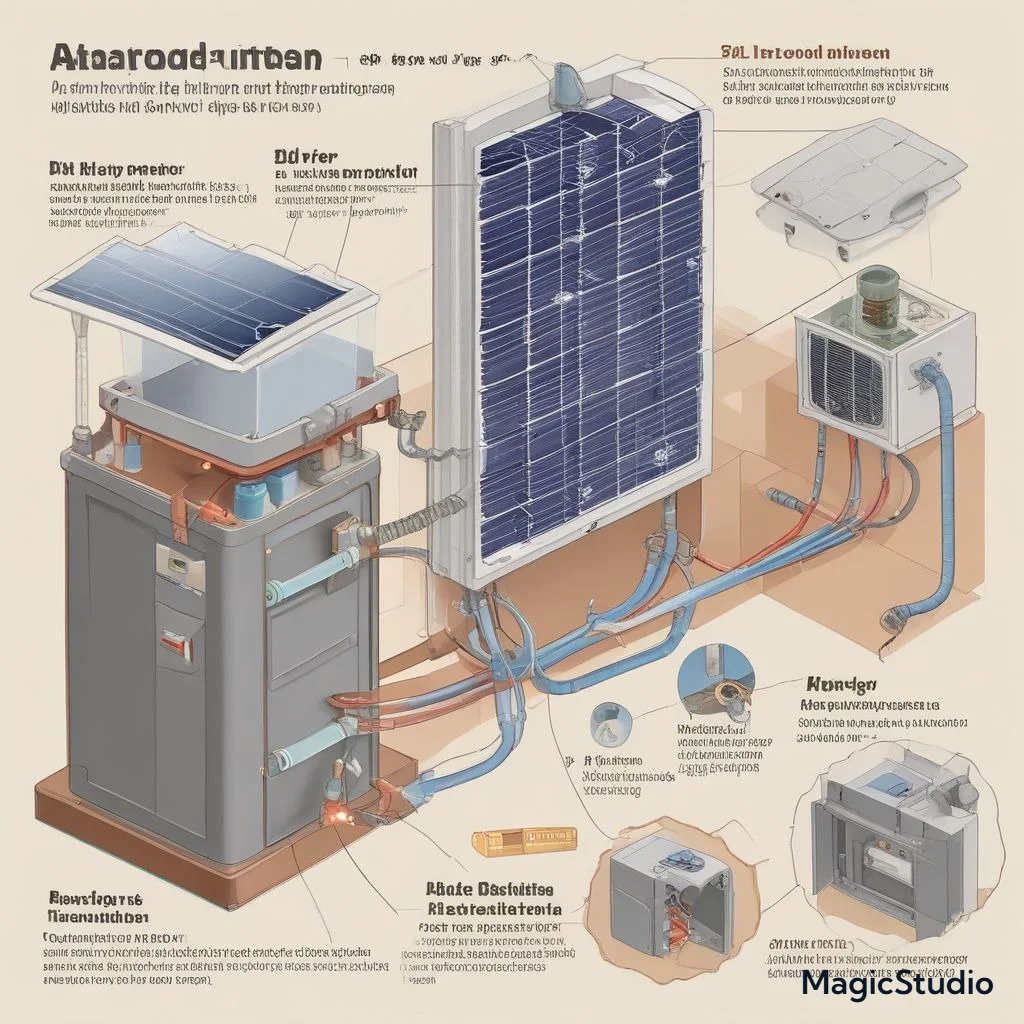
To ensure that your DIY solar-powered air conditioner continues to operate efficiently, regular maintenance is necessary. Here are the main maintenance tasks:
- Solar Panel Maintenance:
- Cleaning: Solar panels should be cleaned regularly to remove dust, dirt, and debris that can block sunlight and reduce efficiency. Clean them with a soft cloth or sponge and a mild cleaning solution.
- Inspection: Periodically check the panels for any signs of damage, such as cracks or loose wiring, which could affect performance.
- Air Conditioner Maintenance:
- Filter Cleaning/Replacement: Clean or replace the air filter on the air conditioning unit regularly to ensure proper airflow and cooling efficiency.
- Coil Cleaning: The evaporator and condenser coils should be cleaned at least once a year to remove dirt and debris that can reduce heat exchange efficiency.
- Refrigerant Level Check: Make sure the refrigerant levels are maintained to ensure optimal cooling performance.
- Battery and Inverter Maintenance:
- Battery Health Check: Check the battery bank for proper charge levels and look for any signs of wear. If the batteries are not holding a charge or have become degraded, they may need to be replaced.
- Inverter Check: Ensure the inverter is functioning properly and check the wiring connections to prevent any electrical issues.
By following these maintenance guidelines, you can extend the lifespan of your solar-powered air conditioner and ensure it operates efficiently.
Q5: Is it feasible to use a solar-powered air conditioner in all climates?
Solar-powered air conditioners are most effective in regions with high levels of sun exposure and warm climates. However, their feasibility can vary based on climate conditions:
- Hot and Sunny Climates:
- Solar-powered AC systems perform best in regions where sunlight is abundant, such as in tropical, desert, or sunny temperate climates. In these areas, solar panels can generate enough energy to power the air conditioner throughout the day.
- Cold or Cloudy Climates:
- In colder or cloudier climates, solar panels may not produce enough energy to meet cooling needs during the day. In these regions, it may be necessary to rely on additional energy storage solutions (larger battery banks) or supplement the system with grid power for reliable operation.
- A hybrid system, where solar power is used during sunny periods and grid electricity is used during cloudy days, can be a feasible option for these climates.
- Energy Storage:
- The effectiveness of a solar-powered AC system in all climates depends on the capacity of the battery bank. Larger batteries allow the system to store excess energy generated during the day and provide power during cloudy or night-time periods.
Conclusion
In conclusion, building a DIY solar-powered air conditioner is an innovative and eco-friendly way to keep your home cool while reducing your reliance on traditional energy sources. By understanding the components, planning your system carefully, and following a step-by-step assembly process, you can create a system that meets your cooling needs and contributes to a greener planet. Whether you’re looking to save on energy bills, reduce your carbon footprint, or simply embrace a more sustainable lifestyle, a solar-powered AC offers a practical solution. With the right maintenance and adjustments, your DIY solar-powered air conditioner can provide reliable cooling for years to come, all while making a positive impact on both your budget and the environment.

