
Introduction to DIY Air Conditioner Covers
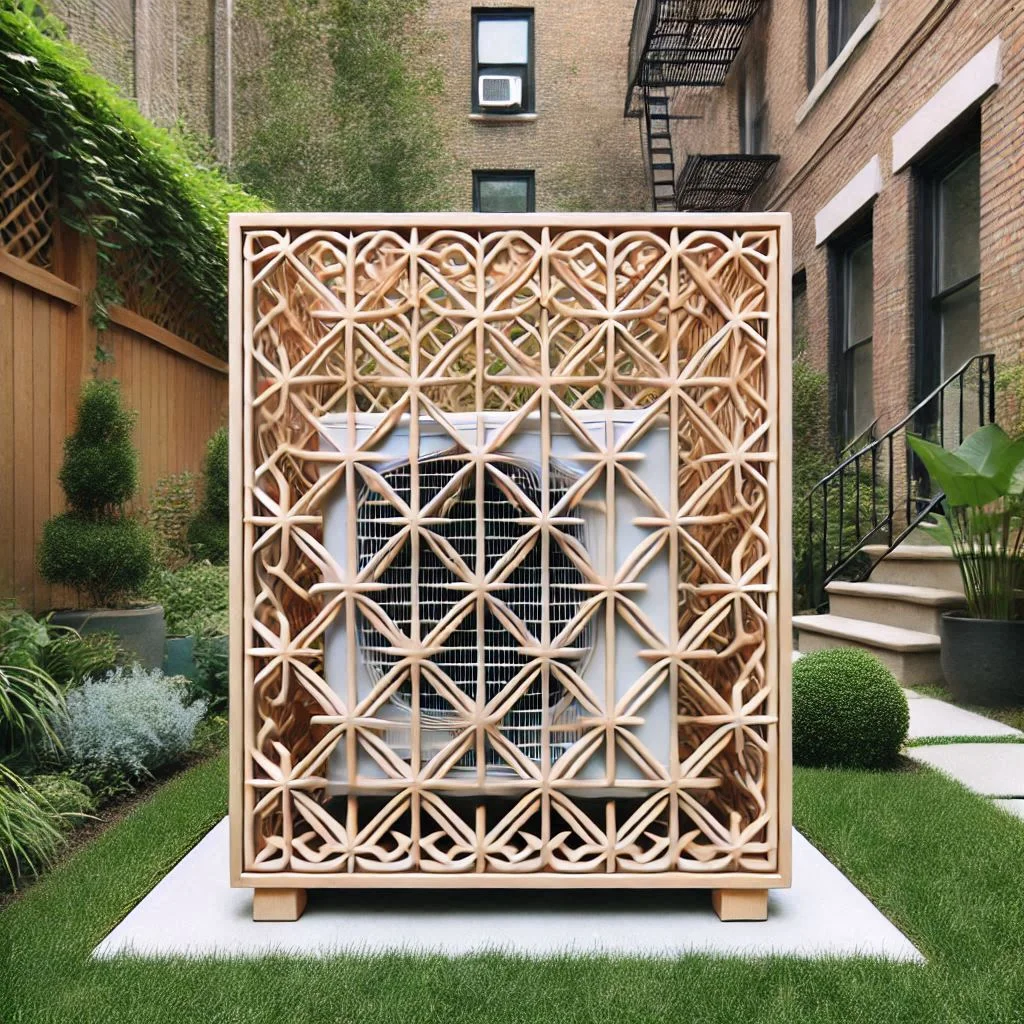
When it comes to outdoor air conditioners, they are exposed to the elements year-round, which can lead to wear and tear over time. A DIY air conditioner cover can be an effective solution for protecting your unit from harsh weather conditions, debris, and even the sun’s UV rays. Additionally, these covers can help improve the aesthetics of your outdoor space by blending the AC unit into your overall design, making it less of an eyesore. Whether you’re looking to enhance your home’s curb appeal or extend the life of your AC system, a custom-made outdoor AC cover is a practical and creative solution.

Why Are Outdoor AC Covers Essential?
- Protection from Weather Elements
Outdoor air conditioners are constantly exposed to rain, snow, wind, and other weather elements. Over time, this exposure can cause damage to the unit’s components, leading to malfunctions or reduced efficiency. A well-designed cover will shield your AC from rain, snow, and dirt, protecting the internal components and helping to avoid costly repairs - Preventing Debris Build-Up
Outdoor areas are prone to accumulating leaves, twigs, dust, and other debris. When left unchecked, this debris can block your AC unit’s airflow, reducing its efficiency and making it work harder to cool your home. Installing a DIY cover will prevent leaves and other materials from clogging up the system, improving its performance. - Enhancing Aesthetic Appeal
An exposed air conditioner can be an eyesore in your well-maintained yard or patio. A DIY AC cover allows you to seamlessly integrate the unit into your outdoor decor. With the right design, materials, and finishes, the cover can match the style of your home, making the air conditioner blend in and enhance the overall aesthetic of the outdoor space. - Increasing Longevity and Efficiency
By preventing damage caused by weather elements and debris, you can extend the lifespan of your air conditioner and avoid unnecessary repairs. A good cover will help your AC run more efficiently, saving you money in energy costs. When the unit is protected, it works less to maintain its functionality, which can lead to a longer life for the system. - Cost-Effective Solution
DIY air conditioner covers are a cost-effective way to protect your investment. Compared to hiring professionals for repairs or replacements, making your own cover can save you money. Additionally, the materials required to build an AC cover are relatively inexpensive and widely available at most home improvement stores.
Project Overview and Details
Building a DIY air conditioner cover is an excellent way to protect your outdoor AC unit while adding a decorative touch to your home. Understanding the level of expertise required, the time commitment, and the costs involved in the project will help you determine if it’s the right DIY task for you. In this section, we break down the key project details to give you a clear picture of what to expect before diving into the construction process.
Skill Level – What Level of Expertise is Required for This DIY Project?
When considering a DIY air conditioner cover, the skill level required largely depends on the complexity of the design you choose and the tools available to you. Overall, the project is relatively beginner-friendly and doesn’t require advanced carpentry skills, but basic woodworking knowledge is beneficial.
For Beginners
If you’re new to DIY projects, building an air conditioner cover can still be a manageable task. You will need to measure, cut, and assemble materials like wood or lattice, but all of these tasks can be done with basic tools and simple instructions. There are plenty of step-by-step guides available to walk you through each stage of the process.
For Intermediate Skill Level
If you have some woodworking experience, you can customize your cover further. For example, you may want to add decorative elements such as slats, a sliding door, or an intricate design. You’ll also be more comfortable with using power tools like a saw or drill to make precise cuts.
For Advanced Skill Level
For those with advanced woodworking skills, you can experiment with more detailed designs, like integrating the AC cover into your existing outdoor structures. You could also make the cover with additional features, such as a built-in storage compartment for gardening tools or other items.
Estimated Time – Time Commitment for Building the Air Conditioner Cover
The time commitment for building a DIY air conditioner cover can vary depending on your skill level, the complexity of your design, and the tools available. However, most DIYers can complete the project in one or two days.
For Beginners
If you’re new to DIY projects, you can expect to spend 4 to 6 hours on the entire project. This includes measuring, cutting, assembling the components, and applying any finishing touches. If you’re using simple materials like pine wood or pre-made lattice panels, the task will be quicker.
For Intermediate to Advanced Skill Levels
If you are more experienced, you may take less time due to your familiarity with tools and techniques. On average, it may take 3 to 4 hours to build and install a standard air conditioner cover, but custom or more intricate designs may take a full day or longer.
It’s always a good idea to set aside extra time for adjustments or finishing touches, such as sanding, painting, or sealing the cover.

Cost – Approximate Costs for Materials and Tools Needed
One of the best things about building your own air conditioner cover is that it is a highly cost-effective project. The costs depend on the materials you choose, but it’s generally much cheaper than hiring a professional to install an AC cover.
Materials Cost
The basic materials needed for this project typically include wood, screws, paint or stain (optional), and possibly a protective weatherproof sealant. The cost for these materials ranges from $30 to $100, depending on the quality of the wood and the size of the cover. If you opt for premium materials like cedar or teak, the cost could be higher.
Tools Cost
If you don’t already own the necessary tools, you might need to invest in a few essential items. A saw (either hand or power), drill, measuring tape, and safety gear (gloves, goggles) are usually required. While these tools can cost around $50 to $200, you can often borrow tools from friends or rent them from local hardware stores to save on costs.
Optional Extras
For added durability and aesthetics, you may choose to add paint or a protective coat to your air conditioner cover. These options can cost anywhere from $10 to $30 for a can of weather-resistant paint or sealant.
In total, you can expect to spend anywhere from $40 to $150 on materials and tools for your DIY air conditioner cover project.
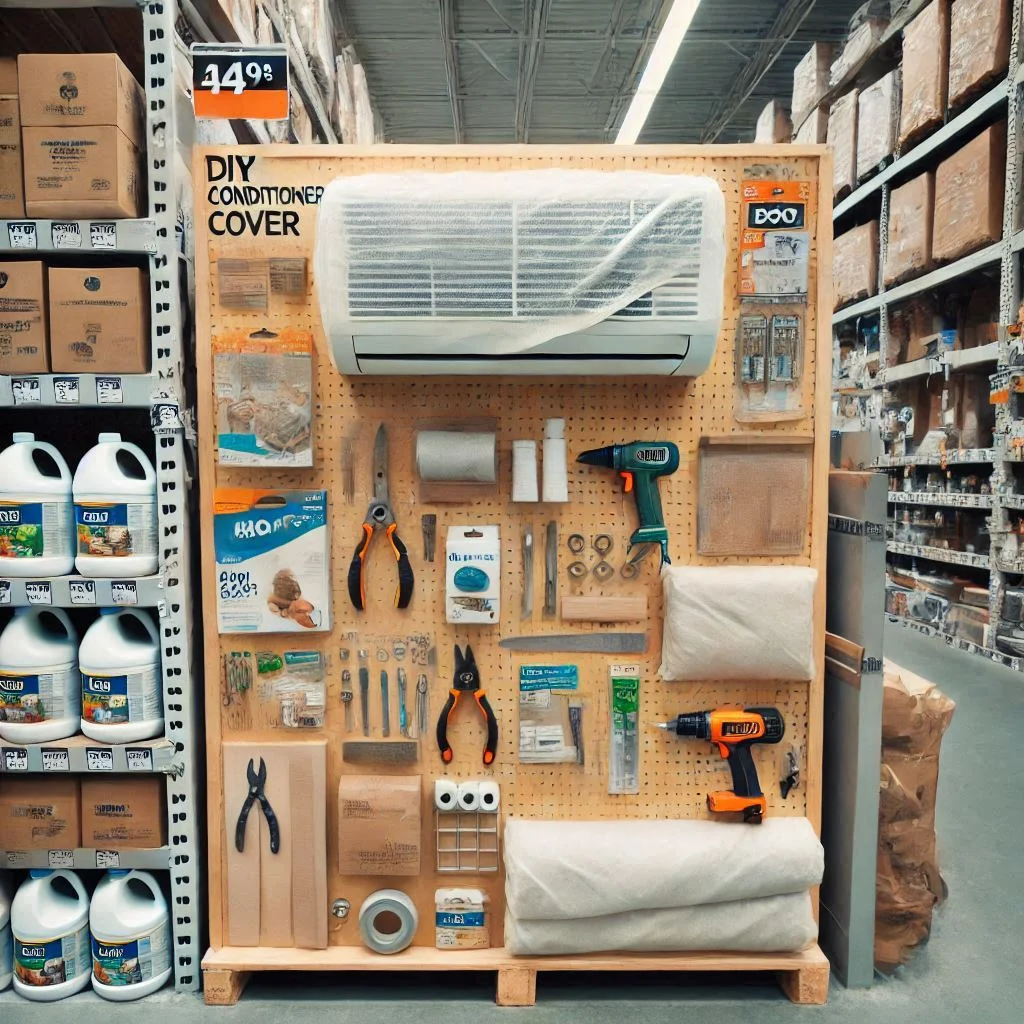
Materials and Tools Needed for the Project
To build a successful DIY air conditioner cover, selecting the right materials and tools is crucial for both durability and aesthetics. This section will detail the materials and tools you’ll need to create an efficient and attractive cover for your outdoor AC unit. By understanding the required items, you can ensure that your project runs smoothly and achieves the desired results. Let’s dive into the specifics.
Materials – List of All Materials Required for Building the AC Cover
When selecting materials for your air conditioner cover, you’ll want to prioritize durability, weather resistance, and style. Here is a list of common materials needed for this project:
- Wood (for frame and structure)
The most popular material for constructing the frame of your DIY AC cover is wood. Depending on your preferences and budget, you can choose from a variety of wood types:- Pine: Affordable and easy to work with, ideal for beginners.
- Cedar: Naturally resistant to moisture, making it perfect for outdoor use.
- Teak: A premium, long-lasting wood with excellent resistance to weather conditions
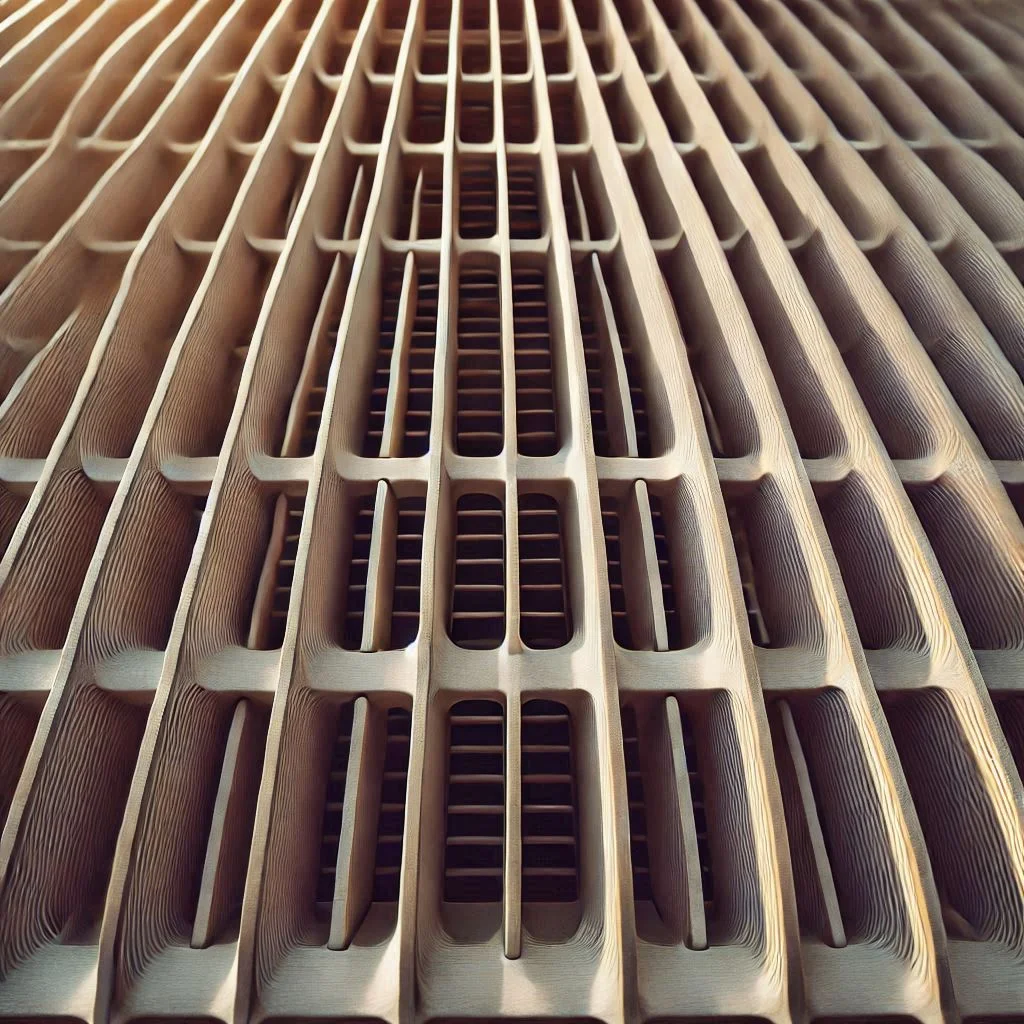
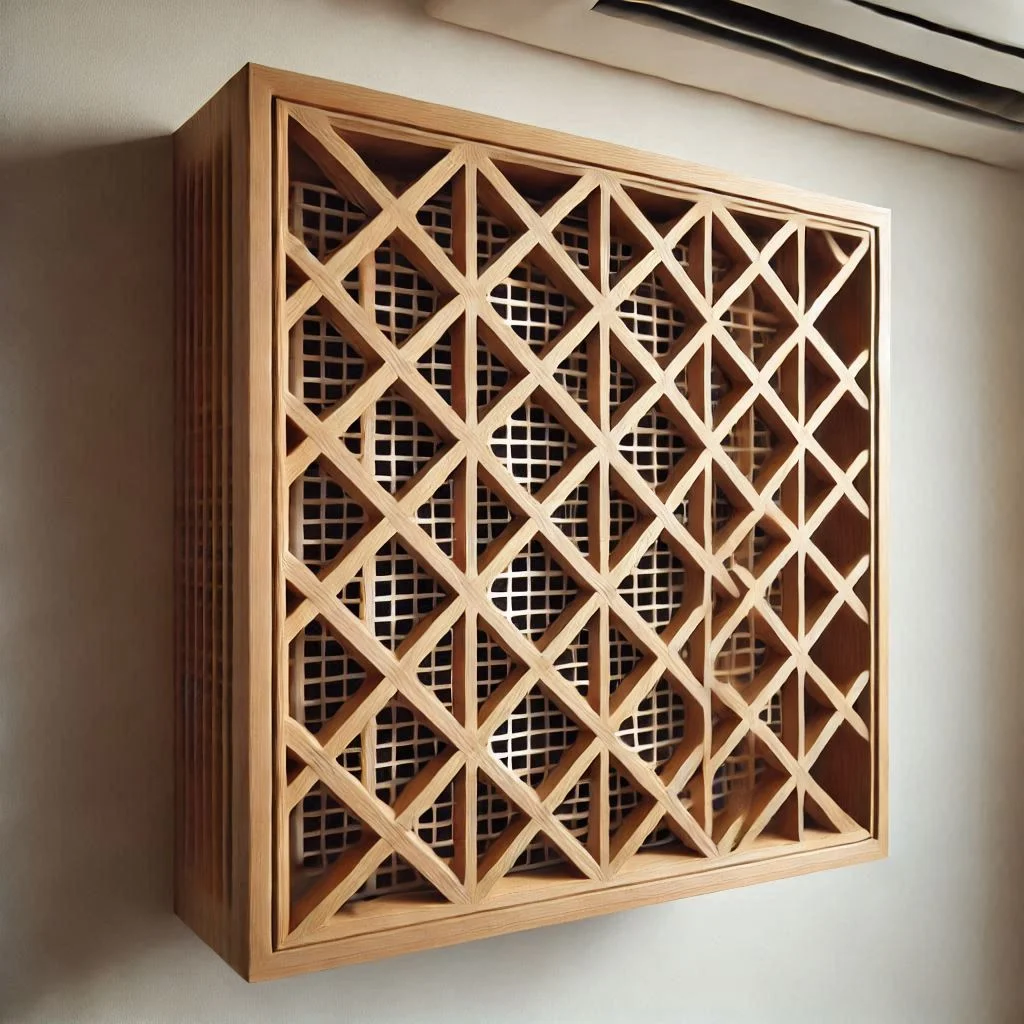
- Lattice Panels (optional)
Lattice panels are often used for the sides of the air conditioner cover. These allow air circulation, ensuring the AC unit operates efficiently while still being protected. They can also add a decorative touch. You can find pre-made lattice panels or make your own from wood slats. - Screws and Nails
You’ll need screws or nails to assemble the frame and attach the panels. Galvanized or rust-resistant screws are recommended to prevent corrosion over time, especially if the cover will be exposed to rain and humidity. - Paint or Stain
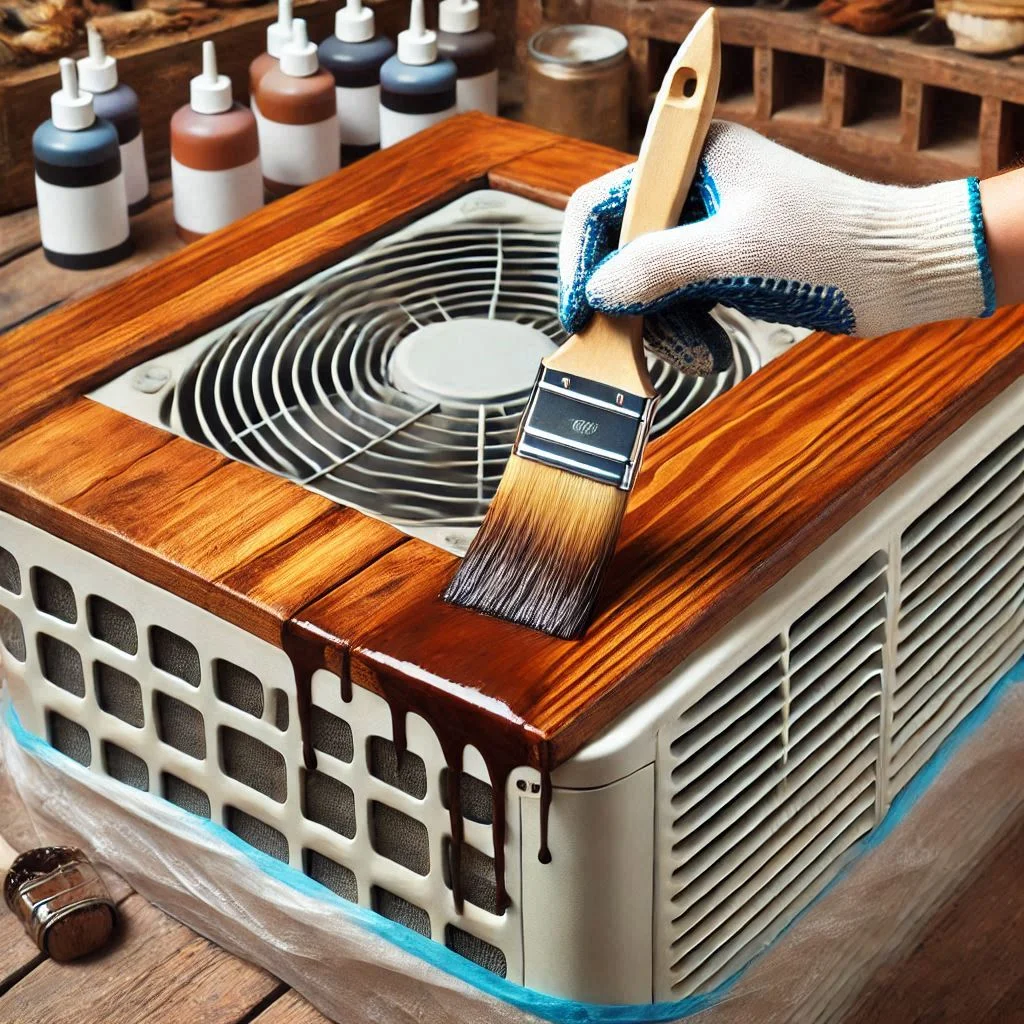
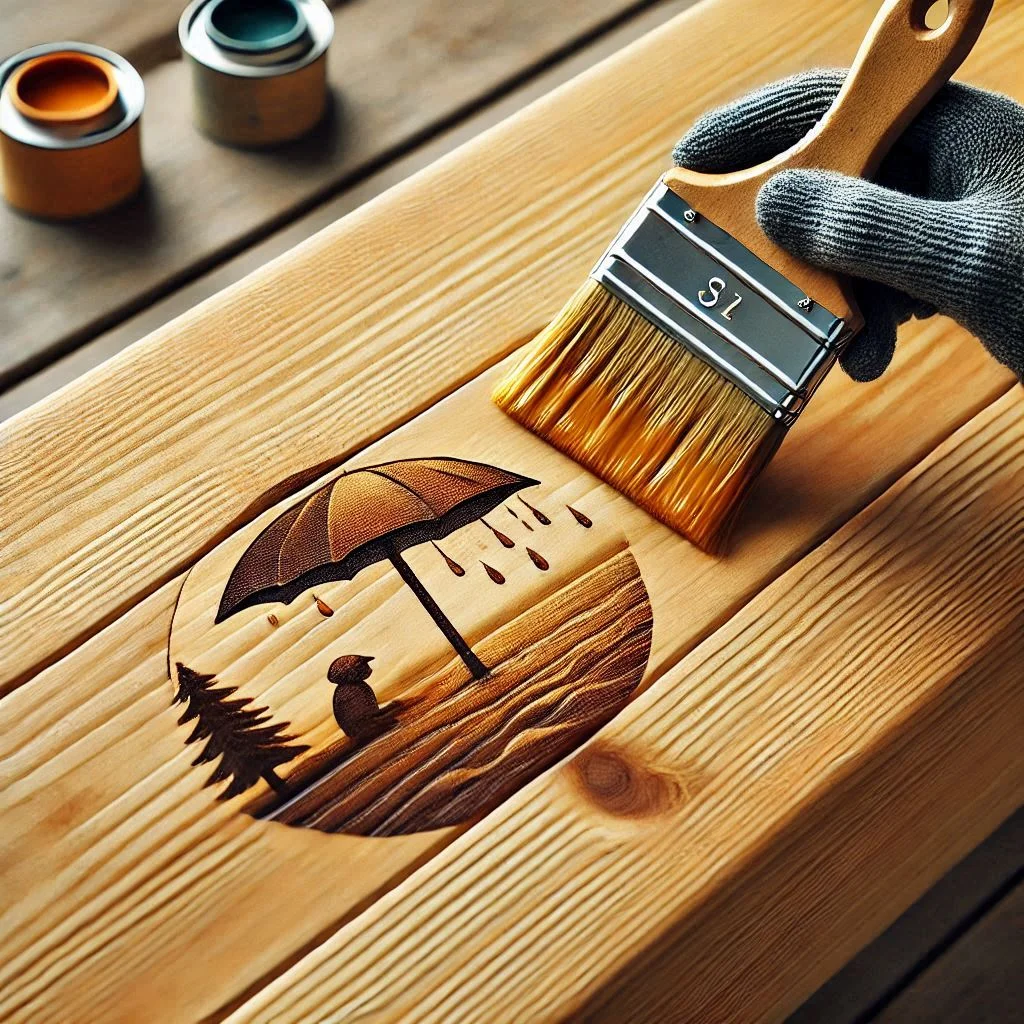
To ensure your air conditioner cover withstands the outdoor elements, you’ll want to coat the wood with a weather-resistant paint or stain. Choose a product that protects the wood from UV rays, water, and mildew. Consider selecting a color that complements your outdoor space. - Weatherproof Sealant
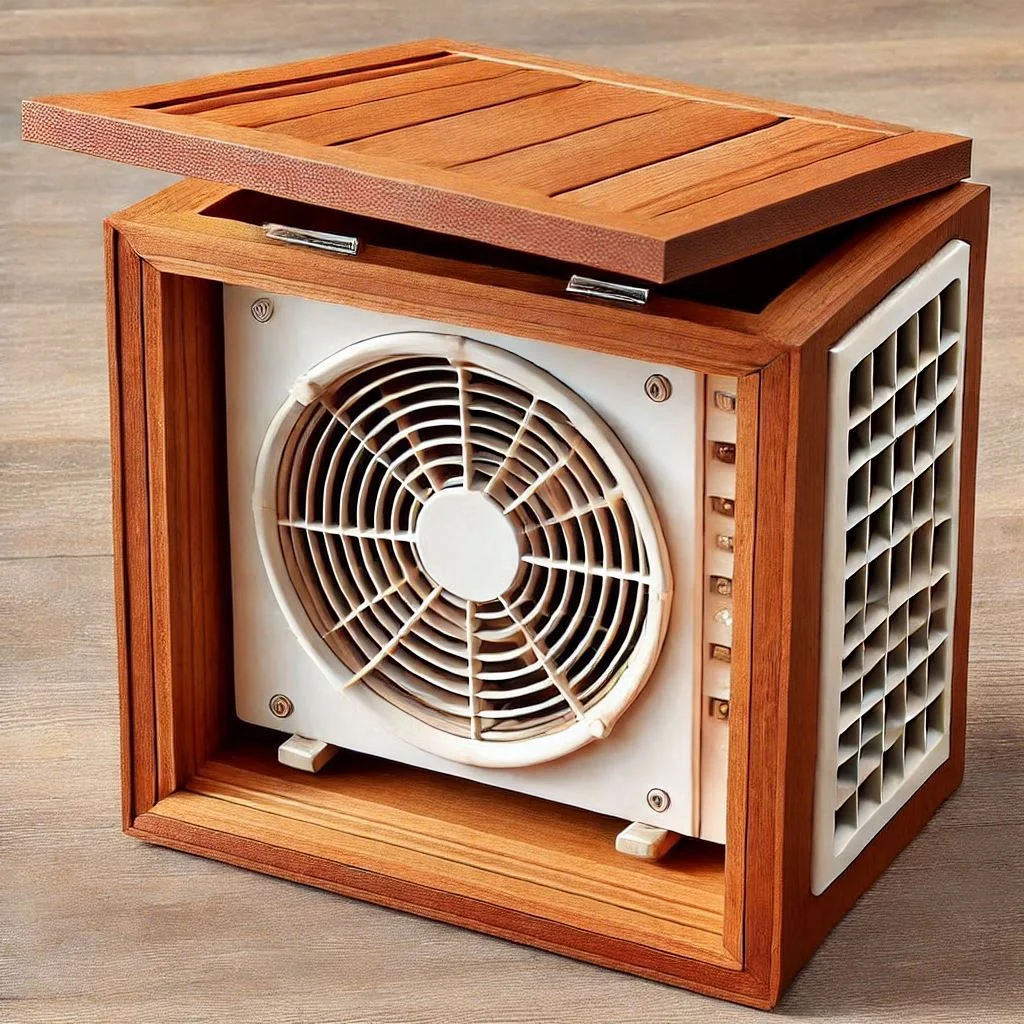
A weatherproof sealant or protective finish will help prevent moisture from damaging the wood, prolonging the life of your AC cover. Look for sealants specifically designed for outdoor use. - Fasteners or Hinges (optional)
If you want to make the AC cover removable or provide easy access to your AC unit, you may want to include fasteners or hinges. Hinges allow the front panel to open for servicing the air conditioner. - Rubber Feet or Pads (optional)
To protect the base of the AC unit from scratches and to provide additional stability, rubber feet or pads can be attached to the bottom of the cover
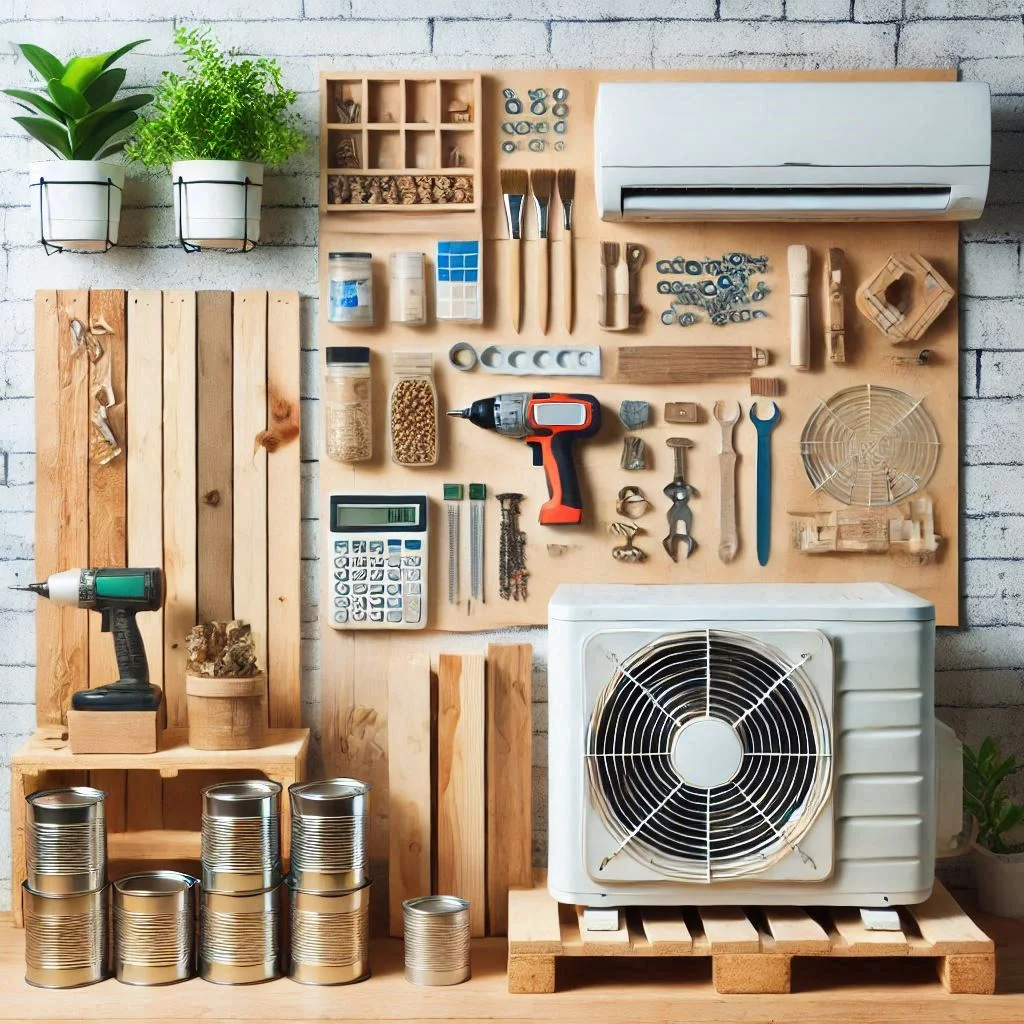
Tools – Tools You Will Need for the Construction of the Cover
Having the right tools for the job ensures that your DIY air conditioner cover is built safely and precisely. Here’s a list of essential tools:
- Measuring Tape
Accurate measurements are critical to ensure your cover fits properly around your air conditioner. A tape measure will help you measure the dimensions of the AC unit and the materials needed for the cover. - Saw (Hand Saw or Power Saw)
To cut the wood to size, you’ll need a saw. A hand saw can work for smaller projects, but if you’re cutting through thick or large pieces of wood, a power saw (like a circular saw or miter saw) will save time and effort. - Drill and Drill Bits
A drill will be essential for creating holes for screws or nails. Be sure to use the appropriate drill bits for the material you’re working with. - Screwdriver (or Impact Driver)
A screwdriver is necessary to drive screws into the wood and fasten the cover together. An impact driver is a more powerful option if you’re working with thicker wood or larger screws. - Level
To ensure the AC cover is properly aligned and straight, a level is a must-have tool. It will help you avoid any crooked edges and guarantee that your cover looks professional. - Sandpaper or Power Sander
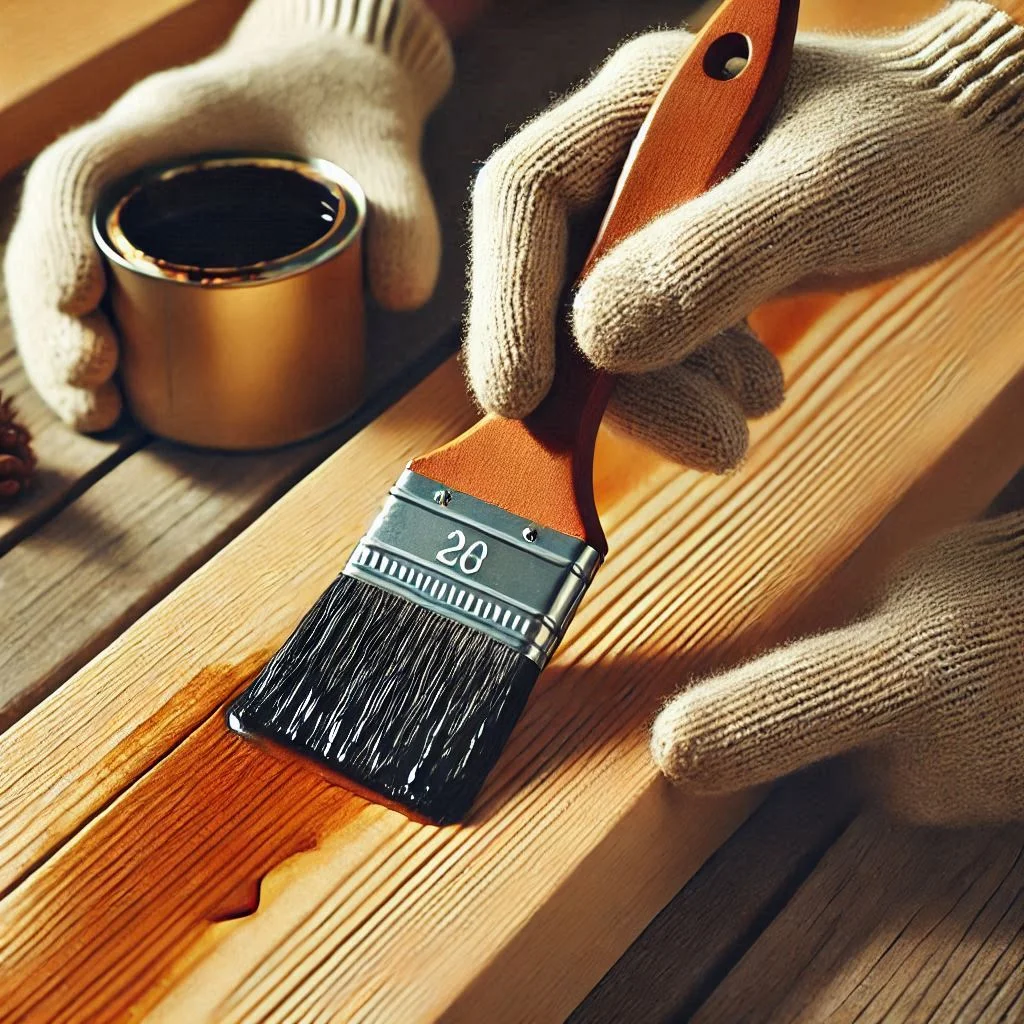
After cutting and assembling the wood, you’ll want to smooth out any rough edges and surfaces. Sandpaper or a power sander will help you achieve a clean and polished finish. - Paintbrush or Sprayer
After the construction is complete, use a paintbrush or sprayer to apply the protective coat of paint or stain. A brush is great for detail work, while a sprayer can be faster for large surfaces.
Step-by-Step Guide to Building Your Outdoor AC Cover
Building a DIY outdoor air conditioner cover is an achievable project that combines functionality with style. In this section, we provide a detailed step-by-step guide to constructing your own air conditioner cover. Whether you’re a beginner or have some woodworking experience, these instructions will help you craft a sturdy, weather-resistant cover for your AC unit. By following these steps, you’ll create a custom, durable cover that enhances the look of your outdoor space while protecting your AC from the elements.
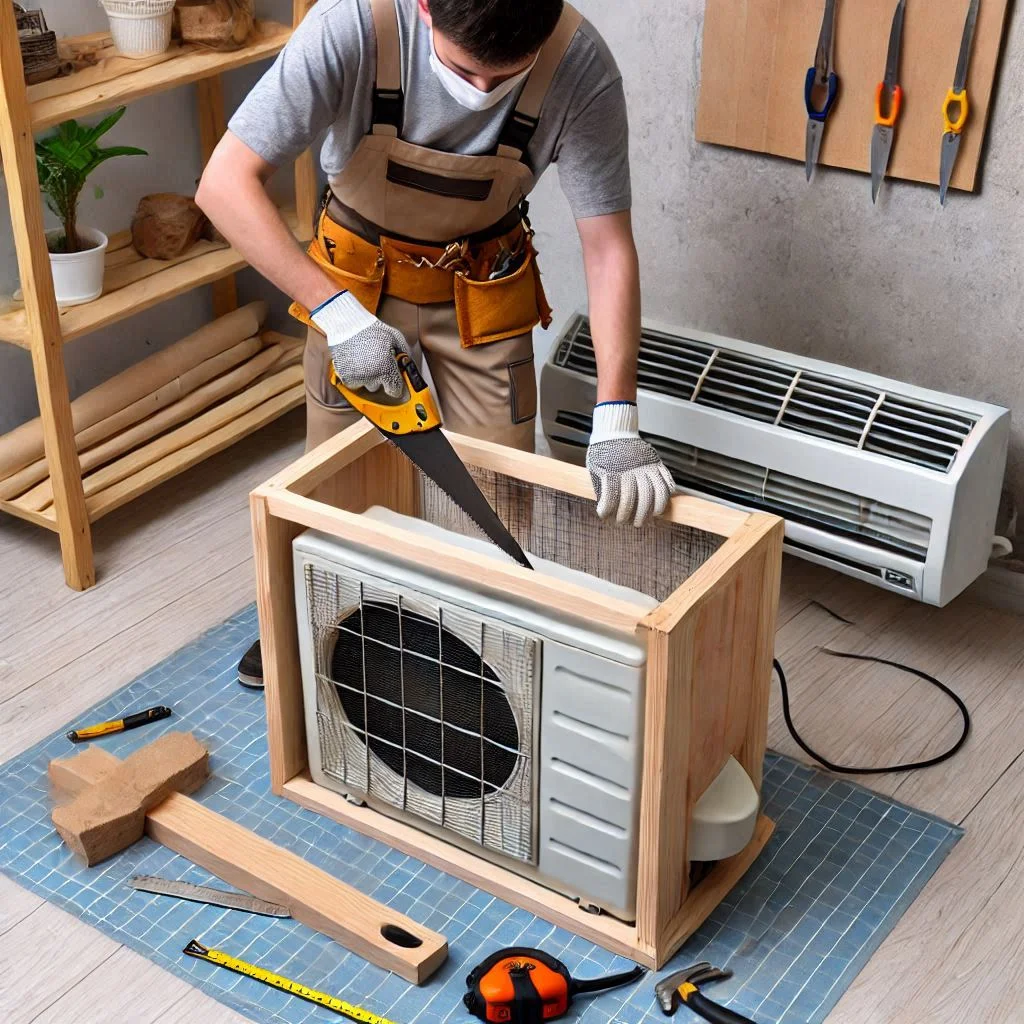
Prepare the Wood – How to Properly Prepare Your Materials
Before you begin building the AC cover, the first step is preparing your materials. Proper preparation is essential for a smooth construction process and will help you avoid mistakes later.
- Measure the AC Unit
Use a measuring tape to get the precise dimensions of your air conditioner. Measure the width, depth, and height of the unit. These measurements will guide you in cutting the wood pieces to the correct size. - Cut the Wood Pieces
Once you’ve measured your AC unit, transfer those measurements to the wood and carefully cut the pieces using a saw. You will need pieces for the top, bottom, sides, and front of the cover. If you’re using wood slats for lattice panels, make sure to measure them individually to fit into the design. - Sand the Edges
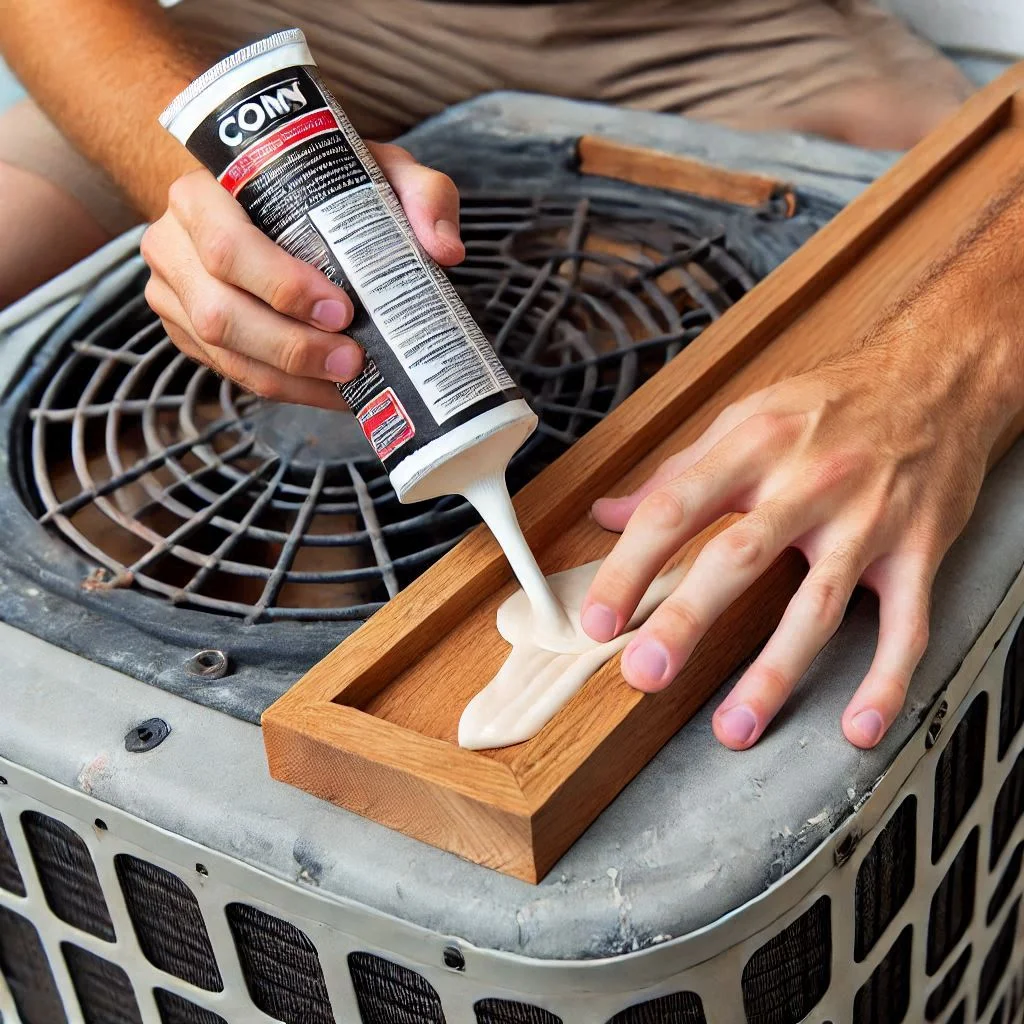
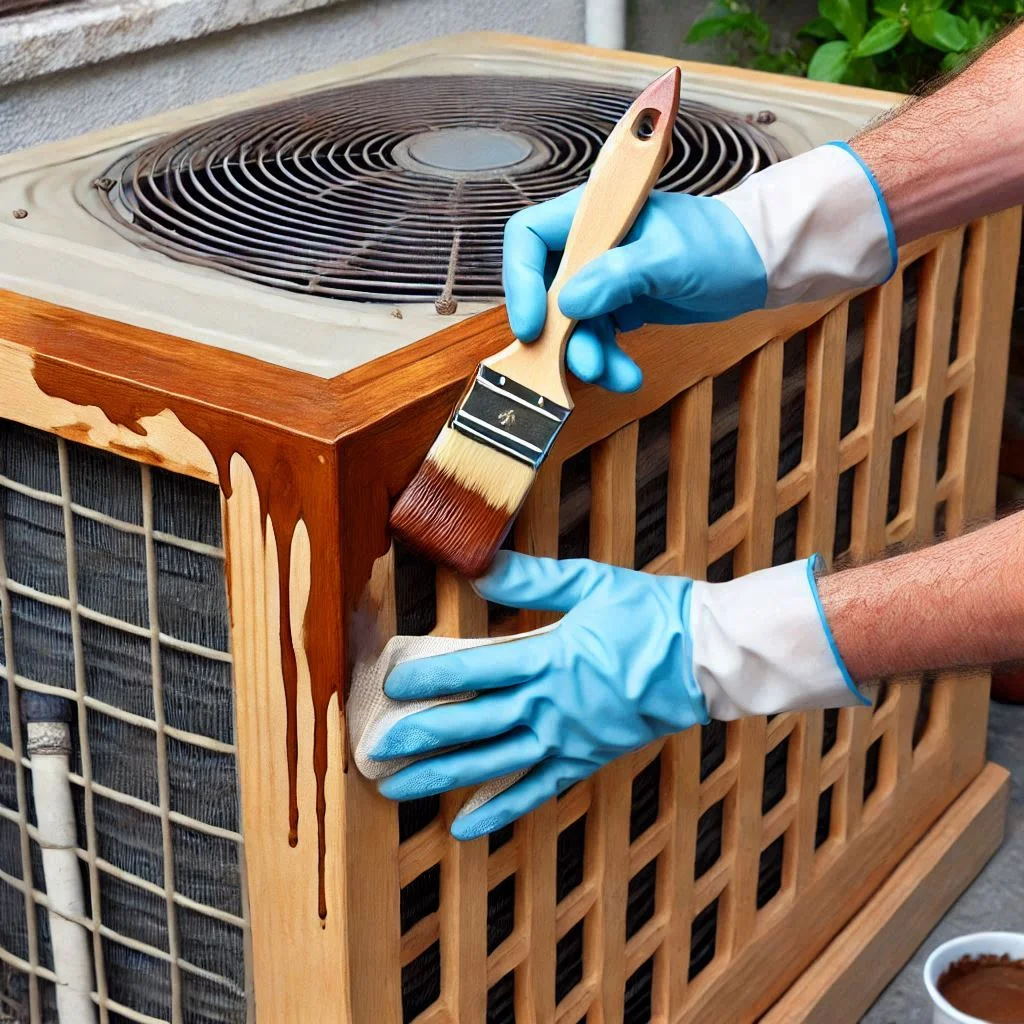
After cutting the wood, sand down any rough edges to prevent splinters. You can use sandpaper or a power sander for a smoother finish. This step is crucial for both safety and appearance. - Apply a Weatherproof Coating
Apply a weather-resistant coating such as wood stain or paint to protect the wood from moisture, UV rays, and other outdoor elements. Let the pieces dry completely before assembling them.
Build the Side Panels – Steps to Create the Side Panels for the Cover
The side panels are an important part of the AC cover, providing structure and allowing air circulation. Here’s how to build them:
- Measure and Cut the Panels
Using the measurements from your AC unit, cut two panels for the sides of the cover. If you’re using lattice panels, you can adjust the size based on the height and width you want for the sides. - Assemble the Side Panels
Attach the side panels to the front and back of the cover using screws or nails. Use a level to ensure they are straight and secure. You can reinforce the panels with additional horizontal pieces if needed. - Ensure Proper Ventilation
When constructing the side panels, remember that the AC needs proper airflow to function efficiently. You can either leave gaps between the wood slats or use a mesh screen for ventilation
Assemble the Front Panel – Guide to Assembling the Front Part of the AC Cover
The front panel is the most visible part of your AC cover, so it’s important to assemble it carefully.
- Cut the Front Panel Pieces
Cut the front panel pieces to the appropriate width and height, ensuring they match the size of your AC unit. This panel can be made from solid wood or lattice, depending on your aesthetic preference. - Attach the Front Panel
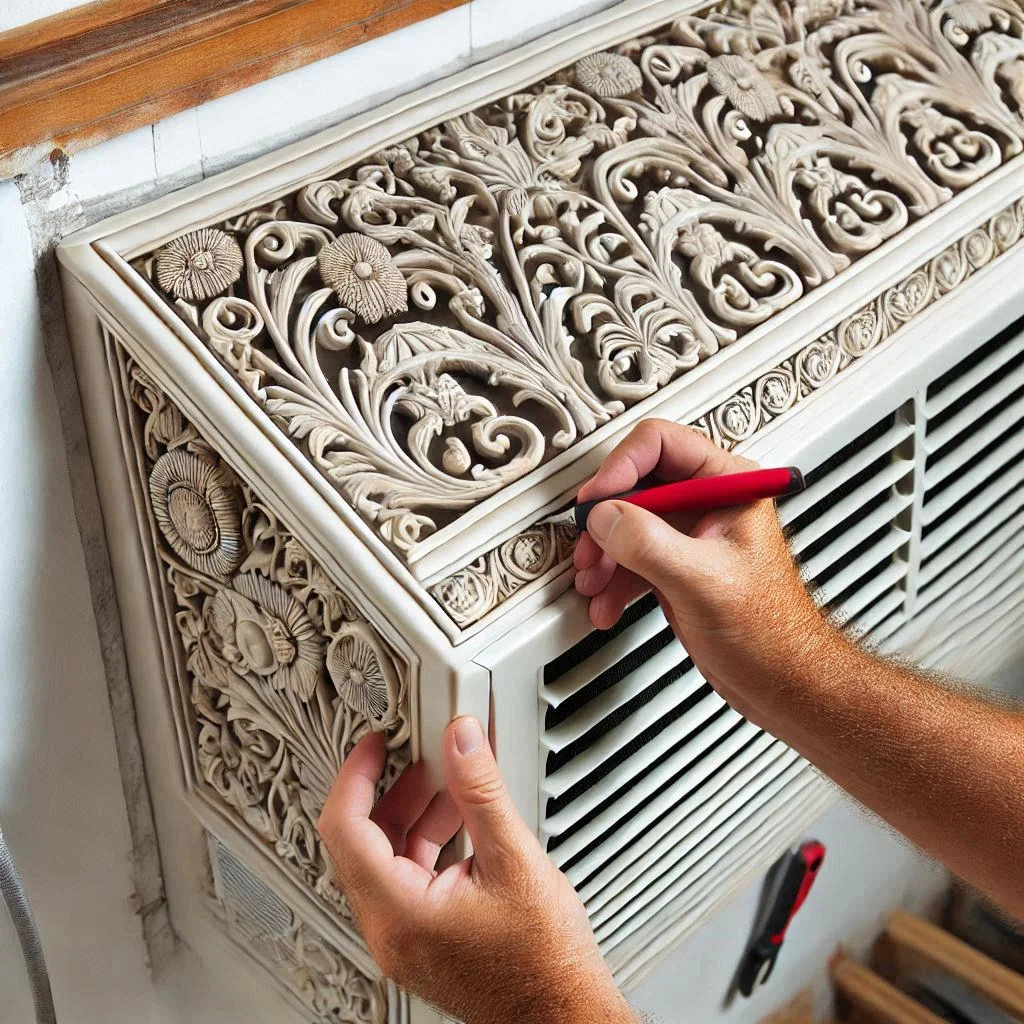
Secure the front panel to the side panels using screws or nails. Make sure the panel is level and square with the sides to avoid any crooked edges. - Add Decorative Elements (Optional)
If desired, add decorative details such as trim pieces or a decorative handle. This will enhance the overall appearance of your AC cover, especially if it’s part of your outdoor décor
Add Cap Pieces – How to Finish the Top with Cap Pieces
The top of the AC cover is where the finishing touches are added, ensuring the structure is complete and sealed.
- Cut the Top Cap Pieces
Measure and cut the pieces for the top of the cover, ensuring they are slightly larger than the AC unit to provide full coverage. You can make the top flat or add a slanted design to help with water runoff. - Attach the Cap Pieces
Attach the cap pieces to the top of the cover using screws or nails. For a better fit, use wood glue in addition to screws to ensure the pieces stay in place. - Seal the Edges
Use wood filler to seal any gaps around the cap pieces for a smoother finish. Once the filler is dry, sand it down and apply a final coat of paint or sealant to the top.
Install the AC Cover – Final Steps to Install the Cover Around the Air Conditioner
Once the cover is assembled, it’s time to install it around the air conditioner. This step ensures the cover fits snugly and serves its protective function.
- Test Fit the Cover
Before securing the cover in place, test fit it around your air conditioner to ensure it fits properly. The cover should easily slide over the AC unit, leaving enough space for airflow and maintenance access. - Secure the Cover
If you’re using a permanent design, secure the cover to the ground or surrounding structure. For a more flexible design, attach hinges or fasteners to allow easy access for maintenance. - Final Touches
Check that the cover is level and properly aligned. If necessary, make final adjustments. You can also add rubber feet or weatherproof seals at the base to protect the AC unit from moisture and scratches
Additional Tips and Advice from Experts
Building a DIY outdoor air conditioner cover requires more than just following a step-by-step guide. To ensure your cover is not only functional but also durable and aesthetically pleasing, expert advice can be invaluable. In this section, we’ll share additional tips and suggestions from professionals to help you create a high-quality AC cover that will withstand the elements and enhance your outdoor space.
1. Prioritize Proper Ventilation
One of the most important factors when building an air conditioner cover is ensuring that the unit remains well-ventilated. While it’s tempting to make the cover tightly sealed for aesthetic purposes, doing so can hinder the functionality of your air conditioner by restricting airflow. The AC needs proper ventilation to operate efficiently and to avoid overheating.
Expert Tip:
Use slatted wood, lattice, or mesh panels on the sides of the cover to allow air to flow freely around the unit. Make sure there are sufficient gaps or openings on all sides of the cover, especially near the bottom, to facilitate airflow. This will ensure that your air conditioner can still perform optimally, even while being protected from the elements.
2. Choose Weather-Resistant Materials
The materials you choose for your DIY air conditioner cover are critical to its longevity and durability. Outdoor conditions, such as rain, snow, and UV rays, can cause wear and tear on your cover. Therefore, selecting materials that are resistant to the elements is essential.
Expert Tip:
Opt for weather-resistant wood like cedar or redwood, both of which are naturally resistant to moisture and pests. If you prefer a more durable finish, consider applying a high-quality weatherproof stain or paint to protect the wood from the sun’s harmful UV rays and prevent rot. Additionally, stainless steel screws or galvanized nails are recommended for the hardware to prevent rust and corrosion.
3. Incorporate a Removable or Hinged Design for Easy Access
One common mistake people make when building AC covers is making them too difficult to remove for maintenance. Your air conditioner will need regular cleaning and servicing, so it’s important to design your cover in a way that allows for easy access.
Expert Tip:
Consider incorporating a removable or hinged design for the front panel of the AC cover. Hinges allow you to open the front of the cover easily when it’s time to clean or service the air conditioner. You can also use fasteners or Velcro strips to secure the cover, which will make it easier to remove and put back in place.
4. Maintain the Aesthetic of Your Outdoor Space
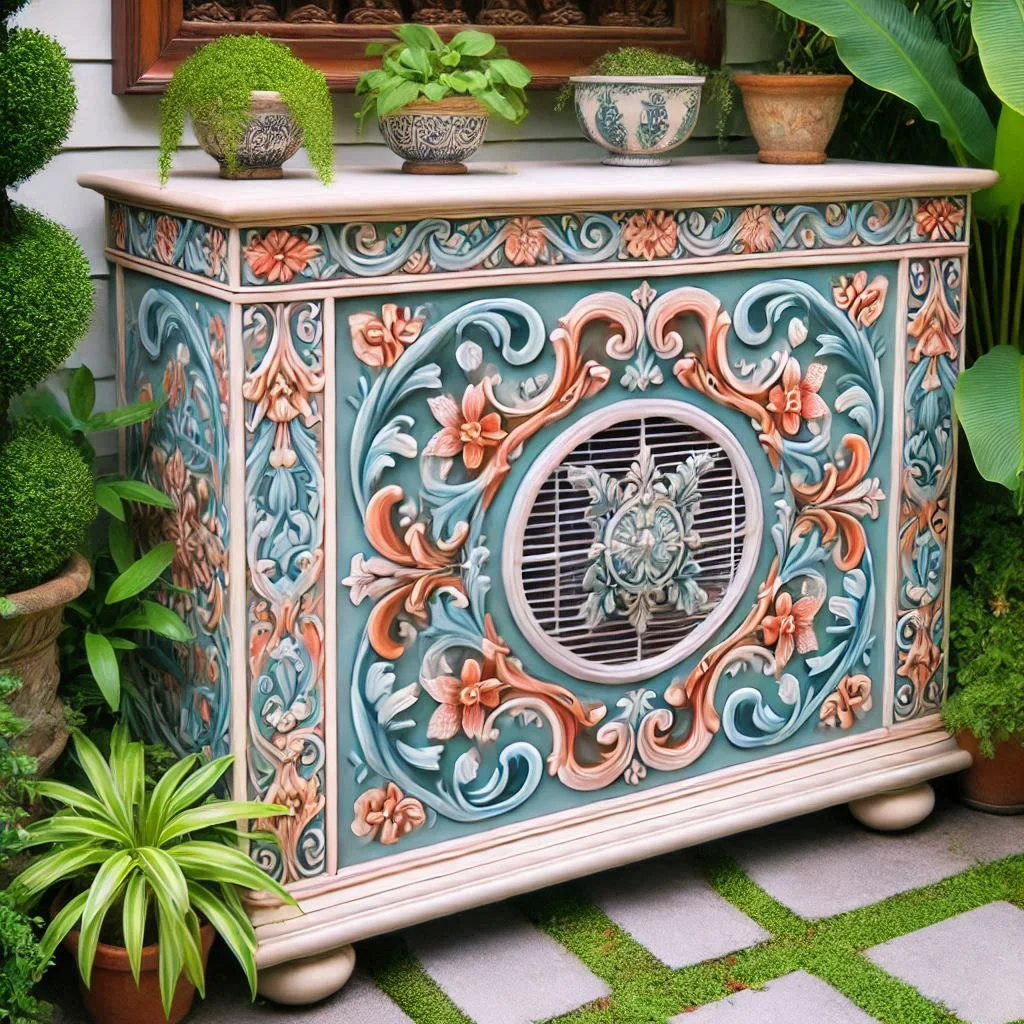
While functionality is important, don’t forget to consider the aesthetics of your air conditioner cover. Your outdoor space should be a harmonious and cohesive environment, so choose a design that complements the style of your home and garden.
Expert Tip:
If you have a modern or minimalist outdoor design, a simple wooden slat or lattice AC cover will blend well. For a more traditional or rustic look, you can add decorative elements such as trims, decorative handles, or even paint the cover in colors that match your existing outdoor furniture or home exterior.
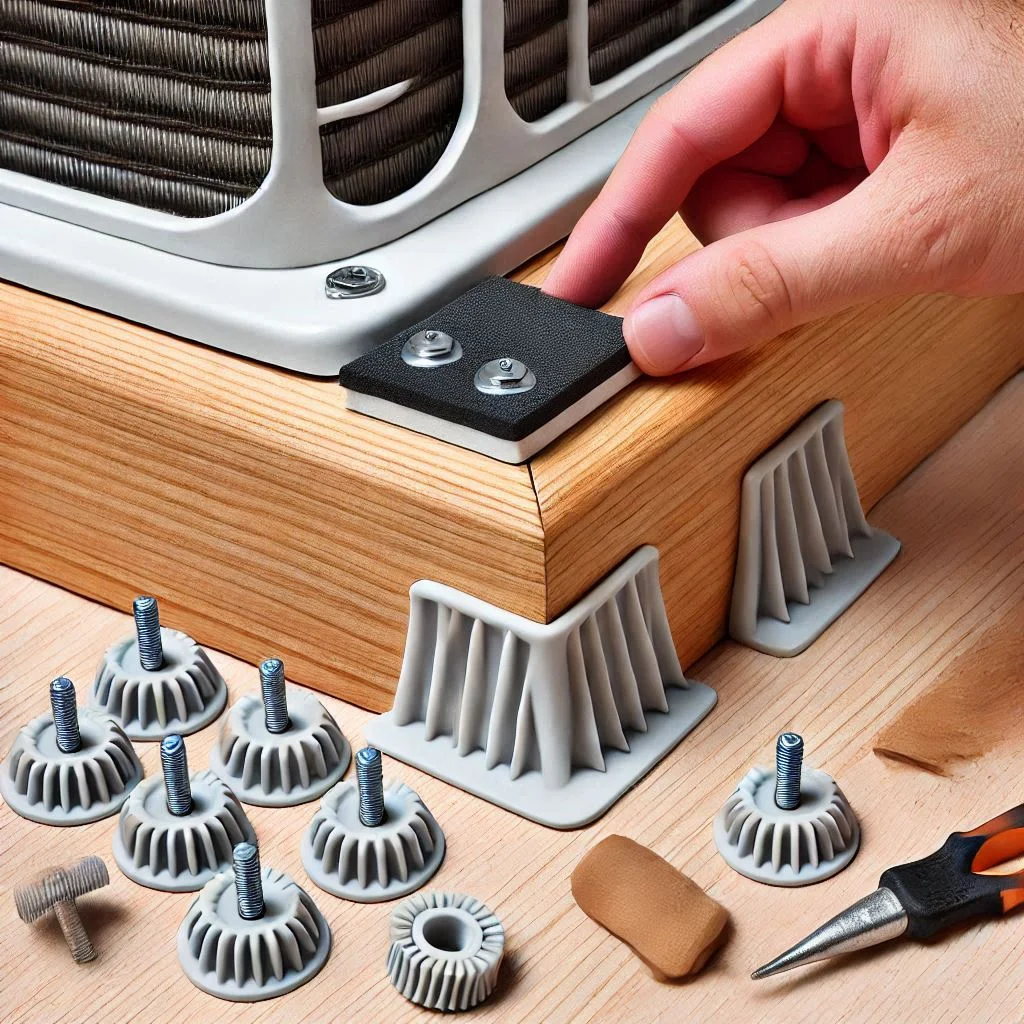
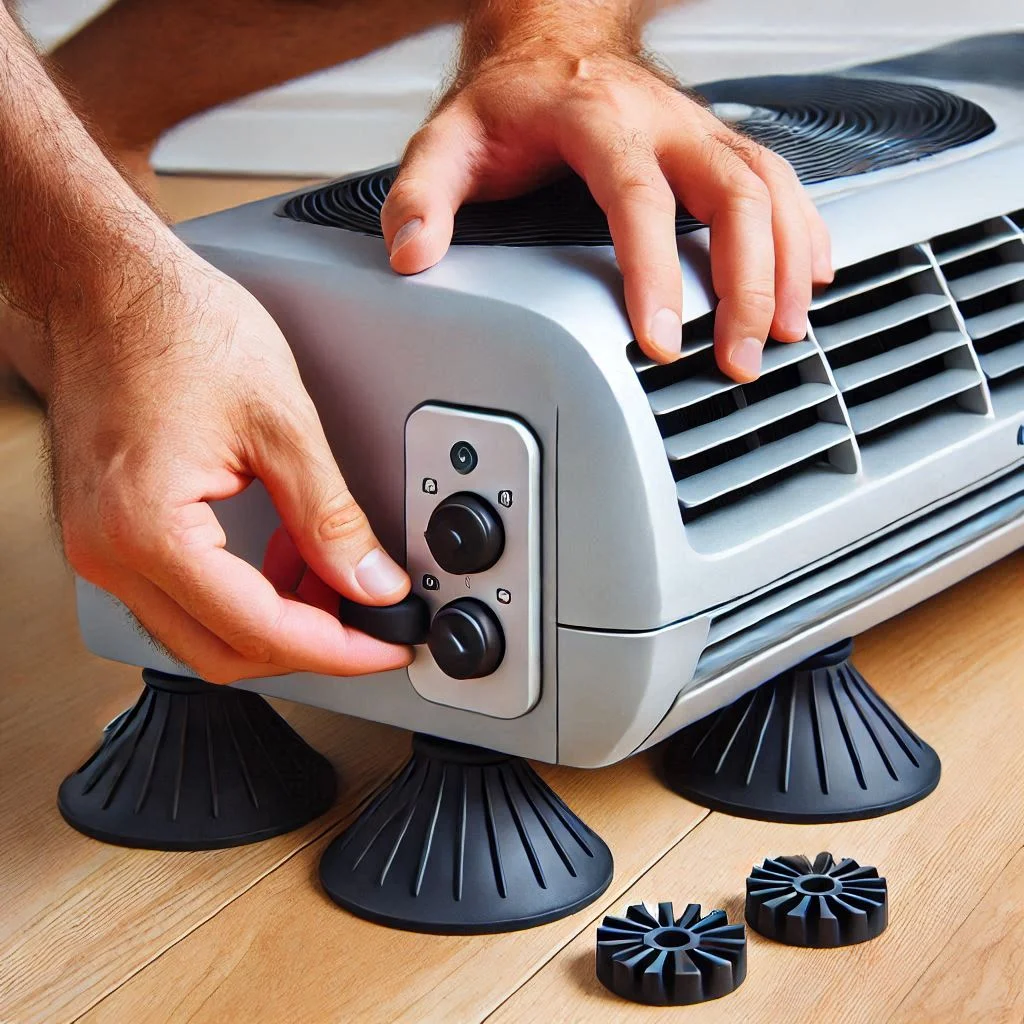
5. Elevate the AC Unit with a Raised Base
Another expert tip is to raise the base of the AC unit within the cover. Elevating the unit helps prevent water from pooling around the base, reducing the risk of moisture damage. It also makes it easier to access the bottom of the AC unit for cleaning and maintenance.
Expert Tip:
Use small wooden blocks or rubber feet to raise the bottom of the cover off the ground. This small adjustment can make a significant difference in the longevity of both the AC unit and the cover itself.

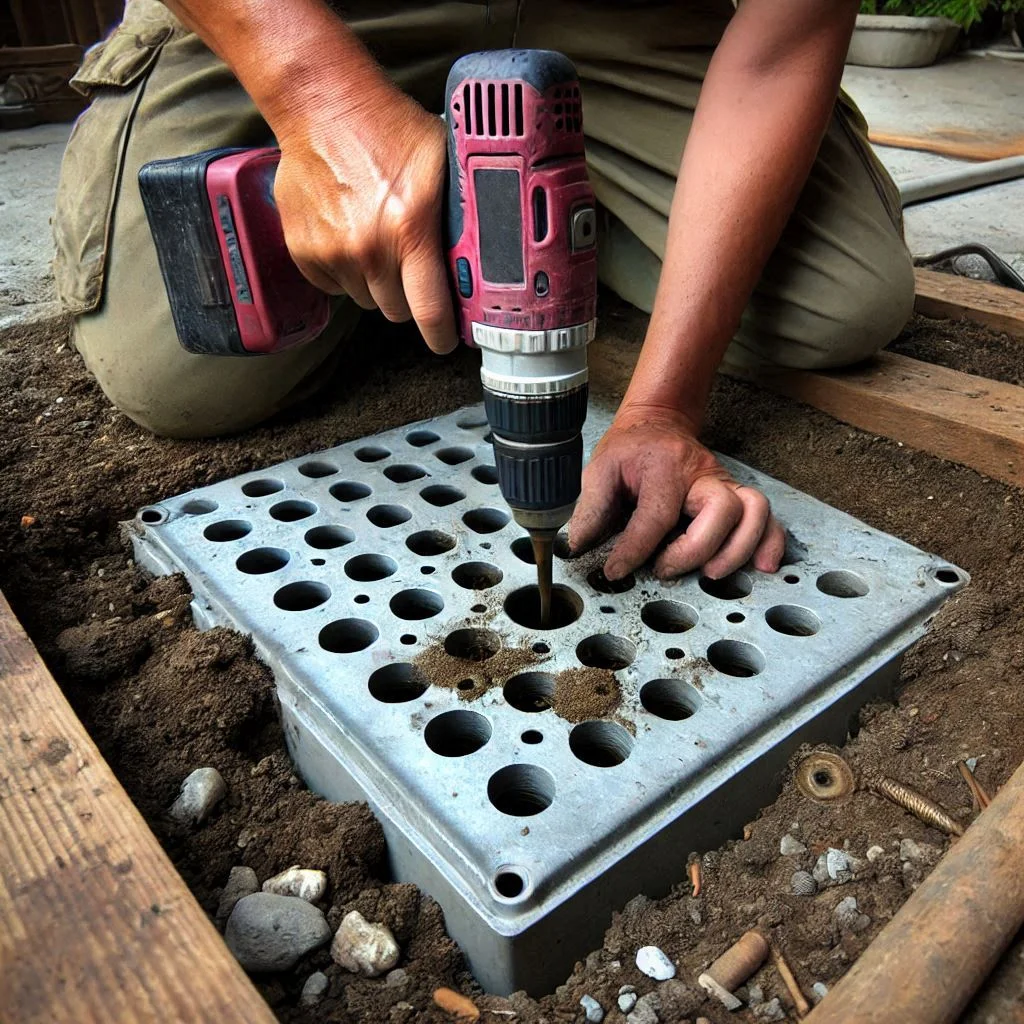
6. Add Drainage Features for Better Moisture Control
If you live in an area with heavy rainfall or snow, it’s essential to design your AC cover with proper drainage features. Without these, moisture can collect inside the cover, which can lead to rust, mildew, or mold on the air conditioner.
Expert Tip:
Drill small drainage holes at the bottom of the cover to allow water to escape. These holes will help prevent moisture buildup inside the cover and keep your air conditioner safe from water damage. You can also consider adding a slanted roof design to ensure rainwater runs off the cover instead of pooling on top.

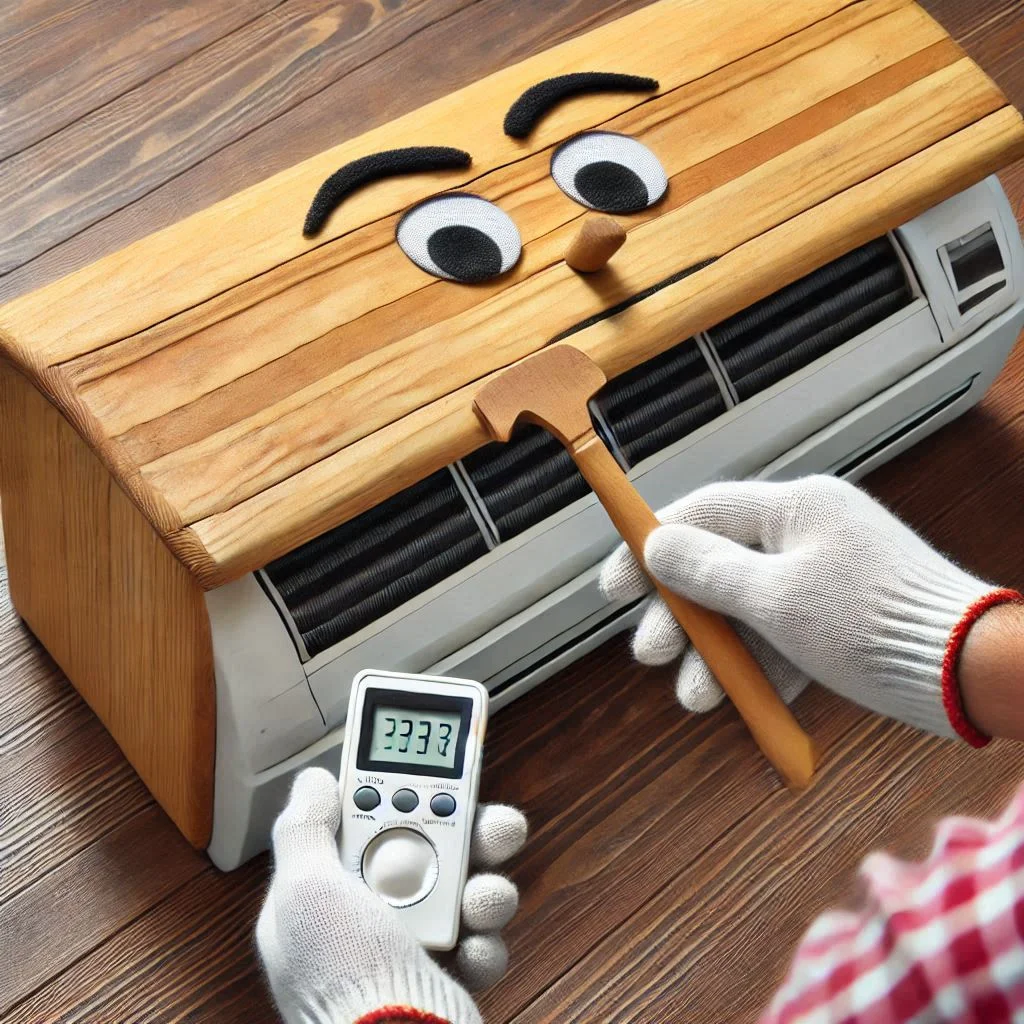
7. Regular Maintenance and Inspection
Even though you’ve built a durable and protective cover for your air conditioner, it’s still important to conduct regular maintenance and inspections to ensure the cover continues to serve its purpose. This includes checking for signs of wear, cleaning debris, and reapplying protective coatings when necessary.
Expert Tip:
Inspect the cover at least once a year for signs of wear and tear, especially after heavy rain or storms. If you notice any cracks, peeling paint, or rust on the hardware, make repairs or touch up the finish to maintain the cover’s protection and appearance.
FAQs About DIY Outdoor AC Covers
Creating a DIY outdoor air conditioner cover is a great way to protect your AC unit and enhance the aesthetics of your outdoor space. However, as with any project, there are many questions that arise during the process. In this section, we’ll answer some of the most frequently asked questions about DIY AC covers. Whether you’re concerned about weatherproofing, maintenance, or customizing your cover, these answers will provide you with the information you need to build a successful and long-lasting AC cover.
1. What materials are best for building a DIY outdoor air conditioner cover?
When selecting materials for your DIY air conditioner cover, you’ll want to choose options that are both durable and weather-resistant. Wood is a popular choice, but it’s important to use types that can withstand the elements.
Answer:
The best materials for building a DIY AC cover include weather-resistant wood like cedar, redwood, or pressure-treated pine. These types of wood are naturally resistant to moisture and pests. Additionally, you can opt for lattice panels or mesh for better ventilation, and be sure to finish the wood with a weatherproof stain or paint to protect it from UV rays and rain.
2. How can I weatherproof my outdoor AC cover?
Weatherproofing your AC cover is essential to ensure that it lasts through different seasons without deteriorating. Exposure to rain, snow, and harsh sun can damage your cover if it’s not properly sealed.
Answer:
To weatherproof your outdoor AC cover, start by using weather-resistant materials such as cedar or pressure-treated wood. Apply a high-quality, outdoor wood stain or paint to protect the surface from moisture and UV rays. Additionally, consider using a clear sealant or varnish for an extra layer of protection. For metal components, use stainless steel screws or galvanized nails to prevent rust. Finally, regularly inspect and reapply protective coatings as needed.
3. Can I customize the look of my DIY air conditioner cover?
Absolutely! A DIY air conditioner cover offers the opportunity to personalize the design to match your outdoor decor.
Answer:
Customization is one of the benefits of building your own AC cover. You can paint or stain the cover to match your existing outdoor furniture or home exterior. If you have a specific theme in your outdoor space, such as rustic or modern, you can adjust the style accordingly. Adding decorative elements like trim, handles, or even carvings can give your cover a unique, custom look. You can also experiment with different types of paneling, such as slats, lattice, or mesh, to create a design that complements your home.
4. How do I ensure proper ventilation for my air conditioner cover?
Proper ventilation is essential for keeping your air conditioner functioning efficiently. Without enough airflow, your AC could overheat, causing it to work harder and potentially damaging the unit.
Answer:
When building your DIY air conditioner cover, ensure that the cover allows sufficient airflow around the unit. You can achieve this by leaving gaps between slats or using lattice panels that provide ventilation. Alternatively, you can add mesh or mesh screens to the sides of the cover. It’s important to leave at least a few inches of space around the unit to allow air to circulate properly, especially at the bottom of the cover.
5. How do I maintain my outdoor AC cover?
Maintaining your AC cover is important to ensure its longevity and continued functionality. Regular upkeep will also help protect your air conditioner.
Answer:
To maintain your outdoor AC cover, inspect it periodically for signs of wear and tear. Look for cracks in the wood, peeling paint, or any damage from moisture or pests. If you notice any issues, address them immediately to prevent further damage. Clean the cover regularly to remove dirt, leaves, or debris. You can use a soft brush or a hose to rinse it off, ensuring the cover remains clean and dry. Additionally, consider reapplying a weatherproof coating every couple of years to keep the wood protected.
6. Can I add drainage features to my air conditioner cover?
Adding drainage features is an excellent idea, especially if you live in a rainy climate. It will help prevent water from pooling inside the cover, which could cause damage to both the cover and your air conditioner.
Answer:
Yes, adding drainage holes at the bottom of your outdoor AC cover is a smart way to prevent water accumulation. You can drill small holes in the bottom panel to allow rainwater to escape. This will ensure that your AC unit stays dry and protected from water damage. Additionally, consider designing the top of the cover with a slight slant to encourage rainwater to flow off the surface rather than pooling on top.
7. How much does it cost to build a DIY outdoor air conditioner cover?
The cost of building a DIY outdoor AC cover depends on the materials you choose, the size of the cover, and the tools you already have on hand.
Answer:
Building a DIY air conditioner cover is relatively inexpensive compared to buying a pre-made one. The total cost will vary based on the materials you choose. On average, you can expect to spend between $50 and $150 on materials such as wood, screws, weatherproof paint, and decorative elements. If you already own most of the necessary tools, such as a saw, drill, and measuring tape, the cost will be lower. However, if you need to purchase tools, the price may increase.
Conclusion
Building a DIY outdoor air conditioner cover is a rewarding project that not only protects your AC unit from the elements but also enhances the aesthetic appeal of your outdoor space. By following the detailed steps, using weather-resistant materials, and ensuring proper ventilation, you can create a durable and functional cover that will last for years to come. Customizing the design allows you to match the cover to your home’s exterior and outdoor decor, adding a personal touch. With expert tips and regular maintenance, your AC cover will continue to serve its purpose efficiently while maintaining its visual appeal. Whether you’re tackling the project yourself or seeking expert advice, this DIY AC cover is a valuable addition to any home, ensuring your air conditioner stays protected and performs optimally throughout the seasons.