
Types of Central Air Conditioning Systems
When it comes to central air conditioner installation, choosing the right system for your home is essential for efficiency and comfort. Central air conditioning systems are typically divided into two main types: split AC systems and packaged AC systems. Each has its own set of advantages depending on the layout of your home, cooling needs, and budget. Understanding these types can help you make an informed decision.
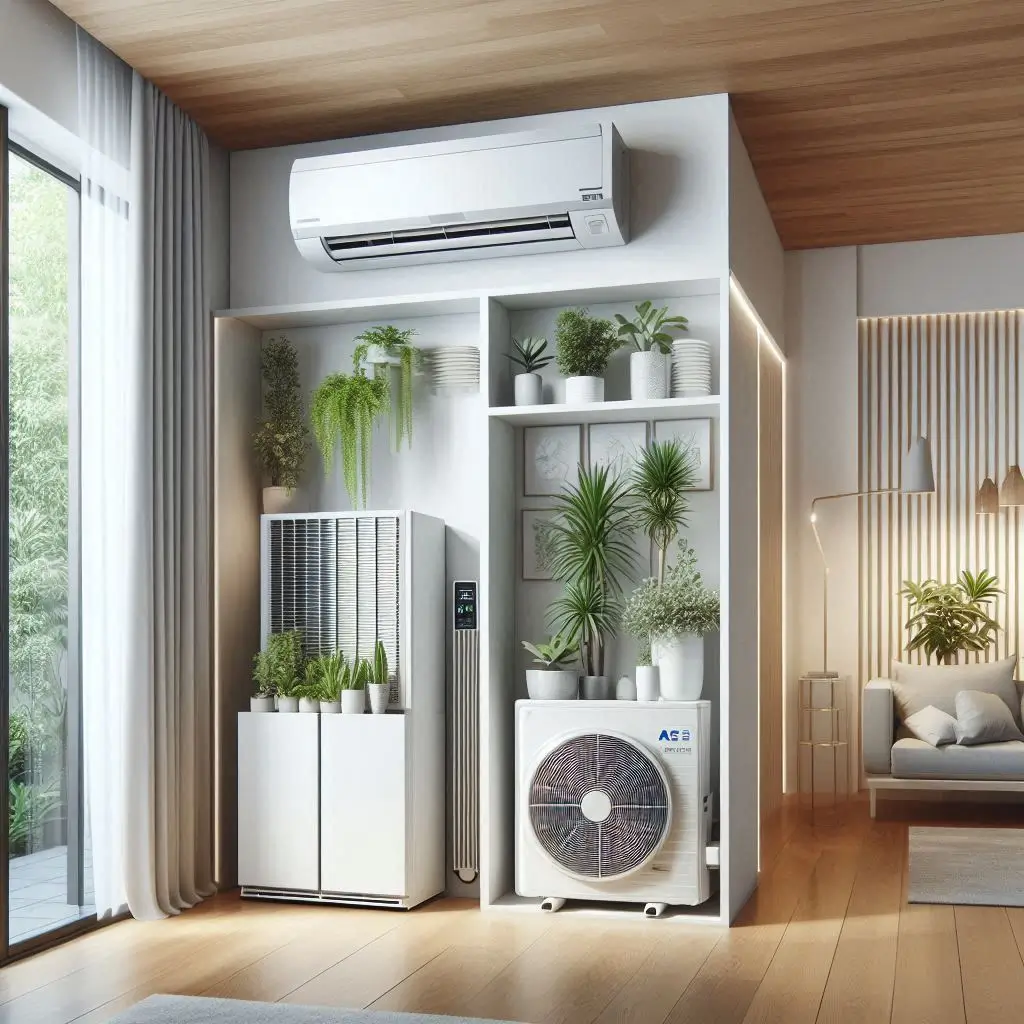
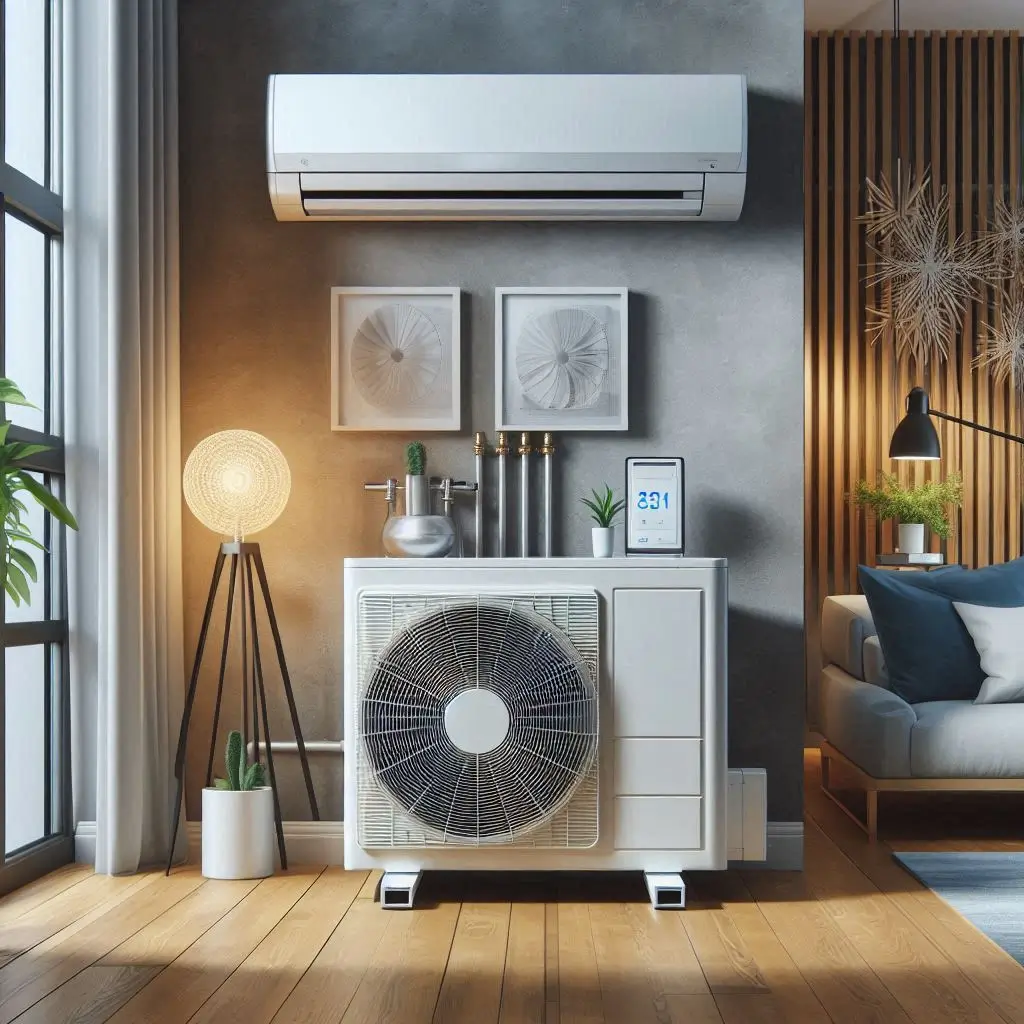
Split AC Systems
A split air conditioning system is one of the most popular choices for homeowners. It is made up of two main components: the indoor unit and the outdoor unit.
-
Indoor Unit: This unit is typically installed in a central location inside the home, such as a hallway or attic. It contains the evaporator coil that cools the air and a blower to distribute the cooled air through the ductwork.
-
Outdoor Unit: Located outside your home, this unit contains the compressor and condenser, responsible for expelling the heat absorbed from your home.
Benefits of Split AC Systems:
- Energy Efficiency: Split systems are often more energy-efficient than older air conditioning systems because the indoor and outdoor units work in tandem to achieve optimal cooling.
- Quiet Operation: These systems tend to operate more quietly than other units since the compressor and condenser are located outside the home.
- Flexibility: Split systems are flexible and can be used in both large and small homes. The size of the unit can be customized based on your home’s specific needs.
Ideal for: Homes with existing ductwork or when the installation of ductwork is feasible. Split systems work well for both cooling and heating (with the addition of a heat pump feature).
Packaged AC Systems
A packaged air conditioning system is an all-in-one unit that combines the compressor, condenser, and evaporator into a single, compact unit. Unlike the split system, which has separate indoor and outdoor units, the packaged unit is installed outdoors, often on the roof or beside the home.
Benefits of Packaged AC Systems:
- Space-Saving: Since all components are housed in one unit, packaged systems are ideal for homes with limited space for separate indoor and outdoor units.
- Easy Maintenance: Packaged systems are easier to maintain because they have fewer components to service. The unit is usually placed in an accessible location.
- Cost-Effective: They tend to be more affordable upfront than split systems, making them a budget-friendly option for those who need to install central air conditioning on a tighter budget.
Ideal for: Homes without existing ductwork or homes where space is at a premium. It’s also suitable for buildings that cannot accommodate the indoor/outdoor split setup.
Components of a Central AC System
A central air conditioning system is composed of several key components that work together to cool your home efficiently. Understanding the components and their functions will help you make the most of your central AC system, whether you are in the installation phase or simply looking to maintain your system for optimal performance.
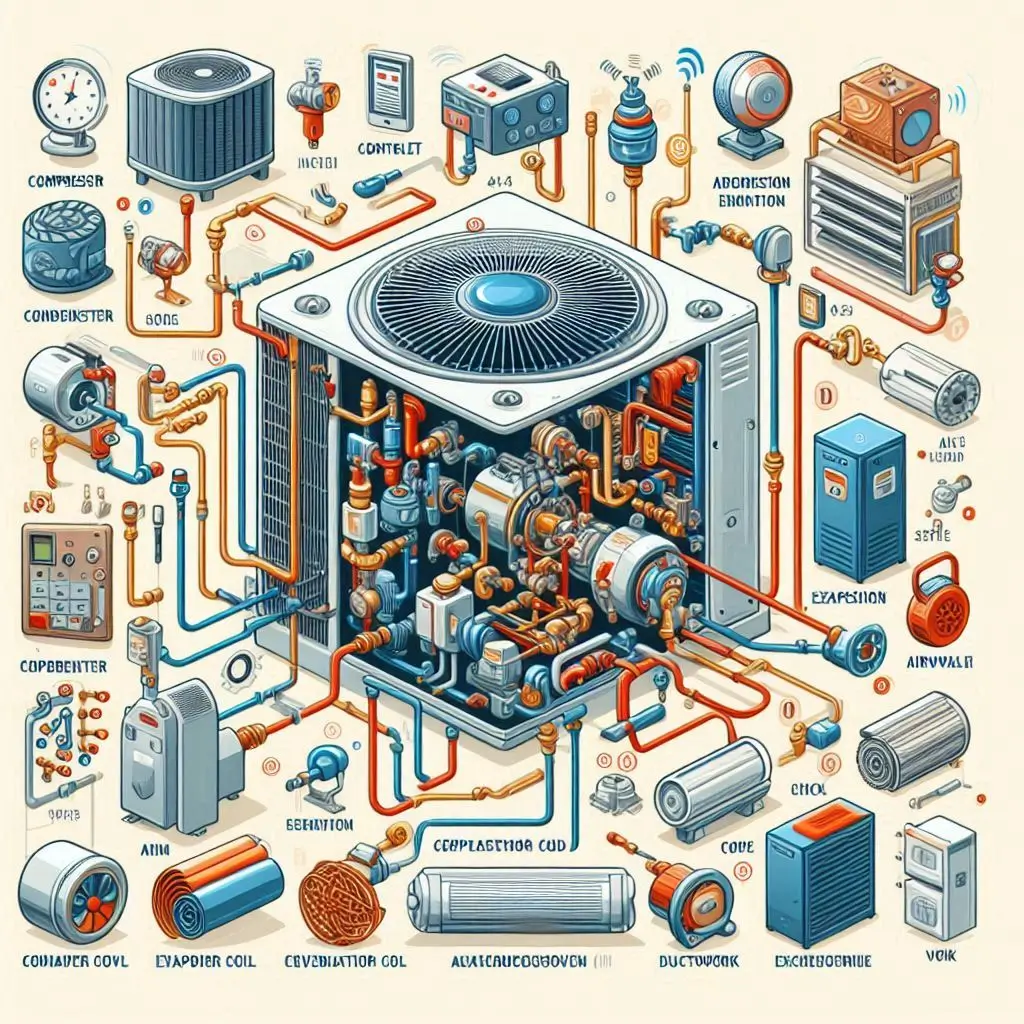
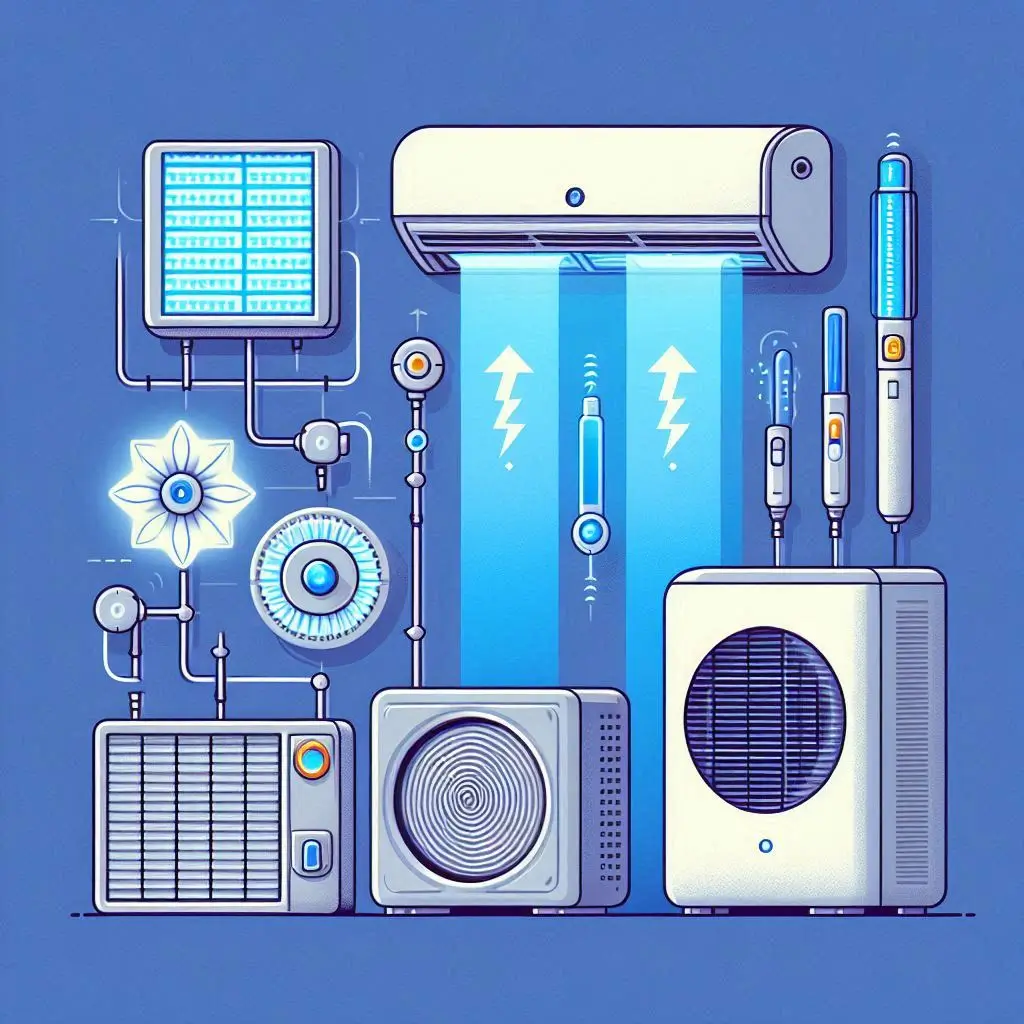
Key Parts of the System
The central air conditioning system consists of several essential components, each performing a specific function. Here are the most important parts:
-
Compressor
The compressor is often referred to as the heart of the central air system. It is located in the outdoor unit and is responsible for compressing refrigerant gas and pushing it into the condenser. The compressor’s main job is to circulate refrigerant throughout the system to absorb and release heat. -
Condenser Coil
The condenser coil is also located in the outdoor unit. Once the refrigerant is compressed by the compressor, it flows through the condenser coil where it is cooled down and changed from a high-pressure gas into a high-pressure liquid. The condenser coil is essential for heat dissipation. -
Evaporator Coil
The evaporator coil is located inside the indoor unit of the system. It absorbs heat from the air inside the home. When warm air passes over the evaporator coil, the refrigerant inside the coil absorbs the heat and cools the air, which is then circulated back into the home. -
Expansion Valve
The expansion valve regulates the flow of refrigerant into the evaporator coil. It lowers the pressure of the refrigerant, turning it into a low-pressure liquid that is ready to absorb heat. This helps the refrigerant absorb heat more efficiently. -
Air Handler (Blower)
The air handler, or blower, is the component inside the indoor unit that circulates the cooled air throughout the home via the ductwork. The blower is powered by a motor and ensures even airflow across all rooms. -
Ductwork
The ductwork is the system of ducts and vents that delivers the cooled air from the air handler to each room in your home. It is a crucial part of any central air system, as the efficiency of your AC unit heavily depends on the condition and layout of your ductwork. -
Thermostat
The thermostat is the control center of your AC system. It allows you to set your desired temperature, and it signals the air conditioner to turn on or off based on the current room temperature. A programmable thermostat can help you save energy by adjusting temperatures based on your schedule.
How Each Component Contributes to Cooling Efficiency
Each component of a central AC system plays an important role in ensuring the system works efficiently. When the components work together, they ensure that your home stays cool and comfortable while minimizing energy usage.
-
Compressor Efficiency
The compressor is responsible for circulating refrigerant through the system, and its efficiency directly impacts the system’s overall performance. A well-maintained compressor ensures that the refrigerant reaches the condenser and evaporator coils at the right pressure and temperature for effective heat transfer. If the compressor fails, your entire system’s cooling efficiency is compromised. -
Condenser Coil and Heat Dissipation
The condenser coil is essential for releasing heat from the refrigerant. When the coil is dirty or clogged, it prevents the heat from being properly dissipated, causing the system to work harder. A clean condenser coil improves cooling efficiency and reduces energy consumption. -
Evaporator Coil and Air Cooling
The evaporator coil is the primary component that cools the air in your home. If the coil is frozen due to poor airflow or low refrigerant levels, it cannot absorb heat efficiently, leading to poor cooling performance. Ensuring proper airflow across the evaporator coil improves cooling efficiency. -
Expansion Valve and Refrigerant Flow
The expansion valve helps control the flow of refrigerant into the evaporator coil, ensuring that the refrigerant enters at the right pressure and temperature to absorb heat. An efficient expansion valve allows the refrigerant to operate at optimal efficiency. -
Air Handler (Blower) and Air Circulation
The air handler is responsible for circulating the cooled air throughout your home. If the blower is malfunctioning or if your ducts are blocked, your system’s ability to cool the home efficiently will be compromised. Regular maintenance and cleaning of ducts can improve airflow, increasing cooling efficiency. -
Ductwork and Distribution
The condition of your ductwork is vital for cooling efficiency. Leaky or poorly insulated ducts can result in cooled air being lost before it reaches your rooms, reducing overall system efficiency. Properly sealed and insulated ducts help maximize energy efficiency by ensuring that cool air reaches every part of your home. -
Thermostat and Energy Management
The thermostat controls the overall efficiency of your central air system. A well-calibrated thermostat ensures that your AC system operates only when needed and helps you maintain a comfortable temperature without overworking the system. Upgrading to a smart thermostat can further optimize energy usage by adjusting settings based on your habits.
Assessing Your Home’s Cooling Needs
Before installing a central air conditioning system, it’s crucial to assess your home’s cooling needs to ensure that the system you choose is efficient and appropriate for your living space. Properly assessing the cooling requirements of your home helps determine the size and type of air conditioning unit you need, which can improve comfort and reduce energy consumption.
Calculating Heat Gain
Heat gain refers to the amount of heat your home absorbs from external and internal sources, which in turn affects the cooling load of your AC system. Several factors contribute to heat gain, including sunlight, the number of appliances, and the number of people in your home. Calculating heat gain is an essential part of determining how much cooling power you need for optimal comfort and energy efficiency.
-
External Heat Gain Factors
- Solar Heat Gain: The amount of heat your home absorbs from direct sunlight is influenced by the size, orientation, and number of windows in your home. South-facing windows tend to capture more heat throughout the day, especially in the summer. Proper window shading or treatment (such as window tinting or reflective films) can help reduce solar heat gain.
- Building Materials: The materials used in your home’s construction, such as concrete, brick, or insulation, can affect the rate at which your home absorbs or loses heat. Homes with high-quality insulation and reflective roofing materials can help minimize heat gain.
-
Internal Heat Gain Factors
- Appliances and Electronics: Items such as ovens, refrigerators, televisions, and computers generate heat. The more electrical appliances you use, the more heat is produced in the home.
- Lighting: Traditional incandescent bulbs emit a significant amount of heat, while LED and CFL lights are more energy-efficient and generate less heat. Replacing incandescent bulbs with LEDs can help reduce internal heat gain.
- Occupants: The number of people living in your home also affects heat gain. People generate heat through metabolism, so larger households or more people in a room will increase the cooling load.

- Calculating Cooling Load
The total heat gain of your home determines the overall cooling load, which is measured in BTUs (British Thermal Units). An HVAC professional typically performs a Manual J calculation, which factors in all the heat gain sources to recommend the right-sized air conditioning system. This is the most accurate way to determine your home’s specific cooling needs.
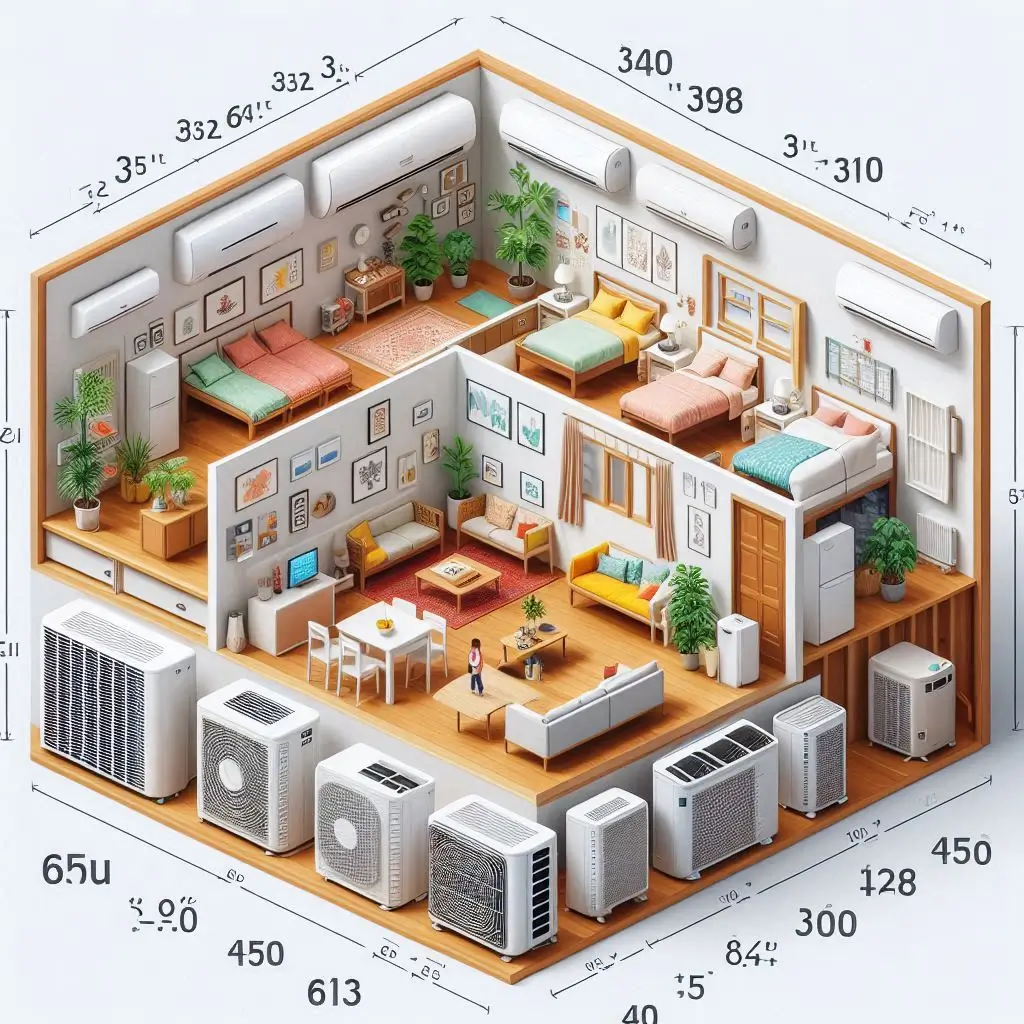
Determining the Right Size AC Unit for Your Home
Selecting the right-sized air conditioner for your home is crucial for both comfort and energy efficiency. An undersized unit will struggle to cool your home effectively, while an oversized unit will cycle on and off frequently, leading to energy wastage. To ensure you’re choosing the ideal unit for your home, you need to consider both the cooling load and the square footage of your living space.
-
Cooling Capacity (BTU Rating)
The cooling capacity of an AC unit is measured in BTUs and indicates how much heat the system can remove from your home per hour. A higher BTU rating is required for larger spaces or homes with significant heat gain. For example, a 2,000 square-foot home in a sunny location with high internal heat gain will need a higher BTU rating than a smaller home in a shaded area. -
Sizing Formula
A common formula for determining the size of the AC unit based on square footage is to allocate 20 BTUs per square foot of living space. For example:- A 1,000 square foot home requires an air conditioner with a cooling capacity of around 20,000 BTUs. However, this formula does not account for other factors such as ceiling height, window size, or insulation. For a more accurate calculation, an HVAC professional should perform a detailed assessment using Manual J calculations.
-
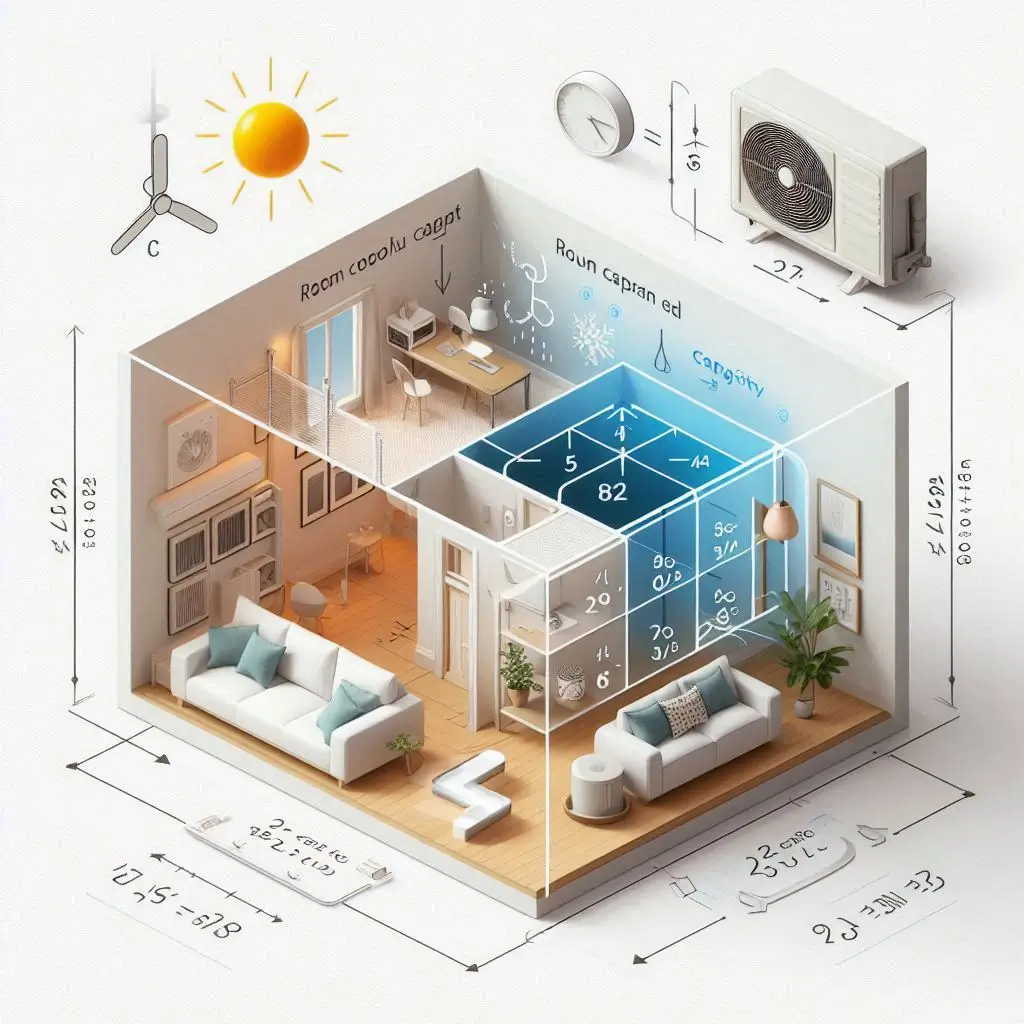
Consideration of Room Size and Layout
The layout of your home also affects the AC sizing. Open-concept spaces will require less cooling power than rooms divided by walls and doors. In multi-story homes, consider the cooling needs of each floor, as heat tends to rise. For homes with significant heat gain, you may need additional cooling in rooms with large windows or electronics. -
Energy Efficiency (SEER Rating)
Choosing an energy-efficient air conditioning unit with a high SEER (Seasonal Energy Efficiency Ratio) rating can significantly reduce energy consumption and operating costs. A higher SEER rating indicates that the system uses less energy to cool your home while providing the same cooling output. Energy-efficient units can also extend the lifespan of your air conditioner.
- Professional Help for Accurate Sizing
While these guidelines can help you estimate the size of your AC unit, it’s always best to consult an HVAC professional for an accurate assessment. They will conduct a detailed evaluation based on the Manual J calculation to ensure that your system is properly sized and designed to handle your home’s unique needs.
Average Central Air Conditioner Installation Costs
When considering the installation of a central air conditioning system, it’s important to understand the costs involved. The price for central air conditioner installation varies based on several factors, such as the size of your home, the complexity of the installation, and the quality of the equipment. In this section, we’ll explore the average costs and factors that can influence the price of installing a central AC unit.
Factors Affecting Installation Costs
-
Size and Capacity of the Unit
The size of the central air conditioning unit is one of the most significant factors in determining installation costs. Larger homes require more powerful air conditioning units to provide adequate cooling. The cooling capacity is measured in BTUs (British Thermal Units), and the higher the BTU rating, the more expensive the unit will be. A larger unit may also require more complex installation, which can increase labor costs.
-
Ductwork Modifications
If your home already has existing ducts, installation can be more affordable. However, if your home lacks ductwork or if the current ducts need significant modifications, the cost will increase. Installing new ducts is labor-intensive and requires materials like flexible ducts, vent covers, and insulation. In some cases, you may need to install new vent registers and return vents. -
Type of AC System
The type of air conditioning system you choose can also impact the cost. For example:- Split systems tend to be more affordable as they have a separate condenser and air handler.
- Packaged systems are typically more expensive since they house all components in one unit, but they are more compact and may be easier to install for certain homes.
-
Energy Efficiency
Higher SEER (Seasonal Energy Efficiency Ratio) ratings generally mean that the unit is more energy-efficient. While these units may come with a higher upfront cost, they can save you money in the long term by reducing energy consumption. As energy costs rise, opting for a more energy-efficient system can offer significant savings on utility bills. -
Labor Costs
Labor costs for air conditioner installation can vary based on location, the complexity of the installation, and the experience of the technicians. On average, labor costs typically make up about 20-30% of the total installation cost. Always get a few quotes from licensed HVAC professionals to ensure you’re paying a fair price. -
Brand and Model of the Unit
The brand and model of the air conditioner will influence the overall cost. Well-known brands with higher reliability ratings and warranty options, such as Trane, Carrier, or Lennox, tend to have higher upfront prices. However, these units often come with better long-term performance and lower maintenance costs.

Additional Expenses to Consider
-
Permits and Inspection Fees
Depending on your local regulations, you may need to obtain a permit before installing a new central AC unit. These fees vary by location but are typically required to ensure the system complies with local building codes. Additionally, some areas may require an inspection to confirm that the installation was done correctly, which could incur extra costs. -
Removal of Old Equipment
If you’re replacing an old air conditioning unit, removal and disposal can add to the overall cost. HVAC professionals may charge a fee for removing and properly disposing of the old system, including any refrigerant. This service may also require the purchase of new components to ensure the new unit works seamlessly with the existing setup. -
System Upgrades
In some cases, your home’s electrical system may need to be upgraded to handle the power demands of the new air conditioning unit. This could involve upgrading your circuit breakers, wiring, or electrical panel, all of which add to the installation costs. Be sure to account for this potential expense when budgeting for your installation. -
Routine Maintenance Plan
Many HVAC companies offer maintenance plans that can help you save on future repair costs. These plans often cover annual inspections, filter replacements, and minor repairs, ensuring your system runs smoothly for years. While optional, maintenance plans are a great way to prolong the lifespan of your air conditioner and avoid costly repairs in the future. -
Air Quality and Filtration Systems
If you’re interested in improving indoor air quality, you may choose to add air filtration systems, such as UV light installations, electrostatic filters, or dehumidifiers. These can increase the overall cost of installation but offer significant benefits for your home’s air quality and comfort.
Steps to Prepare for Central Air Installation
Installing a central air conditioning system is a significant home improvement project that requires careful planning and preparation. To ensure a smooth installation process and optimal performance of your new AC system, you need to take several important steps before the technicians arrive. Below, we will cover the essential steps to prepare your home for central air installation, including evaluating your ductwork, choosing the right installation location, and obtaining the necessary permits.
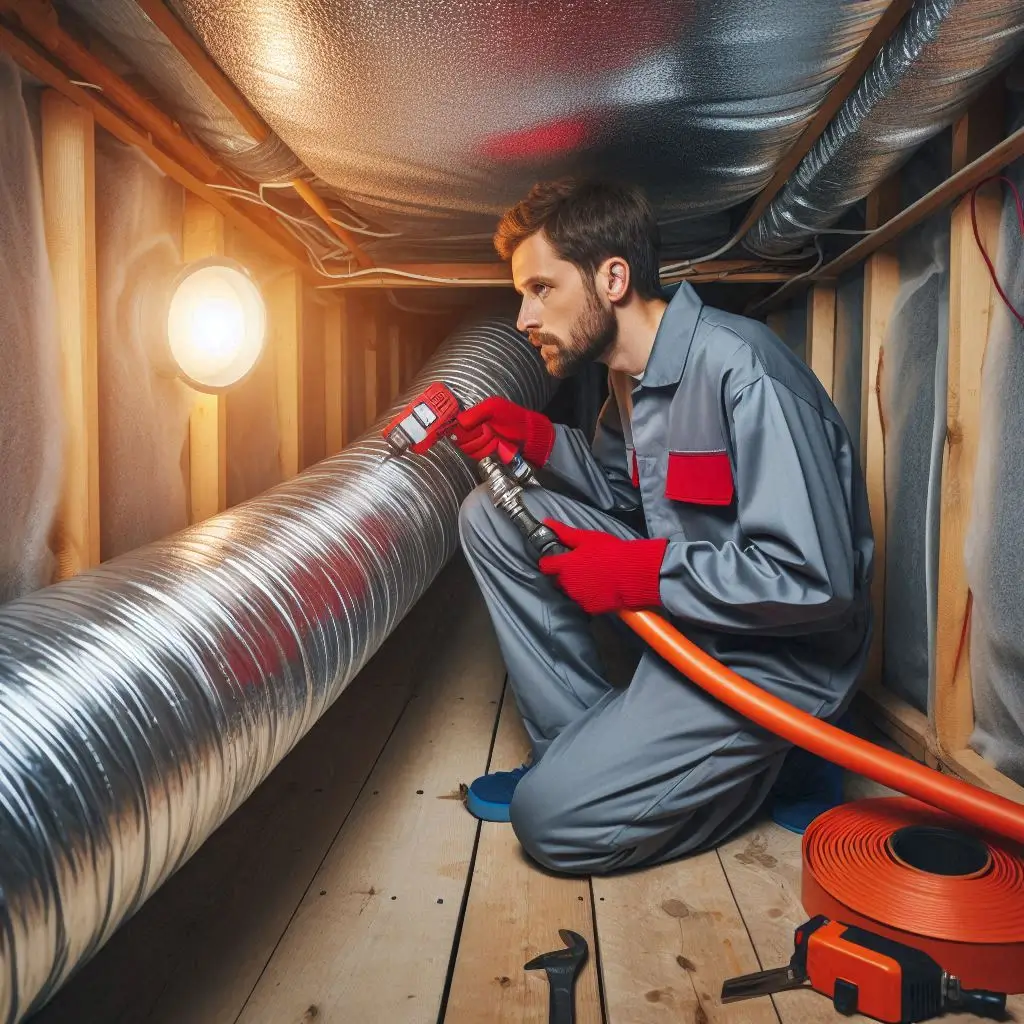
Evaluating and Updating Ductwork
The ductwork in your home plays a crucial role in the efficiency of your central air conditioner. If your home already has ductwork, it’s essential to have it evaluated before installation to ensure it’s in good condition and capable of handling the demands of the new AC system.
-
Check for Leaks
Leaky ducts can waste energy by allowing cool air to escape into unconditioned spaces, reducing your system’s efficiency. An HVAC professional will inspect the ductwork for leaks, cracks, or loose joints, and seal any gaps to improve airflow and energy efficiency. -
Assess Duct Size and Configuration
The existing duct size may not be sufficient for your new air conditioner, especially if you’re upgrading to a larger or more powerful system. An HVAC technician will determine if your ducts need resizing or if they need to be repositioned to optimize airflow throughout your home. -
Upgrade or Replace Old Ductwork
If your ducts are outdated, rusted, or in poor condition, it might be necessary to replace them. New ductwork ensures better airflow and energy efficiency, preventing future issues with cooling performance. The cost of updating ducts will depend on the size of your home and the extent of the necessary work.
Choosing the Right Installation Location
Selecting the right location for your central air conditioner is crucial to ensuring optimal performance and longevity. Here’s what you should consider when choosing the installation spot:
-
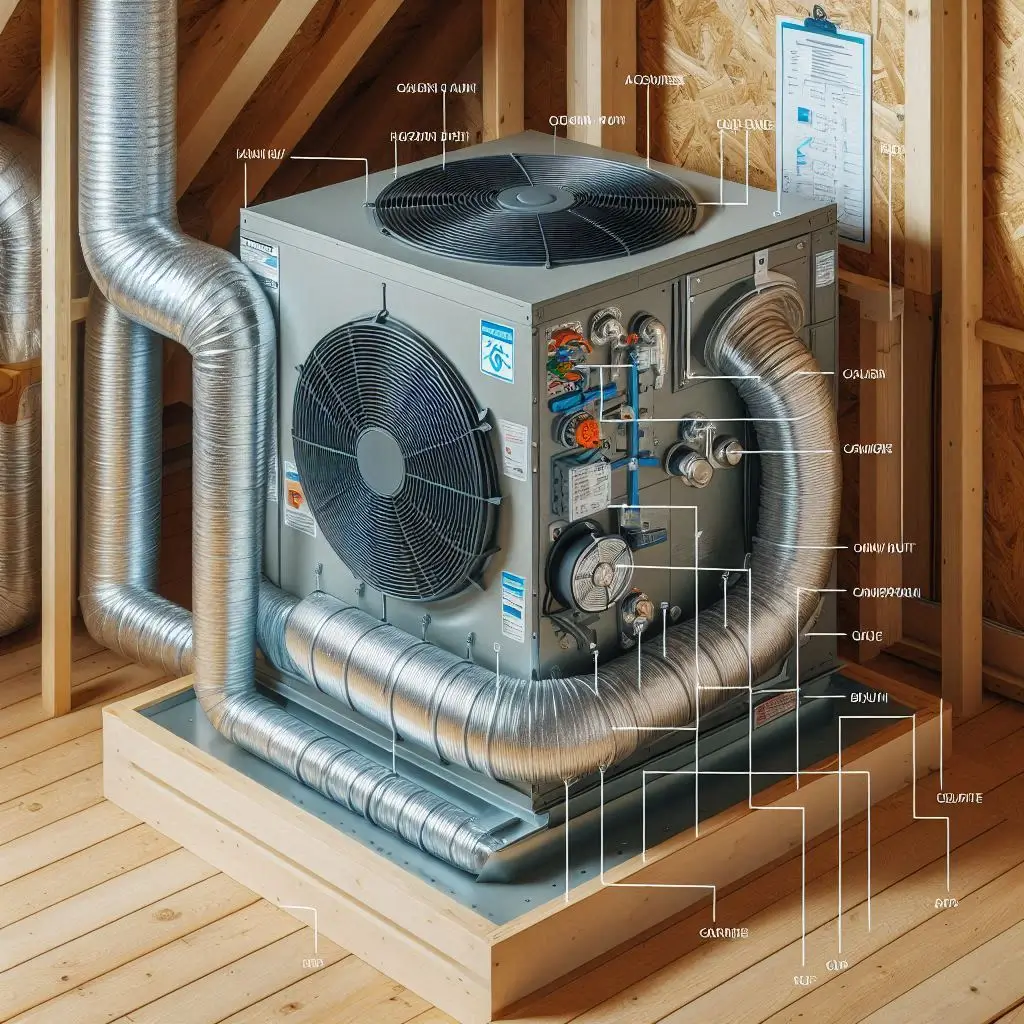
Indoor Unit Placement
The indoor air handler or furnace must be placed in a location that allows for efficient airflow. Common spots include basements, attics, or utility rooms. It should be easily accessible for maintenance and repairs. The unit should be positioned in an area that minimizes the need for excessive ductwork or complicated modifications. -
Outdoor Unit Placement
The condenser unit of the air conditioner needs to be placed in a well-ventilated area outside the house. It should be located in a shaded spot to prevent overheating and to increase the system’s energy efficiency. Avoid placing the unit too close to trees, shrubs, or fences that can obstruct airflow or cause debris buildup. -
Consider Noise and Aesthetics
The outdoor unit can be noisy, so place it away from windows, bedrooms, and outdoor living areas. Additionally, consider the aesthetic impact of the unit’s placement. You may want to build a discreet enclosure or fence to hide the unit while still allowing adequate airflow. -
Access for Maintenance
Ensure the location allows easy access for future maintenance and repairs. Technicians need sufficient space around the unit to perform cleaning, repairs, and replacements without restrictions.

Obtaining Permits and Legal Considerations
Before installing a central air conditioner, you may be required to obtain specific permits depending on your location. These permits ensure that your installation complies with local building codes and regulations, providing safety and reliability.
-
Check Local Regulations
Different municipalities have different rules when it comes to HVAC installations. It’s essential to check with your local building department to understand the specific permits and regulations required for your installation. Some areas may require permits for the installation of HVAC systems, particularly if it involves electrical work or structural modifications. -
Hire a Licensed HVAC Professional
In many places, only licensed HVAC contractors are permitted to perform the installation of central air conditioning systems. Hiring an experienced and licensed professional ensures that the installation is done correctly and that all necessary permits are obtained. A licensed contractor will handle the paperwork and inspections, helping you avoid any legal or compliance issues. -
Inspection Requirements
After installation, some local authorities may require an inspection to verify that the air conditioning system is properly installed and functioning safely. This inspection is typically done by a local government official or a certified inspector. Make sure to schedule the inspection as soon as the installation is complete to avoid any delays.

FAQ: Central Air Conditioner Installation
When it comes to central air conditioner installation, many homeowners have questions about the process, costs, and maintenance. Below, we address some of the most frequently asked questions to provide clarity and help you make informed decisions about your HVAC system.
What is involved in the central air conditioner installation process?
The installation of a central air conditioner involves several steps to ensure that the system functions optimally and efficiently:
-
Assessment and Planning: The first step is evaluating your home’s cooling needs. An HVAC professional will assess the size of your home, insulation, and ductwork to determine the appropriate system size and installation requirements.
-
Ductwork Evaluation and Installation: If your home already has ducts, they will be inspected for efficiency. If necessary, they will be updated or replaced. New homes without ductwork will need to have ducts installed.
-
Unit Installation: The indoor air handler (or furnace) and outdoor condenser unit are installed. Proper placement is key to ensuring efficient operation.
-
Connection and Testing: After installation, the system is connected to power, tested for leaks, and checked to ensure it’s running at optimal efficiency.

How do I know what size air conditioner I need for my home?
Choosing the right size central air conditioner is crucial to ensure optimal performance and energy efficiency. An air conditioner that’s too large or too small can cause various issues such as high energy bills, poor cooling, or frequent breakdowns. Here’s how you can determine the right size:
-
Calculate the Cooling Load: The size of the air conditioner is measured in BTUs (British Thermal Units), and it should match the cooling load required for your home. Factors like square footage, the number of windows, and the home’s insulation play a role in determining the cooling load.
-
Use the Right Sizing Formula: A general rule of thumb is to allocate 20 BTUs per square foot of living space. However, for a more accurate calculation, an HVAC professional will perform a Manual J calculation, taking into account factors like local climate, home orientation, and insulation.

What are the costs involved in central air conditioner installation?
The total installation cost for a central air conditioning system can vary based on several factors, including the size of your home, the type of system you choose, and your location. Generally, the cost includes:
-
Unit Cost: The cost of purchasing the AC unit itself varies depending on its size, energy efficiency, and brand. A higher-efficiency system may cost more upfront but can save you money on energy bills in the long run.
-
Labor Cost: Labor costs for installation depend on the complexity of the job, including any needed ductwork upgrades or permits.
-
Additional Costs: If new ductwork, electrical work, or permits are required, these will add to the overall cost. The average cost for installing a central air conditioner ranges between $3,500 and $7,500, but it can be higher for larger homes or complex installations.

How long does it take to install a central air conditioning system?
On average, a professional central air conditioner installation takes between one and three days, depending on the complexity of the job. The following factors can affect the installation timeline:
-
Ductwork Upgrades: If your existing ducts need to be replaced or resized, it will take longer.
-
Permit Approval: If your local government requires permits and inspections, this could add extra time to the process.
-
System Size and Type: Larger or more complex systems may require additional time for installation.
During the installation process, an HVAC technician will ensure that the system is properly calibrated and tested before the job is considered complete.
Do I need permits for installing a central air conditioner?
In many areas, you will need a permit for the installation of a central air conditioner. This ensures that the installation meets local building codes and safety standards. Here’s what you need to know:
-
Permit Requirements: Depending on your location, you may need permits for the installation of the HVAC system, electrical work, and ductwork modifications. Local authorities may require inspections to verify that the installation meets safety and efficiency standards.
-
Who is Responsible for Permits?: A licensed HVAC professional typically handles the permit application process. It’s important to hire a licensed contractor to ensure all required permits are obtained and inspections are completed.
How can I maintain my central air conditioner after installation?
Proper maintenance is essential to keep your central air conditioner running smoothly for many years. Regular maintenance tasks include:
-
Changing the Air Filter: Replace the air filter every 1-3 months to ensure proper airflow and prevent strain on the system.
-
Cleaning the Coils: Dirty evaporator and condenser coils can reduce cooling efficiency. Schedule annual cleaning to keep the system running at peak performance.
-
Annual Professional Inspections: Have an HVAC professional inspect and service the system once a year to detect potential issues early and maintain efficiency.

Conclusion:
In conclusion, central air conditioner installation is a significant investment in your home’s comfort and energy efficiency. By understanding the types of systems available, the key components of a central AC unit, and how to assess your home’s cooling needs, you can make an informed decision that best suits your requirements. Whether you’re navigating the complexities of ductwork, selecting the right system size, or preparing your home for installation, proper planning and professional installation are key to ensuring optimal performance. Additionally, keeping track of the associated costs, installation process, and maintenance can help you maintain the longevity and efficiency of your system. With the right knowledge and guidance, you can enjoy a cool and comfortable home year-round with a properly installed central air conditioning system.