What You Need for a DIY Camping Air Conditioner
Building a DIY camping air conditioner can be a fun and rewarding project, especially if you’re looking to stay cool during hot camping trips without breaking the bank. Whether you’re a seasoned camper or a newbie, knowing the right materials and tools is essential to create an efficient and functional air conditioning system.
Key Materials and Tools for Building a Portable Air Conditioner
Before starting your DIY camping air conditioner, you’ll need to gather several materials and tools. The following items are crucial for constructing a cooling system that works well in outdoor environments:
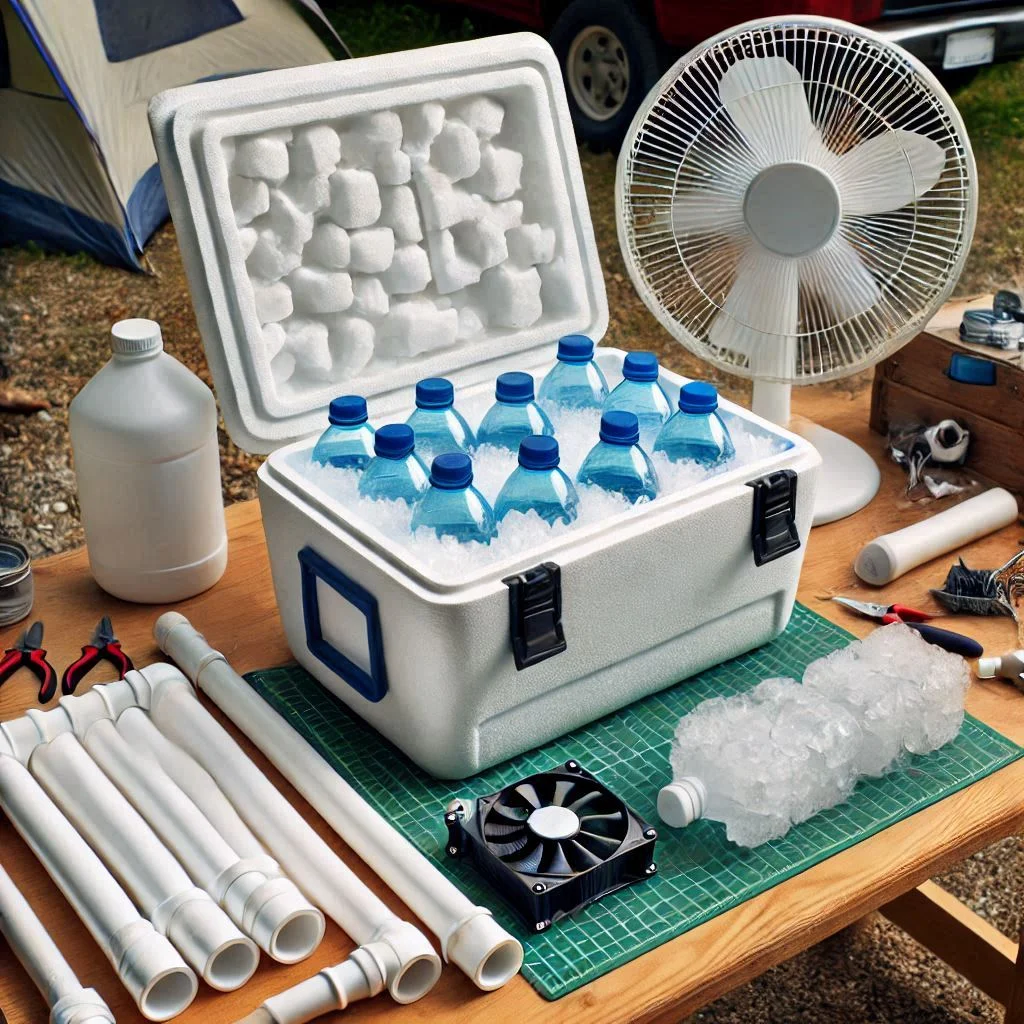
- Styrofoam Cooler
A large styrofoam cooler will serve as the foundation of your DIY air conditioner. Styrofoam is an excellent insulator and will help keep the cold air inside while preventing heat from entering the cooler. Make sure to pick a cooler that is large enough to hold the cooling components, such as ice or frozen bottles of water. - PC Cooling Fan or Small Fan
A small but powerful PC cooling fan is an ideal choice for your DIY air conditioner. These fans are cost-effective and can move a significant amount of air when properly installed. The fan will push cool air into the surrounding environment, which is essential for creating an effective air circulation system. - PVC Pipes
PVC pipes are used to direct the airflow from the fan to the area where you need cooling. You’ll cut the pipes to fit your cooler and fan setup. The pipes allow you to control the direction of the air and ensure that the cool air is directed efficiently toward your sleeping area or camp chairs. - Frozen Water Bottles or Ice Packs
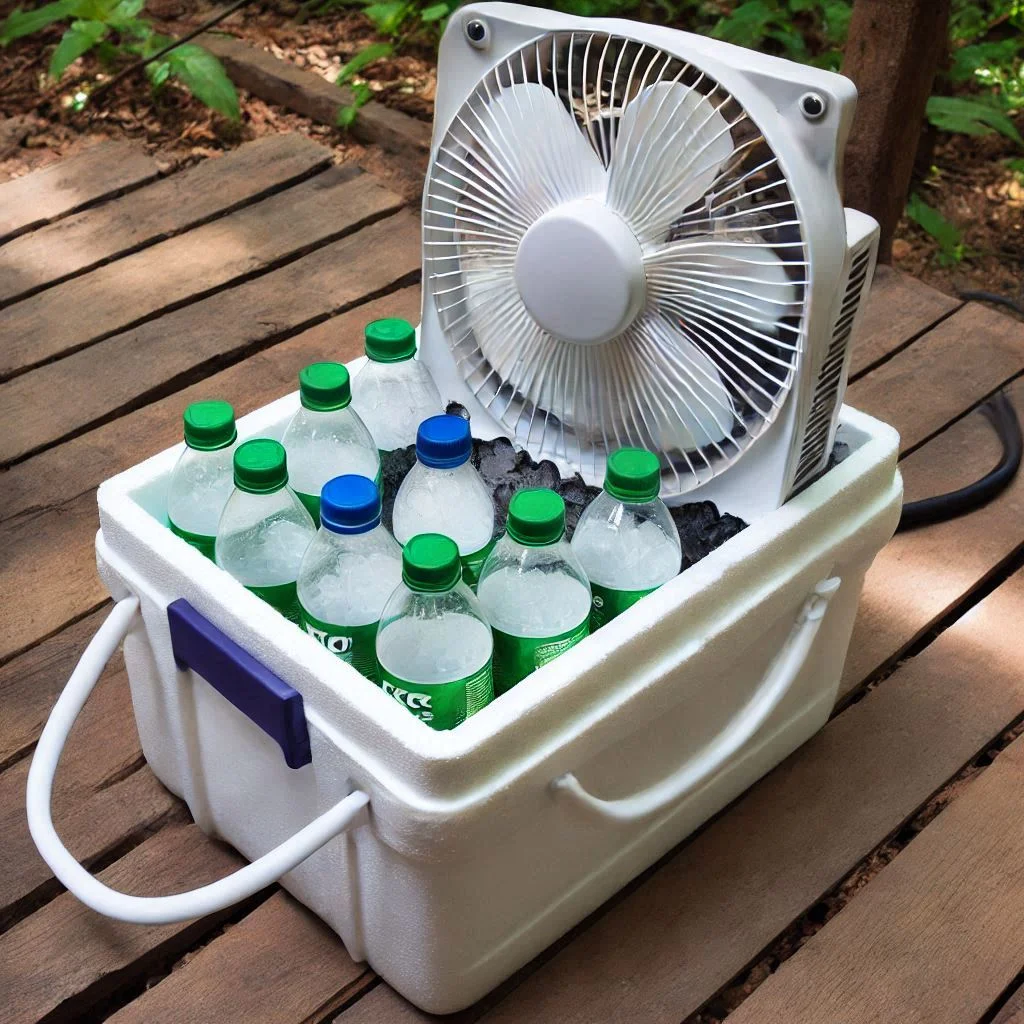
Instead of relying on traditional refrigerants, you can use frozen water bottles or ice packs as a cooling agent. Place these frozen bottles inside the cooler, and as they thaw, they will cool the air inside the cooler. The air is then pushed out by the fan, helping to lower the temperature around your campsite. - Duct Tape and Sealant
Duct tape and sealant are necessary for securing all the components together. Use them to ensure that the fan is properly attached to the cooler and that air does not leak out around the edges of the cooler. Sealing the gaps will improve the cooling efficiency and ensure that the system works optimally. - Power Source
For most DIY camping air conditioners, a portable power source is essential. You can use a battery-powered fan or a solar-powered battery pack to ensure that your system runs efficiently. Make sure your power source can handle the energy requirements of the fan and any additional components.
Essential Equipment for Cooling Your Campsite
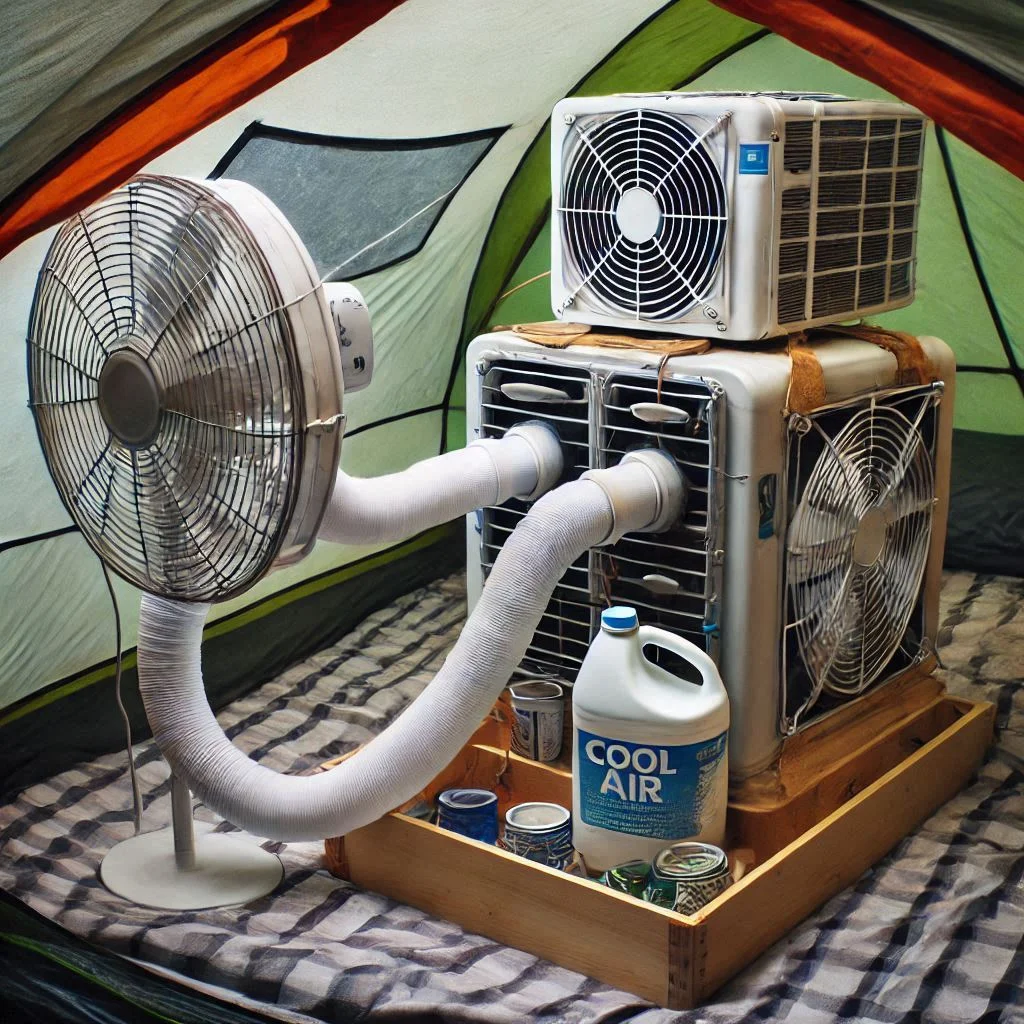
Once your DIY camping air conditioner is ready, you’ll need a few additional tools and accessories to optimize its performance at your campsite:
- Tent with Proper Ventilation
A well-ventilated tent will allow the cool air generated by your DIY air conditioner to circulate freely. Make sure your tent has windows or mesh panels for the air to flow through, which will help distribute the cool air effectively. - Shade Canopy
To further enhance your cooling system, consider setting up a shade canopy near your tent. The shade will help reduce the ambient temperature around your camping area, making your DIY air conditioner even more effective. - Portable Generator (Optional)
If your fan requires more power or if you’re using larger cooling units, a portable generator can ensure that your air conditioner operates without interruptions. Make sure the generator is quiet and compact for easy transportation.
Step-by-Step Guide to Building Your Own Camping Air Conditioner
Creating your own camping air conditioner can be a highly effective way to stay cool during those warm nights spent in the great outdoors. This step-by-step guide will help you build an affordable, portable, and efficient air conditioner with common household materials. Whether you’re a DIY enthusiast or just looking to stay cool on your camping trips, this guide will take you through each step of the process.
Simple Instructions to Create an Effective and Affordable AC
- Gather Your Materials
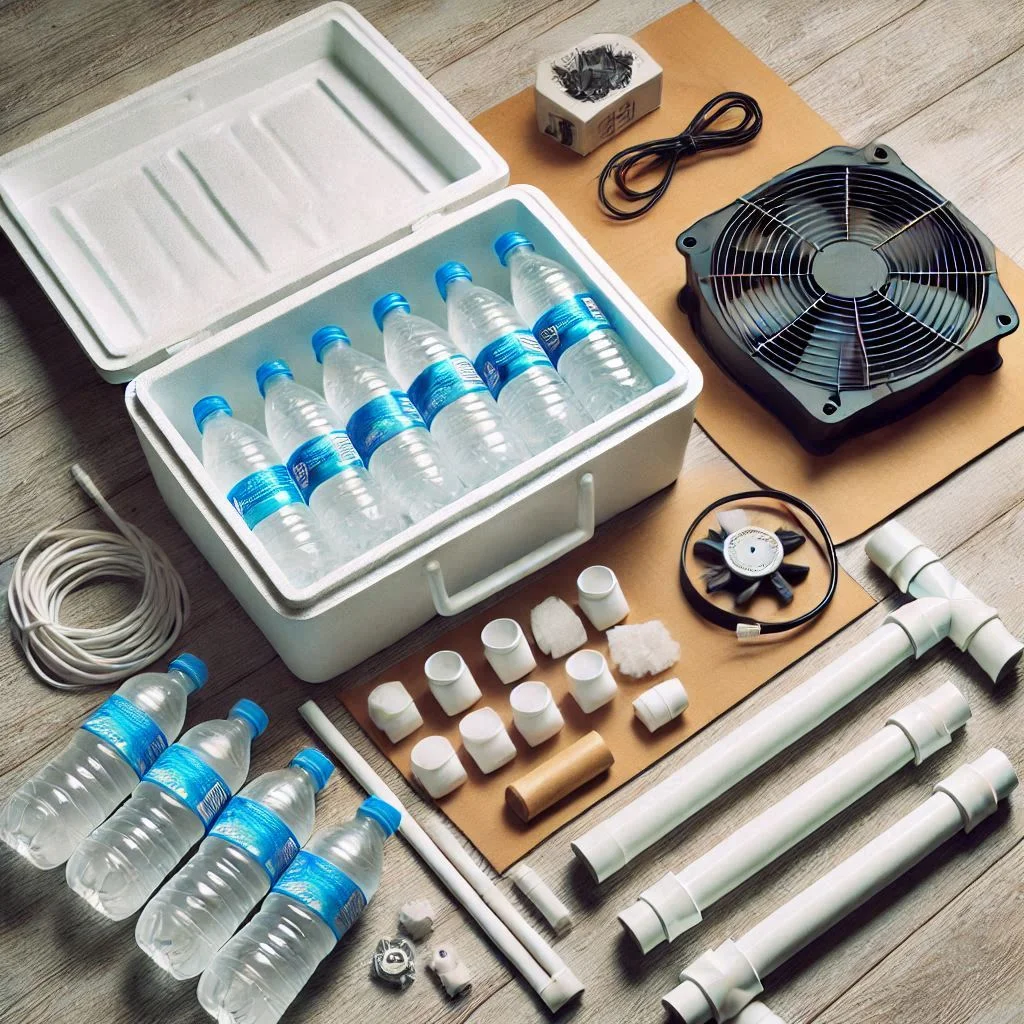
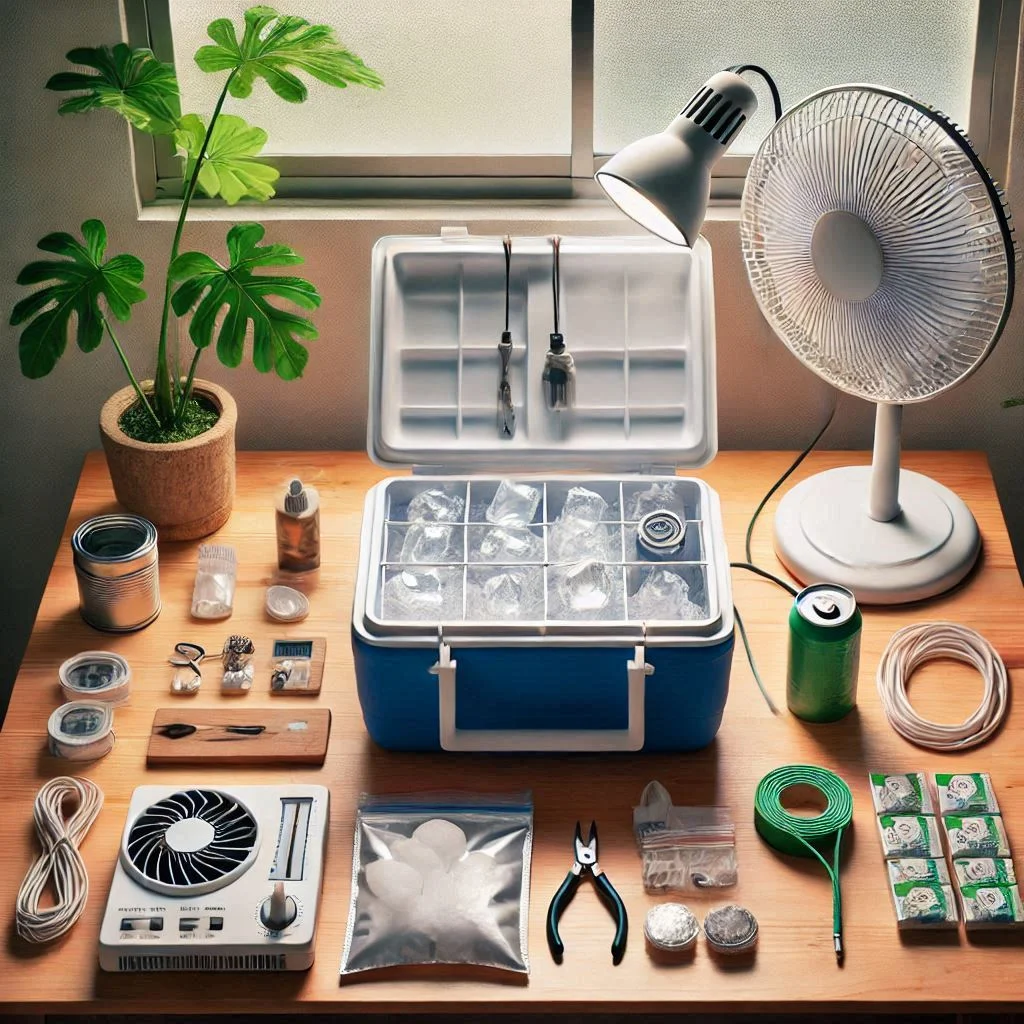
Before you begin building your DIY camping air conditioner, gather all necessary materials. Here’s a quick list:- Styrofoam cooler (a large one works best)
- Small PC fan or 12V fan
- PVC pipes (two to three pieces, 4-6 inches in diameter)
- Frozen water bottles or ice packs
- Duct tape and sealant
- A power source (solar battery pack or portable power bank)
- Prepare the Cooler
- Take your styrofoam cooler and remove any inner sections that could interfere with airflow.
- On one side of the cooler, cut a hole big enough to fit the fan snugly. The hole should be just large enough for the fan to fit without too much space around the edges (this ensures there is no leakage of warm air).
- Install the Fan
- Once the hole is cut, place the fan into the hole. Secure the fan using duct tape or any other strong adhesive to ensure it stays in place. The fan should be positioned to blow air into the cooler (not out), pushing the cool air into the camping area.
- If you’re using a 12V fan, make sure you connect it to your power source.
- Create the Airflow Outlet
- Next, cut holes on the other side of the cooler for the PVC pipes. These will be the outlets through which the cool air flows. Depending on the size of your cooler, you may need two or three pipes for the airflow to be evenly distributed.
- Attach the PVC pipes to the holes and seal the edges with duct tape to prevent air leaks. You can even use a silicone sealant to ensure that the air remains contained and does not escape from the sides.
- Add the Ice or Frozen Water Bottles
- Place several frozen water bottles or ice packs inside the cooler. The ice will cool the air inside the cooler, and as the fan blows air over the ice, it will create a cool breeze.
- You can even add a few more ice packs during the night for continued cooling.
- Connect the Power Source
- Connect your fan to a portable power source, such as a battery pack or solar-powered battery. Make sure the battery can handle the load for several hours, as you’ll want to run the fan through the night for cooling during sleep.
- Test the Air Conditioner
- Turn on your DIY camping air conditioner and test the airflow. Ensure that the air is blowing out of the PVC pipes and that it’s cool enough to provide comfort. You may need to make minor adjustments, such as tweaking the fan speed or replacing the ice for better cooling.
Troubleshooting Common Issues During Installation
While building your DIY camping air conditioner, you may run into some common issues. Here’s how to troubleshoot and solve them:
- Weak Airflow
- If the air from the pipes feels weak or not cool enough, check the fan’s positioning. Ensure that it is blowing air into the cooler and not away from it.
- Also, verify that the ice inside the cooler is still frozen and sufficient for cooling the air. Refill with ice or frozen bottles if needed.
- Leaking Air
- If the air seems warm, the most common cause is air leakage. Inspect the seals around the fan and PVC pipes. Use additional duct tape or sealant to cover any gaps where cool air might escape.
- Power Issues
- If the fan isn’t working or isn’t powered for long enough, check the connection to your power source. Make sure your battery pack is fully charged and can handle the fan’s energy requirements. For longer camping trips, consider using a larger power bank or solar panel.
- Condensation Buildup
- Sometimes, condensation can build up inside the cooler, especially when using a lot of ice. This can lead to water dripping onto your floor or the fan. To solve this, place a towel or absorbent material inside the cooler to catch the moisture.
How to Use Your DIY Air Conditioner for Maximum Efficiency
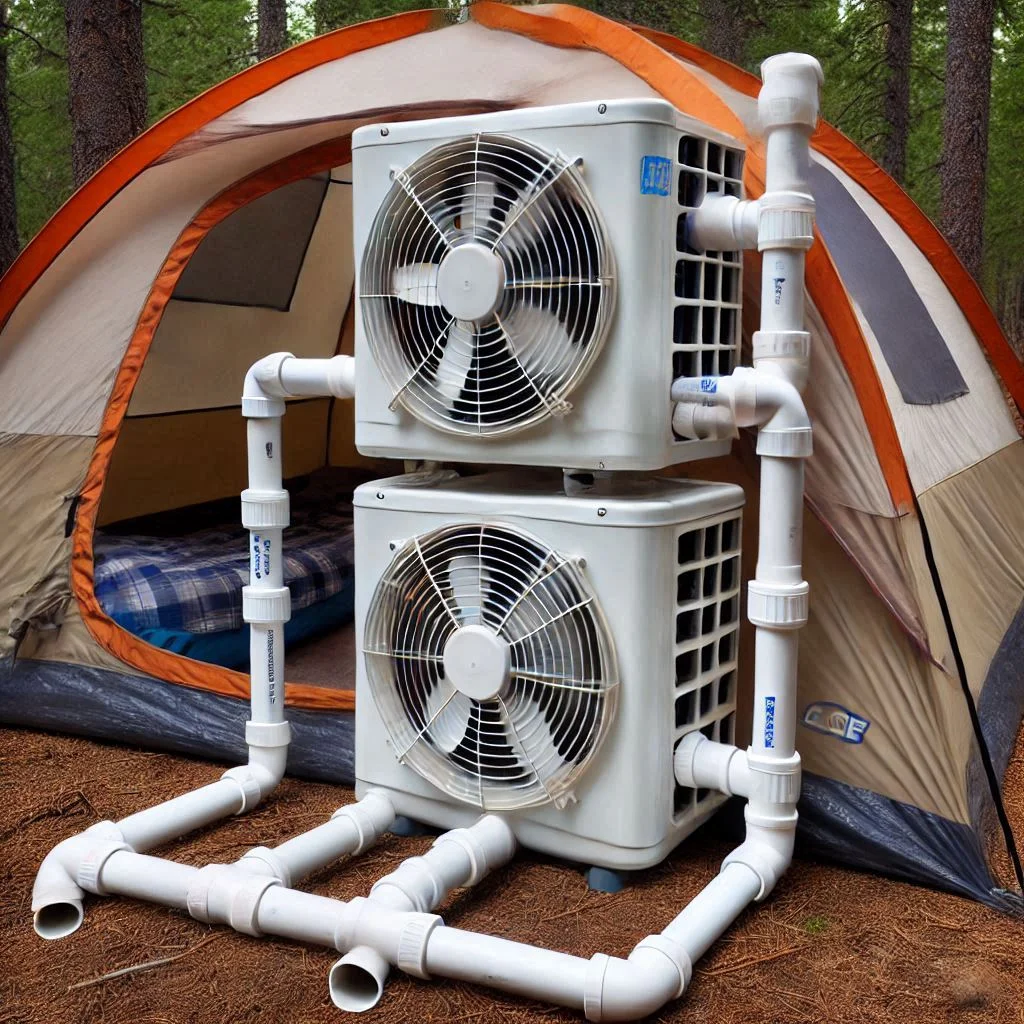
Once you’ve successfully built your DIY camping air conditioner, it’s essential to use it in the most effective way to ensure optimal cooling and long-lasting performance. Proper placement, usage, and maintenance are crucial to maximizing the benefits of your homemade system. Below are key tips for getting the best performance from your DIY air conditioner.
Tips on Placement and Usage for Optimal Cooling
- Choose the Right Location for Your AC Setup
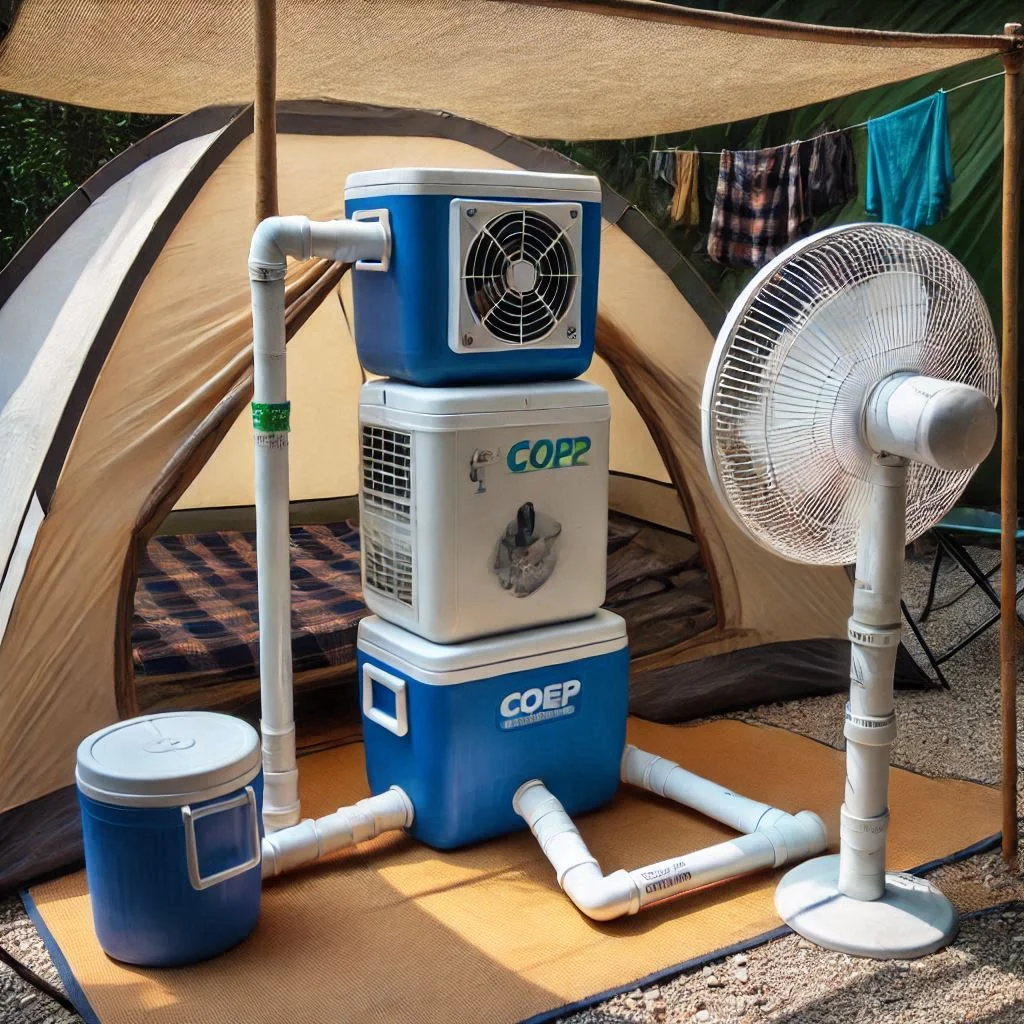
The location of your DIY air conditioner plays a significant role in its effectiveness. For the best results:- Place the cooler in a shaded area, as direct sunlight will heat the air inside the cooler, reducing its cooling efficiency.
- Position the fan and PVC pipes so that the cool air is directed toward your sleeping or seating areas. Avoid placing the fan in an open area where airflow may be wasted.
- Keep the cooler elevated slightly off the ground, as placing it directly on the ground can obstruct airflow. A small platform or table can help.
- Ensure Proper Ventilation
Proper airflow is key to making your DIY air conditioner work efficiently. Make sure your tent or camping area has sufficient ventilation:- Open the windows and vents of your tent to allow the cool air to circulate.
- If you’re using PVC pipes, ensure they’re not obstructed and allow for the free flow of air.
- A tent with mesh panels or openings can help improve airflow, ensuring that the cooler air doesn’t just stay in one place but circulates effectively throughout the space.
- Utilize Frozen Bottles Efficiently
The key to effective cooling lies in the ice or frozen water bottles inside your cooler. To maximize the cooling effect:- Use large, frozen water bottles instead of small ice cubes, as they last longer and provide a more consistent cooling source.
- Replace the frozen bottles every 6 to 8 hours to maintain a steady stream of cool air. If your trip lasts longer, you can pre-freeze several bottles to rotate them out.
- Adjust Fan Speed for Comfort
Not all fans have the same speed, and adjusting the fan speed is crucial to managing the air temperature and circulation. Depending on the temperature and humidity, you may need to:- Set the fan on a higher speed during hotter days or nights.
- Lower the fan speed at night when the temperature drops, as too much airflow may make the tent too chilly.
- Monitor Ambient Temperature
The effectiveness of your DIY air conditioner depends on the ambient temperature. While it works well in moderate heat, it may struggle during extreme heat (above 95°F or 35°C). In such cases:- Consider using additional cooling methods, such as using a tarp to create more shade over the cooler.
- Set up a portable fan alongside the AC unit to help distribute the cool air more evenly.
Maintenance Tips to Keep Your AC Running Smoothly
Proper maintenance ensures your DIY air conditioner continues to perform at its best for years to come. Here are some essential maintenance tips to keep everything running smoothly:
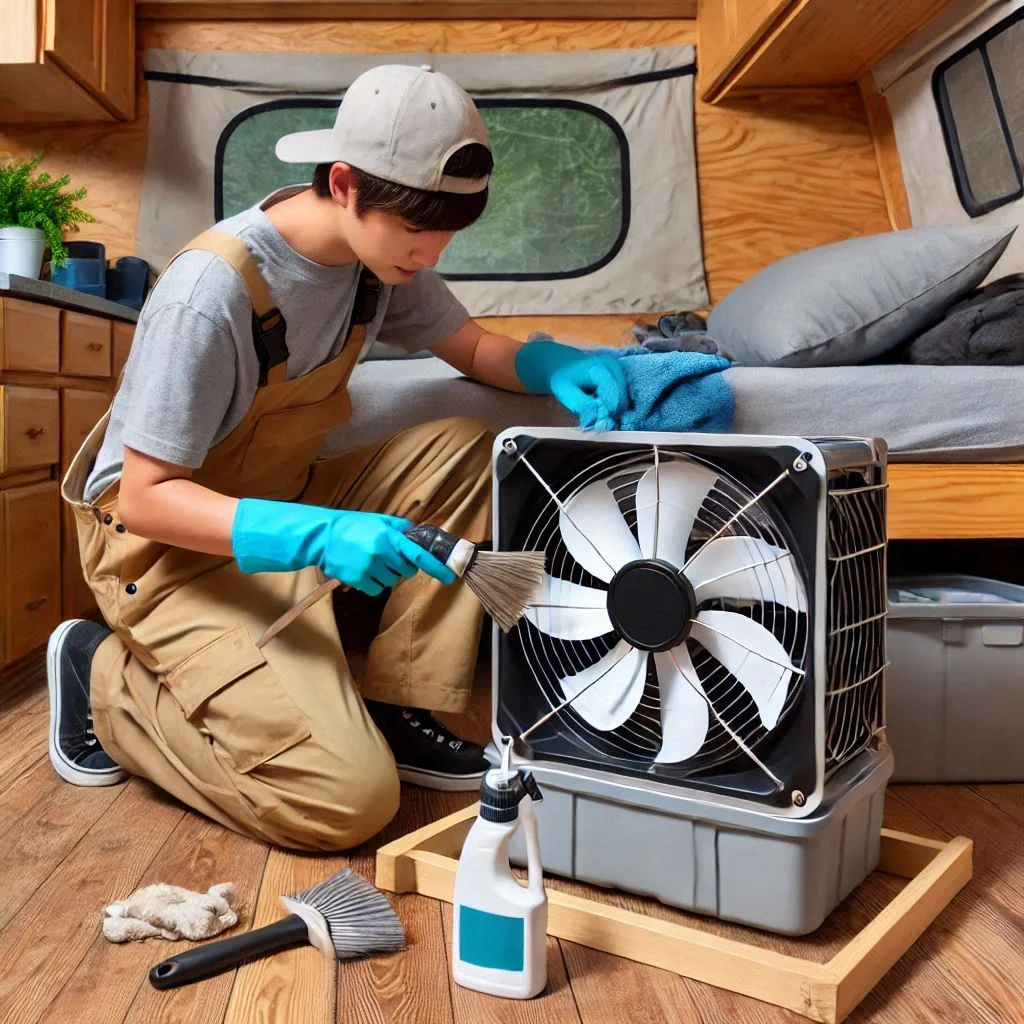
- Clean the Fan Regularly
Dust and debris can build up on your fan, reducing its efficiency. To maintain airflow:- Clean the fan blades regularly with a soft cloth or brush to remove dust and dirt.
- If you notice that the fan is making noise or running less efficiently, it may need a deeper clean or oiling of the motor (if applicable).
- Check the Ice or Water Bottles
Ice or frozen bottles are a vital part of the cooling process. For optimal cooling:- Regularly check the ice bottles to ensure they are still frozen and replace them when they have thawed.
- If you’re camping for several days, bring extra frozen bottles or ice packs to rotate in and out of the cooler.
- Inspect Seals and Duct Tape
Over time, the seals around the fan and PVC pipes may weaken, leading to air leaks. To keep your DIY air conditioner operating at full capacity:- Inspect the duct tape or sealant used to secure the fan and pipes. If necessary, replace or add new tape to any loose areas.
- For a more permanent fix, you can use silicone sealant to seal the edges and ensure no air escapes.
- Empty the Cooler of Water
As ice melts, it will create water in the cooler. Ensure you don’t let water accumulate:- Empty the cooler regularly to avoid mold or mildew buildup.
- Use a towel or absorbent cloth inside the cooler to soak up any excess moisture.
- Check the Power Source
Ensure that your power source remains functional:- Check the battery pack or solar charger regularly to ensure it’s fully charged and capable of powering the fan for several hours.
- If you’re using rechargeable batteries, make sure to bring backup batteries or an extra power bank for longer trips.
The Benefits of a DIY Camping Air Conditioner
When the heat of summer sets in, camping can become uncomfortable without a cooling system. Building your own DIY camping air conditioner offers numerous benefits, from significant cost savings to the ability to customize it to your needs. Additionally, there are eco-friendly options available that can make your setup more sustainable. Let’s explore the key benefits of creating your own DIY air conditioner for camping.
Cost Savings and Customization Advantages
- Affordable Alternative to Store-Bought Air Conditioners
One of the most significant advantages of a DIY camping air conditioner is the cost savings. Store-bought portable air conditioners can range from $100 to over $500, depending on the model. A DIY air conditioner, however, can be made for as little as $20 to $50 using simple materials such as a styrofoam cooler, a fan, and frozen water bottles. This makes it an incredibly affordable solution, especially for budget-conscious campers. - No Need for Expensive Power Sources
Many portable air conditioning units require expensive batteries or rely on grid power. However, a DIY setup can be powered by a simple rechargeable battery pack or solar power, which reduces ongoing costs. This makes it an excellent choice for long-term use or for those who often camp in off-grid locations. - Customizable Design for Your Needs
One of the most appealing aspects of a DIY air conditioner is the ability to customize it. You can design your system according to your needs, including:- Size of the cooler: Choose a larger or smaller cooler depending on the amount of cooling you need.
- Fan power: Select a fan with the right power for your camping space.
- Airflow setup: You can customize the number of PVC pipes or adjust the direction of airflow to suit your specific setup.
This level of customization ensures that you get the perfect balance of cooling and efficiency for your camping environment.
- Flexibility in Modifications
As your camping needs change, you can modify your DIY air conditioner without the need to purchase a new unit. For example, you can upgrade the fan, add more ice bottles, or switch to a larger cooler to increase cooling capacity. This flexibility makes it a long-term solution that adapts to your evolving needs.
Eco-Friendly Options for Cooling Your Camping Space
- Sustainable Power Sources
A major environmental benefit of a DIY camping air conditioner is the option to use sustainable energy sources. By using a solar power bank or a rechargeable battery, you can significantly reduce your carbon footprint. Solar power, in particular, is an eco-friendly and renewable energy source, allowing you to keep your AC running without relying on fossil fuels or electricity from the grid. - Reduced Energy Consumption
Traditional air conditioners use a significant amount of energy, leading to high power consumption and increased environmental impact. DIY camping air conditioners are much more energy-efficient. Since they rely on smaller fans and the cooling power of ice, they use far less energy, which reduces the demand on your power source and helps you conserve energy. This is particularly beneficial for campers who want to minimize their environmental impact. - Use of Recycled Materials
Many DIY air conditioners can be made using recycled materials, such as old coolers, plastic bottles, and spare fans. This reduces waste and makes your cooling solution more sustainable. By reusing items you already have, you help divert materials from landfills, contributing to a greener planet. - Minimal Chemical Use
Unlike traditional air conditioners that rely on refrigerants (often harmful chemicals), a DIY camping air conditioner relies on simple, natural elements like water and ice to cool the air. This avoids the release of greenhouse gases and other pollutants, making it a safer and more environmentally friendly option for cooling your space.
Cooling Alternatives: When a DIY Air Conditioner Isn’t Enough
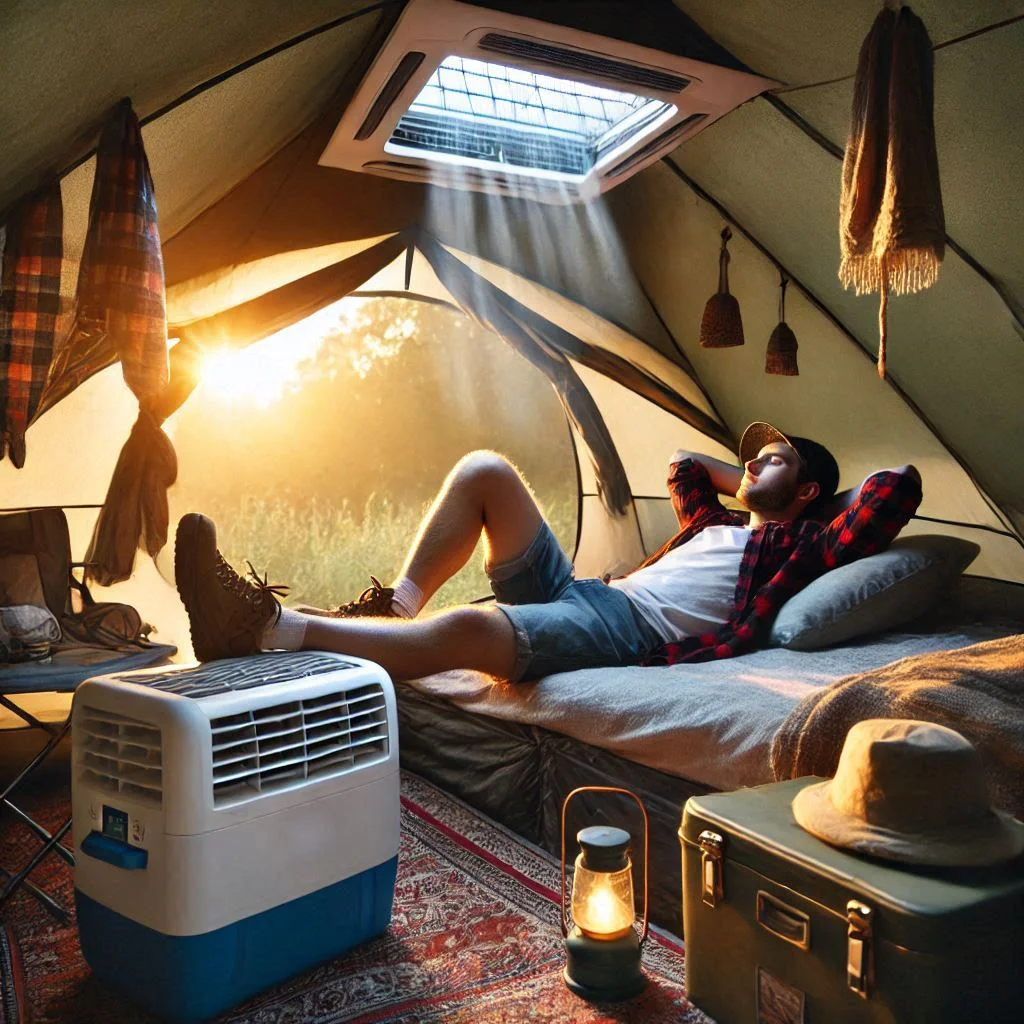
While a DIY air conditioner is an excellent solution for cooling your camping space in moderate heat, there are times when it may not be sufficient to handle extreme temperatures. Whether it’s a particularly hot day or your campsite lacks adequate resources for a more powerful DIY setup, it’s important to know other cooling alternatives. Below, we’ll explore additional methods to keep cool while camping, as well as why certain techniques like portable fans might be more effective in specific situations.
Other Methods to Stay Cool in Hot Weather During Camping
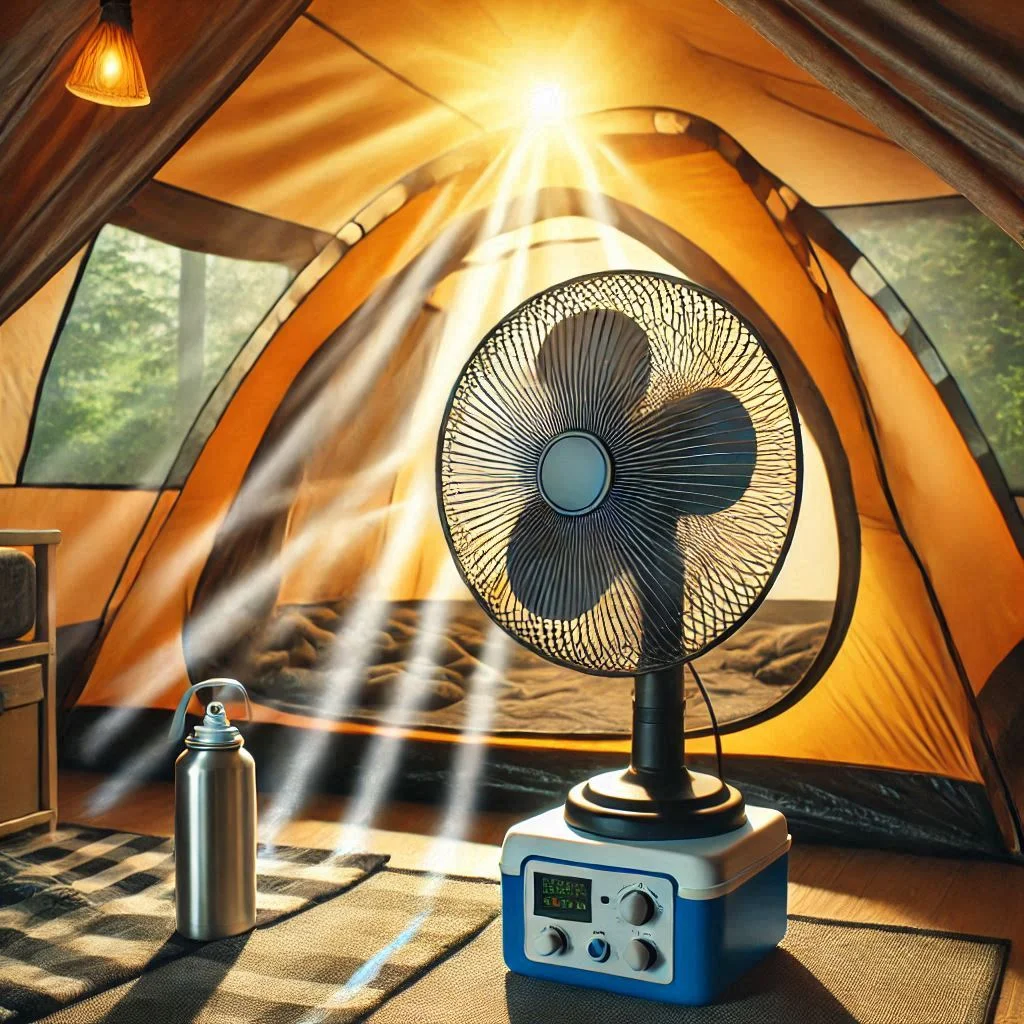
- Portable Fans for Continuous Airflow
A portable fan is one of the most basic and effective alternatives when a DIY air conditioner isn’t enough. Fans work by circulating air and enhancing evaporation, which can make the air feel cooler even without lowering the temperature significantly.- Battery-Powered or USB Fans: Compact and lightweight, these fans are ideal for camping trips where space and power are limited. They can be powered using rechargeable batteries or solar chargers, making them a great eco-friendly option for off-grid camping.
- Tower Fans or Oscillating Fans: If you have access to a power source, tower or oscillating fans can provide a wider distribution of cool air. These are especially useful in larger tents or when camping with a group.
Benefits of Portable Fans:
- Efficient at circulating air to create a breeze.
- Use minimal power, making them ideal for long camping trips.
- Can be easily positioned to direct airflow exactly where you need it.
- Evaporative Coolers (Swamp Coolers)
Evaporative coolers, also known as swamp coolers, are another popular cooling solution for dry and arid climates. These coolers use the natural process of water evaporation to lower temperatures, making them particularly effective in desert areas or places with low humidity.- How It Works: Evaporative coolers blow air through moistened pads, causing the water to evaporate and cool the air that flows into your tent or camping area.
- Pros: These coolers are energy-efficient and require minimal maintenance. They also add moisture to the air, which can help prevent dryness in hot environments.
- Cons: Evaporative coolers are not effective in humid areas as they rely on low moisture in the air to work properly.
- Shade Solutions and Tarp Setups
Creating a shaded area is one of the simplest and most cost-effective ways to stay cool during the day. By protecting your tent or camping space from direct sunlight, you can lower the ambient temperature inside.- Tarp Canopy: A simple tarp can be stretched over your campsite to block the sun and reduce direct exposure to heat. Opt for reflective tarps to maximize shade.
- Natural Shade: If you’re camping in a forest or wooded area, set up your tent in the shade of large trees. The natural canopy provided by the trees can provide substantial relief from the sun’s heat.
Benefits of Shade:
- A low-cost and eco-friendly cooling solution.
- Reduces the need for additional power or resources.
- Provides instant relief from the sun’s heat.
- Cooling Towels and Personal Cooling Devices
Personal cooling devices, such as cooling towels or wearable fans, are great for keeping your body temperature down during camping. These items can be especially useful when you’re on the move or in a situation where you don’t have access to electricity.- Cooling Towels: These towels are made of special materials that retain moisture and can be draped over your neck or face for instant cooling. Simply wet the towel, wring it out, and place it on your skin.
- Wearable Fans: Small, portable fans can be worn around your neck or attached to a cap, providing constant airflow and helping to keep you cool even when you’re active.
Benefits of Personal Cooling Devices:
- Lightweight and portable, easy to carry during hikes or adventures.
- Ideal for quick and targeted cooling, such as around the neck or face.
- Don’t require much space or energy.
- Ice Packs or Ice Chests for Targeted Cooling
For an immediate cooling effect, ice packs or an ice chest can be used to create localized cool spots within your tent or camping space. Place ice in a container or cooler and allow it to melt for a natural cooling effect.- How It Works: The cold air from the melting ice will reduce the temperature in the vicinity of the cooler. You can also place small ice packs around your body (such as in your sleeping bag or near your head) for targeted cooling.
Benefits of Ice Packs:
- Provides instant cooling relief in extreme temperatures.
- Easily available and requires little setup.
- Works well in conjunction with other cooling techniques, such as fans or tarps.
Why a Portable Fan or Other Techniques Might Be Better for Some Situations
While a DIY air conditioner is effective for moderate heat, it may not be enough in extreme weather or under certain conditions. Here’s why portable fans and other cooling methods might be better suited for specific camping situations:
- Power Availability
A DIY air conditioner, especially one that relies on a fan, ice, and a cooler, may need a consistent power supply for the fan to operate efficiently. In areas where power sources are limited, a simple portable fan, which can run on batteries or solar power, might be more practical. Additionally, fans are more lightweight and portable, making them ideal for backpacking trips. - Humidity Levels
In humid environments, a DIY air conditioner that relies on ice may struggle to keep up with the high moisture in the air. In such cases, an evaporative cooler or portable fan might work better, as they don’t rely on cooling air to the same extent. Evaporative coolers, in particular, excel in dry climates where the humidity is low. - Space and Weight Limitations
When backpacking or hiking to your campsite, you may have limited space and weight capacity for carrying cooling equipment. A portable fan or cooling towel is much lighter and more compact than a large DIY air conditioner setup, making it a better option for those who need to prioritize space and weight.

Why DIY Camping Air Conditioners Are Becoming Popular
Camping has always been an activity that brings people closer to nature, offering an escape from the hustle and bustle of modern life. However, one of the challenges that many campers face is dealing with extreme temperatures, especially during summer. The popularity of DIY (do-it-yourself) camping air conditioners has been on the rise as outdoor enthusiasts look for affordable, effective, and customizable ways to stay cool while camping. In this article, we’ll explore why DIY camping air conditioners are becoming so popular and highlight the advantages of these homemade systems over commercial air conditioners.
Growing Trend of DIY Projects for Camping Enthusiasts
- Increased Interest in Outdoor Activities
The pandemic and the desire for social distancing sparked a renewed interest in outdoor activities, including camping. As more people flocked to the great outdoors, the demand for comfortable camping setups increased. Campers are seeking new ways to enhance their camping experiences, and creating DIY camping air conditioners is a natural extension of this trend. DIY projects, in general, have seen a surge in popularity due to the personal satisfaction of building something with your own hands, and camping air conditioners are no exception. - A Desire for Self-Sufficiency
Many campers enjoy the feeling of self-sufficiency that comes with building their own equipment. A DIY camping air conditioner allows enthusiasts to take control of their cooling systems, choosing materials, designs, and power sources that best suit their needs. This sense of independence is a major driving force behind the DIY trend. Additionally, for those who camp off-grid or in remote locations, building a portable air conditioner provides an opportunity to solve the cooling problem without relying on commercial products or electricity. - Accessibility of Materials and Information
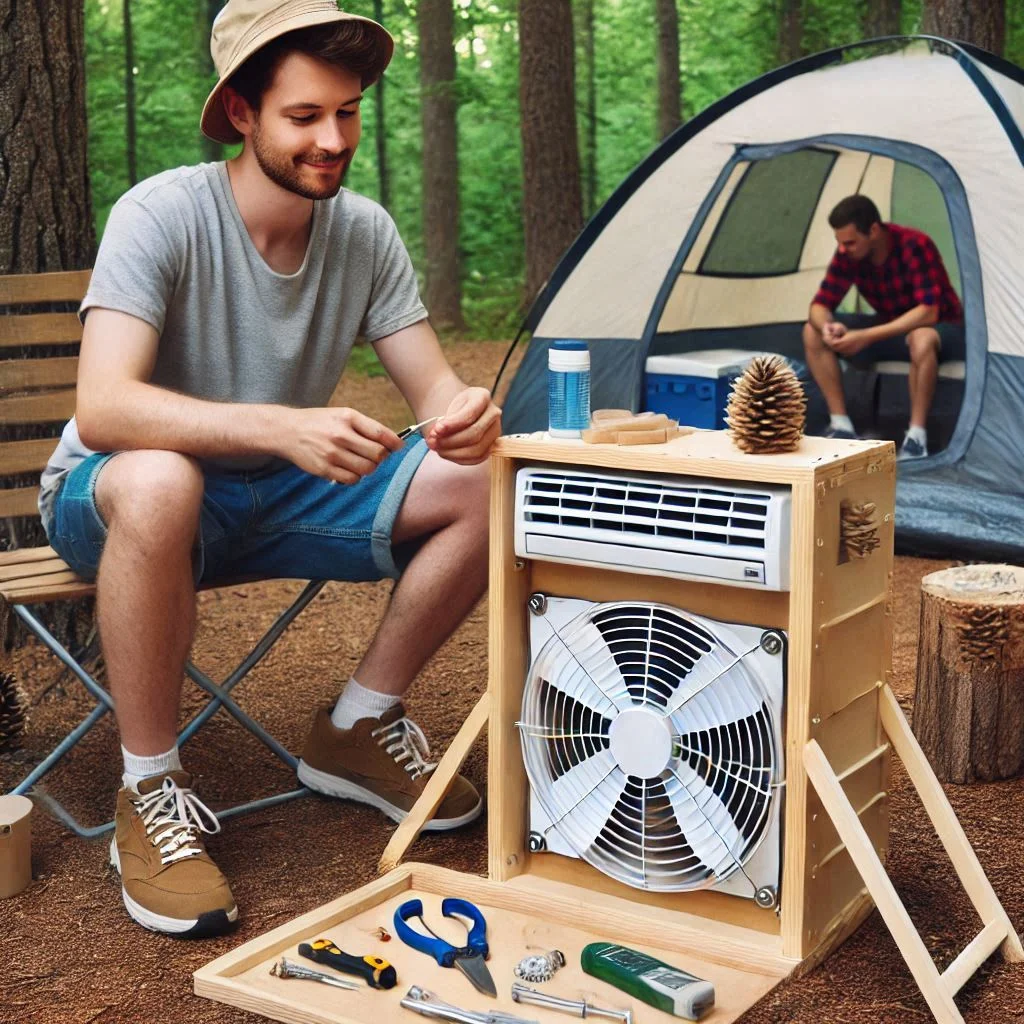
The accessibility of affordable materials and online tutorials has made it easier for people to try their hand at DIY projects. You can find tutorials, videos, and step-by-step guides for building a DIY air conditioner with materials that are often inexpensive and easily sourced. Websites and social media platforms such as YouTube, Pinterest, and Reddit are full of tips and tricks, helping campers understand how to build and troubleshoot their own cooling systems. The growing availability of information has empowered more people to create DIY air conditioners for their camping trips. - Customization for Specific Needs
DIY camping air conditioners are highly customizable, allowing campers to tailor the cooling system to their specific needs. Whether it’s choosing the type of cooler, selecting the right-sized fan, or adding a solar panel to make the system energy-efficient, DIY air conditioners can be built with flexibility in mind. This customization ensures that the final product fits the camping environment perfectly, providing optimal cooling without excess energy use.
Benefits of Homemade Systems vs. Commercial AC Units
- Cost-Effective Solution
One of the most significant advantages of a DIY camping air conditioner is the cost savings. Commercial portable air conditioners can be expensive, often costing hundreds of dollars. A DIY system, on the other hand, can be made for as little as $20 to $50, using common materials such as coolers, fans, and ice packs. This affordability makes it accessible for campers who are on a budget or those who want a temporary solution for occasional camping trips. - Energy-Efficiency and Sustainability
Commercial air conditioning units require a significant amount of power to operate, which can be problematic when camping off-grid. Many campers do not have access to the electricity needed to run traditional AC units. On the other hand, DIY systems can be powered by rechargeable batteries, solar power, or even manual efforts, making them much more energy-efficient and sustainable. This eco-friendly approach is particularly important for those looking to reduce their carbon footprint and embrace off-grid living.- Solar-Powered Cooling: A solar-powered DIY air conditioner is a great option for campers who want to rely on renewable energy. By using solar panels to power the system, campers can enjoy cooling without using fossil fuels or grid power. Solar energy is an abundant, clean source of power, and using it to run a DIY air conditioner helps campers reduce their environmental impact.
Benefits of Energy-Efficient DIY AC:
- Minimal power consumption.
- Sustainable and environmentally friendly.
- Ideal for off-grid camping trips.
- Portability and Flexibility
Unlike bulky commercial air conditioners, DIY systems are lightweight, portable, and easy to set up. They can be customized to fit different types of tents, campers, or even vehicles. Since many DIY systems are made from smaller, more compact materials, they can be easily transported to various campsites, making them a convenient solution for campers on the go.Commercial AC units, on the other hand, are often too large to be easily portable and can be difficult to set up in remote areas without access to power outlets. DIY air conditioners, particularly those that are fan-based or ice-powered, can be set up almost anywhere, making them ideal for outdoor camping. - Minimal Maintenance and Repairs
Commercial air conditioners often require regular maintenance and can break down over time, especially when used in rugged outdoor conditions. DIY air conditioners are simple systems that require minimal maintenance. If a component breaks, it’s easy and inexpensive to replace or repair. For instance, if the fan stops working, you can easily swap it out for a new one. DIY systems are durable, and because they consist of basic materials, repairs are often simple and affordable. - Customization for Specific Climate Conditions
Every camping trip and location has different temperature needs. A DIY air conditioner allows for total customization to suit the local climate. For example, campers in humid climates may benefit from an evaporative cooler, while those in dry environments can opt for an ice-powered cooler system. DIY systems can be modified and adjusted according to the specific needs of the environment, providing tailored cooling solutions that commercial units simply cannot.
FAQs: DIY Camping Air Conditioners
1. What materials do I need to build a DIY camping air conditioner?
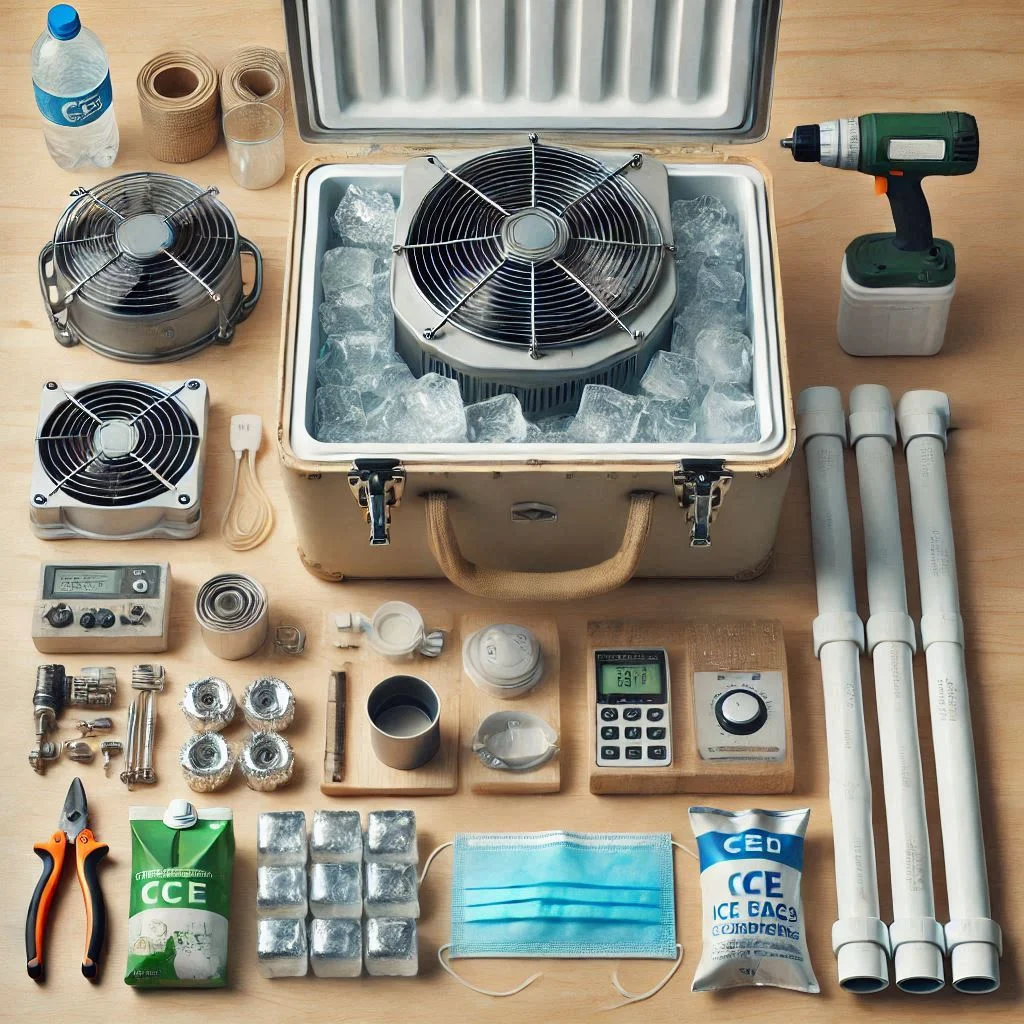
Building a DIY camping air conditioner doesn’t require a long list of complicated materials. You’ll need basic supplies that are easy to find and affordable. Here’s a breakdown of the essential materials:
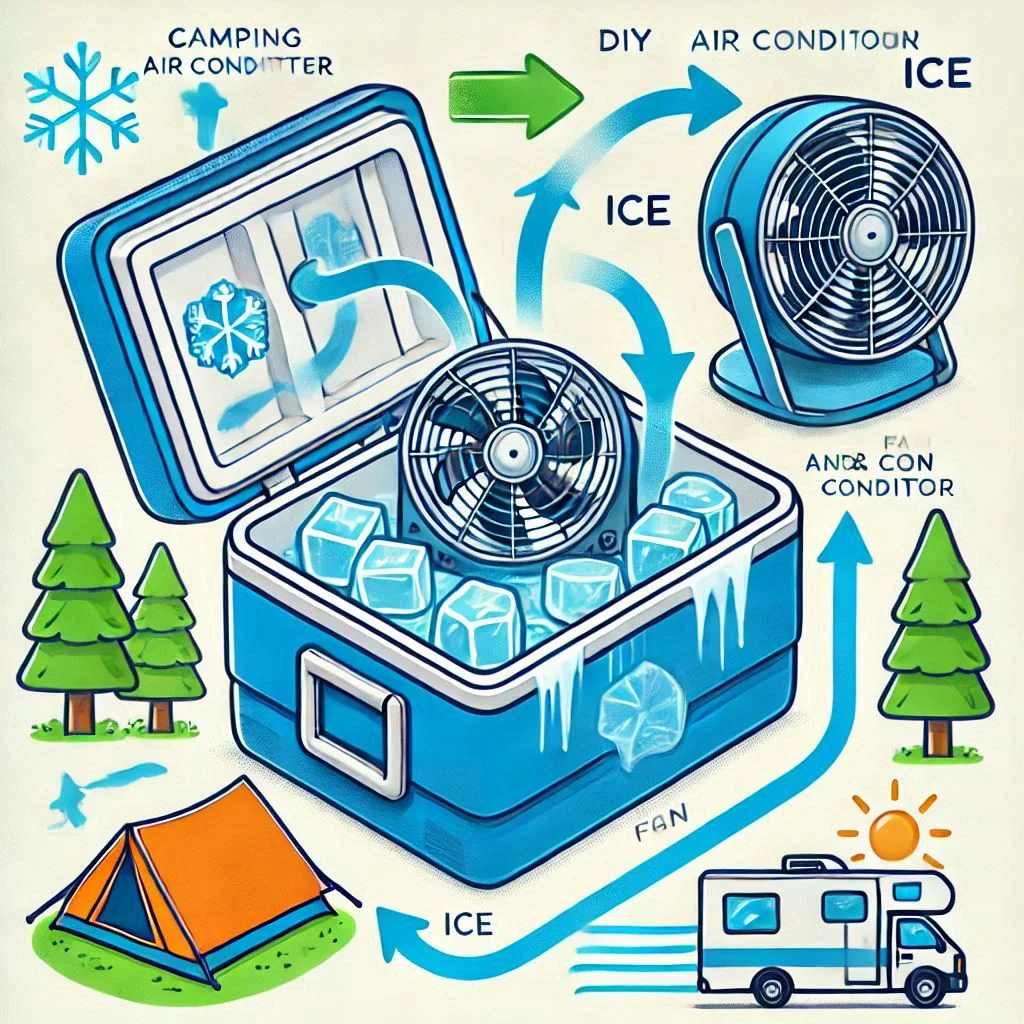
- Cooler: A large insulated cooler acts as the base for the cooling system. It helps to trap the cold air and prevent heat from escaping.
- Fan: A small, portable fan is essential for pushing the cool air out of the cooler and into your tent or camping area.
- Ice Packs or Ice: Ice or frozen gel packs help lower the temperature inside the cooler, providing the cold air that is circulated by the fan.
- PVC Pipe (Optional): PVC pipes can be used to direct the airflow from the cooler to the tent or area you want to cool.
- Mesh or Filter: Mesh can be used for ventilation or filtration, while filters can prevent dust or debris from being blown into the air.
- Power Source: If you’re using an electric fan, you’ll need a power source, which can be a portable battery, solar power, or a car inverter.
2. How does a DIY air conditioner for camping work?
A DIY camping air conditioner typically works by circulating cold air from ice packs or ice into your tent or campsite. The process begins when ice is placed inside the cooler. A fan is then used to blow air over the ice, cooling it before it exits the cooler. This cool air is directed into your tent or camping space, creating a more comfortable environment during hot weather.
Some advanced DIY systems use a combination of evaporative cooling and ice cooling. For example, some DIY systems add water to the ice to increase the cooling effect, while others use a simple fan to blow air through a wet cloth, which cools the air via evaporation. These systems are effective at creating a makeshift air conditioning effect without the need for expensive, bulky AC units.
3. Can a DIY camping air conditioner cool a large area?
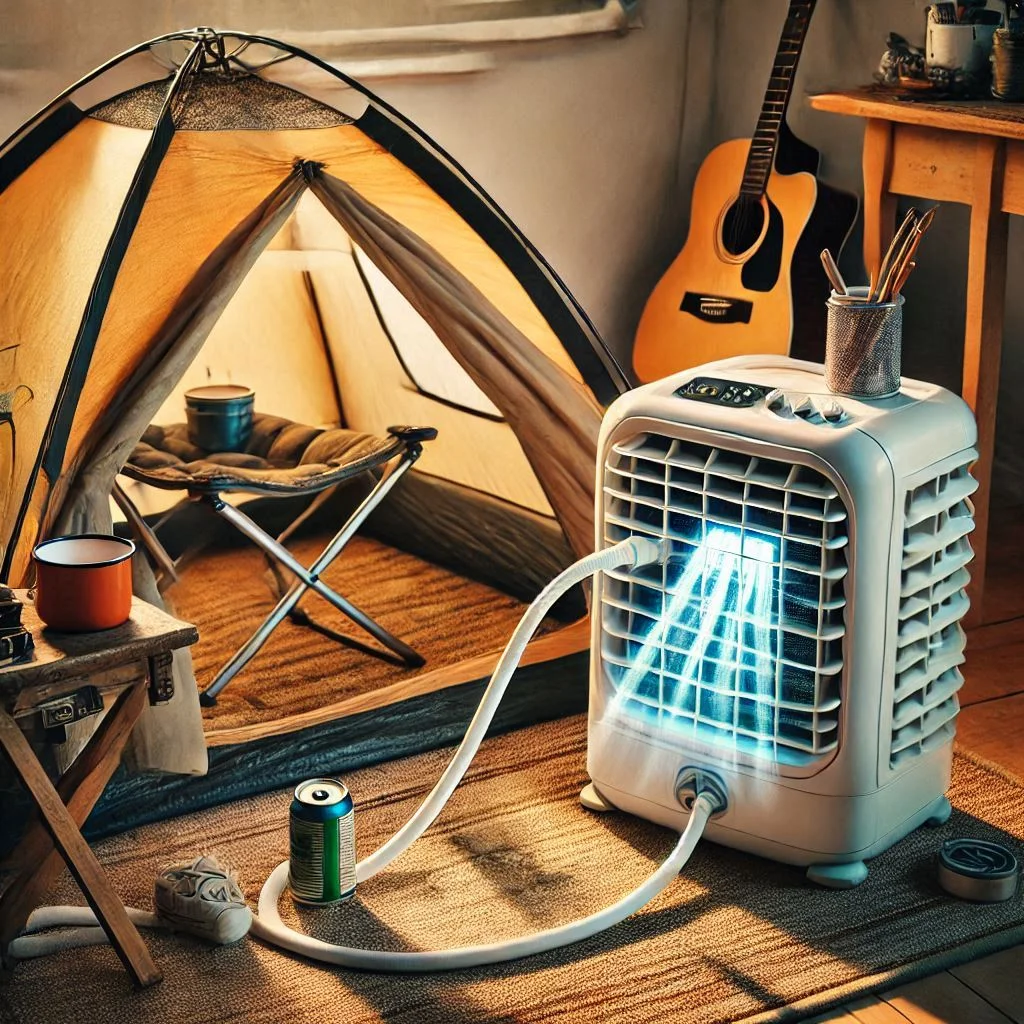
The cooling efficiency of a DIY camping air conditioner depends on several factors, including the size of the cooler, the amount of ice used, and the power of the fan. DIY systems are typically designed to cool small, enclosed spaces like tents, RVs, or small camping setups. For larger areas, such as open campsites or larger tents, the DIY system may not be as effective.
While DIY systems can provide relief from heat, they may not have the cooling capacity of larger, commercial units. However, for campers in moderate temperatures or those who need a temporary cooling solution, a DIY air conditioner can be highly effective.
4. How long will a DIY camping air conditioner last on a single charge or ice refill?
The lifespan of your DIY air conditioner on a single charge or ice refill depends on the components you use. For example:
- Ice Duration: Ice can last anywhere from 3-6 hours, depending on the amount of ice and the insulation of your cooler. Using gel packs instead of traditional ice can extend the cooling time.
- Power Source: If you’re using a battery-powered fan, the runtime can range from 4 to 8 hours, depending on the battery capacity. Solar-powered systems can run for longer durations, depending on the amount of sunlight available.
To ensure extended cooling, consider using a larger cooler, more ice, or a larger battery for longer cooling periods. Additionally, incorporating a solar-powered fan system can help you keep the unit running all day without relying on disposable power sources.
5. Can I make a solar-powered DIY air conditioner for camping?
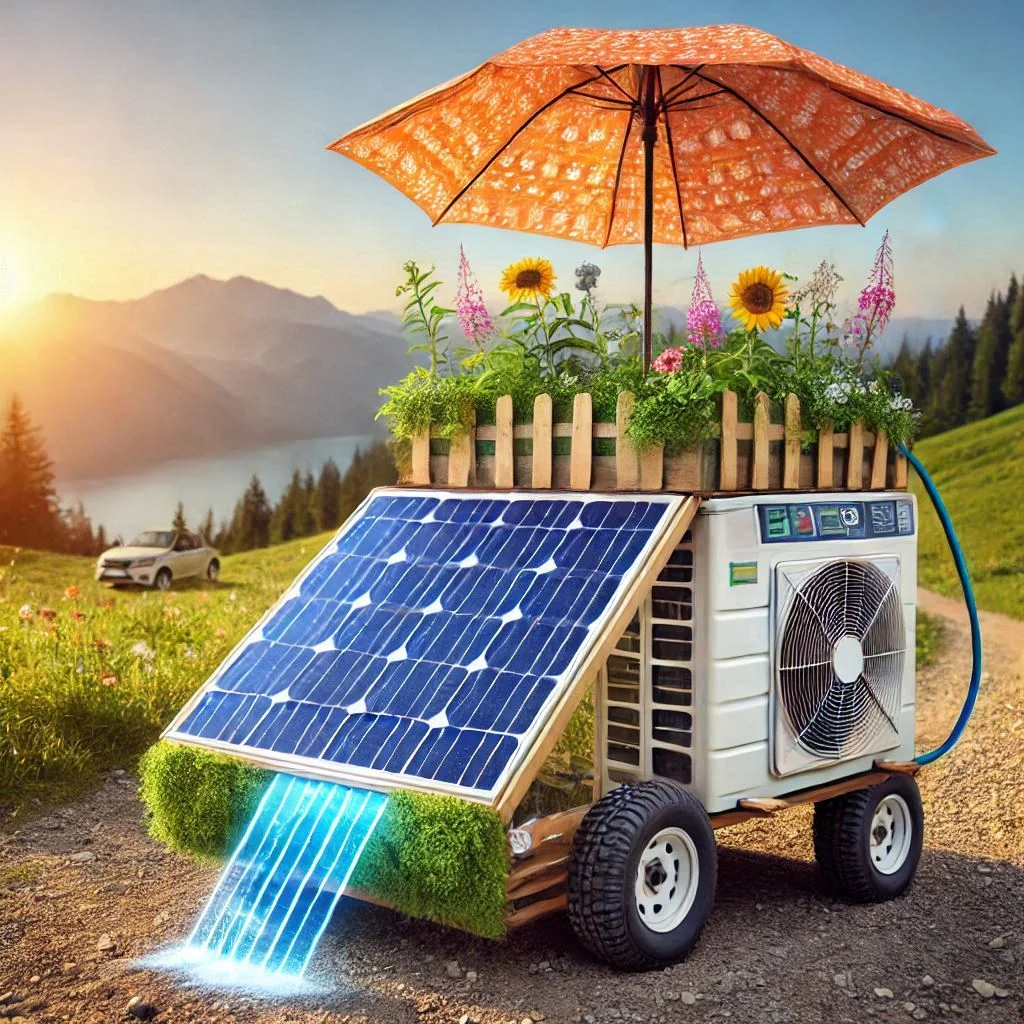
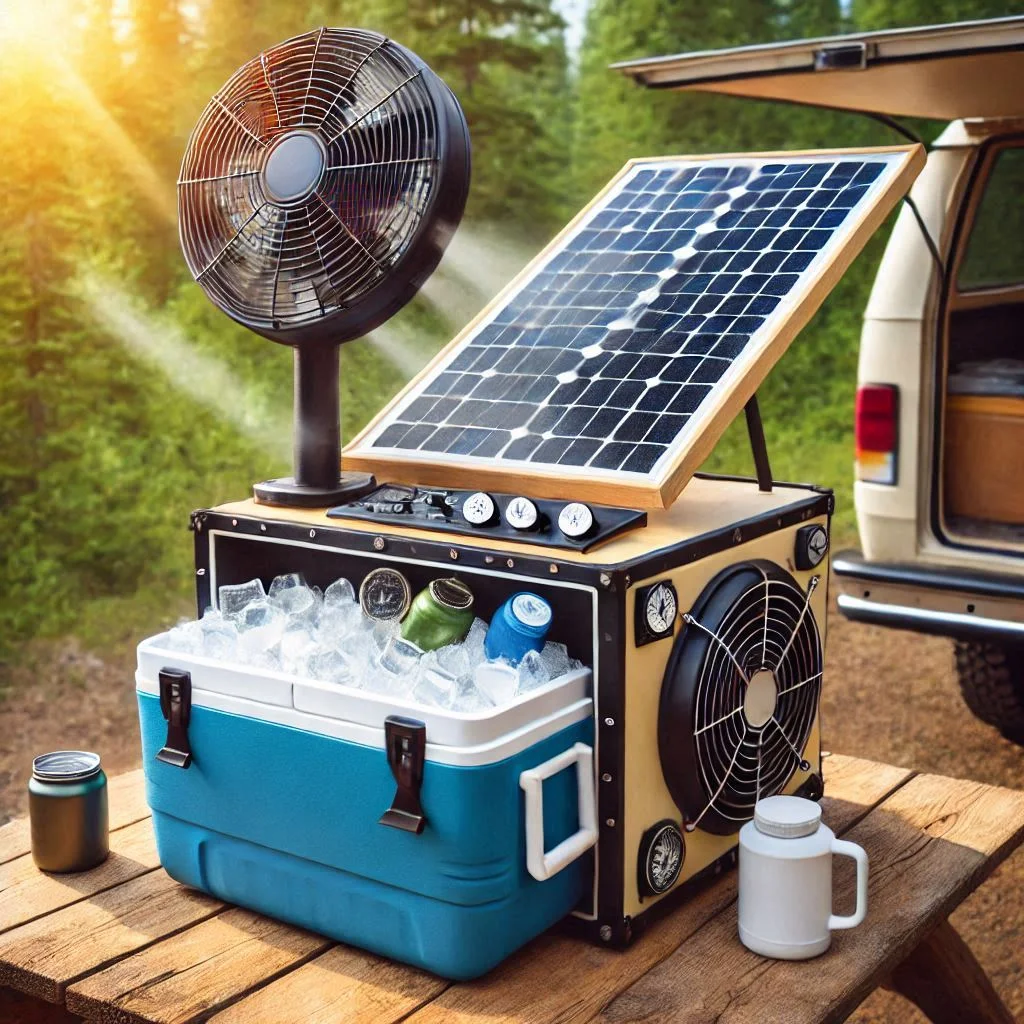
Yes! Solar power is an excellent option for powering a DIY camping air conditioner, especially for off-grid camping. By incorporating a small solar panel to charge a battery or power the fan directly, you can create an energy-efficient, eco-friendly cooling system. This is ideal for longer camping trips where access to electricity is limited or unavailable.
To create a solar-powered DIY air conditioner, you’ll need:
- Solar panel: Choose a solar panel with enough power output to run your fan or charge the battery.
- Battery: A rechargeable battery stores the energy collected by the solar panel and powers the fan.
- Fan and cooler: The fan and cooler setup will be the same as in a traditional DIY air conditioner.
Using solar power eliminates the need for disposable batteries and helps reduce your environmental impact, making it a great option for eco-conscious campers.
6. How can I improve the efficiency of my DIY camping air conditioner?
To maximize the efficiency of your DIY camping air conditioner, consider the following tips:
- Use Insulated Coolers: The more insulated your cooler is, the longer the ice will last and the more effective the cooling will be. Opt for high-quality coolers with thick insulation to retain the cold air for longer periods.
- Increase Airflow: A fan with a higher power output or a more efficient design will circulate air more effectively. You can also use a larger fan to cool larger areas faster.
- Upgrade to Solar Power: If you’re using a battery-powered fan, consider switching to a solar-powered fan for more sustainable energy. Solar panels will keep your system running throughout the day.
- Use Gel Packs: Gel ice packs tend to last longer than regular ice and will keep the cooler cold for extended periods, providing more consistent cooling.
- Position the System Correctly: Ensure that the fan is pointed in the right direction and placed in an optimal position to circulate the cool air effectively.
Conclusion
In conclusion, a DIY camping air conditioner offers an affordable, customizable, and eco-friendly solution for staying cool during your outdoor adventures. Whether you’re looking to create a simple ice-powered cooler or a solar-powered system, these DIY air conditioners provide flexibility, cost savings, and efficiency, making them perfect for campers who want to stay comfortable without relying on commercial AC units. With the right materials, tools, and a bit of creativity, you can build a cooling system that fits your specific needs, enhancing your camping experience. By following the tips and guidelines provided in this article, you can create an effective DIY air conditioner and enjoy a refreshing retreat in nature, no matter how hot it gets.

