
Introduction to the Smallest Rooftop RV Air Conditioners
In the world of RV travel, the smallest rooftop RV air conditioner plays a crucial role in ensuring comfort during your adventures. Understanding the specific cooling needs of your RV and the importance of compact units will help you choose the right model for your journey.
When it comes to enjoying the great outdoors in an RV, having a reliable air conditioning system is essential for comfort, especially during the hot summer months. RV air conditioners play a crucial role in maintaining a pleasant interior environment, allowing travelers to relax and enjoy their adventures without being overwhelmed by heat.
Overview of RV Air Conditioning Needs
RVs are designed for mobility and convenience, but the compact living spaces can quickly become stifling without proper climate control. Traditional air conditioning units can be bulky and may not fit well on the roof of an RV, which is why many manufacturers now focus on creating smaller, more efficient rooftop air conditioners. These units not only cool the air effectively but also minimize the weight and space they occupy, making them ideal for RV living.
A good RV air conditioner should offer adequate cooling power, energy efficiency, and quiet operation. With the variety of rooftop models available, it’s essential to choose one that meets your specific needs while fitting within the constraints of your RV’s design.

Importance of Compact Units for Space Efficiency
One of the primary reasons for opting for the smallest rooftop RV air conditioners is space efficiency. RV owners often face limitations in both roof space and overall weight capacity. Compact units are designed to maximize cooling performance without compromising valuable roof space, ensuring that there is still room for other essential accessories such as solar panels or satellite dishes.
Furthermore, smaller units tend to be lighter, which can improve fuel efficiency when traveling. This is particularly important for RV owners who frequently hit the road, as every pound matters. A lightweight air conditioner can also reduce strain on the RV’s structure, potentially extending the lifespan of the vehicle.
In addition to physical space considerations, compact air conditioners often feature advanced technology, such as inverter-driven compressors and smart controls. These innovations allow for better temperature regulation, quieter operation, and lower energy consumption. As a result, RV owners can enjoy a comfortable interior climate while minimizing their environmental footprint.

Advantages of the Smallest Rooftop RV Air Conditioners
When choosing an air conditioning system for an RV, the size and efficiency of the unit are paramount. The smallest rooftop RV air conditioners offer several advantages that make them an attractive option for RV owners. Here, we explore these benefits in detail.
Space-Saving Benefits
One of the most significant advantages of the smallest rooftop RV air conditioners is their space-saving design. RVs are inherently limited in space, and maximizing every inch is crucial for comfort and functionality. Compact air conditioning units are designed to occupy minimal roof space, allowing RV owners to utilize the remaining area for other essential equipment, such as solar panels or satellite dishes.
Moreover, smaller units are often lower-profile, reducing wind resistance and improving the overall aerodynamics of the RV. This design not only enhances the vehicle’s appearance but also contributes to better fuel efficiency during travel. By freeing up valuable roof space, RV owners can create a more versatile and efficient living environment that accommodates their lifestyle needs.

Energy Efficiency and Reduced Operational Costs
Energy efficiency is another compelling advantage of the smallest rooftop RV air conditioners. Many modern models are engineered with advanced technology, such as inverter compressors, which adjust cooling output based on the ambient temperature. This results in lower energy consumption, allowing RV owners to enjoy a comfortable climate without the worry of skyrocketing power bills.
Additionally, energy-efficient units often have higher SEER (Seasonal Energy Efficiency Ratio) ratings, indicating superior performance and lower operational costs. By investing in a compact, energy-efficient air conditioner, RV owners can significantly reduce their electricity expenses while minimizing their carbon footprint, making it a smart choice for environmentally conscious travelers.
Lightweight Design for Easy Installation and Transport
The lightweight design of the smallest rooftop RV air conditioners simplifies both installation and transport. Many of these units weigh considerably less than traditional models, making them easier to handle during installation. This feature is particularly beneficial for DIY enthusiasts who prefer to install their air conditioners without professional assistance.
Furthermore, the reduced weight contributes to overall vehicle efficiency. A lighter air conditioning unit means less strain on the RV’s structure and chassis, which can lead to improved handling and fuel economy. This advantage is especially important for RV owners who frequently travel long distances, as it can enhance the overall driving experience and reduce maintenance costs over time.

Key Features to Consider
When shopping for the smallest rooftop RV air conditioners, it’s essential to understand the key features that determine their performance and suitability for your RV. The following aspects should be carefully considered to ensure you make an informed decision.
Cooling Capacity and Performance Specifications
Cooling capacity, measured in BTUs (British Thermal Units), is a critical factor in selecting an RV air conditioner. For small rooftop units, the ideal BTU rating will vary depending on the size of the RV and the climate conditions where it will be used. Generally, a unit with a cooling capacity between 13,500 and 15,000 BTUs is suitable for most RVs.
Performance specifications should also include energy efficiency ratings, such as the EER (Energy Efficiency Ratio) and SEER (Seasonal Energy Efficiency Ratio). A higher SEER rating indicates better energy efficiency, which is crucial for reducing operational costs. When choosing a unit, it’s important to assess both the cooling capacity and energy efficiency to ensure that you are investing in a product that will keep your RV comfortable without excessive energy consumption.
Noise Levels and User Comfort
Noise levels are an important consideration when selecting an RV air conditioner. Many traditional models can be quite loud, leading to discomfort during use, particularly when trying to relax or sleep. The smallest rooftop RV air conditioners often incorporate noise-reducing technologies, such as insulated compressor compartments and multi-speed fans, which help minimize operational noise.
Look for models that provide noise level specifications, usually measured in decibels (dB). Units operating at 50 dB or lower are generally considered quiet and suitable for maintaining a peaceful environment inside the RV. User comfort is paramount; a quiet air conditioner ensures that you can enjoy your RV experience without the disruptive sounds typically associated with larger units.

Durability and Weather Resistance
Durability is a vital feature to consider, especially for rooftop units that are exposed to various weather conditions. The smallest rooftop RV air conditioners should be constructed from high-quality materials that can withstand the rigors of travel and outdoor environments. Look for units that feature UV-resistant casings, corrosion-resistant components, and robust sealing to prevent leaks.
Weather resistance is also crucial for maintaining performance and longevity. Units designed to handle extreme temperatures, humidity, and precipitation will ensure reliable operation regardless of the conditions. Many manufacturers provide warranties that reflect their confidence in the durability and weather resistance of their products, so be sure to review these details when making a selection.

Top Smallest Rooftop RV Air Conditioner Models
Selecting the right rooftop RV air conditioner can significantly enhance your travel experience, especially during hot weather. Below, we provide a detailed comparison of some of the top smallest rooftop RV air conditioner models available on the market, including their pros and cons to help you make an informed decision.
Detailed Comparison of Popular Models
-
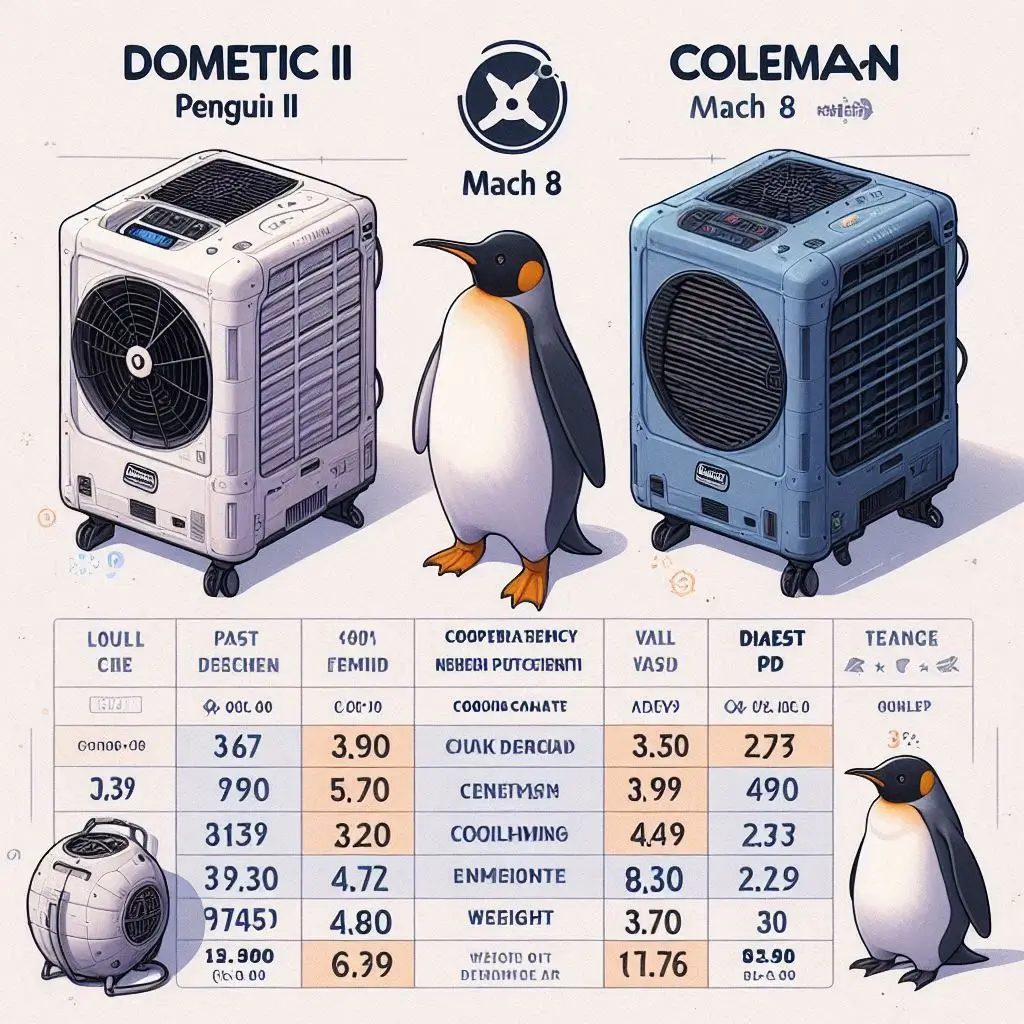
Dometic Penguin II 410W
- Cooling Capacity: 13,500 BTU
- Weight: 80 lbs
- Energy Efficiency Rating: EER 10.0
- Noise Level: 58 dB
The Dometic Penguin II is known for its efficient cooling performance and compact design. It features a low-profile shape that reduces wind resistance and enhances fuel efficiency.
-
Coleman Mach 8 9025B876
- Cooling Capacity: 9,200 BTU
- Weight: 73 lbs
- Energy Efficiency Rating: EER 12.0
- Noise Level: 52 dB
The Coleman Mach 8 is one of the lightest rooftop air conditioners available. Its slim profile and quiet operation make it ideal for small RVs and campers, while its efficient design maximizes cooling performance.
-
Advent Air 13,500 BTU
- Cooling Capacity: 13,500 BTU
- Weight: 78 lbs
- Energy Efficiency Rating: EER 11.0
- Noise Level: 60 dB
The Advent Air unit is designed for easy installation and provides reliable cooling. Its durable construction ensures it can withstand various weather conditions, making it a popular choice for many RV owners.
Pros and Cons of Each Model
Dometic Penguin II 410W
- Pros:
- Excellent cooling capacity and efficiency.
- Aerodynamic design reduces wind resistance.
- Reliable performance in extreme temperatures.
- Cons:
- Heavier than some competing models.
- Higher price point compared to others.
Coleman Mach 8 9025B876
- Pros:
- Lightweight and easy to install.
- Quiet operation, ideal for nighttime use.
- Good energy efficiency for small spaces.
- Cons:
- Lower cooling capacity may not be sufficient for larger RVs.
- Limited features compared to higher-end models.
Advent Air 13,500 BTU
- Pros:
- Strong cooling performance suitable for larger RVs.
- Durable construction with good weather resistance.
- Simple installation process.
- Cons:
- Slightly noisier than other compact models.
- May require additional components for optimal installation.

Installation Guide for Rooftop RV Air Conditioners
Installing a rooftop RV air conditioner can seem daunting, but with the right approach and tools, it can be a straightforward process. This guide will provide you with step-by-step installation instructions, as well as a list of necessary tools and materials to ensure a successful installation.
Step-by-Step Installation Instructions
-
Gather Your Materials
- Before you start, ensure you have all the necessary tools and materials on hand. This includes your chosen rooftop air conditioner, sealing materials, electrical wiring, and any mounting brackets required for installation.
-
Prepare the Installation Area
- Remove any existing air conditioning unit or debris from the roof of your RV. Ensure the roof surface is clean and dry to facilitate a proper seal for the new unit.
-
Mark the Mounting Location
- Use a tape measure to find the center of the roof and mark the mounting location for your new air conditioner. This area should ideally be between the rafters to ensure adequate support.
-
Cut the Roof Opening
- Using a reciprocating saw or jigsaw, carefully cut an opening in the roof based on the dimensions specified in the air conditioner’s installation manual. Be sure to wear safety goggles and a dust mask to protect yourself during this process.
-
Install the Mounting Brackets
- Place the mounting brackets (if applicable) according to the manufacturer’s instructions. Secure them in place using screws or bolts, ensuring they are level and properly aligned.
-
Connect the Electrical Wiring
- Run the electrical wiring from the air conditioner to the designated power source inside the RV. Follow the manufacturer’s wiring diagram for accurate connections. If you are not comfortable with electrical work, consider hiring a professional.
-
Set the Air Conditioner in Place
- Carefully lift the air conditioner onto the roof and position it over the cut-out opening. Align it with the mounting brackets and secure it according to the manufacturer’s instructions.
-
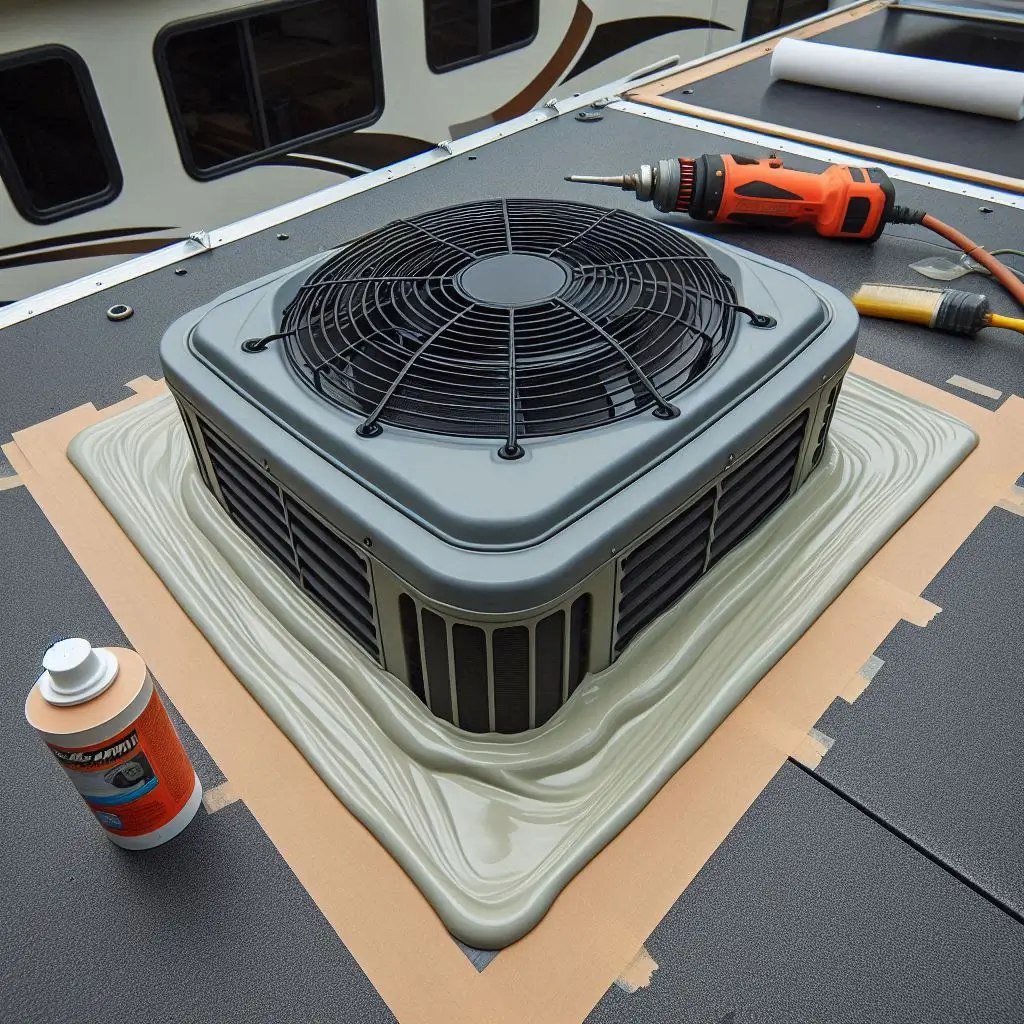
Seal the Edges
- Apply a high-quality RV roof sealant around the edges of the air conditioner to prevent leaks. Ensure that the sealant covers any gaps between the unit and the roof surface.
-
Test the Installation
- Once everything is securely in place and sealed, turn on the air conditioner to ensure it is functioning correctly. Check for any leaks or unusual noises.
-
Final Inspection
- Conduct a final inspection of the installation area to ensure everything is secure and properly sealed. Clean up any debris from the installation process.

Tools and Materials Needed for Installation
-
Tools:
- Reciprocating saw or jigsaw
- Screwdriver set (flathead and Phillips)
- Socket wrench set
- Tape measure
- Safety goggles and dust mask
- Utility knife
- Level
-
Materials:
- Rooftop air conditioner unit
- Mounting brackets (if required)
- Electrical wiring
- Sealing materials (RV roof sealant)
- Screws and bolts (if not included with the unit)
Maintenance Tips for Longevity
To ensure your rooftop RV air conditioner operates efficiently and lasts for many trips, it is essential to implement routine maintenance practices. Regular upkeep not only enhances performance but also helps prevent costly repairs down the line. Below are key maintenance tips and troubleshooting advice to keep your air conditioning system in peak condition.
Routine Maintenance Practices to Ensure Optimal Performance
-
Regular Cleaning of Air Filters
- Air filters are crucial for maintaining airflow and preventing dirt and debris from entering the unit. Clean or replace filters every month during heavy use, or at least every season. Use warm, soapy water to wash reusable filters, then allow them to dry completely before reinstalling.
-
Inspect and Clean the Coils
- The evaporator and condenser coils can accumulate dirt over time, which can hinder performance. Inspect the coils at least twice a year and gently clean them using a soft brush or a vacuum cleaner with a brush attachment. Ensure that the fins are not bent, as this can restrict airflow.
-
Check and Maintain Seals
- Inspect the seals around the air conditioner for any signs of wear or damage. Proper sealing is essential for preventing leaks and ensuring that the unit operates efficiently. If you notice gaps or cracks, apply a suitable sealant to create an airtight barrier.
-
Clear Debris from the Surrounding Area
- Keep the area around the rooftop unit clear of leaves, branches, and other debris. This will improve airflow and prevent blockages that can affect performance. Regularly check the roof for any foreign objects that may have landed near the air conditioner.
-
Monitor Refrigerant Levels
- Ensure that refrigerant levels are within the manufacturer’s specifications. Low refrigerant can lead to decreased efficiency and potential damage to the compressor. If you suspect a refrigerant leak, contact a professional technician to check and recharge the system.
-
Schedule Professional Inspections
- Consider having a professional technician inspect your air conditioning unit at least once a year. They can perform thorough maintenance, check for potential issues, and make necessary repairs, ensuring your system runs smoothly.

Troubleshooting Common Issues
-
Unit Not Cooling Properly
- Possible Causes: Dirty filters, low refrigerant levels, or blocked airflow.
- Solution: Check and clean filters, inspect for refrigerant leaks, and ensure the vents are not obstructed.
-
Unusual Noises During Operation
- Possible Causes: Loose components, debris in the fan, or worn-out bearings.
- Solution: Turn off the unit and inspect for loose screws or debris. If the issue persists, consult a professional technician.
-
Water Leaking from the Unit
- Possible Causes: Clogged drain lines or damaged seals.
- Solution: Clear any clogs in the drain line and inspect seals for damage. Replace seals as necessary.
-
Unit Cycling On and Off Frequently
- Possible Causes: Incorrect thermostat settings, dirty filters, or refrigerant issues.
- Solution: Adjust the thermostat to the appropriate setting, clean or replace filters, and check refrigerant levels.

FAQs: Smallest Rooftop RV Air Conditioners
1. What is the smallest rooftop RV air conditioner available on the market?
The smallest rooftop RV air conditioners typically range from 8,000 to 13,500 BTU in cooling capacity, with dimensions designed to fit compact RV roofs. Models like the Coleman Mach 8 and Dometic Brisk II are among the most compact options available, with a low profile that reduces wind resistance while providing efficient cooling.

2. How do I choose the right size air conditioner for my RV?
When choosing an air conditioner for your RV, consider the size of your vehicle and the cooling capacity required. The general rule of thumb is to have 20 BTUs per square foot of living space. Measure your RV’s interior and calculate the required BTUs based on this guideline. Additionally, consider factors such as insulation, ceiling height, and the typical climate conditions of your travel destinations.
3. How can I improve the efficiency of my rooftop RV air conditioner?
To enhance the efficiency of your rooftop RV air conditioner, follow these tips:
- Regular Maintenance: Clean or replace filters, inspect coils, and ensure seals are intact.
- Use Reflective Materials: Install reflective window shades or covers to reduce heat absorption inside the RV.
- Optimize Airflow: Ensure that vents are unobstructed and consider using ceiling fans to circulate air effectively.
- Choose the Right Location: When parked, position your RV in shaded areas whenever possible to reduce cooling demands.

4. Can I install a rooftop RV air conditioner myself?
Yes, installing a rooftop RV air conditioner can be a DIY project if you have basic mechanical skills and tools. Follow the manufacturer’s installation guide carefully and ensure you have all necessary materials. However, if you are not comfortable with electrical connections or cutting into the RV roof, it is advisable to hire a professional to avoid potential issues.
5. What common problems should I look out for with rooftop RV air conditioners?
Common problems with rooftop RV air conditioners include:
- Inadequate Cooling: Caused by dirty filters, low refrigerant levels, or blocked airflow.
- Unusual Noises: Often indicates loose components, debris in the fan, or worn-out bearings.
- Water Leaks: Typically due to clogged drain lines or damaged seals.
- Frequent Cycling: Can be a result of incorrect thermostat settings, dirty filters, or refrigerant issues.
Regular maintenance and timely troubleshooting can help prevent these issues and ensure optimal performance.

Conclusion
In conclusion, choosing the smallest rooftop RV air conditioner can significantly enhance your travel experience by providing efficient cooling while maintaining space efficiency. With various models available, understanding their advantages, key features, and proper installation and maintenance practices is essential for optimal performance and longevity. By prioritizing routine maintenance and addressing common issues, you can ensure your air conditioner operates smoothly, providing comfort during your adventures. Whether you’re a seasoned RV enthusiast or a first-time buyer, investing in a compact, reliable air conditioning unit will elevate your travels, allowing you to enjoy every journey in comfort. For more information or to explore our recommended models, feel free to reach out or browse our website.