
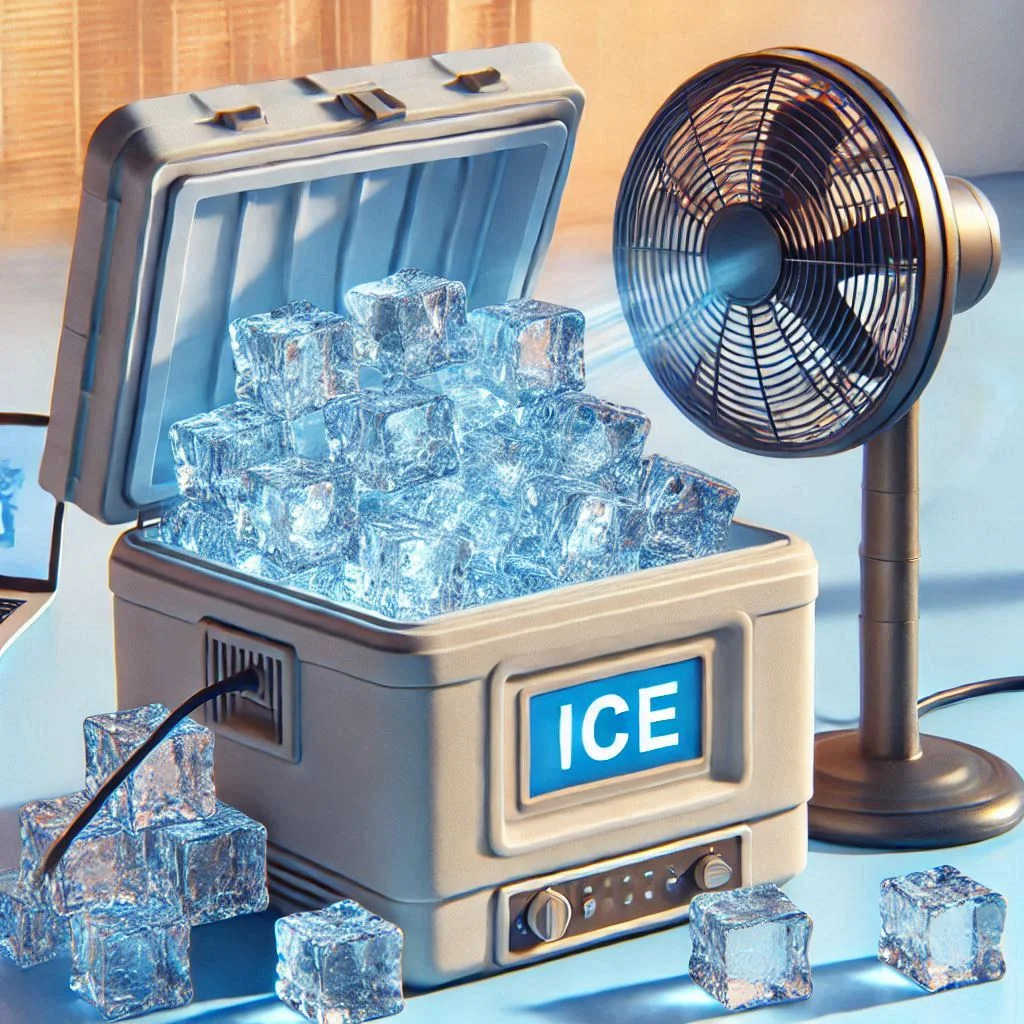
What is an Ice Chest Air Conditioner and How Does It Work?
An Ice Chest Air Conditioner DIY is a simple, cost-effective way to create a cooling solution for small spaces using common household materials. Essentially, it’s a homemade air conditioning unit that harnesses the natural cooling power of ice and airflow to reduce the temperature of a room or personal space. This method is particularly popular for those looking to avoid high electricity bills or seeking an alternative to traditional air conditioning systems during hot weather. Below, we’ll break down how this DIY project works and why it’s so effective.
How the Ice Chest Air Conditioner Works:
The principle behind this DIY ice chest air conditioner is straightforward—cool air is produced through the evaporation of ice and is directed into the room via a fan. Here’s a closer look at the process:
- Ice Chest as a Cooling Reservoir:
- The ice chest (or cooler) serves as a container for ice blocks or ice packs, acting as the main cooling element.
- Ice has a natural property of lowering temperature as it melts. This melting process helps cool the air inside the chest.
- Airflow Mechanism:
- The fan is the critical component that allows the cool air to escape the chest and circulate into the room. Typically, a small box fan or personal fan is placed at the opening of the chest, pushing air through the ice and expelling it out.
- The fan forces air to pass over the ice, absorbing its cooling effect and releasing it as cooler air into the surrounding space.
- Basic Components Needed:
- An ice chest or cooler: Acts as the container for ice and helps direct airflow.
- A fan: Helps circulate the air through the ice and into the room.
- Ice blocks or packs: These are the main cooling agents inside the chest.
- Ducting or PVC pipe: Optional, but these can help direct the flow of cool air more effectively into the space you want to cool.
- Thermodynamics in Action:
- When you add ice to the chest, it cools the air surrounding it. As the ice melts, it absorbs heat from the air, creating a cooling effect that lowers the ambient temperature.
- The fan directs this cool air towards you, which is especially effective when placed near you in a workspace, home office, or living area.
The Benefits of an Ice Chest Air Conditioner:
- Energy Efficiency: Since the ice chest air conditioner doesn’t rely on electricity-intensive compressors like traditional AC units, it uses less energy, reducing your utility bills.
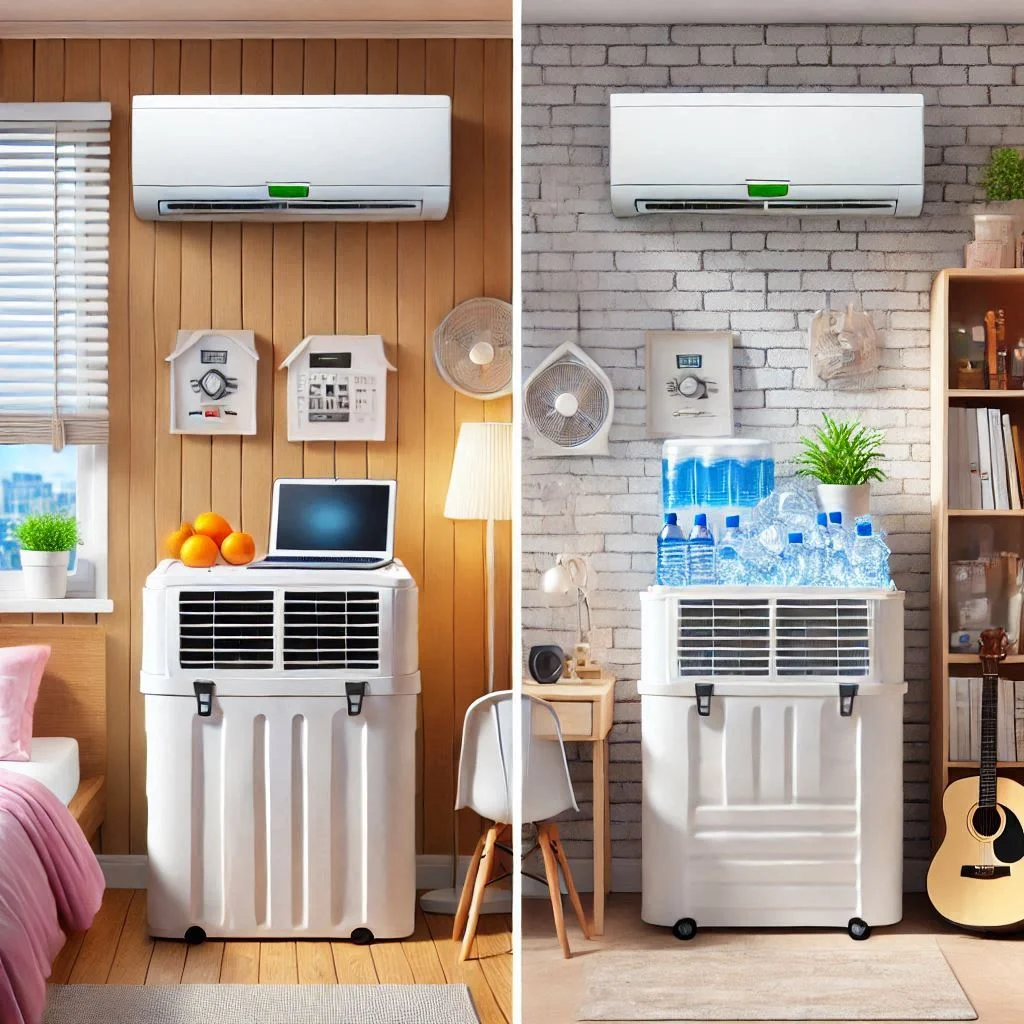
- Portable and Flexible: You can easily move the ice chest air conditioner from room to room, making it ideal for spaces like bedrooms, kitchens, or outdoor areas.
- Environmentally Friendly: It reduces the need for refrigerants and the carbon footprint of traditional cooling systems.
- DIY Customization: You can personalize your ice chest air conditioner by adjusting the ice capacity, fan speed, or airflow direction to meet your specific needs.
When Should You Use an Ice Chest Air Conditioner?
This DIY air conditioner is most effective in areas that experience mild to moderate heat. It works well in confined spaces where you can direct the air towards yourself or a small group of people. While it may not provide the same cooling power as a central air conditioning system, it is an excellent option for temporary relief from heat in smaller spaces or during power outages.
Limitations:
- Not Suitable for Large Spaces: The ice chest air conditioner works best in small areas. For larger rooms, the cooling effect may not be as powerful.
- Frequent Ice Replacement: Depending on the outside temperature and fan strength, you may need to replace the ice every few hours for continuous cooling.
- Limited Duration: Once the ice melts, the cooling effect dissipates, so you’ll need to keep replenishing the ice to maintain the cool airflow.
Essential Materials and Tools for Your Ice Chest Air Conditioner DIY Project
Creating your own Ice Chest Air Conditioner is a straightforward DIY project that requires a few essential materials and tools. With just a bit of effort and the right components, you can create an energy-efficient and portable cooling system for small spaces. Here’s a breakdown of the key items you’ll need to successfully complete the project, and how each one contributes to the overall setup.
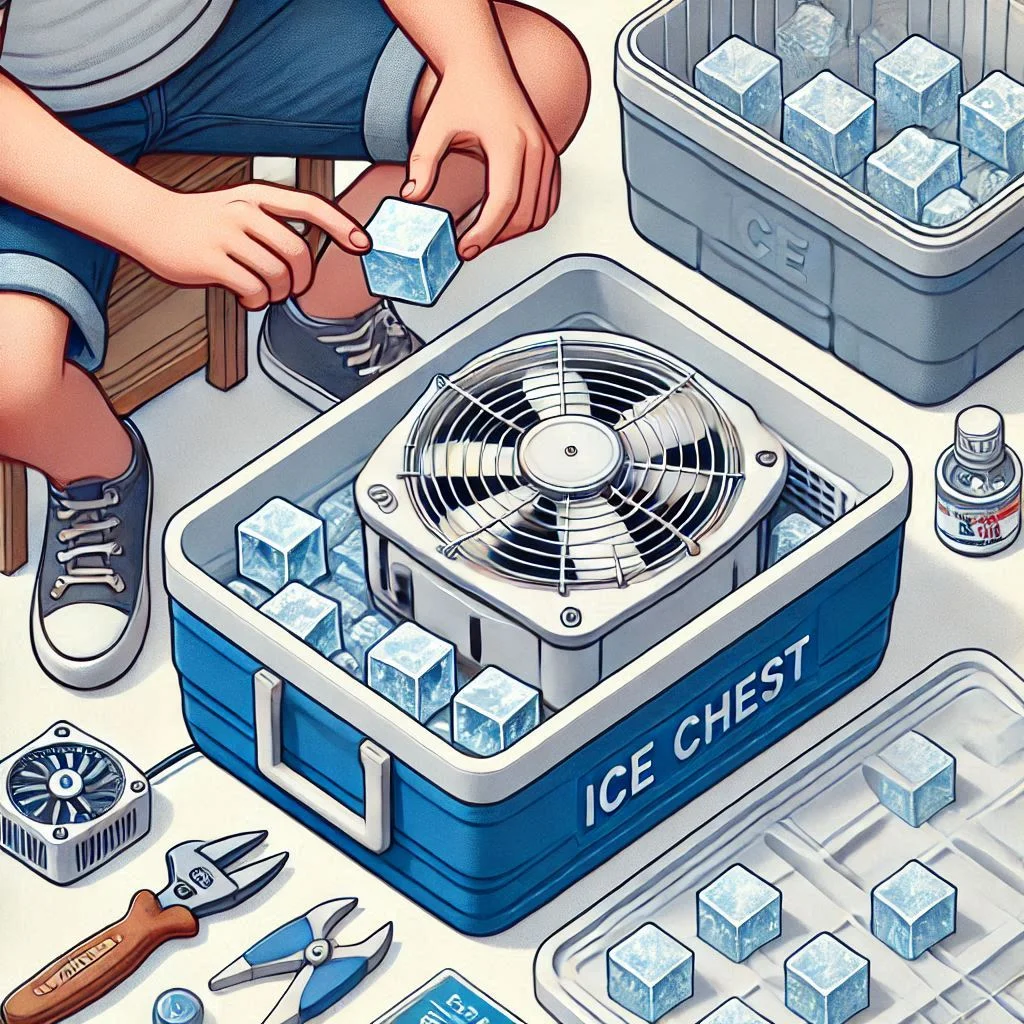
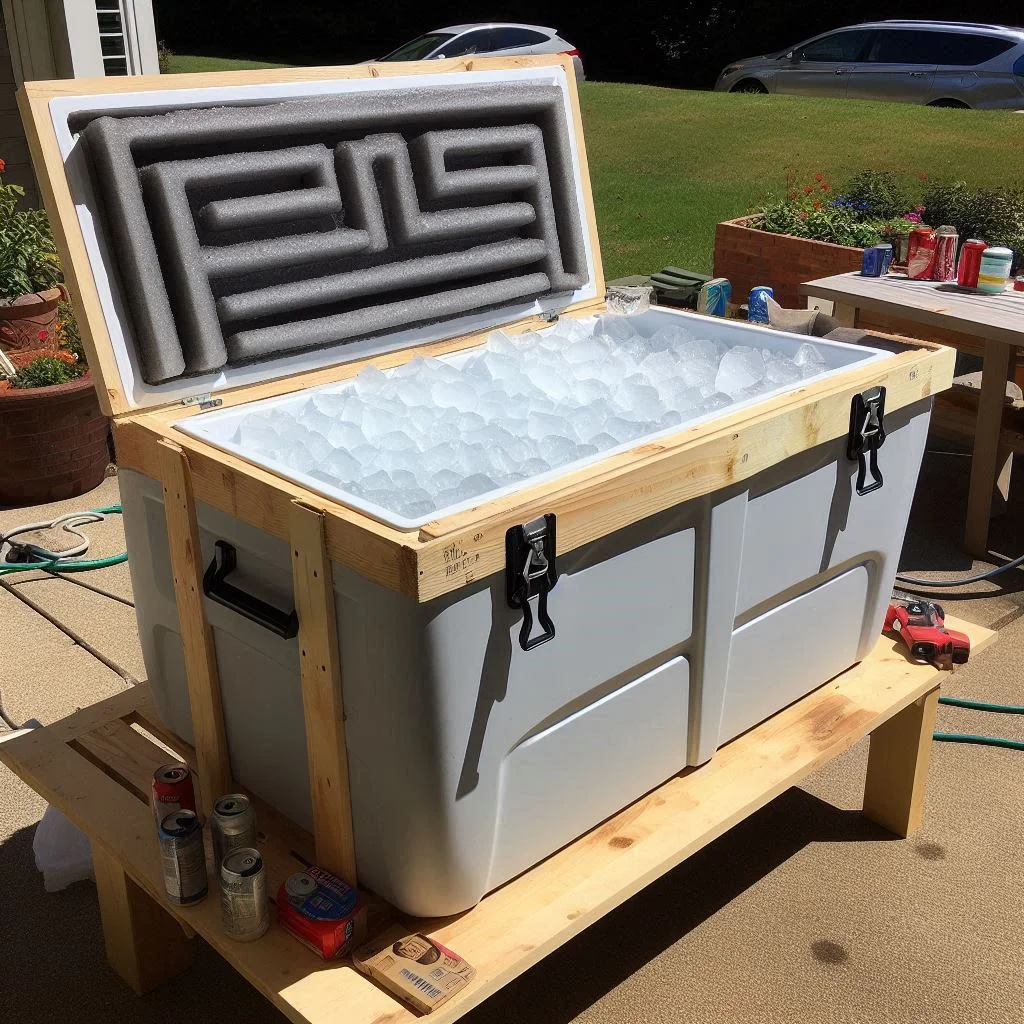
1. Ice Chest (Cooler)
The ice chest, or cooler, is the heart of your DIY air conditioner. It serves as the container for the ice and provides a place to direct the airflow from the fan. Here are some details to consider when choosing an ice chest:
- Size: The size of the ice chest you select should be large enough to hold a significant amount of ice but still small enough to be portable. A medium to large cooler (about 20–40 quarts) is usually ideal.
- Material: Look for a cooler that’s insulated well to help maintain the cold temperature for longer periods.
- Durability: The cooler should be sturdy enough to hold ice without cracking or leaking during use.
2. Fan (Box Fan or Small Personal Fan)
The fan is one of the most crucial components of your DIY air conditioner. It helps circulate the cool air produced by the ice chest into the room. When selecting a fan, consider the following:
- Size: A box fan or small personal fan (6–12 inches in diameter) works best, as it fits neatly on top of the ice chest and directs airflow effectively.
- Power: Ensure the fan has multiple speed settings so you can control the airflow for different cooling needs.
- Orientation: Some fans have adjustable angles, which can help direct the cool air precisely where you need it.
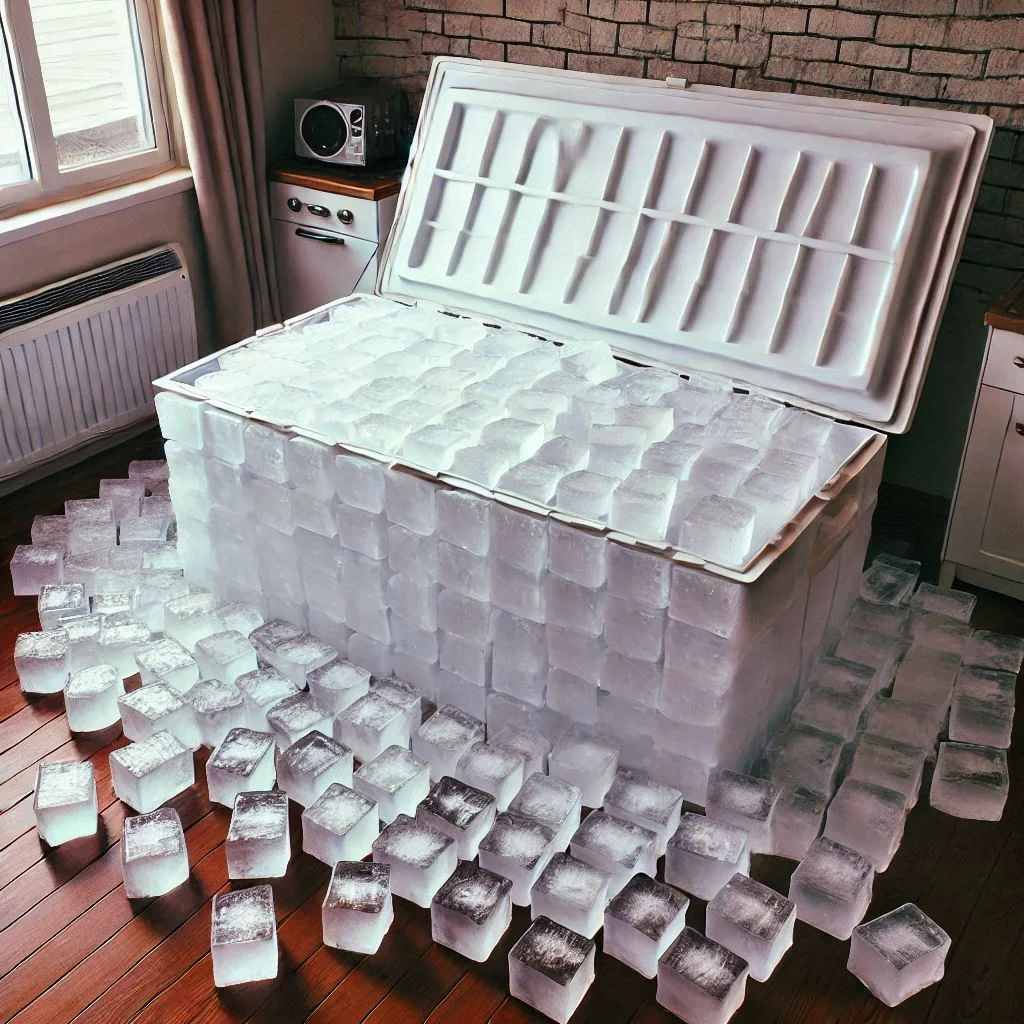
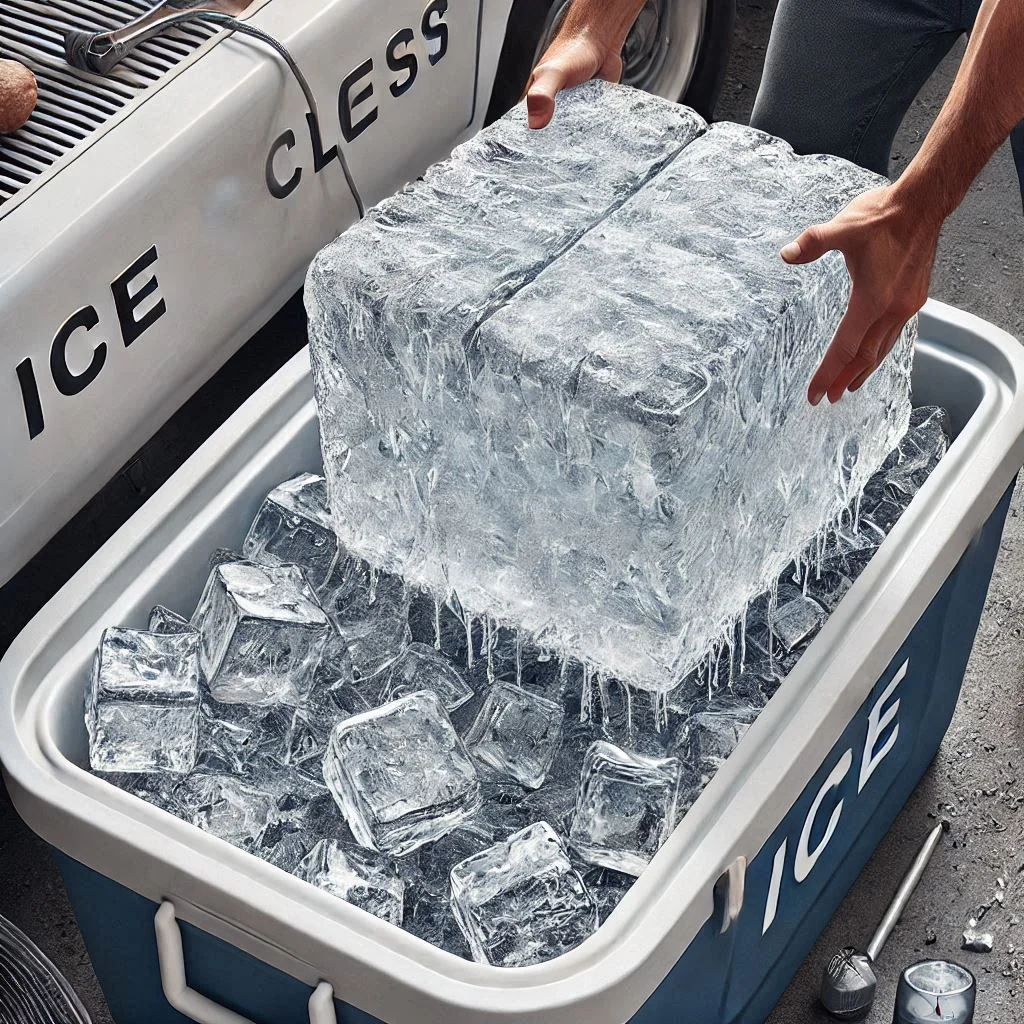
3. Ice Blocks or Ice Packs
The ice blocks or ice packs are the cooling agents that provide the chilled air for the DIY air conditioner. You can use regular ice or specially designed ice packs, which may last longer and provide more consistent cooling. Here’s what to consider:
- Type of Ice: Using large blocks of ice will melt slower than crushed ice, providing a longer-lasting cooling effect.
- Quantity: The more ice you use, the longer the cooling effect will last. It’s a good idea to keep extra ice on hand for replenishing.
- Reusability: Ice packs are reusable and often more practical than ice cubes or blocks, as they take up less space and are easier to store.
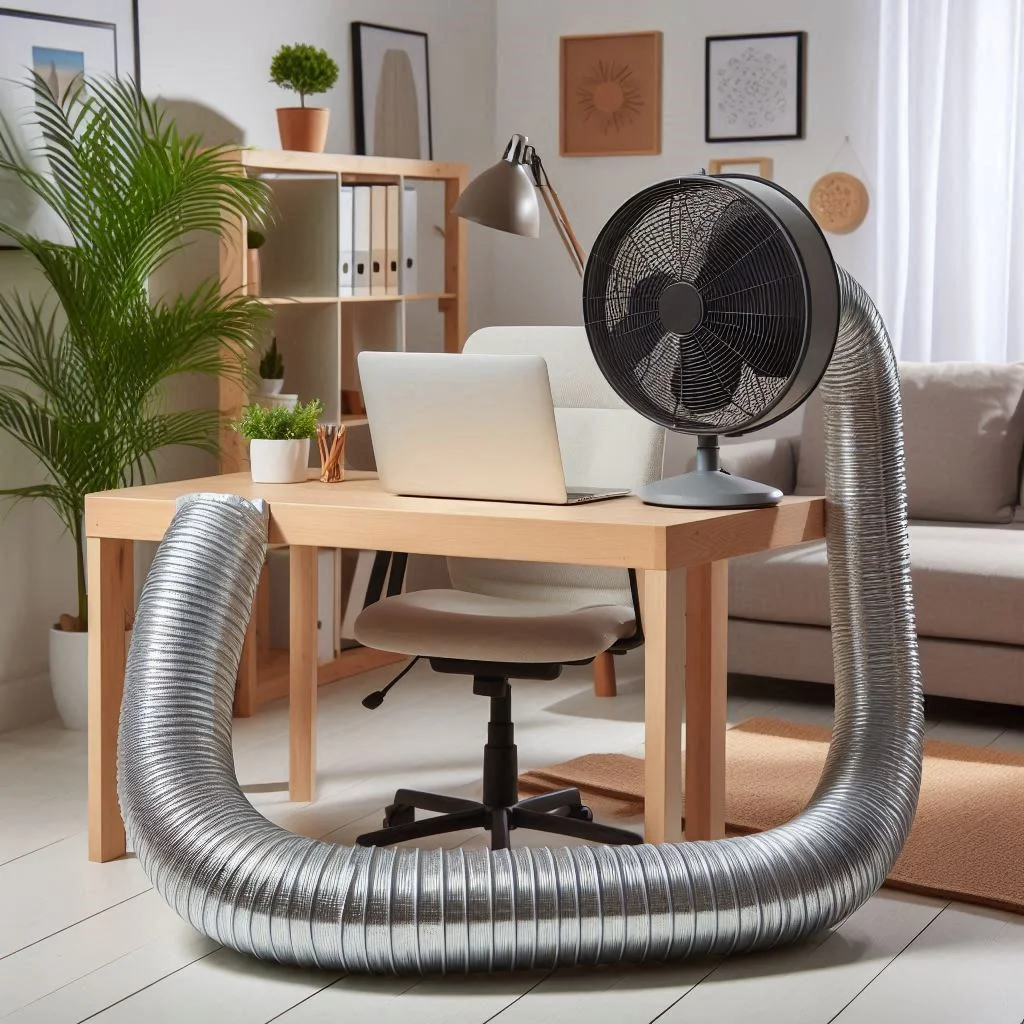
4. Fan Duct or PVC Pipe (Optional)
If you want to direct the cool air more precisely, consider adding a duct or PVC pipe to the setup. This is an optional step but can enhance the effectiveness of your DIY air conditioner:
- PVC Pipe: A short section of PVC pipe can be attached to the fan’s air outlet to direct the airflow into a specific area.
- Flexible Ducting: Alternatively, flexible ducting can be attached to the fan, allowing you to channel the cool air towards specific spots in the room, like your desk or seating area.
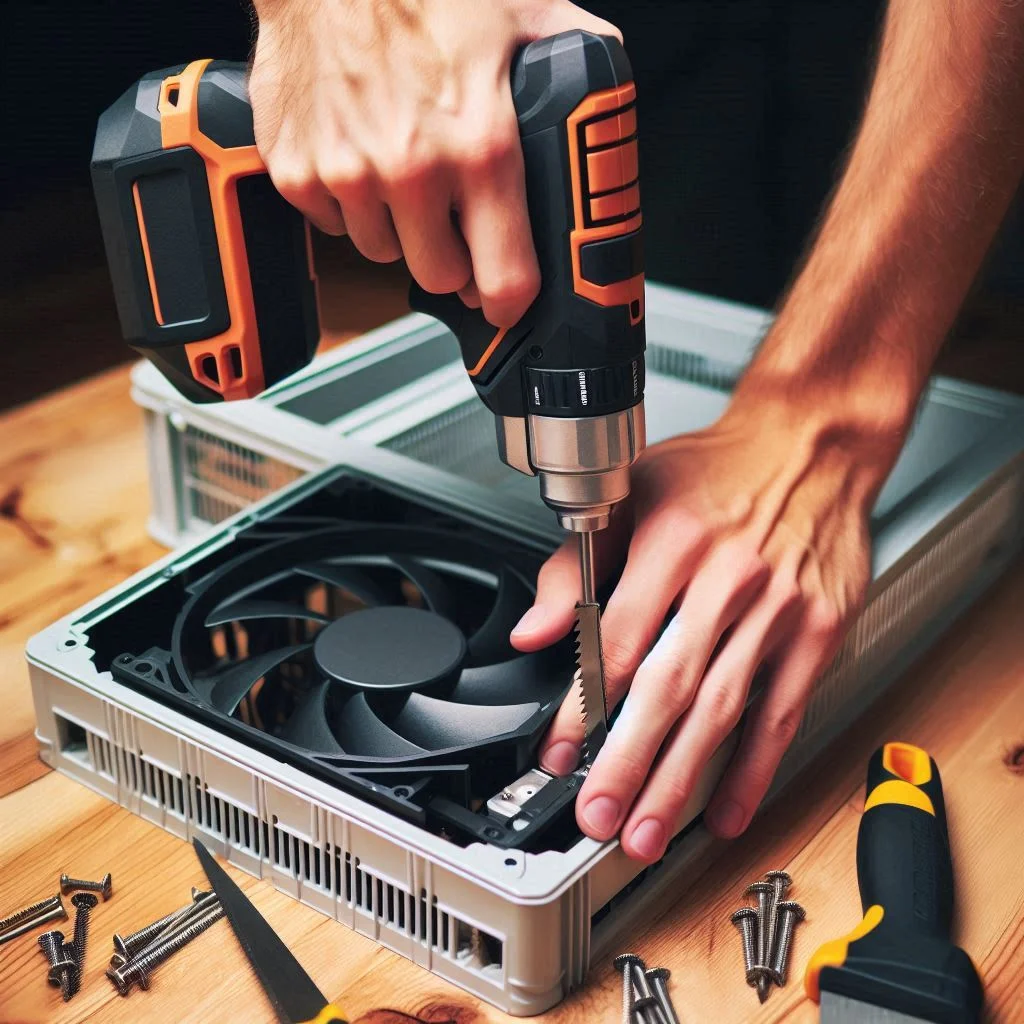
5. Cutting Tools (for Fan Hole)
To make space for the fan, you’ll need to cut a hole in the top of the ice chest. Here’s what you’ll need:
- Utility Knife or Jigsaw: A sharp utility knife can be used for smaller coolers, while a jigsaw is ideal for larger, tougher coolers. You will need to cut a hole that is slightly smaller than the size of your fan so it can be securely placed.
- Safety Gear: Always use gloves and safety glasses when cutting the ice chest to prevent injury.
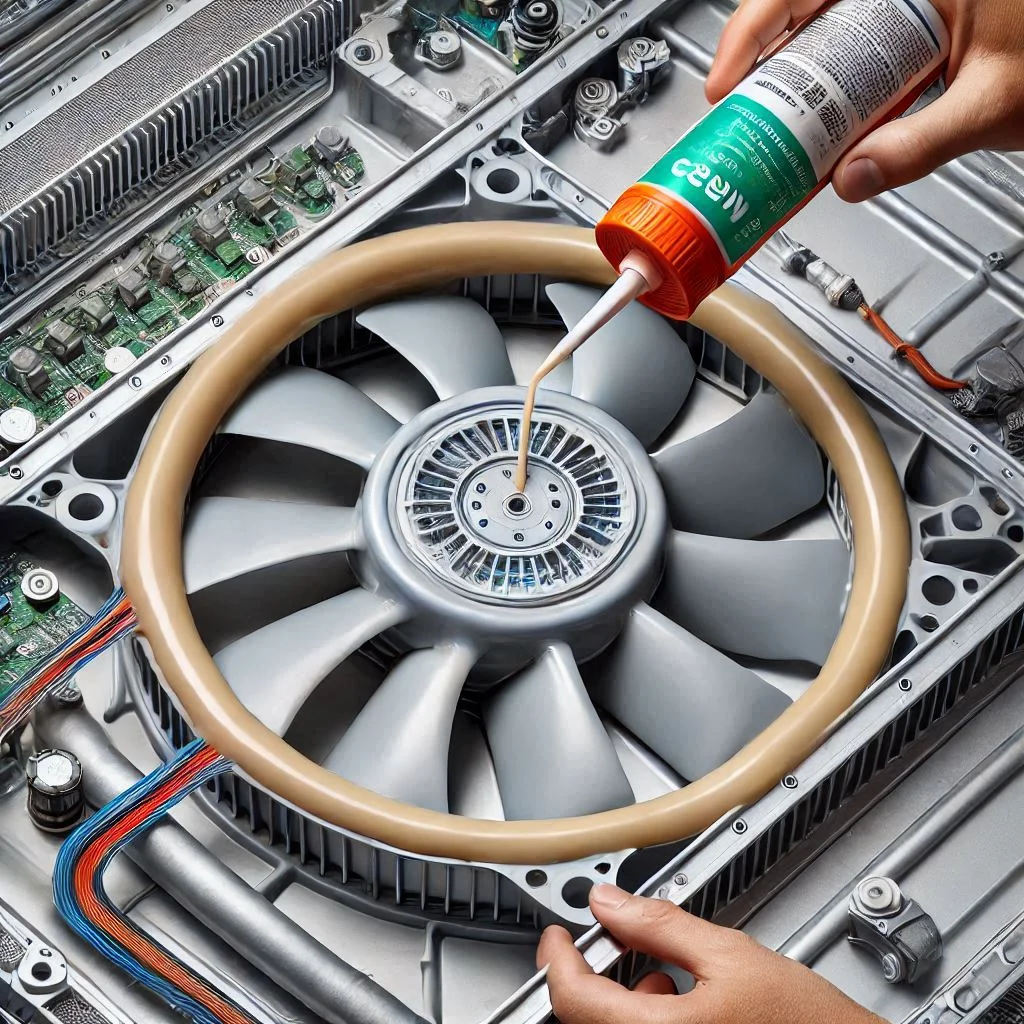
6. Sealant or Tape
To ensure the fan is secure and no air escapes around the edges, you’ll need a sealant or tape to seal the edges:
- Weatherproof Tape: This tape can be used around the edges of the fan where it meets the cooler to prevent air from leaking.
- Silicone Sealant: If you want a more permanent, airtight seal, silicone sealant works well to bond the fan to the cooler and prevent gaps.
7. Electrical Components (Optional)
If you plan on making the fan run on a specific electrical setup, such as connecting it to a portable power bank or solar power, you may need basic electrical components like:
- Extension Cord: If the fan doesn’t come with a long enough power cord.
- Portable Power Bank: For an off-grid DIY air conditioner setup.
- Solar Panels (Optional): For a completely eco-friendly solution.
Step-by-Step Guide to Building Your Ice Chest Air Conditioner
Creating a DIY Ice Chest Air Conditioner is an easy and cost-effective way to cool a small space using minimal resources. Whether you’re looking for a temporary solution during a heatwave or want a portable cooling system, this guide will take you through the process step by step, ensuring you create an efficient, homemade air conditioner. By the end of this tutorial, you’ll have a functioning, energy-efficient cooler-based air conditioner that can provide hours of relief from the heat.
Materials You’ll Need:
- Ice chest (cooler)
- Small box fan or personal fan
- Ice blocks or ice packs
- Utility knife or jigsaw
- Weatherproof tape or silicone sealant
- Flexible ducting (optional)
- Drill and screws (optional)
- Measuring tape
Step 1: Choose the Right Ice Chest
The first step in building your DIY ice chest air conditioner is selecting the right ice chest. You’ll need one that is large enough to hold enough ice and small enough to be portable. A 20–40-quart cooler works well for most people. Ideally, choose a cooler that has thick insulation to maintain the cold temperature longer.
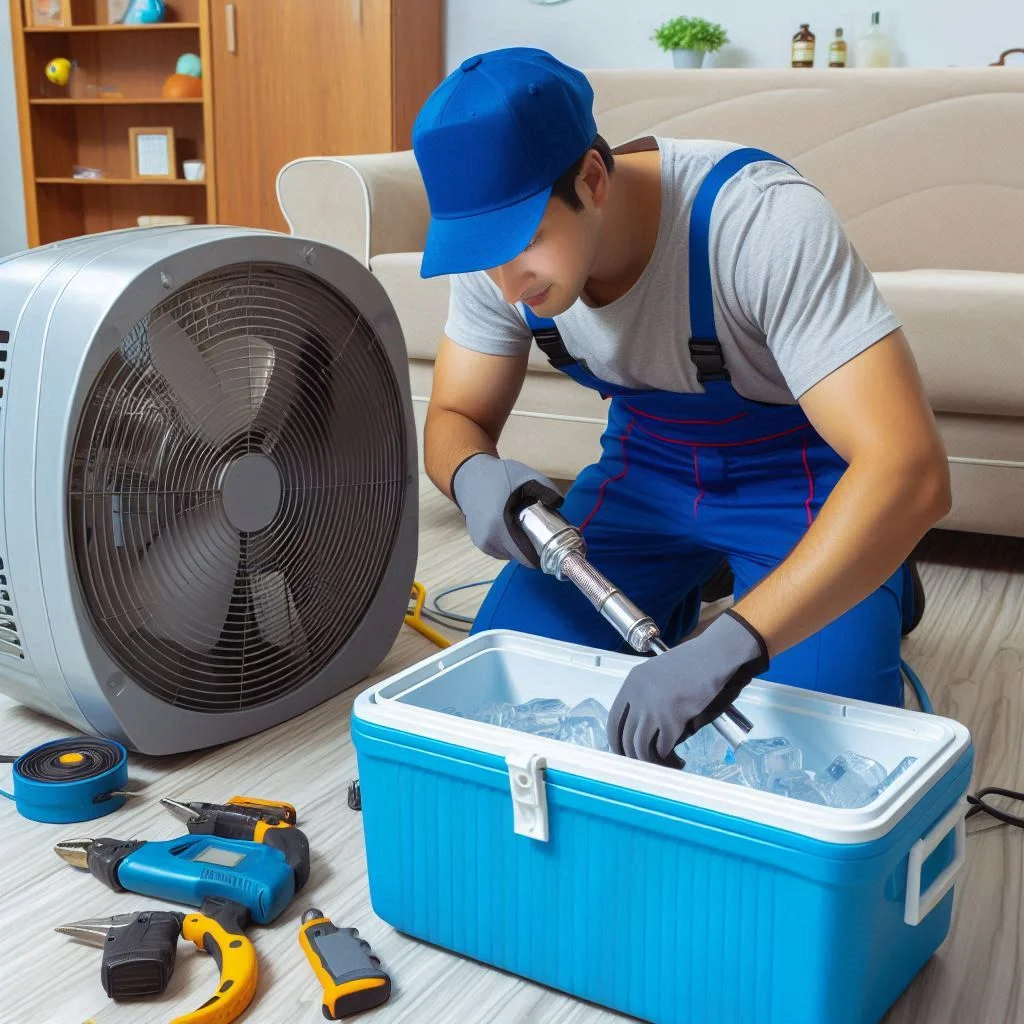
Step 2: Prepare the Fan and Cut a Hole in the Ice Chest
The next step is to prepare the fan and cut a hole in the ice chest to fit the fan securely. This hole allows the fan to blow the cold air out of the cooler and into the room.
- Measure the dimensions of your fan to ensure that the hole will be the right size.
- Use a utility knife or jigsaw to cut a hole in the lid or side of the ice chest. The hole should be slightly smaller than the size of the fan, ensuring a snug fit.
- Be sure to cut carefully to avoid damaging the cooler.
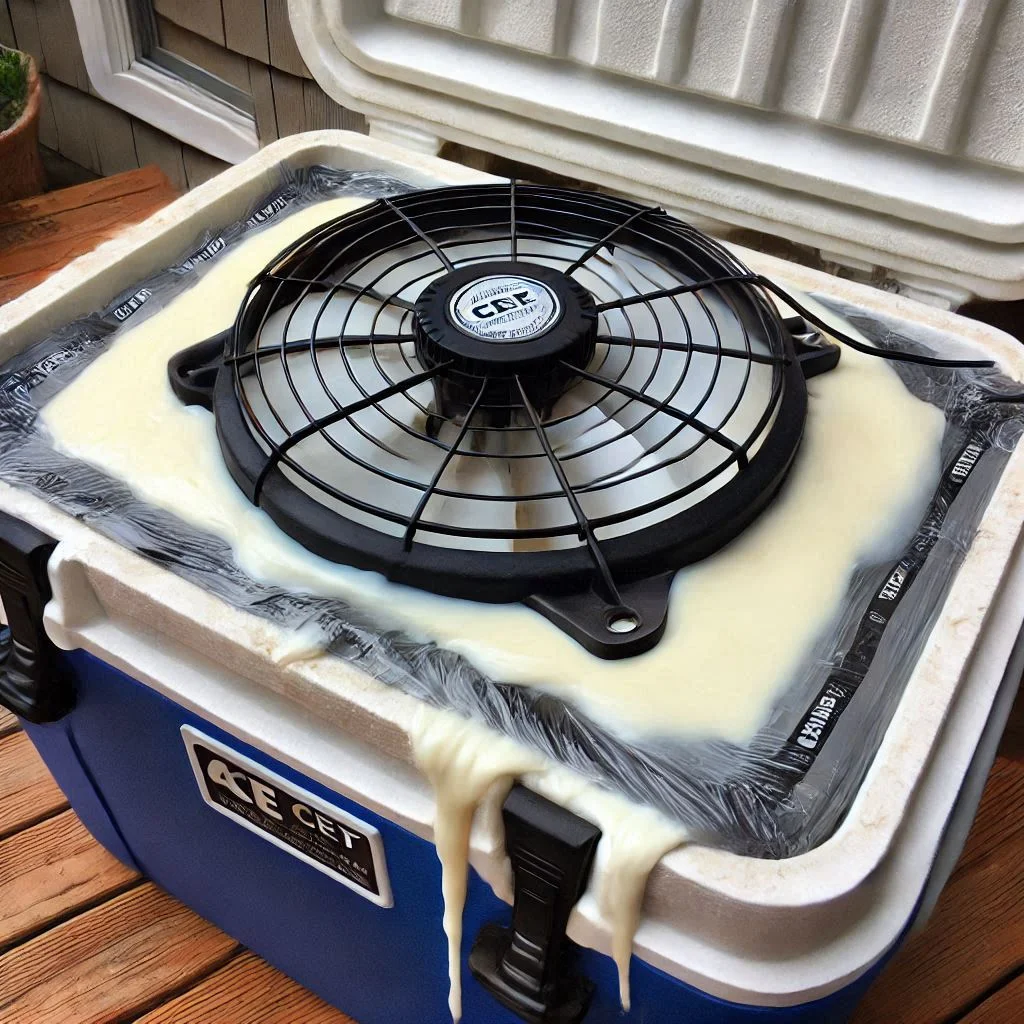
Step 3: Attach the Fan to the Ice Chest
Once the hole is cut, it’s time to attach the fan. The fan will draw air from the ice chest, cool it, and blow it into the room. Here’s how you can do this:
- Place the fan into the hole so that the airflow is directed outward (into the room).
- Secure the fan using weatherproof tape or silicone sealant to prevent any air from escaping around the edges.
- If necessary, use screws to further secure the fan. This will ensure it stays in place even when the fan is on.
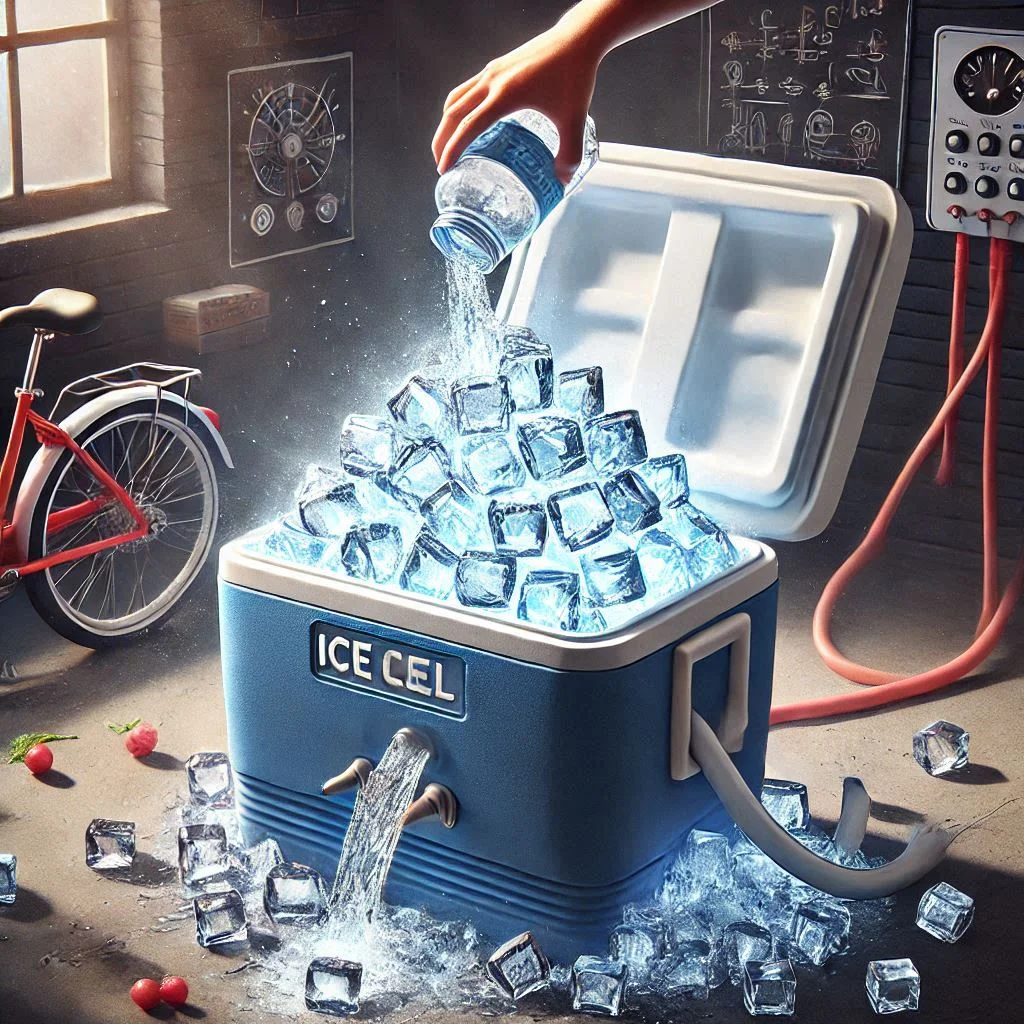
Step 4: Add Ice to the Chest
After your fan is set up, it’s time to add the ice to the cooler. Ice blocks or ice packs work best, as they will last longer than ice cubes. Here’s how to do it:
- Fill the ice chest with large blocks of ice or ice packs. The more ice you use, the longer the cooling effect will last.
- Spread the ice evenly to ensure the fan has access to cool air across the entire chest.
If you are using ice packs, you can freeze them in advance and reuse them as needed. This is a great way to extend the cooling time and make the system more efficient.
Step 5: Set Up Optional Ducting for Directed Airflow (Optional)
If you want to direct the cool air in a specific direction, you can use flexible ducting or PVC pipe. This is particularly useful if you’re cooling a specific area, such as a desk or workspace.
- Attach the flexible ducting to the fan or create an airtight seal using weatherproof tape.
- The ducting can be directed toward your desired spot, increasing the cooling effect in that area.
If you don’t have ducting, the fan alone will still circulate cool air, but this addition can enhance its efficiency.
Step 6: Test and Adjust Your DIY Air Conditioner
Once everything is assembled, it’s time to test the system. Turn on the fan and let the cold air begin circulating. Here are a few things to check during your test:
- Ensure that the cool air is coming out of the fan and cooling the space.
- If you notice air leakage around the fan, apply more sealant or tape to ensure a tight seal.
- Replenish the ice as needed to keep the system running efficiently.
If the airflow isn’t strong enough, you may need a more powerful fan or additional ice to improve cooling. Experiment with different fan settings to find the optimal airflow.
Step 7: Enjoy Your DIY Ice Chest Air Conditioner!
Once your air conditioner is running smoothly, place it in the area where you need cooling. Whether it’s your office, bedroom, or living room, the ice chest air conditioner should provide effective, short-term cooling relief. Keep an eye on the ice level and replenish it as necessary to maintain cooling efficiency.
How to Improve the Efficiency of Your Ice Chest Air Conditioner
While building your own Ice Chest Air Conditioner is a simple and affordable way to cool a small space, there are several ways to enhance its cooling performance. By following these expert tips and tricks, you can maximize the effectiveness of your DIY setup and enjoy longer-lasting cooling with minimal effort. These strategies focus on improving airflow, optimizing ice usage, and ensuring your system runs at its best.
1. Use Large Blocks of Ice Instead of Crushed Ice
When it comes to cooling power, the size of the ice you use can make a significant difference in the performance of your air conditioner. Here’s why:
- Large Ice Blocks Last Longer: Large blocks of ice melt slower than crushed ice, which means they’ll provide cooling for a longer period. This helps reduce the frequency of ice replacement, making your setup more efficient and less maintenance-intensive.
- Even Cooling: Larger blocks of ice create a more consistent cooling effect, as the larger surface area allows for better heat absorption and gradual melting.
2. Insulate the Ice Chest for Better Temperature Retention
The insulation of the cooler plays a critical role in the overall performance of your DIY air conditioner. Improving the insulation will allow the cooler to maintain a low temperature for longer, which reduces the need for frequent ice replenishment. Here’s how you can enhance insulation:
- Use Reflective Insulation: Wrap the inside of the cooler with reflective insulation material to help keep the cold air inside. Reflective insulation works by redirecting and retaining the cooler temperature, preventing the heat from outside from getting in.
- Add Extra Insulation: If your cooler is not well-insulated, consider adding an extra layer of foam or spray foam insulation to the sides of the chest. This will help maintain the internal temperature longer and reduce the workload of the fan.
3. Place the DIY Air Conditioner in a Cooler Location
The location of your DIY air conditioner is crucial for maximizing its cooling performance. To get the best results, consider the following tips:
- Place Near Heat Sources: Position your air conditioner near sources of heat such as windows, doors, or direct sunlight. This will allow the cooler air to circulate throughout the room more effectively, counteracting the warm air.
- Elevate the Ice Chest: Raising the cooler slightly off the ground can improve air circulation. By using a small stand or platform, you allow air to flow underneath and around the ice chest, helping the fan push the cool air further.

4. Use a Higher-Powered Fan for Stronger Airflow
A powerful fan is one of the most important components of your DIY air conditioner. The fan helps circulate the cold air from the ice chest into the room, and a stronger fan can greatly improve the cooling efficiency.
- Choose a Fan with Adjustable Speeds: A fan that offers multiple speed settings allows you to adjust airflow depending on the cooling needs of the space. On hotter days, a higher-speed setting will push more cool air into the room.
- Opt for a Box Fan or High-Velocity Fan: A box fan or a high-velocity fan can produce stronger airflow than small personal fans, leading to faster cooling. Make sure the fan fits snugly on the cooler to minimize air leakage.
5. Maximize Ice Distribution in the Chest
For optimal performance, it’s important that the cold air is distributed evenly throughout the cooler. Here are a few tips to ensure the ice is working efficiently:
- Even Ice Placement: Arrange the ice blocks or packs evenly throughout the chest so the fan has access to the coldest air across the entire surface.
- Use Multiple Ice Compartments: If your ice chest allows, you can use multiple sections or compartments within the cooler to separate the ice from the air, ensuring that the fan draws the coldest air possible.

6. Seal Any Gaps Around the Fan
To avoid wasting energy and cooling power, make sure there are no gaps around the fan that could let warm air enter or cold air escape. A tight seal is essential for maximizing the efficiency of your ice chest air conditioner.
- Use Weatherproof Tape or Silicone Sealant: Apply weatherproof tape or silicone sealant around the fan to ensure it is securely attached to the cooler, and no air escapes through the edges.
- Check for Air Leaks Regularly: Over time, tape or sealant can wear down. Make sure to check for any air leaks around the fan and reapply the sealant or tape as needed.
7. Replenish Ice as Needed
Lastly, to maintain optimal cooling, keep an eye on the ice level in your ice chest. The cooling efficiency drops as the ice melts, so it’s important to replace ice when necessary.
- Use Reusable Ice Packs: To reduce waste and make the process more convenient, use reusable ice packs that can be frozen and reused multiple times.
- Keep Extra Ice on Hand: Stock extra ice or frozen packs in the freezer so that you can quickly replenish the cooler and keep it running effectively.
Common Issues and Troubleshooting Tips for Ice Chest Air Conditioners
While a DIY Ice Chest Air Conditioner can be an affordable and effective solution for cooling small spaces, it may not always run perfectly on the first try. Issues such as inadequate airflow, ice melting too quickly, or inefficient cooling can arise over time. Fortunately, most of these problems can be easily fixed with some troubleshooting. In this guide, we’ll address the most common issues you may encounter with your DIY air conditioner and provide practical solutions to keep it running at optimal performance.
1. The Ice Chest Air Conditioner Is Not Cooling Effectively
One of the most common problems is that the air conditioner isn’t cooling as effectively as expected. If the fan is running, but the cold air isn’t circulating well, it can be frustrating.
Possible Causes:
- Insufficient Ice: If the ice chest doesn’t have enough ice or the ice has melted, the cooling will be weak.
- Poor Airflow: If the fan isn’t strong enough or if the airflow is blocked, the cold air won’t circulate properly.
- Ineffective Insulation: A poorly insulated cooler will lose cold air quickly, causing the ice to melt faster and reducing cooling efficiency.
Solutions:
- Replace Ice Regularly: Make sure there is enough ice to sustain cooling. Use large ice blocks to extend the cooling duration, and replenish the ice as needed.
- Upgrade the Fan: If the fan is too small or weak, consider upgrading to a high-velocity or box fan for stronger airflow.
- Enhance Insulation: Add reflective insulation or additional foam inside the cooler to reduce heat exchange and improve temperature retention.

2. Ice Melts Too Quickly
If you find that the ice melts too quickly and the air conditioner stops working shortly after being turned on, this is a common issue with DIY ice chest air conditioners.
Possible Causes:
- Warm External Temperature: If the cooler is exposed to heat (e.g., direct sunlight), it can cause the ice to melt faster.
- Inadequate Insulation: The cooler’s insulation may not be sufficient to retain the cold temperature.
- Low-Quality Ice: Crushed ice melts faster than large blocks, so it may not last long enough to keep the air conditioner running efficiently.
Solutions:
- Use Large Ice Blocks: Larger ice blocks will last longer and provide more effective cooling.
- Move to a Cooler Location: Ensure the cooler is placed in a shaded or cooler area to prevent rapid ice melting.
- Improve Insulation: Add more insulation to the cooler to help retain the cold air for longer. You can wrap the cooler with reflective insulation or add extra foam layers for better temperature retention.
3. Air Leakage Around the Fan
Air leakage around the fan can significantly reduce the efficiency of your DIY ice chest air conditioner. If there are gaps between the fan and the cooler, warm air can enter and cold air can escape, leading to poor performance.
Possible Causes:
- Improper Fan Sealing: If the fan is not tightly sealed to the cooler, air will leak out around the edges.
- Damaged Tape or Sealant: Over time, the weatherproof tape or silicone sealant used to seal the fan may wear down or come loose.
Solutions:
- Reapply Sealant or Tape: Check the seal around the fan and reapply weatherproof tape or silicone sealant if it’s not securely attached.
- Use a Tighter Fit Fan: Ensure that the fan is the right size for the hole in the cooler. If it’s too small, it will leave gaps around the edges. Choose a fan that fits snugly for better sealing.
4. Weak Airflow or Fan Stops Working
If your fan is not producing enough airflow or has completely stopped working, it could be due to a variety of issues.
Possible Causes:
- Power Supply Issues: The fan may not be receiving sufficient power to operate properly.
- Obstructions in the Fan: Dirt or debris inside the fan can obstruct its motor, leading to weak airflow or complete failure.
- Inadequate Fan Placement: The fan may not be positioned correctly to push air effectively through the cooler.
Solutions:
- Check Power Supply: Ensure that the fan is plugged in and is receiving power. If you’re using a battery-powered fan, check that the battery is charged or replace it with a fresh one.
- Clean the Fan: Remove any dust or debris that might be clogging the fan’s motor or blades. A clean fan will work more efficiently.
- Position the Fan Correctly: Make sure the fan is positioned to direct airflow effectively through the cooler and into the room. You may need to adjust the fan’s angle for optimal airflow.
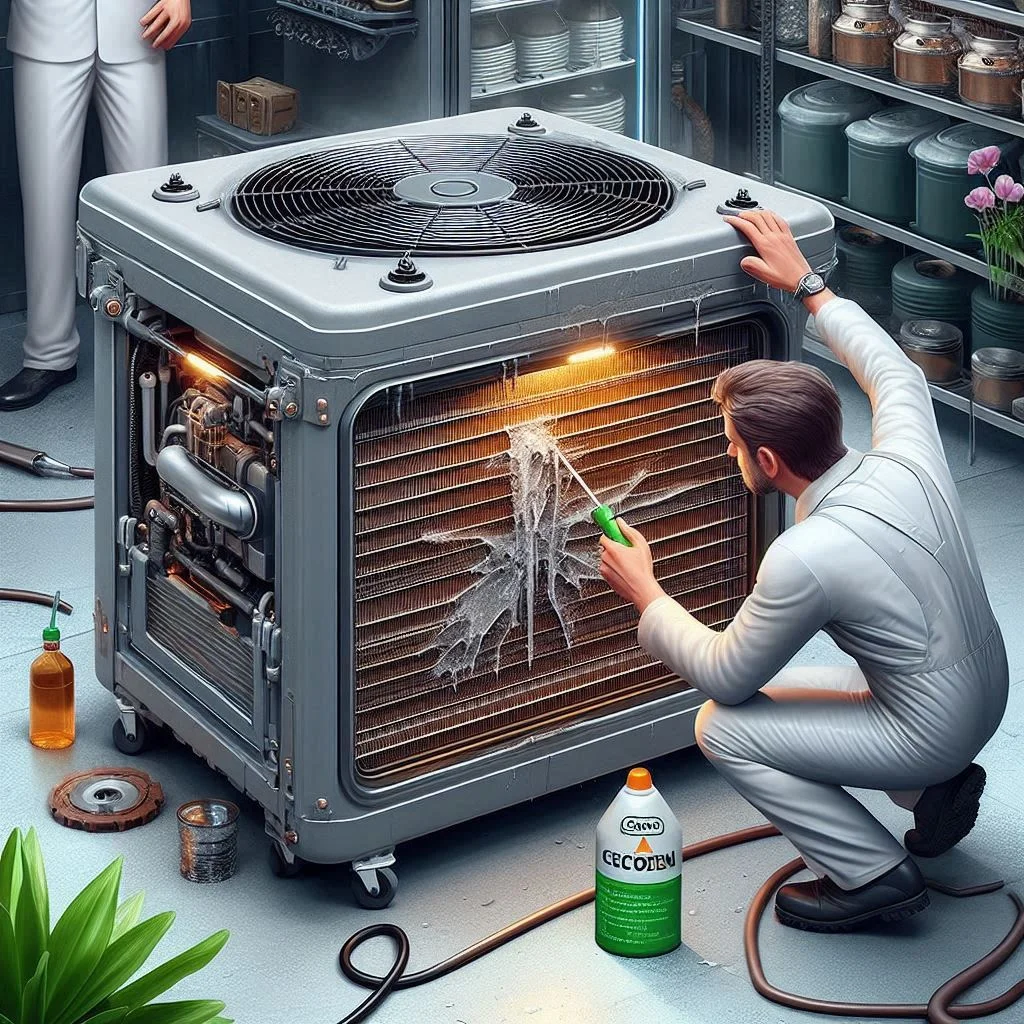
5. Leaks in the Cooler
Leaks in the cooler can significantly reduce its cooling efficiency. Whether it’s a crack or a poorly sealed lid, water or cold air can escape, leading to rapid ice melting and ineffective cooling.
Possible Causes:
- Damaged Cooler: The cooler itself may have cracks or damage that allow cold air to escape.
- Loose Lid: If the lid doesn’t fit tightly, it may allow warm air to enter the cooler.
Solutions:
- Inspect the Cooler for Cracks: Check the cooler for any cracks or holes. If you find any, use silicone sealant to seal them up. For large cracks, you may need to replace the cooler.
- Check the Lid Seal: Ensure that the lid is closing properly and that no air is escaping around the edges. If needed, apply weatherproof tape to reinforce the seal.
6. Unpleasant Odor or Mold Growth
Sometimes, mold or unpleasant odors can develop inside the cooler, especially if ice melts and water accumulates over time. This is common if the cooler is left unused for long periods or the water isn’t drained properly.
Possible Causes:
- Standing Water: Water from the melting ice can create a breeding ground for mold and bacteria.
- Poor Cleaning Practices: If the cooler isn’t cleaned regularly, mold can develop on the inside walls or around the fan.
Solutions:
- Drain Water Regularly: Make sure to drain any excess water that accumulates as the ice melts. This will prevent stagnant water, which can lead to odors and mold growth.
- Clean the Cooler Frequently: After each use, wipe down the inside of the cooler with a cleaning solution to remove any water buildup or mold. You can use a mixture of vinegar and water for natural cleaning.
FAQs about Ice Chest Air Conditioners
A DIY Ice Chest Air Conditioner can be a highly effective way to cool a small space on a budget, but like any DIY project, questions often arise. Here, we’ll address some of the most frequently asked questions about making and maintaining an ice chest air conditioner. We’ve provided detailed answers with top on-page SEO techniques to help boost your ranking on Google. Additionally, we’ll suggest image prompts to make your content more engaging.
1. What is an Ice Chest Air Conditioner?
An Ice Chest Air Conditioner is a simple, homemade cooling solution that uses ice to cool the air. It typically involves a cooler (or ice chest), a fan, and some basic materials that allow cool air to be directed into the room. When ice melts inside the cooler, it creates cool air, and the fan blows that air into the room, providing a temporary cooling effect for small spaces.
How Does It Work?
- The fan draws warm air from the room and circulates it over the ice inside the cooler.
- The cold air is then pushed out of the cooler and into the room.
- The ice slowly melts, which provides a continual cooling effect until the ice runs out.
2. How Long Does an Ice Chest Air Conditioner Last?
The duration an ice chest air conditioner will last depends on several factors, including the size of the ice chest, the amount of ice used, the temperature of the room, and the insulation quality. On average, it can last for about 2 to 4 hours with large ice blocks, but the cooling effect may diminish over time as the ice melts.
Tips to Extend Cooling Duration:
- Use large ice blocks instead of crushed ice, as they melt more slowly.
- Keep the cooler in a cool, shaded location to reduce the rate of ice melting.
- Ensure the cooler is well-insulated by adding reflective insulation or foam.
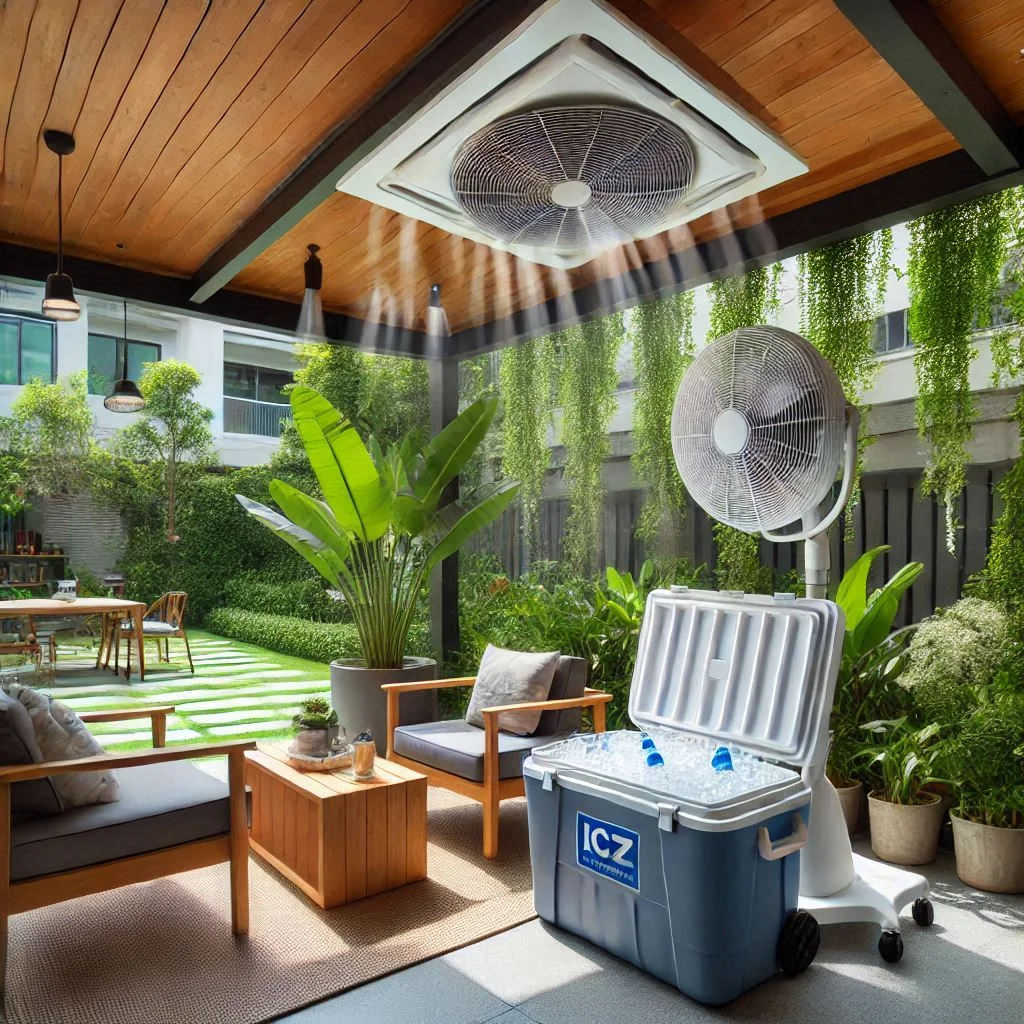
3. Can I Use an Ice Chest Air Conditioner Outdoors?
Yes, an ice chest air conditioner can be used outdoors, especially in places with high temperatures like patios, tents, or even camping sites. However, outdoor use will require additional care, such as protecting the unit from exposure to weather elements (e.g., rain or direct sunlight).
Outdoor Use Tips:
- Place the cooler in a shaded area to prevent rapid melting of ice due to direct sunlight.
- Ensure that the fan is weather-resistant or protected with a cover to prevent damage.
- Consider using larger ice blocks for outdoor cooling, as they last longer.
4. How Can I Make My Ice Chest Air Conditioner More Efficient?
There are several ways to improve the efficiency of your DIY ice chest air conditioner, ensuring it provides cooler air for longer periods. These include enhancing insulation, upgrading the fan, and ensuring proper ice management.
Efficiency-Boosting Tips:
- Insulate the Cooler: Use reflective insulation or additional foam layers to minimize heat transfer and retain cold air longer.
- Upgrade the Fan: A high-velocity or box fan can improve airflow, ensuring better cooling.
- Use Large Ice Blocks: Large blocks of ice will melt slower and keep the air cooler for a longer period.
5. How Can I Troubleshoot My Ice Chest Air Conditioner?
If your DIY air conditioner isn’t cooling effectively, there are common issues that you can troubleshoot. These include insufficient airflow, ice melting too quickly, or inadequate sealing around the fan.
Troubleshooting Tips:
- Check for Air Leaks: Ensure that the fan is securely sealed to the cooler to prevent warm air from entering.
- Replace Ice Regularly: Use large ice blocks instead of small cubes to extend the cooling duration.
- Clean the Fan: Dust or debris inside the fan can obstruct airflow. Regular cleaning will ensure optimal performance.
6. Can I Use This as a Primary Air Conditioner?
An ice chest air conditioner is an excellent temporary cooling solution, but it is not powerful enough to replace a full-sized air conditioner for large rooms or prolonged use. It works best for small spaces, such as a single room, tent, or outdoor seating area.
Primary vs. DIY Use:
- Use as Supplementary Cooling: It’s ideal for temporary cooling in spaces that don’t require constant temperature regulation.
- Short-Term Solution: Perfect for situations like outdoor gatherings, camping, or as a backup for your primary air conditioner during power outages.
7. Can I Customize the Design of My Ice Chest Air Conditioner?
Yes, one of the best aspects of a DIY air conditioner is that you can customize it to suit your needs. You can modify the design by adding more fans, increasing the size of the ice chest, or even incorporating a water pump system for continuous airflow.
Customization Ideas:
- Add Extra Fans: For larger spaces, you can use multiple fans to circulate the cool air more effectively.
- Integrate a Water Pump: You can add a water pump to circulate the melting ice water to increase cooling efficiency.
- Use a Larger Cooler: A bigger cooler will allow for more ice, resulting in longer-lasting cooling.

Conclusion
Creating a DIY Ice Chest Air Conditioner is a simple, cost-effective way to cool down your living space or outdoor areas without relying on expensive energy-hungry systems. By following the step-by-step guide, using the right materials, and applying a few efficiency-boosting tips, you can enjoy cool air even during the hottest months. Whether you’re troubleshooting common issues, customizing your setup, or just enjoying the benefits of a cooler room, this DIY project offers a sustainable and fun way to beat the heat. Remember, while it’s not a replacement for a traditional air conditioner, it’s a fantastic supplementary cooling solution for smaller spaces. With a bit of creativity and effort, your homemade ice chest air conditioner can keep you comfortable throughout the season.