
Understanding Your RV Air Conditioner: Key Components
To maintain and service your RV air conditioner, it’s important to understand its essential components and how they work together to provide efficient cooling. Let’s explore what makes up an RV air conditioner and what you can expect to find when you look beneath the hood of your RV AC.
Essential Components of an RV Air Conditioner
- Evaporator Coil
The evaporator coil is one of the most important parts of your RV air conditioner. It’s responsible for absorbing the heat from the air inside your RV and turning it into cool air. When servicing your RV AC, it’s crucial to clean the evaporator coil to prevent dirt and debris from obstructing airflow and reducing cooling efficiency. - Condenser Coil
The condenser coil expels the heat absorbed by the evaporator coil to the outside of the RV. This component is located in the exterior unit of the RV AC. Over time, the condenser coil can accumulate dirt, which may cause the system to overheat and lead to failure. Regularly cleaning this coil ensures efficient heat transfer and keeps your air conditioner functioning properly. - Compressor
The compressor is the heart of your RV air conditioner, responsible for circulating the refrigerant through the system. It works by compressing the refrigerant gas and pushing it into the condenser coil. Maintaining the compressor involves checking for leaks and ensuring the refrigerant levels are optimal. A malfunctioning compressor can lead to poor cooling and high energy consumption. - Blower Fan
The blower fan pushes air over the evaporator coil and circulates cool air throughout your RV. If this fan becomes clogged with dust or debris, the air conditioner will struggle to cool your RV efficiently. Regular cleaning of the blower fan is essential to ensure optimal airflow. - Thermostat
The thermostat allows you to control the temperature within your RV by regulating the air conditioner’s operation. Checking and recalibrating the thermostat can prevent issues like inconsistent cooling or the AC not turning on/off properly. - Refrigerant
Refrigerant is the substance that absorbs and releases heat in the cooling process. Over time, refrigerant levels can drop, leading to ineffective cooling. During service, it’s essential to check refrigerant levels and refill or recharge them as needed.
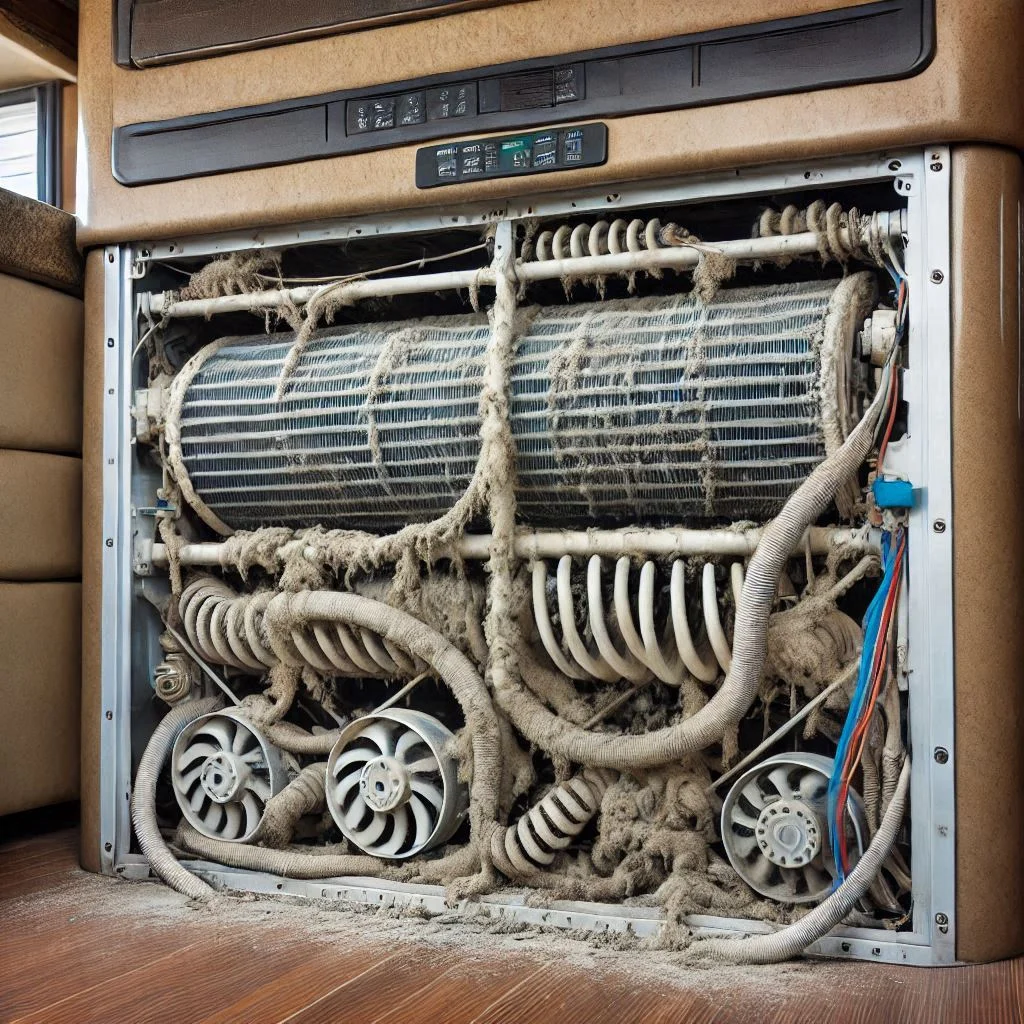
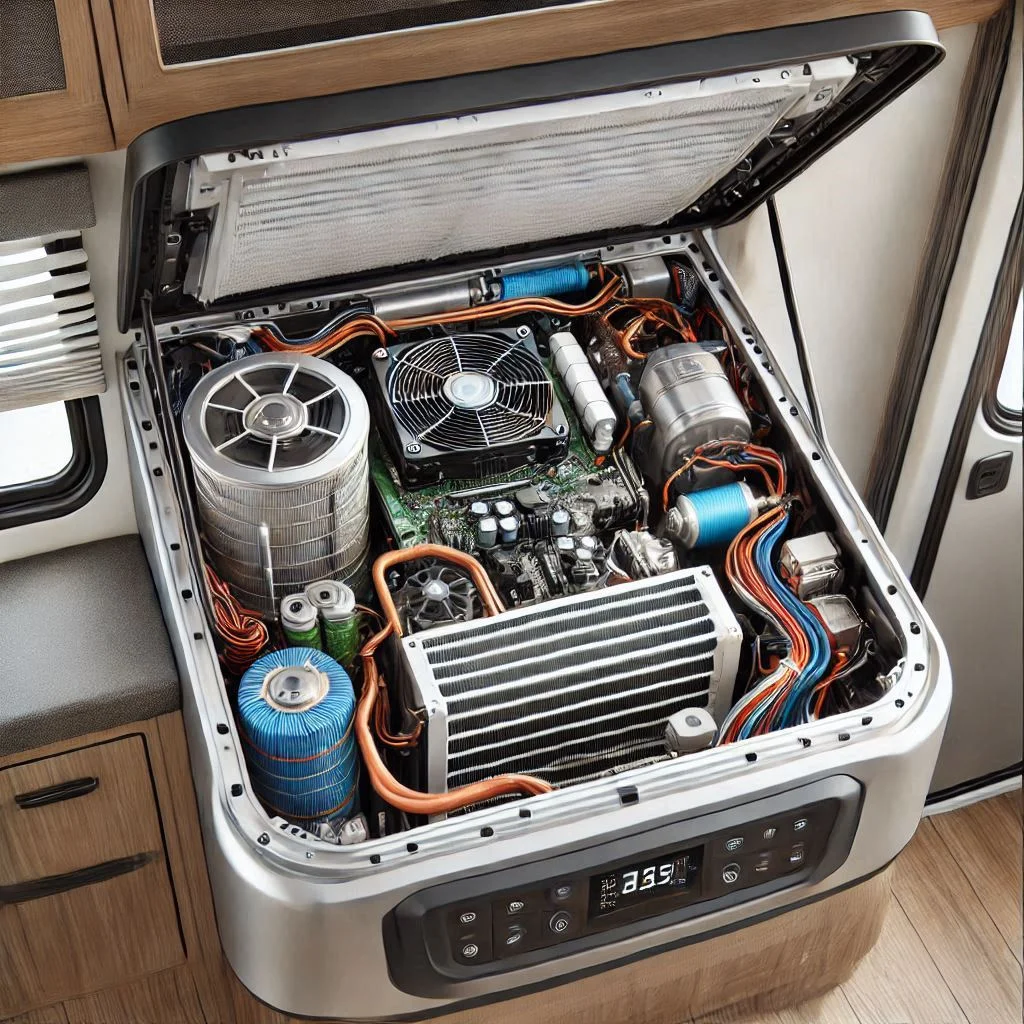
What to Expect Beneath the Hood of Your RV Air Conditioner
When you pop the hood of your RV air conditioner, you’ll find a system of interconnected components that work together to cool your RV. Beneath the hood, you’ll usually see the evaporator coil, condenser coil, blower fan, and compressor. These parts are housed in a protective casing to ensure they stay secure and free from external damage.
In addition to the major components, you may also notice wiring, insulation, and other smaller parts that contribute to the efficient functioning of the air conditioner. Regular inspection and cleaning of these components will help you avoid costly repairs and ensure long-lasting comfort inside your RV.
Step-by-Step Guide to Cleaning and Maintaining Your RV Air Conditioner
Maintaining your RV air conditioner is key to ensuring that it runs efficiently, especially when you’re on the road and need reliable cooling. Here’s a step-by-step guide to cleaning and maintaining your RV AC, which will help increase its longevity and improve its cooling performance.
Cleaning and Maintenance Tasks to Keep Your RV AC Running Smoothly
- Turn Off the Power
Before you start any cleaning or maintenance tasks, it’s essential to turn off the power to your RV air conditioner. Unplug the AC from the power source or turn off the circuit breaker to prevent electrical hazards. - Clean the Air Filter
The air filter is the first line of defense against dirt and debris entering your air conditioner. Over time, the filter collects dust, pet hair, and other particles that can clog the system, reducing airflow and efficiency.
How to Clean It:- Remove the filter from the air conditioner.
- Wash it with warm soapy water.
- Allow the filter to dry completely before reinserting it. Tip: Consider replacing the filter annually if it’s worn out.
- Clean the Evaporator and Condenser Coils
Dirt and grime can build up on both the evaporator and condenser coils, reducing their ability to absorb and expel heat efficiently. Regular cleaning ensures your air conditioner cools efficiently. How to Clean It:- Use a soft brush or a vacuum cleaner to remove debris from the coils.
- If the coils are especially dirty, use coil cleaner and a gentle brush to remove dirt.
Tip: Be cautious not to bend the fins on the coils, as this can cause permanent damage.
- Check the Blower Fan
The blower fan is responsible for circulating air throughout your RV. Over time, dust and debris can accumulate on the blades, reducing airflow and making the unit work harder.
How to Clean It:- Use a soft cloth to wipe down the blower fan blades.
- If necessary, gently vacuum any debris around the fan and motor.
- Inspect the Drain Line
The RV air conditioner has a drain line that helps remove excess moisture. A clogged drain line can lead to water buildup, causing leaks and potentially damaging the unit.
How to Maintain It:- Use a wet/dry vacuum to remove any blockages from the drain line.
- Ensure the drain line is clear of any obstructions.
- Check Refrigerant Levels
Low refrigerant levels can cause the air conditioner to lose its cooling ability. While it’s best to have a professional handle refrigerant recharging, you can visually inspect the refrigerant lines for any visible leaks.
Tip: If you notice a drop in cooling efficiency, it may be time to check refrigerant levels. - Inspect the Insulation
Insulation helps maintain the temperature inside the RV by preventing heat from entering or escaping. Ensure that the insulation around the air conditioner is intact and free of damage.
How to Inspect It:- Check the seals around the air conditioner’s edges to make sure they’re not cracked or worn.
- Replace any damaged seals to prevent air leaks.

Seasonal Maintenance Checklist for RV AC
Seasonal maintenance is essential to ensure that your RV air conditioner stays in top shape throughout the year. Here’s a checklist to follow for both pre-season and off-season care.
Pre-Season Maintenance
- Check the AC’s operation: Before you hit the road, make sure your RV air conditioner is working properly by running it for a while and checking its cooling performance.
- Replace the air filter: If it’s been a while since the filter was last replaced, ensure that you swap it for a fresh one before using the air conditioner for the season.
- Inspect and clean the exterior unit: Dust and dirt accumulate over time, so give the exterior unit a good cleaning to ensure efficient airflow.
- Check the refrigerant levels: If the refrigerant is low, have a professional top it off to avoid inefficient cooling.
Off-Season Maintenance
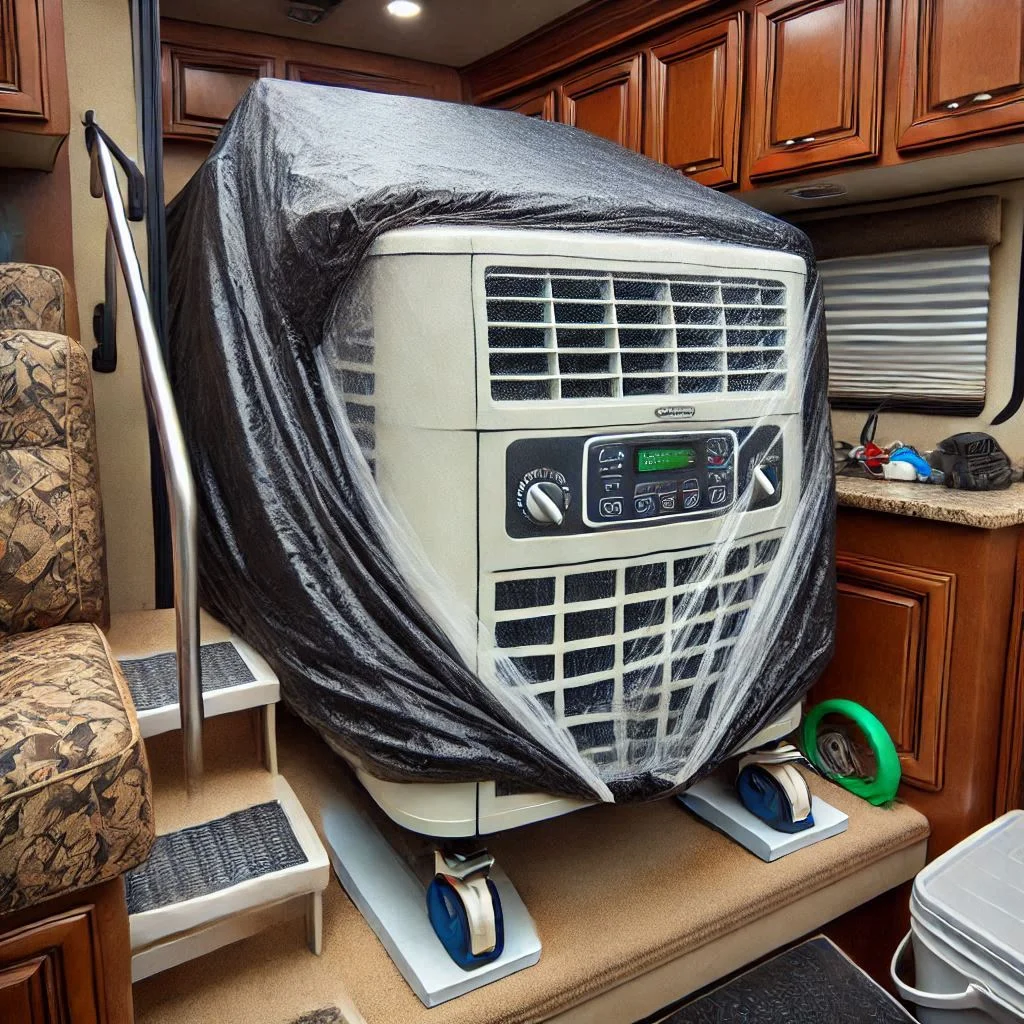
- Cover the AC unit: If you’re storing your RV for an extended period, consider covering the air conditioner to protect it from dust, dirt, and debris.
- Clean the filters and coils: Even if you won’t be using your RV for a while, keep the air filters and coils clean to prevent long-term damage.
- Inspect for leaks: Before storing the RV, check for any leaks around the seals, and reseal if necessary to prevent water damage.
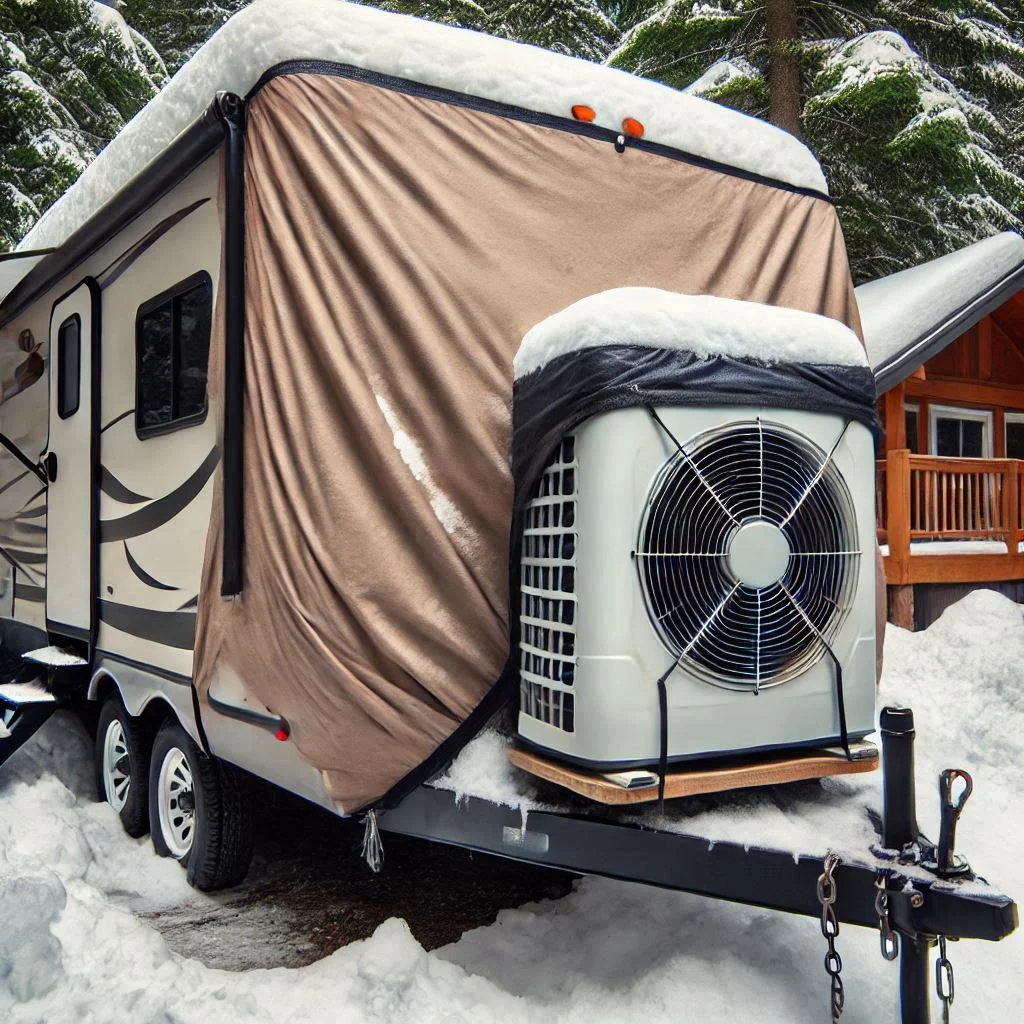
Should You Cover Your RV Air Conditioner in Winter?
As winter approaches, RV owners are often faced with the decision of whether or not to cover their RV air conditioner during the off-season. While it may seem like a simple task, covering your RV AC has both pros and cons. Understanding these will help you decide if it’s the right choice for you and ensure your air conditioner remains in good condition.
Pros of Covering Your RV AC During the Off-Season
- Protection from the Elements
One of the biggest advantages of covering your RV air conditioner during the winter is protecting it from harsh weather elements, such as snow, ice, rain, and wind. The cover acts as a shield, preventing moisture from accumulating in the unit, which could lead to rust, mold, and other damage. Additionally, it can protect the unit from falling debris, such as branches, leaves, or dirt, that can get lodged in the system. - Prevents Dirt and Debris Build-Up
During the off-season, your RV AC can accumulate dirt, leaves, or even insects inside the unit, which may clog filters and cause issues when you need to use the AC again. Covering the unit ensures that it remains clean and free from unwanted debris. This can reduce the amount of time you need to spend cleaning and maintaining your AC when the season begins. - Extends the Lifespan of the AC Unit
By protecting the exterior unit from external wear and tear, you can help extend its lifespan. Prolonged exposure to the elements can cause the AC’s outer components to degrade, leading to higher repair costs. A protective cover can significantly reduce these risks, ensuring your air conditioner remains in top working condition for years to come. - Prevents Ice Damage
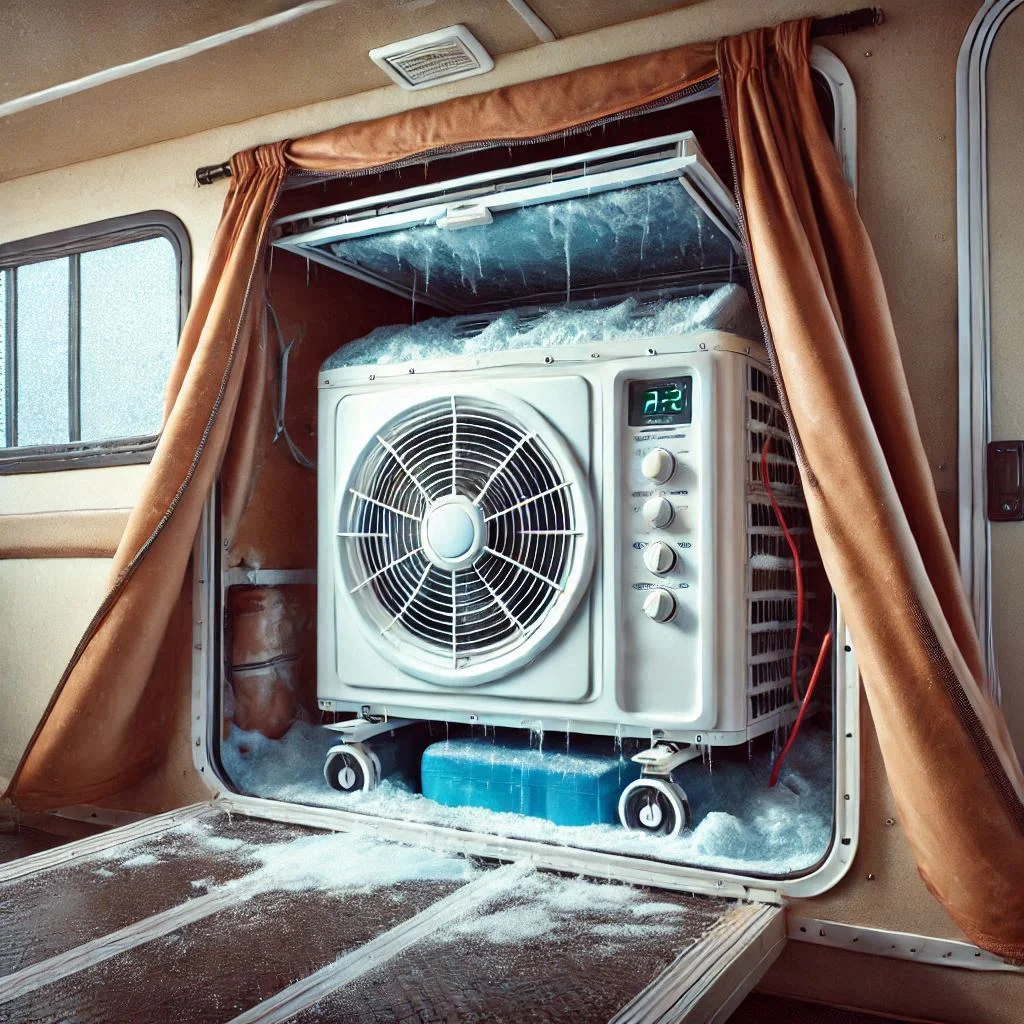
In areas where temperatures drop below freezing, ice can form on the components of your RV air conditioner, especially the condenser coils and drain lines. Covering the unit helps reduce the chances of ice formation, which can cause blockages, leaks, and costly damage.
Cons of Covering Your RV AC During the Off-Season
- Trapping Moisture
If the cover is not breathable or if it’s not installed correctly, it can trap moisture inside the air conditioner, leading to mold or mildew buildup. This is particularly true if the cover is left on for long periods without ventilation. Always choose a breathable, waterproof cover to prevent condensation from causing damage to the internal components. - Potential Damage from Incorrect Covering
If the cover is not installed properly, it could potentially cause damage to the air conditioner. For example, a cover that’s too tight might put pressure on the fan blades or compressor, causing them to become misaligned or damaged. Additionally, using a cover that is not designed for the specific model of your RV AC could leave parts exposed or cause undue stress on the system. - Unnecessary Step for Mild Climates
If you live in a region where winters are relatively mild, covering your RV air conditioner may not be necessary. In these cases, it may be more beneficial to simply clean the unit and inspect it for any potential issues, rather than taking the time and effort to cover it.
Protection Tips for Winter Storage
If you decide that covering your RV air conditioner is the right choice, here are some tips to ensure it’s protected without causing any damage:
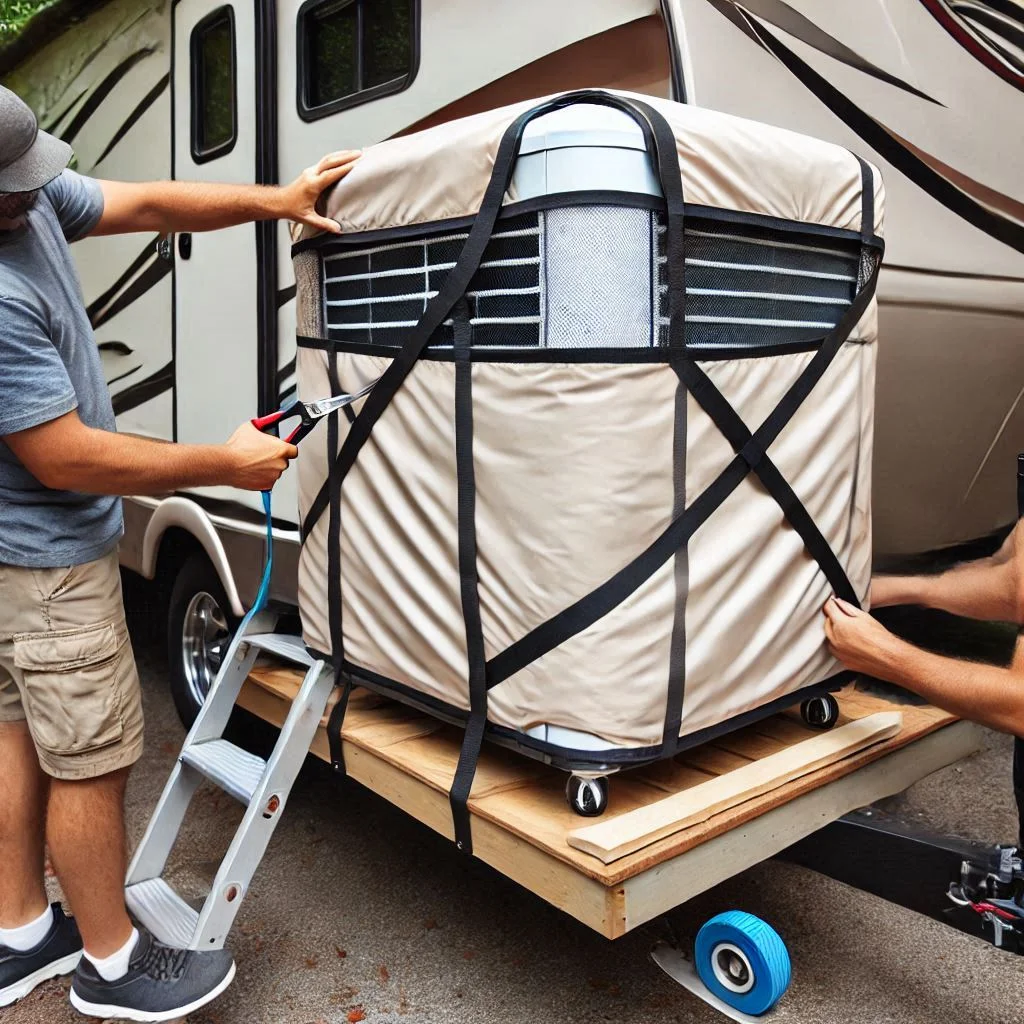
- Choose the Right Cover
Select a cover specifically designed for your RV air conditioner model. It should be breathable, waterproof, and durable. A cover with ventilation flaps can allow airflow while still protecting the unit from rain and snow. - Ensure Proper Fit
Make sure the cover fits snugly over the air conditioner without being too tight. A loose cover can flap in the wind, causing abrasions on the unit, while a tight cover can damage sensitive parts. Opt for a cover with adjustable straps to secure it properly. - Check for Moisture Traps
Before you cover the unit, make sure there is no standing moisture inside the AC. Clean the coils and air filter, and ensure the drain lines are clear. This reduces the chances of moisture being trapped under the cover. - Elevate the RV (If Possible)
If possible, elevate your RV slightly when storing it for winter. This allows for better airflow underneath the RV, including around the air conditioner, and helps prevent moisture buildup around the unit. - Remove the Cover Periodically
If your RV is in storage for a long period, remove the cover every couple of weeks to allow the air conditioner to breathe. This will help prevent moisture buildup and ensure the unit remains dry.
Troubleshooting and Recharge Tips for Your RV Air Conditioner
Owning an RV comes with the responsibility of maintaining its various systems, including the air conditioner. When an RV AC system isn’t working properly, it can lead to discomfort during your travels. Here’s a detailed guide to troubleshooting common RV air conditioner issues and recharging your system, ensuring that your RV stays cool and comfortable.
Signs Your RV AC Needs Attention
If your RV air conditioner is not working as expected, it’s important to recognize the signs that indicate it might need attention. Here are some of the most common issues that RV owners face with their air conditioners:
- Weak Airflow
One of the first signs that something may be wrong with your RV air conditioner is weak airflow. If the air feels warm or there’s significantly reduced airflow from the vents, the issue may stem from a clogged air filter, a dirty evaporator coil, or a failing blower fan.
What to Do:- Check and clean or replace the air filter.
- Clean the evaporator coil and blower fan.
- Ensure the ductwork is clear of debris.
- No Cool Air
If your RV air conditioner isn’t blowing cool air, it could be due to several issues, including low refrigerant, a faulty thermostat, or a damaged compressor. Low refrigerant is one of the most common causes for a lack of cool air.
What to Do:- Check the refrigerant levels.
- Inspect the thermostat settings and sensor.
- If refrigerant levels are low, consult a professional to recharge the system.
- Strange Noises
Unusual noises, such as grinding, rattling, or squealing, can be a sign that something is wrong with your air conditioner. These noises could be caused by a loose part, worn-out fan blades, or an issue with the compressor or motor.
What to Do:- Turn off the AC and inspect the unit for any loose or damaged parts.
- Check the fan blades for debris or damage.
- If you hear a grinding noise, the motor may need lubrication or replacement.
- Water Leaks
Water leaks around your RV air conditioner can indicate a clogged drain line or a malfunctioning condensate pump. If you notice water pooling around the unit, this is a sign that something is wrong.
What to Do:- Inspect the drain line for blockages and clear it if necessary.
- Check the condensate pump and make sure it’s functioning properly.
- AC Won’t Turn On
If your RV air conditioner won’t turn on at all, the issue could be with the circuit breaker, power supply, or the unit’s internal components.
What to Do:- Ensure the circuit breaker hasn’t tripped.
- Check the power supply to the RV and ensure it’s functioning correctly.
- Test the thermostat and any internal fuses for faults.

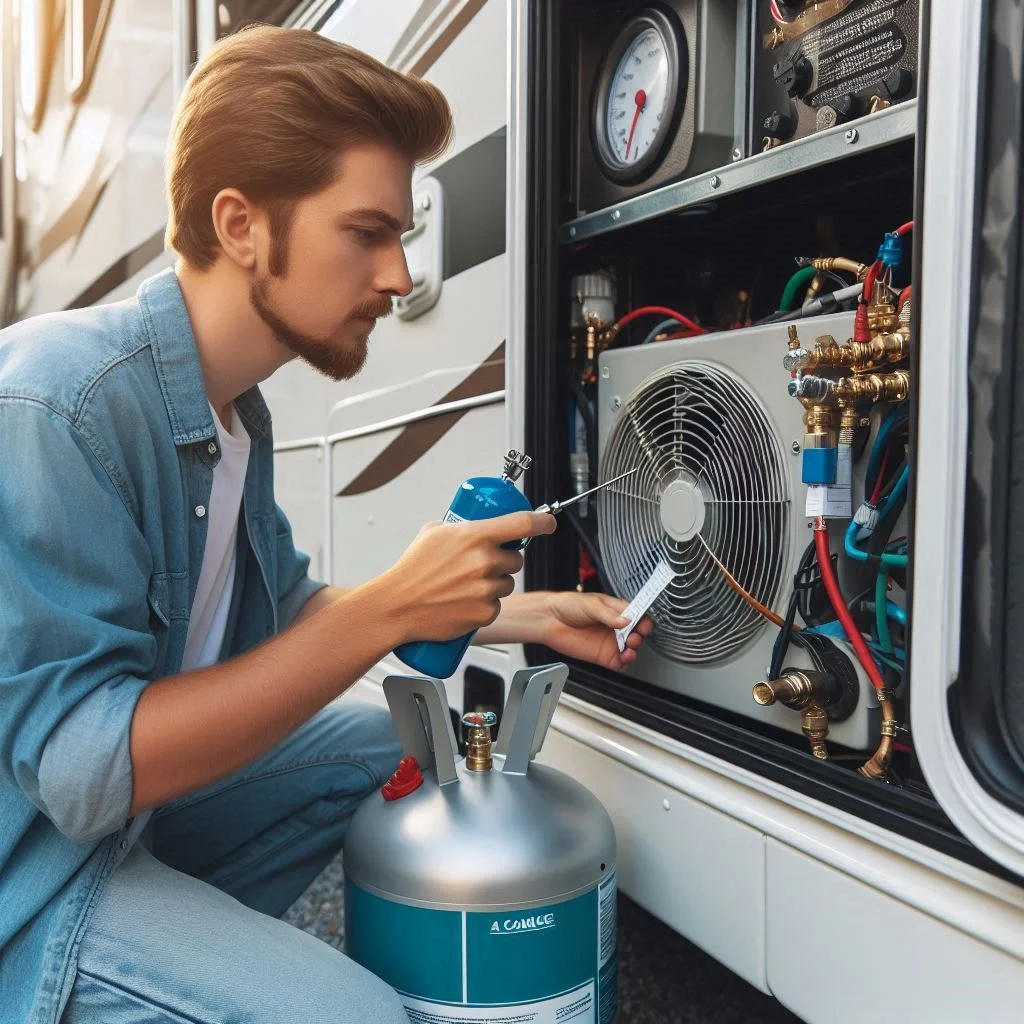
How to Recharge Your RV Air Conditioner
If your RV air conditioner is low on refrigerant, it may not cool effectively. Recharging the system with the right amount of refrigerant is a vital step in restoring its cooling performance. Follow these tips for recharging your RV AC.
- Confirm Low Refrigerant Levels
Before attempting to recharge your RV air conditioner, you should first confirm that low refrigerant levels are the cause of the cooling issue. This can often be done by observing the temperature inside the RV when the AC is running. If the air is not cooling despite the AC running, it’s a strong indicator that the refrigerant may be low. - Gather the Necessary Tools
Recharging your RV air conditioner requires the right tools, including:- Refrigerant gauge set (compatible with RV AC systems).
- Replacement refrigerant (ensure it matches your AC system’s requirements).
- Protective gloves and safety glasses.
- Locate the Refrigerant Port
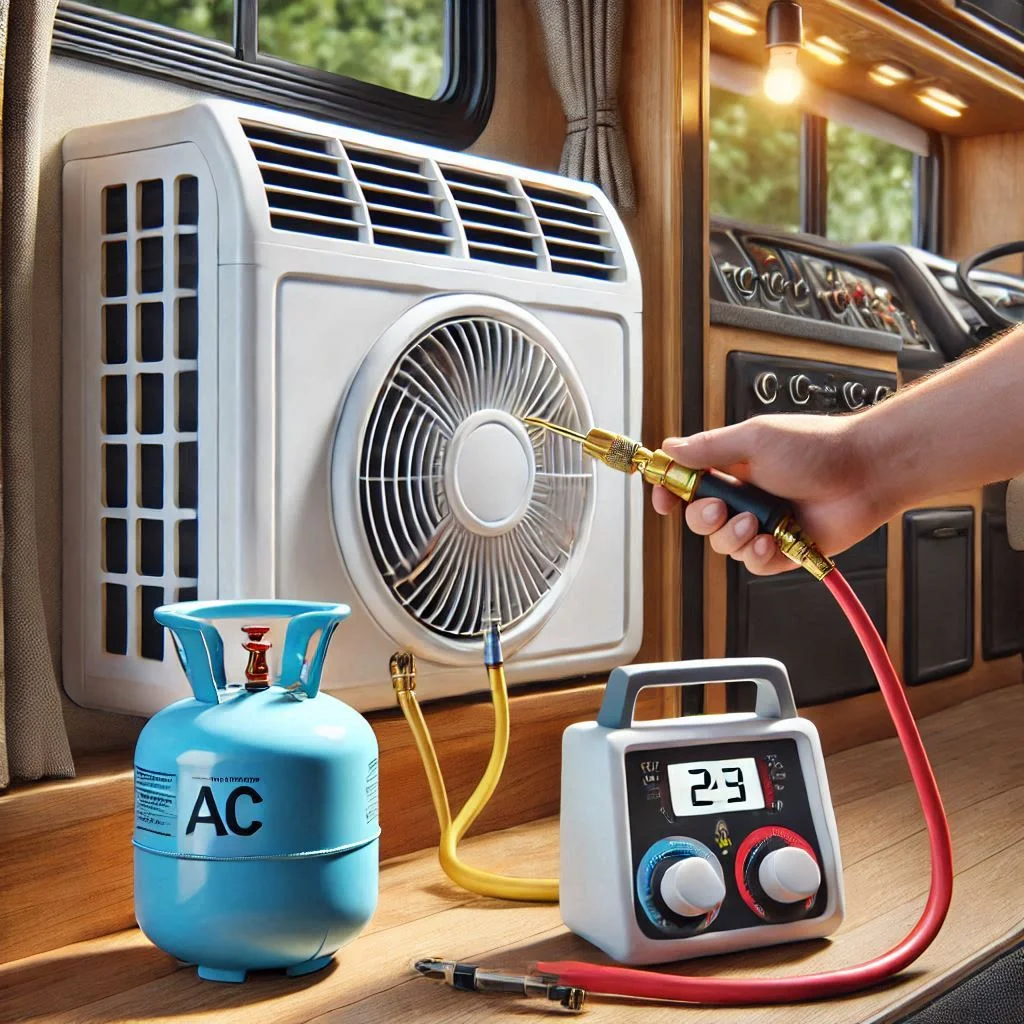
To recharge your RV AC, you will need to locate the low-pressure refrigerant port. This is typically found on the side of the air conditioning unit. If you’re unsure where this port is located, refer to your RV’s manual for the specific location. - Connect the Refrigerant Gauge
Connect the refrigerant gauge to the low-pressure port and ensure that it’s securely attached. The gauge will provide a reading of the current refrigerant level. - Add Refrigerant
Slowly begin adding refrigerant to the system. It’s important to follow the manufacturer’s instructions regarding the correct amount of refrigerant needed for your specific model. Overcharging the system can cause more damage, so it’s crucial to stop once the correct level is reached. - Check for Leaks
After adding refrigerant, check for any leaks in the system. Use soapy water or a leak detection solution to inspect all connections. If you spot any bubbles, that indicates a leak, and you may need to call a professional to repair it. - Test the System
After the recharge, turn the AC on and monitor its performance. If the system is still not cooling effectively, it may require further inspection, and there could be another underlying issue. - Hire a Professional if Necessary
If you’re unsure about recharging the refrigerant yourself or the problem persists after recharging, it’s best to consult a professional. Refrigerant handling requires expertise and proper equipment to ensure safety and efficiency.

Common RV Air Conditioner Issues and How to Fix Them
RV air conditioners are essential for keeping your travels comfortable, but like any mechanical system, they can experience issues. Knowing how to diagnose and fix common problems can help you avoid expensive repairs and keep your air conditioner running smoothly. In this guide, we’ll cover common RV air conditioner problems, how to diagnose them, and provide DIY fixes for minor issues. We’ll also highlight when it’s best to call a professional.
Diagnosis of Common Problems
- AC Won’t Turn On
If your RV air conditioner refuses to turn on, the issue could be related to power supply problems or a malfunctioning component. The most common causes include a tripped circuit breaker, a faulty thermostat, or internal electrical issues.
How to Diagnose:- Check the RV’s power supply and ensure it’s plugged in properly.
- Reset the circuit breaker and check the fuse.
- Test the thermostat settings and make sure it’s working correctly.
- Weak Airflow
Weak or insufficient airflow from the vents is another common issue. This could be due to a clogged air filter, debris blocking the vents, or a malfunctioning blower fan.
How to Diagnose:- Inspect the air filter and clean or replace it if it’s dirty.
- Check the vents for blockages such as dirt or debris.
- Listen for unusual noises from the blower fan or check if the fan motor is working.
- No Cool Air
One of the most frustrating problems is when the AC runs, but no cool air is being produced. This is often caused by low refrigerant levels, a malfunctioning compressor, or issues with the condenser coils.
How to Diagnose:- Check the refrigerant levels and look for signs of a leak.
- Inspect the compressor and condenser for signs of damage.
- Ensure the thermostat is set to cooling mode and is functioning properly.
- Strange Noises
If your RV air conditioner starts making strange sounds, such as grinding, rattling, or squealing, it could indicate a mechanical issue. These noises may come from loose parts, worn-out fan blades, or problems with the motor or compressor.
How to Diagnose:- Turn off the unit and inspect the fan blades for any loose or damaged parts.
- Listen for any signs of grinding that could indicate worn bearings in the motor.
- Check if the motor needs lubrication or replacement.
- Water Leaks
Water leaks around the RV air conditioner are typically caused by clogged drain lines or a faulty condensate pump. Leaking water can cause water damage inside your RV and should be addressed immediately.
How to Diagnose:- Inspect the drain line for blockages and clean it.
- Check the condensate pump for damage or failure.
- Ensure the unit is properly sealed around the edges to prevent water from entering.

DIY Fixes and When to Call a Professional
- Fixing Weak Airflow
DIY Fix:- Start by cleaning or replacing the air filter. A clogged filter restricts airflow and reduces cooling efficiency.
- Check for obstructions around the vents and clear any debris that may be blocking the airflow.
- If the fan motor is the issue, you can try to clean it and lubricate the motor if it’s not too worn out.
When to Call a Professional:
If the issue persists after cleaning or replacing the filter and checking for blockages, the problem may be with the blower motor or ductwork, which requires professional repair.
- Recharging the Refrigerant
DIY Fix:- If you suspect low refrigerant levels, use a refrigerant gauge to check the pressure.
- If necessary, recharge the system with the appropriate refrigerant. Be sure to follow the manufacturer’s instructions regarding the right type and amount of refrigerant.
When to Call a Professional:
If you’re unsure how to safely recharge your RV air conditioner, it’s best to call a licensed technician. Handling refrigerant can be dangerous, and improper charging can damage the AC system.
- Fixing Strange Noises
DIY Fix:- Inspect and clean the fan blades to remove any debris or dirt that could be causing noise.
- Tighten any loose screws or parts that could be causing rattling.
- If the motor makes grinding sounds, lubricate it, or replace the motor if necessary.
When to Call a Professional:
If the noise persists and is linked to a malfunctioning compressor or motor, it’s best to call a professional to avoid further damage.
- Clearing Blocked Drain Lines
DIY Fix:- Locate the drain line and ensure it is clear of debris. Use a wet/dry vacuum or a small pipe cleaner to clear any blockages.
- Inspect the condensate pump for proper operation and clean it if needed.
When to Call a Professional:
If you’re unable to clear the drain line or the pump isn’t working correctly, a professional technician can replace or repair the faulty parts.
- AC Won’t Turn On
DIY Fix:- Check the power supply, reset the circuit breaker, and replace any blown fuses.
- Inspect the thermostat to ensure it’s set correctly and functioning properly.
When to Call a Professional:
If the AC still doesn’t turn on after performing these checks, there may be an internal issue with the wiring, thermostat, or compressor, which requires professional attention.
FAQ – Frequently Asked Questions About RV Air Conditioner Service
RV air conditioners are vital for staying cool and comfortable during your travels. To keep your system in top condition, it’s important to understand common service practices, including whether you need to cover your RV air conditioner, how often it should be cleaned, and what tools are needed for maintenance. Here are answers to some frequently asked questions that will guide you in taking care of your RV AC.
1. Should I Cover My RV Air Conditioner During Winter?
Answer:
Covering your RV air conditioner during the winter months is a debated topic, but there are benefits to doing so. When your RV is not in use, covering the AC can help protect it from environmental elements like snow, ice, falling debris, and rain. These conditions can cause wear and tear over time, especially if your RV is stored in areas with harsh winter weather.
Pros of Covering Your RV Air Conditioner:
- Protection from Weather: Covers help prevent snow and rain from entering the AC unit, reducing the risk of rust, corrosion, and mold growth.
- Debris Prevention: Covers can prevent leaves, twigs, and other debris from accumulating in the AC unit, which can cause blockages and damage to the internal components.
- Prolongs AC Life: Keeping the unit covered may prolong the lifespan of your air conditioner by preventing damage from the elements.
Cons of Covering Your RV Air Conditioner:
- Moisture Trapping: If the cover is not breathable, it can trap moisture inside, leading to mold and mildew buildup. Always use a breathable cover designed for RV air conditioners.
- Possible Damage: Improper installation or poor-quality covers can lead to scratches or other physical damage.
When to Cover:
It’s recommended to cover your RV air conditioner when it is parked for the season or during extended storage, especially in areas where harsh weather conditions prevail.
2. Are RV Air Conditioners Rechargeable?
Answer:
Yes, RV air conditioners are rechargeable, but the process is different from standard household AC units. RV air conditioners use refrigerant to cool the air, and over time, the refrigerant can deplete or leak, leading to reduced cooling efficiency. If your RV AC is not cooling properly, it might be low on refrigerant and need to be recharged.
How to Recharge:
- Check the Refrigerant Levels: Use a refrigerant gauge to assess the refrigerant pressure. If it’s low, it’s time for a recharge.
- Recharge Process: You can add refrigerant to the system using a charging kit that is compatible with your RV AC. Be sure to use the correct type of refrigerant specified by the manufacturer.
Important Considerations:
- DIY or Professional Help: While some RV owners may attempt to recharge their ACs themselves, it’s often best to hire a professional, especially if you’re not familiar with handling refrigerants. Incorrect handling can damage the unit or pose safety risks.
- Leaking Refrigerant: If your RV air conditioner frequently requires a recharge, there may be a refrigerant leak. In this case, you should have the system inspected by a professional to locate and repair the leak.

3. How Often Should I Clean My RV Air Conditioner?
Answer:
To maintain optimal performance and efficiency, it’s recommended to clean your RV air conditioner at least once every 3 to 6 months, depending on usage and environmental conditions. If you travel in dusty areas or near trees, you may need to clean it more frequently to prevent debris buildup.
Cleaning Tasks Include:
- Cleaning the Air Filter: The air filter should be cleaned or replaced regularly, as it collects dirt, dust, and other particles. A clogged filter reduces airflow and cooling efficiency.
- Cleaning the Coils: The evaporator and condenser coils should be cleaned to ensure they are free from dust and grime. Dirty coils reduce the system’s ability to cool the air properly.
- Clearing the Drain Line: Check the condensate drain line to ensure it’s not clogged with debris. A blocked drain can cause water to leak from the AC unit.
- Checking for Leaks: Inspect the refrigerant lines and other components for signs of leaks or wear.
Why Regular Cleaning is Important:
- Efficiency: A clean AC unit runs more efficiently, cooling your RV faster and consuming less energy.
- Preventing Breakdowns: Regular cleaning helps prevent the buildup of dirt, mold, and mildew, which can damage internal components.
- Air Quality: Clean filters and coils ensure better air quality by preventing dust and allergens from circulating inside your RV.

4. What Tools Do I Need to Service My RV Air Conditioner?
Answer:
To properly service your RV air conditioner, you’ll need the right tools and equipment to handle tasks like cleaning, troubleshooting, and recharging. Here’s a list of essential tools:
Essential Tools for Servicing Your RV Air Conditioner:
- Refrigerant Gauge Set: To check refrigerant levels and recharge the system if necessary. This tool is essential for diagnosing low refrigerant issues.
- Screwdrivers: For opening the AC unit and removing panels to access the internal components.
- Air Compressor or Vacuum: To clean the evaporator coils, condenser coils, and air filter.
- Soft Brush or Cloth: For gently cleaning delicate components like the fan blades and coils without causing damage.
- Multimeter: To check for electrical issues and test the continuity of the thermostat, compressor, and other components.
- Safety Equipment: Gloves and safety glasses are necessary when handling refrigerants or when working with electrical parts.
Additional Tools for Specific Repairs:
- Leak Detection Kit: To locate refrigerant leaks.
- Lubricant: For fan motors and other moving parts that may require regular lubrication.
Conclusion
Maintaining and servicing your RV air conditioner is essential to ensure it operates efficiently and keeps you comfortable during your travels. By understanding the key components, performing regular cleaning and maintenance, and addressing common issues with simple DIY fixes, you can extend the lifespan of your AC unit. Whether you’re considering whether to cover your RV AC during winter, learning how to recharge it, or simply trying to prevent future problems, staying proactive with your air conditioner service will save you time and money in the long run. Always be mindful of the tools and techniques needed for effective service, and when in doubt, don’t hesitate to reach out to a professional for more complex repairs. With the right care, your RV air conditioner will continue to provide you with cool comfort, wherever the road takes you.