Preparation for Installation
Before you start the installation of your wall-mounted air conditioner (AC), it is important to prepare the space to ensure the unit operates efficiently and safely. This preparation stage includes inspecting the site and measuring the installation location to guarantee the correct setup for both the indoor and outdoor units.
Site Inspection and Preparation
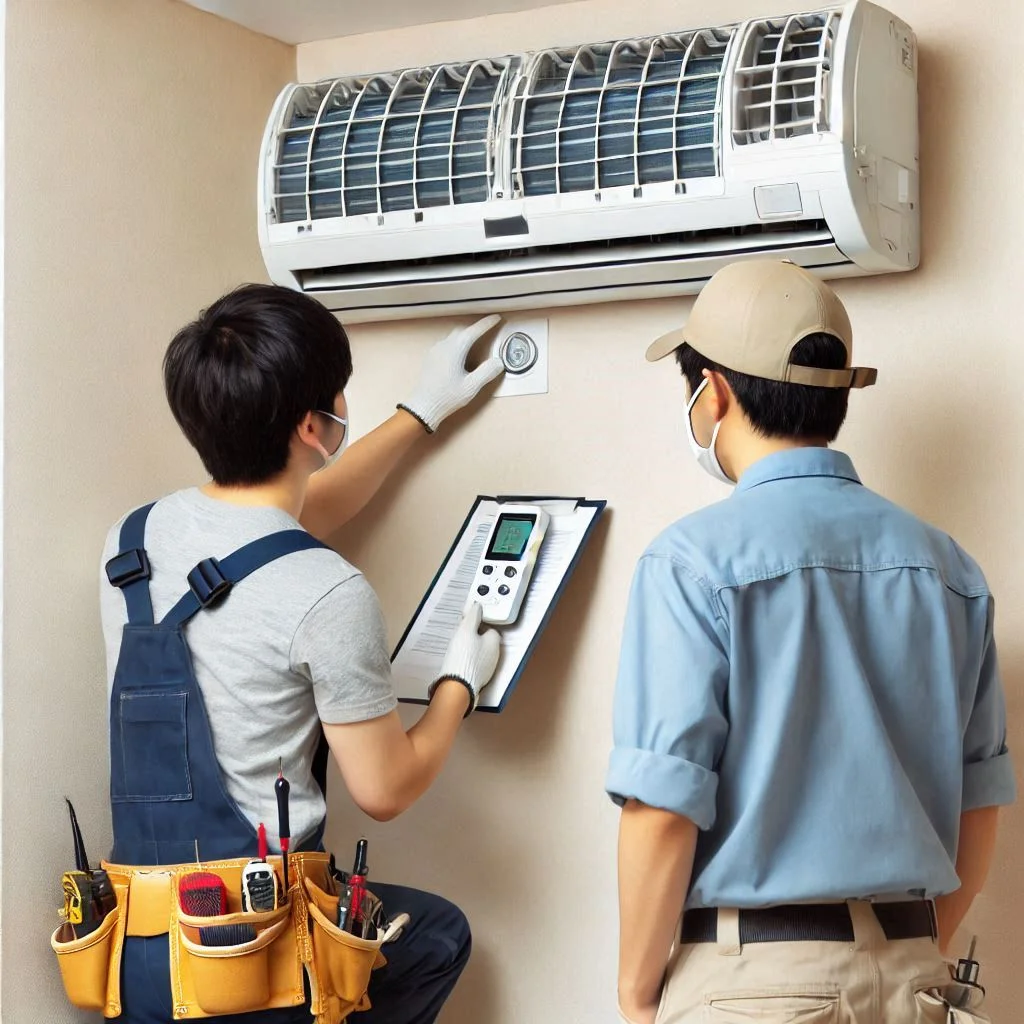
Site inspection is the first step in ensuring your wall-mounted AC is installed in the most suitable location. A proper site inspection will help you avoid problems like poor airflow, noise disturbances, and inadequate cooling.
What to Look For:
- Space Availability: Ensure that the area where the indoor unit will be mounted is free from obstructions like furniture, shelves, or decorations. The unit needs plenty of space around it to allow for airflow and prevent overheating.
- Wall Strength: The wall where you plan to mount the indoor unit must be strong enough to support the weight of the AC. Ideally, use a load-bearing wall such as concrete, brick, or a solid wood structure.
- Electrical Supply: Check for an accessible and appropriate electrical outlet near the location of the indoor unit. Ensure that the outlet is rated for the power requirements of the AC to avoid any electrical hazards.
- Airflow Path: Ensure there are no obstructions in the area that might block the airflow, such as curtains, heavy furniture, or other appliances. For optimal performance, the air from the indoor unit should be able to flow freely around the room.
Tip: For outdoor units, make sure there’s enough space for air circulation and easy access for maintenance.
Measuring and Marking the Location
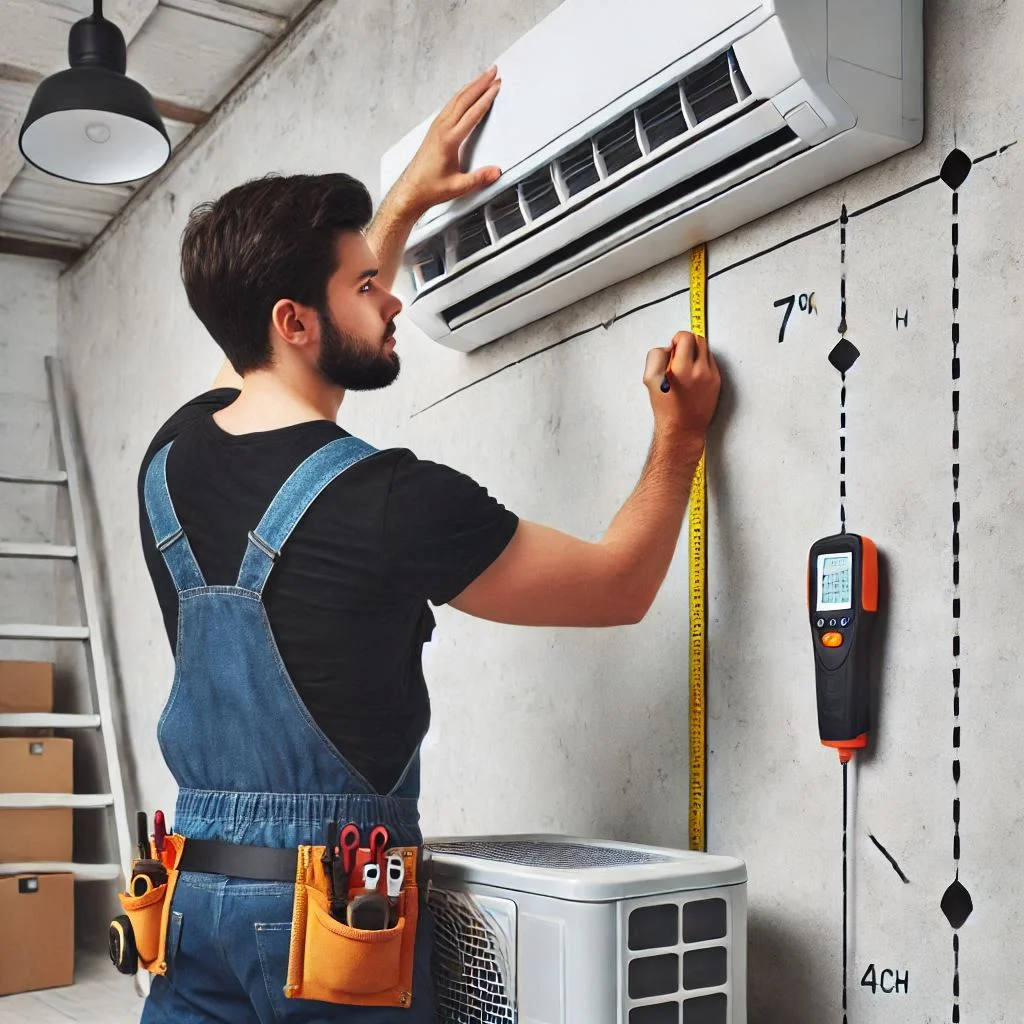
After inspecting the site, the next step is measuring and marking the exact location where the indoor unit will be installed. This step is crucial to ensure the unit is mounted at the right height and angle for maximum performance.
Step-by-Step Guide for Measuring and Marking:
- Determine the Right Height: The general recommendation is to install the indoor unit about 7-8 feet above the floor. This height ensures that the air circulates evenly throughout the room and minimizes the impact of hot air accumulating near the ceiling.
- Check for Proper Ventilation: Mark the location ensuring the indoor unit will not be blocked by furniture or walls, which could restrict airflow. Avoid placing the AC near heat sources such as direct sunlight, heaters, or appliances that generate heat.
- Measure the Distance to the Outdoor Unit: It’s important to ensure the pipes and cables connecting the indoor and outdoor units will be long enough. Measure the distance between the location of the indoor unit and the desired position of the outdoor unit.
- Mark the Mounting Plate Position: Once you have determined the proper height and distance, use a level and a pencil to mark the spots where the mounting plate will be installed. Make sure the markings are straight to prevent the unit from being installed unevenly.
- Consider Future Maintenance Access: Make sure that the location you mark for the installation provides easy access for future maintenance, cleaning, and servicing of both the indoor and outdoor units.
Installing the Indoor Unit
Once the preparation phase is complete, the next step is installing the indoor unit of your wall-mounted air conditioner. This process involves several critical steps to ensure the AC is mounted securely and operates efficiently. Here’s a step-by-step guide for properly installing the indoor unit.
Select the Indoor Installation Area
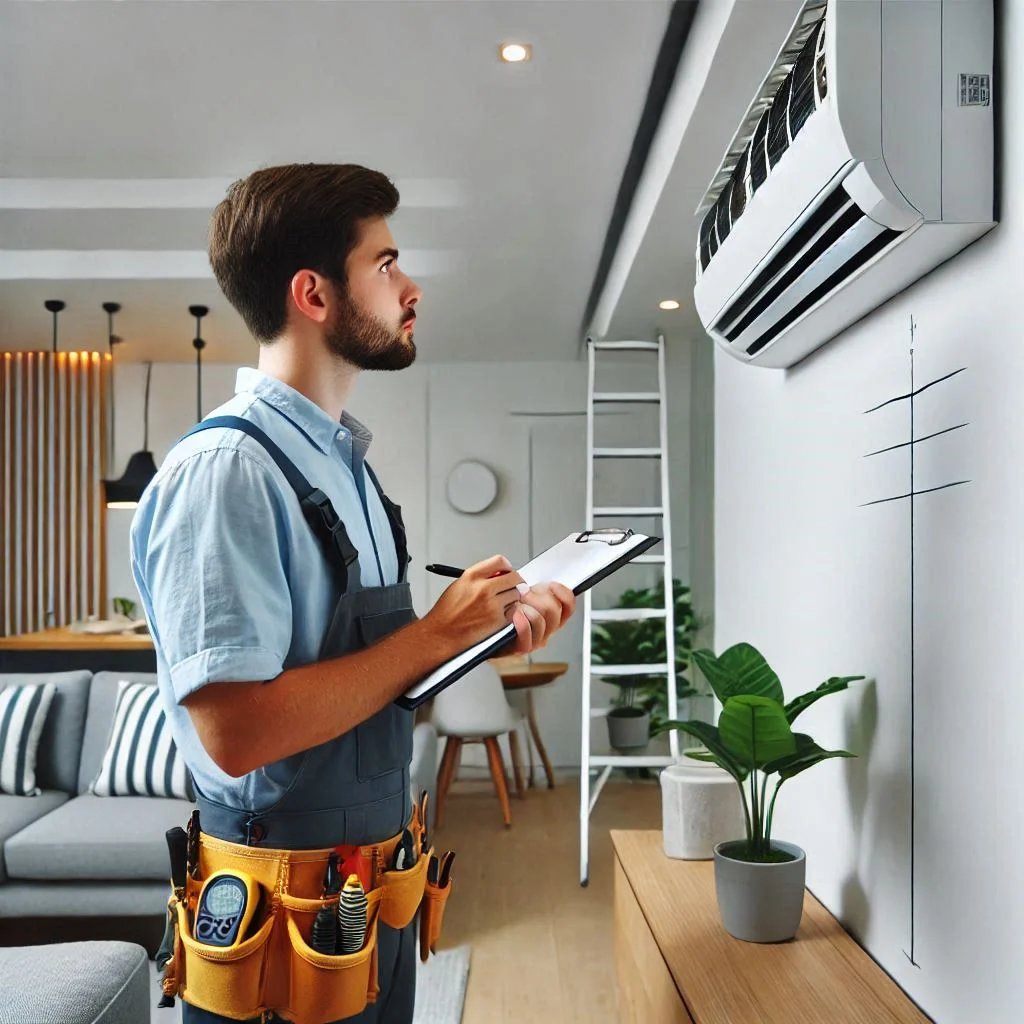
Choosing the correct location for the indoor unit is essential to ensure maximum cooling efficiency. The ideal spot should allow the air conditioner to distribute cool air evenly throughout the room without obstruction.
Considerations for Choosing the Right Location:
- Central Location: Choose a location that is central to the room, ideally on an interior wall. This will allow the cool air to be distributed evenly and prevent hot spots.
- Avoid Obstructions: The area around the indoor unit should be clear of any furniture, curtains, or other objects that might block airflow.
- Access to Electrical Connections: Ensure the location is close to an electrical outlet and that the wiring can easily reach the unit.
- Avoid Heat Sources: Never place the indoor unit near direct sunlight, heaters, or any appliances that generate heat. This could interfere with the unit’s performance and cause energy inefficiencies.
Install the Mounting Plate
The mounting plate is the key component that secures the indoor unit to the wall. Installing this plate correctly is critical for the unit’s stability and long-term performance.
Steps to Install the Mounting Plate:
- Mark the Mounting Plate Location: Based on the measurements taken during the preparation stage, mark the location for the mounting plate on the wall. Ensure the plate is level and positioned at the correct height for optimal airflow.
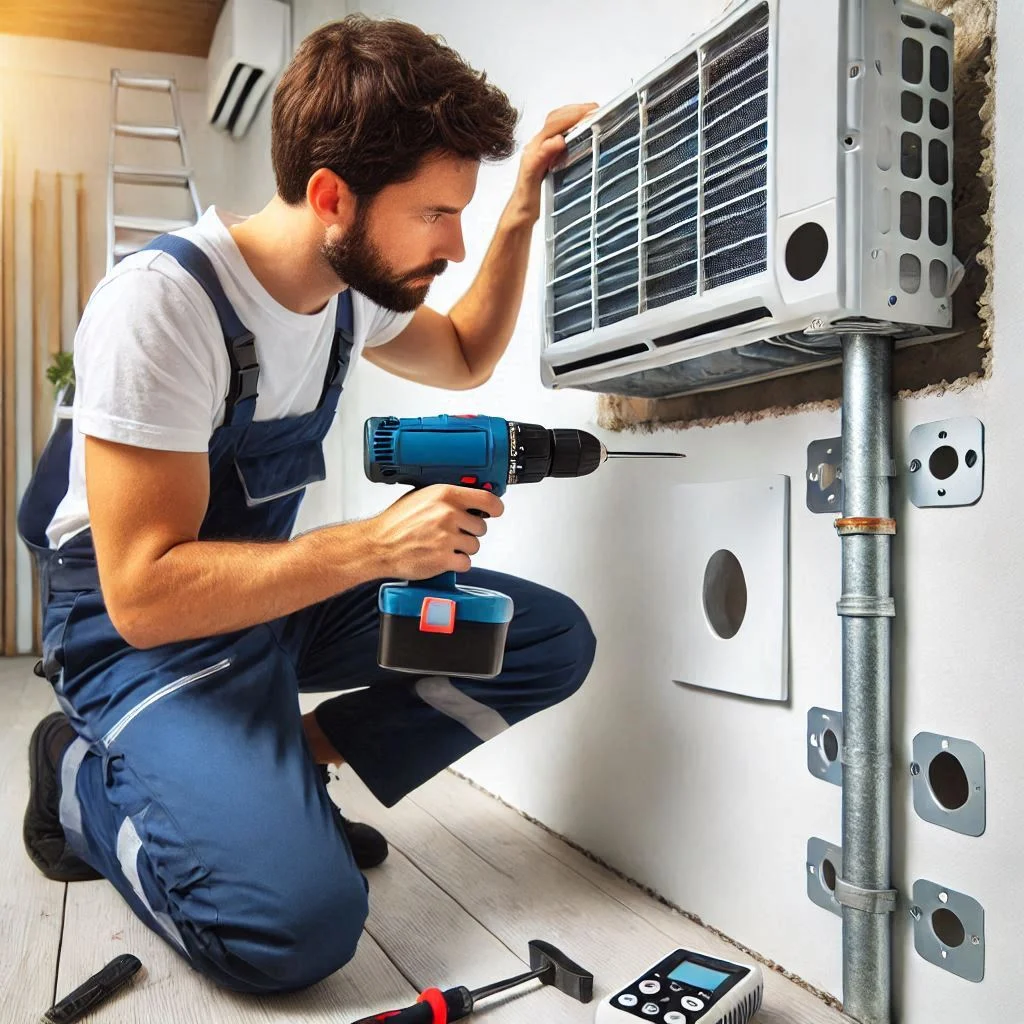
- Drill Holes for the Plate: Using a drill, create holes in the wall for the mounting screws. Make sure to drill into a solid, load-bearing structure (concrete, brick, or strong wood) to ensure the plate can hold the weight of the AC.
- Install the Mounting Plate: Attach the mounting plate to the wall using screws and anchors, ensuring it is firmly secured. Double-check the level of the plate to make sure the unit will be mounted straight.
Drill an Outlet Hole
Drilling an outlet hole is necessary to route the pipes and cables from the indoor unit to the outdoor unit. This hole must be properly sized to ensure there is enough space for the refrigerant pipes, drainage pipes, and electrical cables.
Steps for Drilling the Outlet Hole:
- Measure and Mark the Hole Location: Determine the best spot for the hole, typically just below the mounting plate. The hole should be slightly tilted downward to allow the drainage pipe to work effectively.
- Drill the Hole: Use a hole saw or masonry drill bit to create the outlet hole. The diameter of the hole should be large enough to fit all the pipes and cables without causing damage to them.
- Check for Obstructions: Before drilling, make sure there are no hidden pipes, wires, or other obstructions inside the wall that could be damaged during drilling.
Check Indoor Electrical Connections
Before proceeding with connecting the pipes and cables, you must ensure the indoor unit is properly connected to the electrical supply.
Steps for Checking Indoor Electrical Connections:
- Verify the Electrical Outlet: Check that the electrical outlet is in good condition and rated for the power requirements of the AC unit. If needed, consult an electrician to ensure the electrical system is suitable for the AC’s load.
- Wiring the Indoor Unit: Connect the power supply cables to the indoor unit’s terminal block, following the manufacturer’s wiring diagram. Be sure to correctly connect the live, neutral, and ground wires.
- Safety Check: Ensure all electrical connections are secure, insulated, and free from potential short-circuit hazards. Turn off the power supply during installation to avoid electrical shock.
Connect Pipes and Cables to the Indoor Unit
Now that the electrical connections are complete, you need to connect the refrigerant pipes and drainage pipes to the indoor unit.
Steps for Connecting Pipes and Cables:
- Attach the Refrigerant Pipes: Connect the refrigerant pipes (both liquid and gas lines) to the corresponding ports on the indoor unit. Tighten the connections using appropriate tools to ensure there are no leaks.
- Install the Drainage Pipe: Attach the drainage pipe to the indoor unit to allow condensed water to drain out. Make sure the pipe has a slight slope toward the exterior to ensure proper drainage.
- Connect Electrical Cables: Attach the power cables to the indoor unit, ensuring each cable is connected to the correct terminal. Double-check for any loose or improperly connected wires.
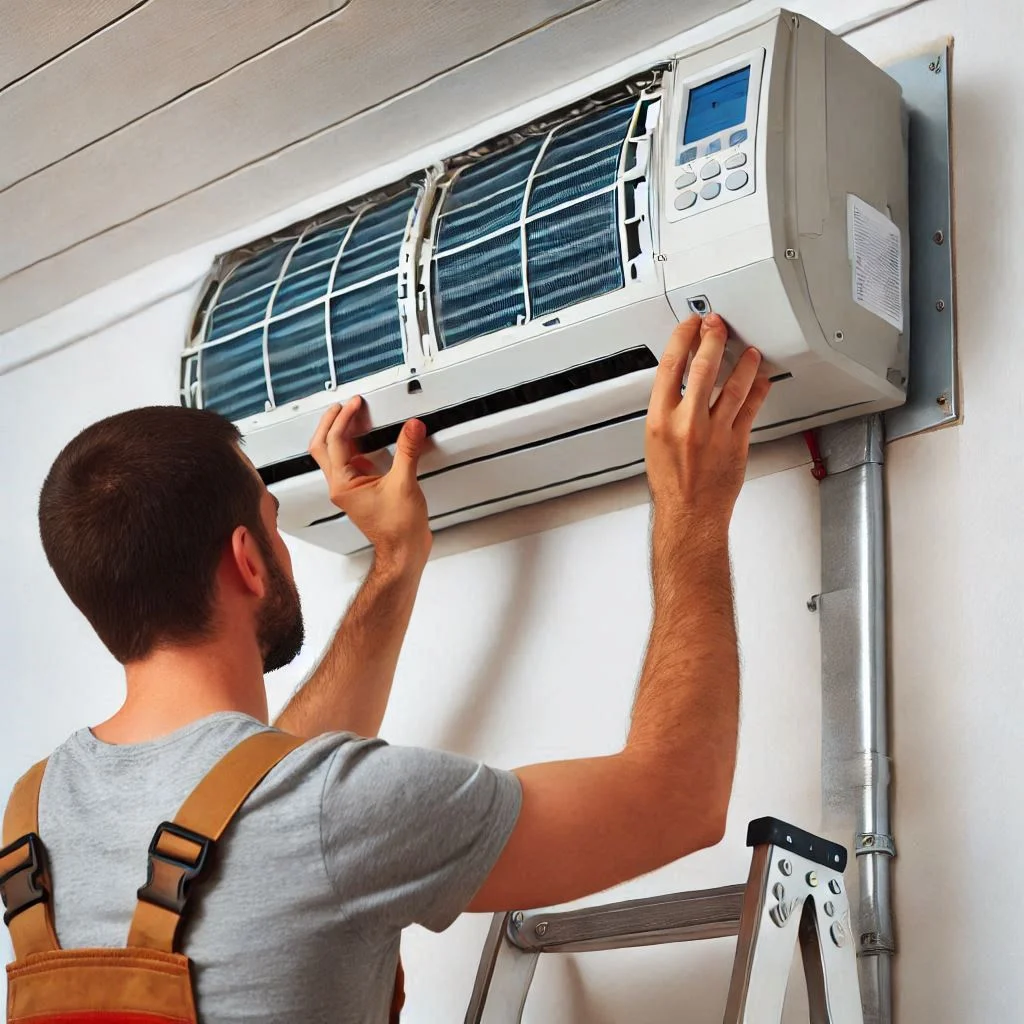
Mount the Indoor Unit
Finally, with the mounting plate installed, the electrical and piping connections made, it’s time to mount the indoor unit onto the wall.
Steps for Mounting the Indoor Unit:
- Lift the Unit onto the Mounting Plate: Carefully lift the indoor unit and align it with the mounting plate. Make sure the unit is positioned correctly and securely rests on the plate.
- Secure the Unit: Attach the indoor unit to the mounting plate using the provided screws or brackets. Tighten all screws to ensure the unit is firmly attached to the wall.
- Check for Stability: Once mounted, give the unit a gentle shake to ensure it is securely attached to the wall and will not shift over time.
By following these steps, you will successfully install the indoor unit of your wall-mounted air conditioner. A proper installation ensures the AC unit operates efficiently, providing consistent cooling throughout the space.
Installing the Outdoor Unit
The installation of the outdoor unit is crucial for the efficient operation of your wall-mounted air conditioner. Proper placement and installation of the outdoor unit help maintain effective cooling performance, reduce energy consumption, and ensure long-term reliability. Below is a detailed guide for installing the outdoor unit of your wall-mounted AC.
Choose a Suitable Place for the Outdoor Unit
Selecting the right location for the outdoor unit is essential for ensuring the system runs smoothly and efficiently. The outdoor unit needs proper ventilation to expel hot air generated during the cooling process.
Key Considerations for Outdoor Unit Placement:
- Airflow and Ventilation: Choose a location with sufficient airflow around the unit. Avoid placing the outdoor unit in a confined space such as a small room or behind large obstructions like fences or walls. The unit needs space to release the hot air without restriction.
- Avoid Heat Sources: Never install the outdoor unit near heat sources like direct sunlight, heat-producing appliances, or vents. These can reduce the cooling efficiency of the air conditioner and lead to increased energy consumption.
- Noise Considerations: Place the outdoor unit in an area where the noise from the compressor and fan won’t disturb you or your neighbors. If possible, install the unit at the farthest side of the house or near a fence.
- Accessibility for Maintenance: Ensure that the outdoor unit is easily accessible for future maintenance and repairs. Ideally, the unit should be mounted at a height that makes it easy to reach for servicing.

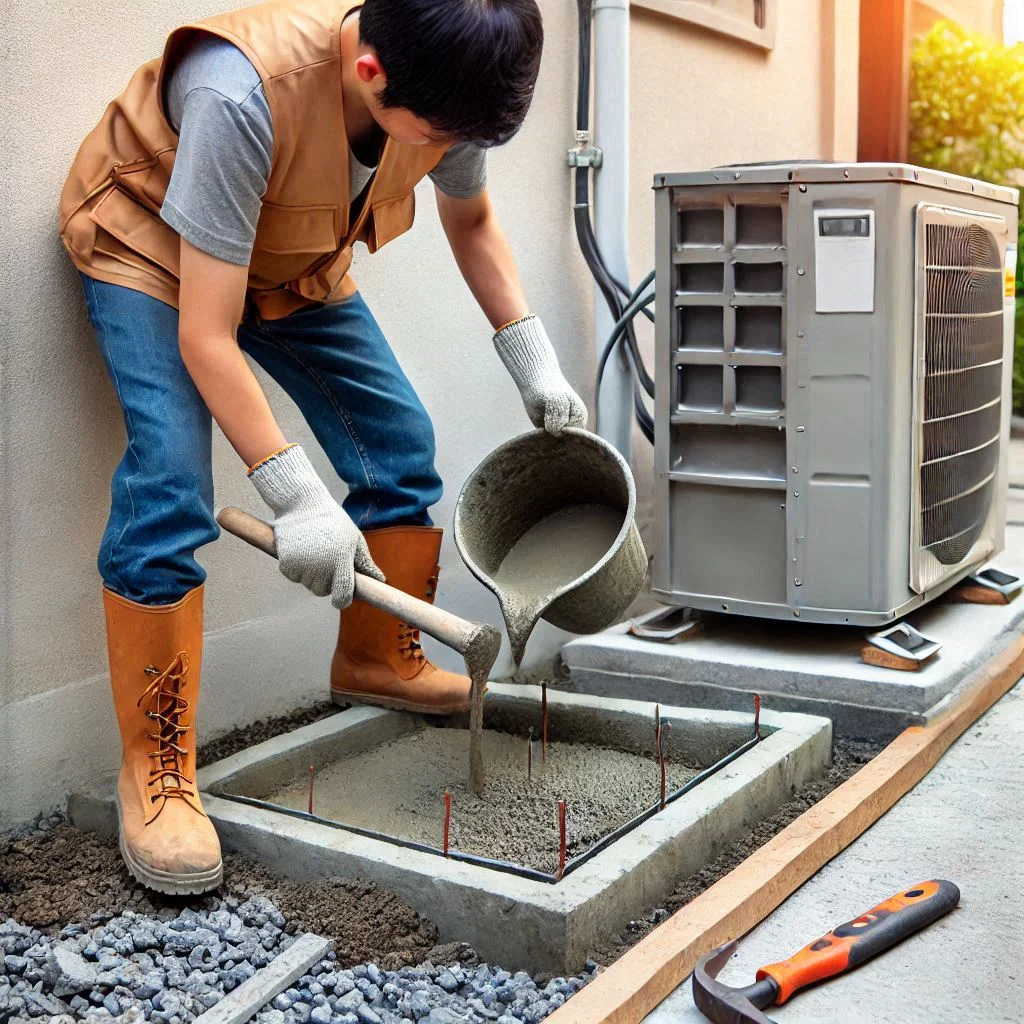
Lay a Concrete Pad or Fix the Brackets on the Exterior Wall
The outdoor unit must be securely mounted to ensure it stays stable during operation and to prevent vibration that can affect the system’s performance. Depending on your installation preferences, you may choose to either lay a concrete pad or mount the unit using brackets on the exterior wall.
Concrete Pad Installation:
- Choose the Location: Mark the spot where the outdoor unit will rest. Make sure it’s level and stable.
- Prepare the Surface: Clear the area of debris and level the ground. If necessary, remove any grass or uneven spots.
- Pour Concrete: Pour a concrete slab approximately 2-3 inches thick, allowing it to set and cure for at least 24 hours before placing the outdoor unit on it.
Bracket Installation:
- Install Mounting Brackets: Mount the brackets on the exterior wall using the appropriate anchors and screws. Ensure the brackets are level and securely attached to the wall.
- Position the Outdoor Unit: Once the brackets are securely fixed, lift the outdoor unit onto the brackets and ensure it is level and stable.
- Secure the Unit: Tighten the brackets to hold the outdoor unit in place. Double-check for stability to prevent any shifting or vibrations during operation.
Mount the Outdoor Unit
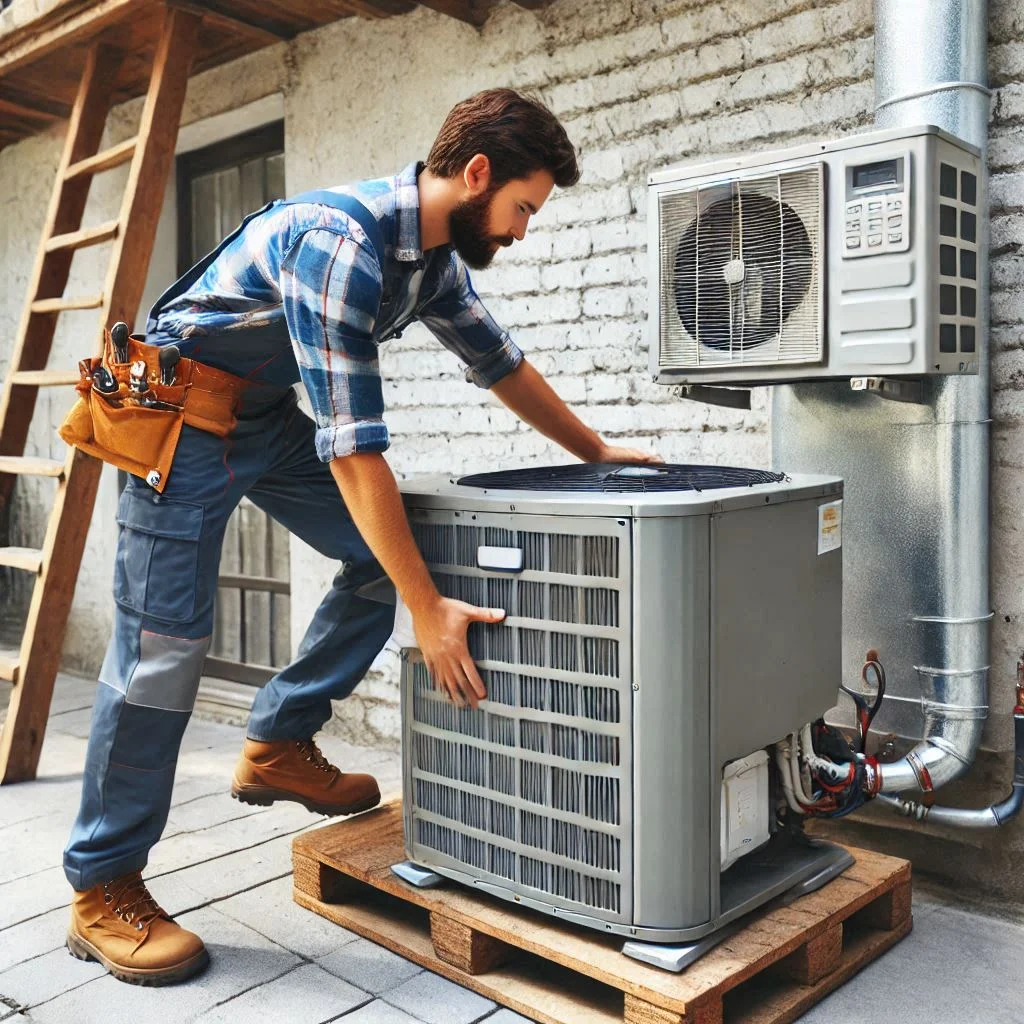
With the concrete pad or brackets securely in place, it’s time to mount the outdoor unit. Proper mounting ensures that the unit is stable and prevents unnecessary vibrations that can affect the overall performance of the air conditioner.
Steps to Mount the Outdoor Unit:
- Lift and Position the Outdoor Unit: Carefully lift the outdoor unit and position it on the prepared concrete pad or onto the mounting brackets. Ensure the unit is level to avoid strain on the system.
- Ensure Proper Alignment: Make sure that the outdoor unit is aligned with the refrigerant pipes and cables coming from the indoor unit. The pipes should be free of sharp bends to ensure the refrigerant flows smoothly.
- Secure the Unit: Once positioned, secure the outdoor unit to the mounting brackets or ensure it rests firmly on the concrete pad. Double-check all connections for stability and correct placement.
Connect the Wires and Piping
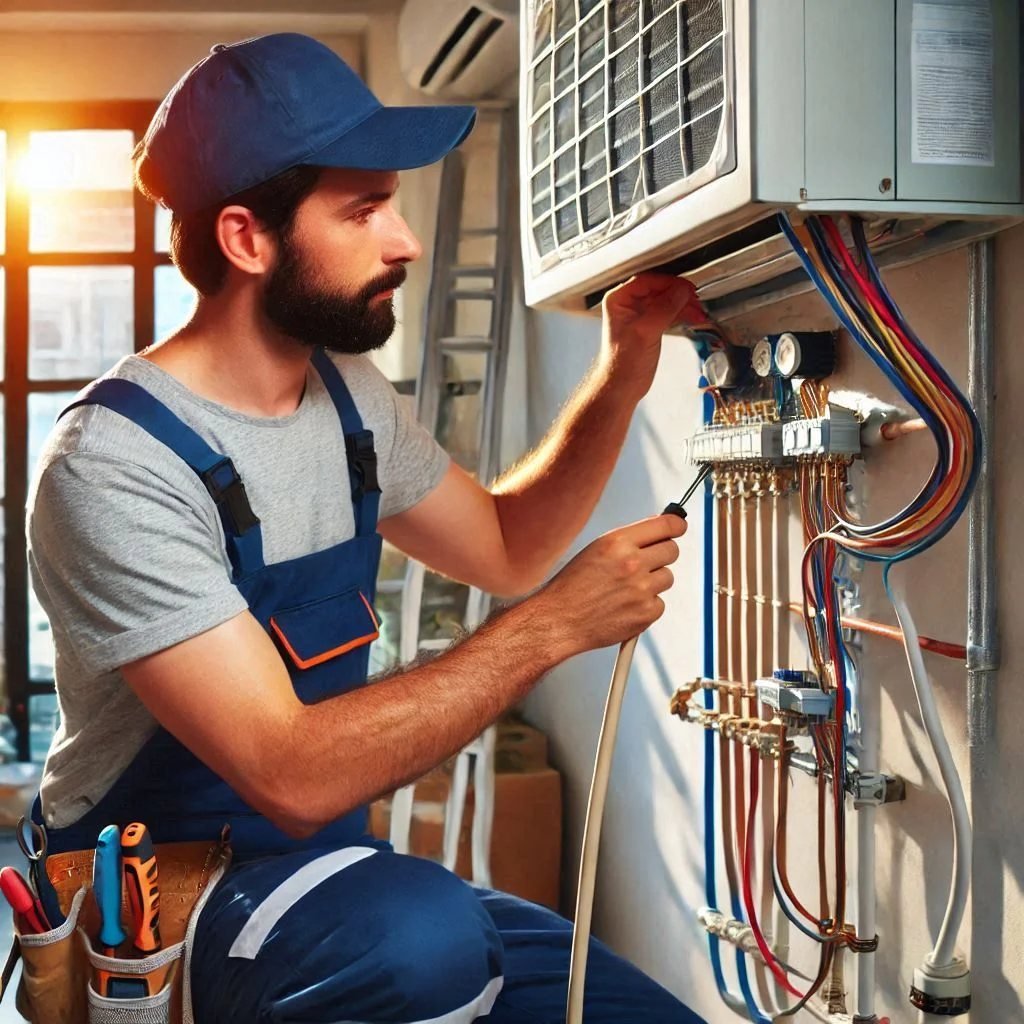
Once the outdoor unit is mounted and stable, it’s time to connect the necessary wires and refrigerant piping between the indoor and outdoor units. This step ensures the system is ready to operate and allows the unit to exchange heat effectively.
Steps for Connecting the Wires and Piping:
- Connect the Refrigerant Pipes: Attach the liquid and gas refrigerant pipes to the corresponding ports on the outdoor unit. Make sure the connections are tight to avoid refrigerant leaks. Use appropriate tools to secure the connections.
- Install the Drainage Pipe: If necessary, connect the drainage pipe to the outdoor unit. The drainage pipe allows for the expulsion of any excess moisture produced during the cooling process.
- Connect Electrical Wires: Connect the power supply wires to the outdoor unit’s terminal block. Ensure each wire is connected to the correct terminal (live, neutral, and ground) to prevent electrical hazards.
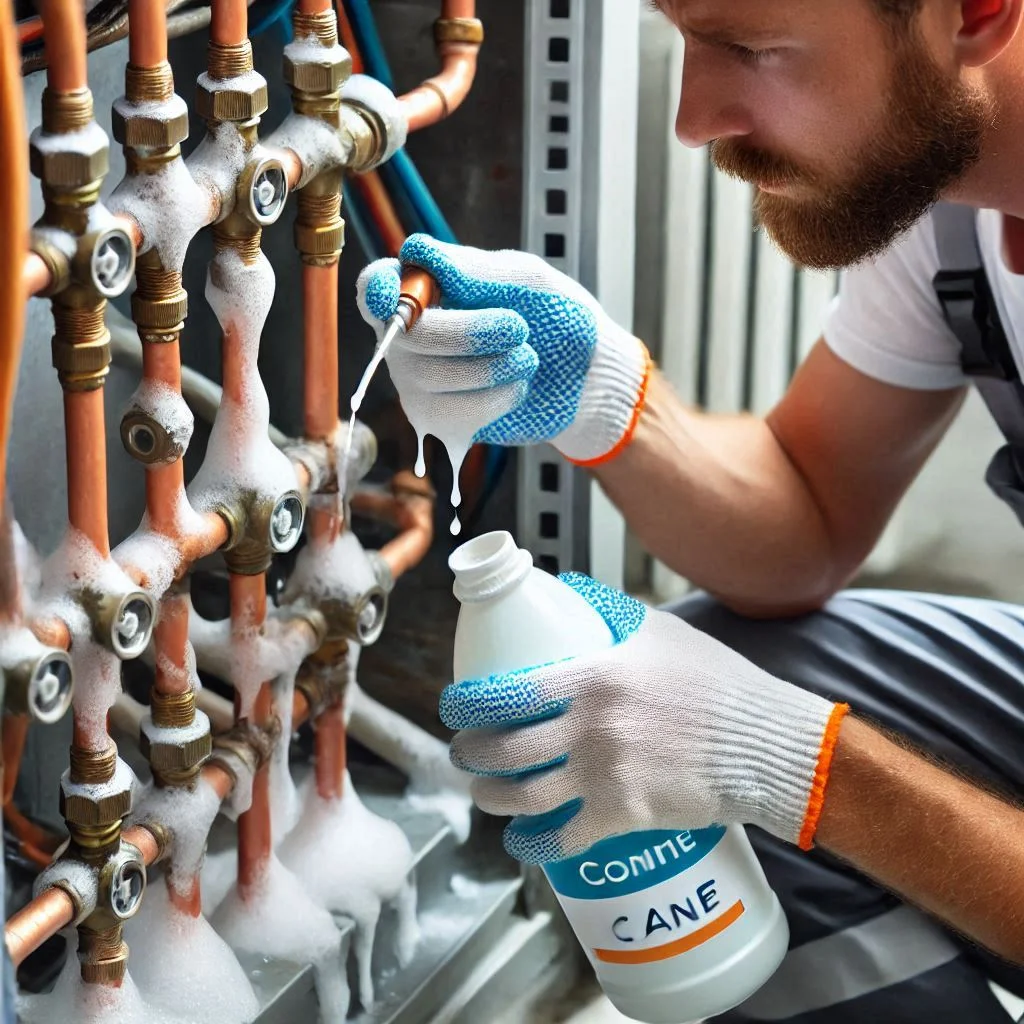
- Check for Leaks: After making all connections, check the refrigerant pipes for any leaks. You can use a soap solution to detect leaks by applying it to the pipe joints. If bubbles form, there is a leak, and the joint needs to be tightened or resealed.
Final Adjustments and Maintenance Tips
After successfully installing your wall-mounted air conditioner, performing final adjustments and establishing a routine maintenance plan is essential for ensuring optimal performance and longevity. Here’s a detailed guide to fine-tuning your air conditioner and maintaining it over time.
Final Adjustments for Optimal Performance
Once your wall-mounted air conditioner is installed, making final adjustments is essential to ensure the system works efficiently. These adjustments optimize the cooling performance, prevent issues, and contribute to energy savings.
1. Adjust Temperature Settings:
After the installation, turn on your air conditioner and set the temperature to your desired level. Most units will have a temperature range to choose from, and the recommended range for comfort is between 72°F and 78°F (22°C and 26°C). Make sure the unit cycles on and off properly without excessive energy consumption.
2. Test Airflow and Cooling Efficiency:
Check the airflow of your air conditioner by standing near the unit or using a handheld thermometer. Ensure the air is being distributed evenly across the room, and there are no hot spots or cold spots. If the airflow is weak, check for any blockages in the indoor or outdoor unit that may impede air circulation.
3. Check for Leaks:
Inspect the refrigerant lines and connections for any potential leaks. Even a small leak can reduce cooling efficiency and increase energy consumption. You can apply a soap solution to the refrigerant pipes to check for leaks; if bubbles form, tighten the connections.
4. Level the Unit:
Ensure the indoor and outdoor units are correctly leveled. An improperly leveled unit can cause drainage issues or affect the refrigerant flow, leading to reduced cooling efficiency or damage to the system over time.
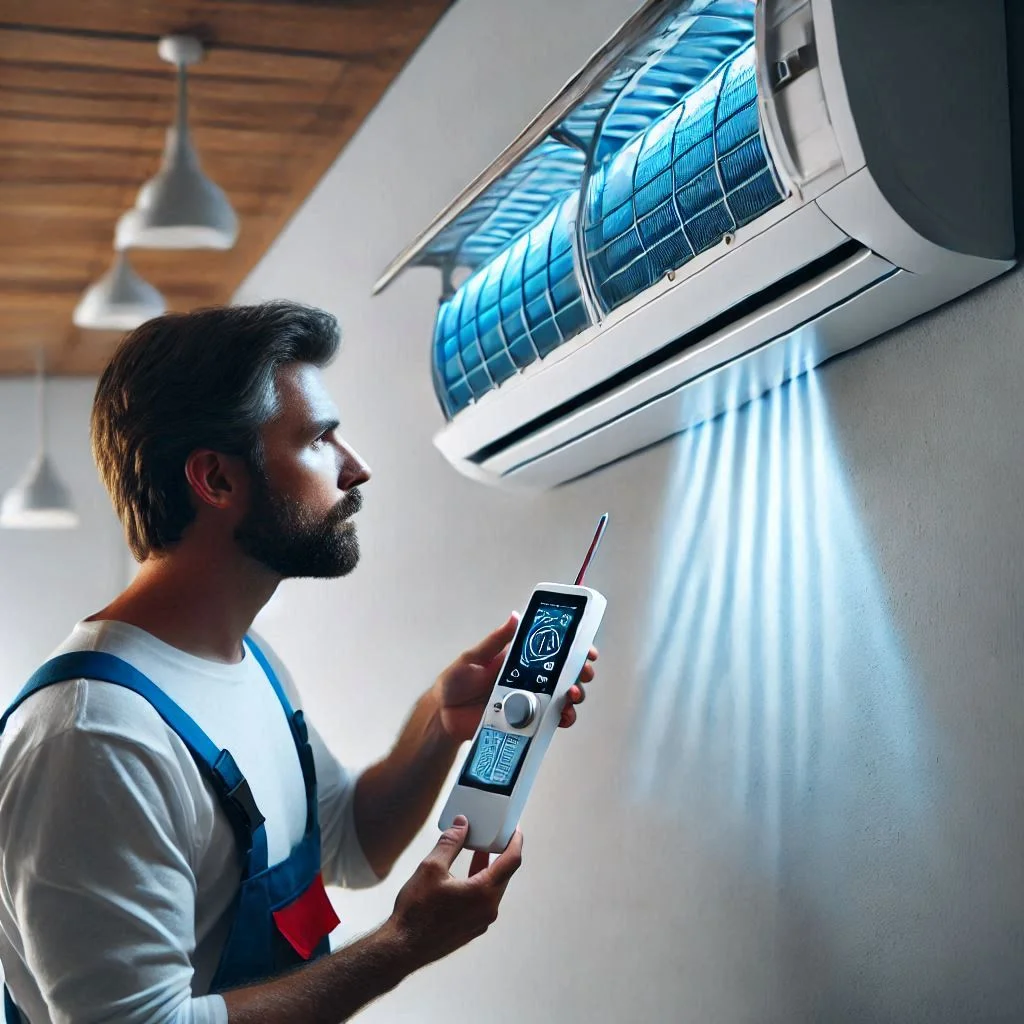
5. Check Remote Control or Wi-Fi Settings:
If your unit includes smart features such as Wi-Fi control or a remote control, make sure these settings are functioning correctly. Test the remote or app and ensure the connection is stable. Smart features like timers, scheduling, and temperature sensors can enhance energy efficiency and convenience.
Tips for Maintaining Your Wall-Mounted Air Conditioner
Regular maintenance is essential for keeping your air conditioner running smoothly and efficiently. Proper care can prolong the lifespan of the unit, reduce the risk of expensive repairs, and ensure consistent performance.
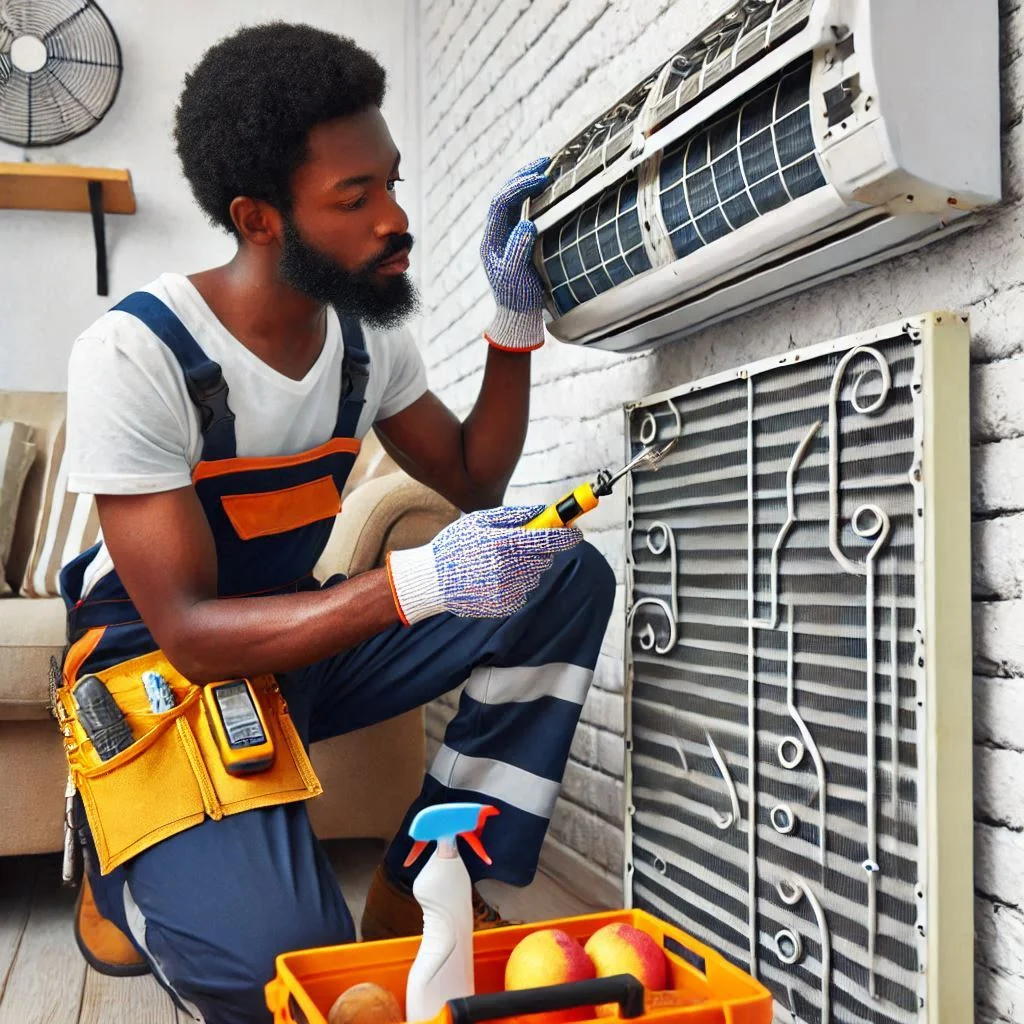
1. Clean the Filters Regularly:
The air filters in your air conditioner trap dust, dirt, and debris, but over time they can become clogged, reducing airflow and efficiency. To maintain optimal performance, clean or replace the filters every 1–3 months, depending on usage. This will ensure proper airflow and help maintain indoor air quality.
2. Inspect and Clean the Coils:
Both the evaporator and condenser coils play a critical role in cooling efficiency. Over time, the coils can accumulate dirt, which can obstruct airflow and reduce cooling performance. Regularly clean the coils using a soft brush or coil cleaner to prevent dirt buildup. This should be done at least once a year or more frequently if you live in a dusty area.
3. Drain Line Maintenance:
The drainage line allows excess moisture to exit the unit. If the drain line becomes clogged, it can cause water damage and affect the cooling process. Inspect the drain line periodically for blockages, and clear it if necessary to prevent mold or algae buildup.
4. Check for Ice Buildup:
If your air conditioner isn’t cooling properly, ice may form on the evaporator coils due to poor airflow or low refrigerant levels. Turn off the unit and allow it to defrost before checking for any blockages or leaks. If the problem persists, contact a professional technician to check refrigerant levels and other components.
5. Schedule Professional Maintenance:
While DIY maintenance is essential, it’s equally important to schedule regular professional inspections to ensure your system remains in top condition. An HVAC technician can inspect refrigerant levels, check electrical components, and clean internal parts that are difficult to reach. It’s recommended to have professional maintenance performed once a year before the cooling season begins.
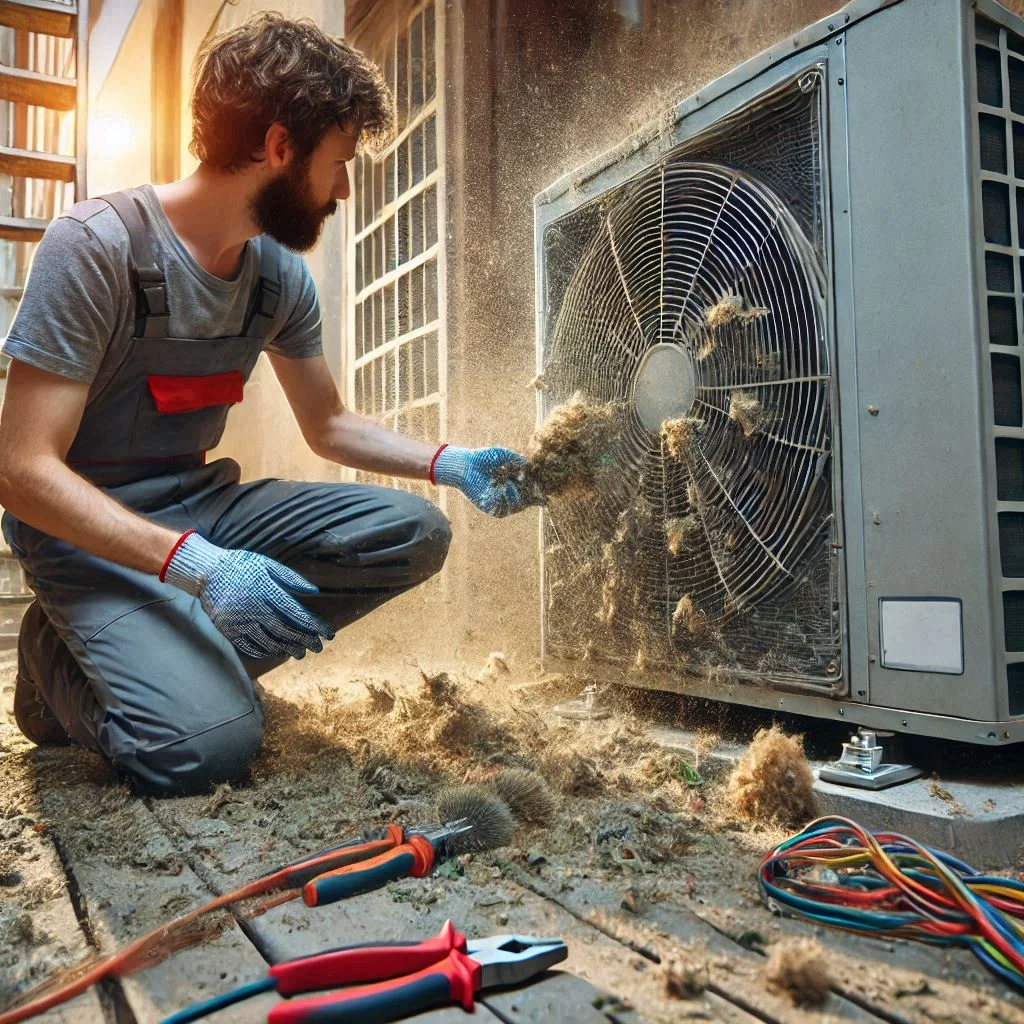
6. Keep the Outdoor Unit Clean:
The outdoor unit is exposed to the elements, so it’s essential to keep it clean and free from debris. Trim any plants, leaves, or grass around the unit to ensure proper airflow. You should also clean the exterior of the unit regularly to prevent dirt and grime buildup.
7. Monitor the System’s Performance:
Pay attention to any unusual sounds, smells, or changes in performance. If your air conditioner is making strange noises, emitting a burning smell, or not cooling as effectively, it could indicate an underlying problem that needs to be addressed. Early detection of issues can prevent costly repairs.
Common Issues and Troubleshooting
During the installation and operation of wall-mounted air conditioners, various issues may arise. Identifying and resolving these problems promptly is key to ensuring optimal performance and preventing costly repairs. In this section, we’ll explore common issues that can occur during installation and how to troubleshoot them for a smooth installation process. Additionally, we will provide tips on avoiding leaks and ensuring proper cooling to maintain system efficiency.
Common Mistakes During Installation
While installing a wall-mounted air conditioner, it’s easy to make mistakes that could affect its performance, efficiency, or even cause damage to the system. Avoiding these common mistakes will ensure a hassle-free installation process and enhance the overall lifespan of the air conditioner.
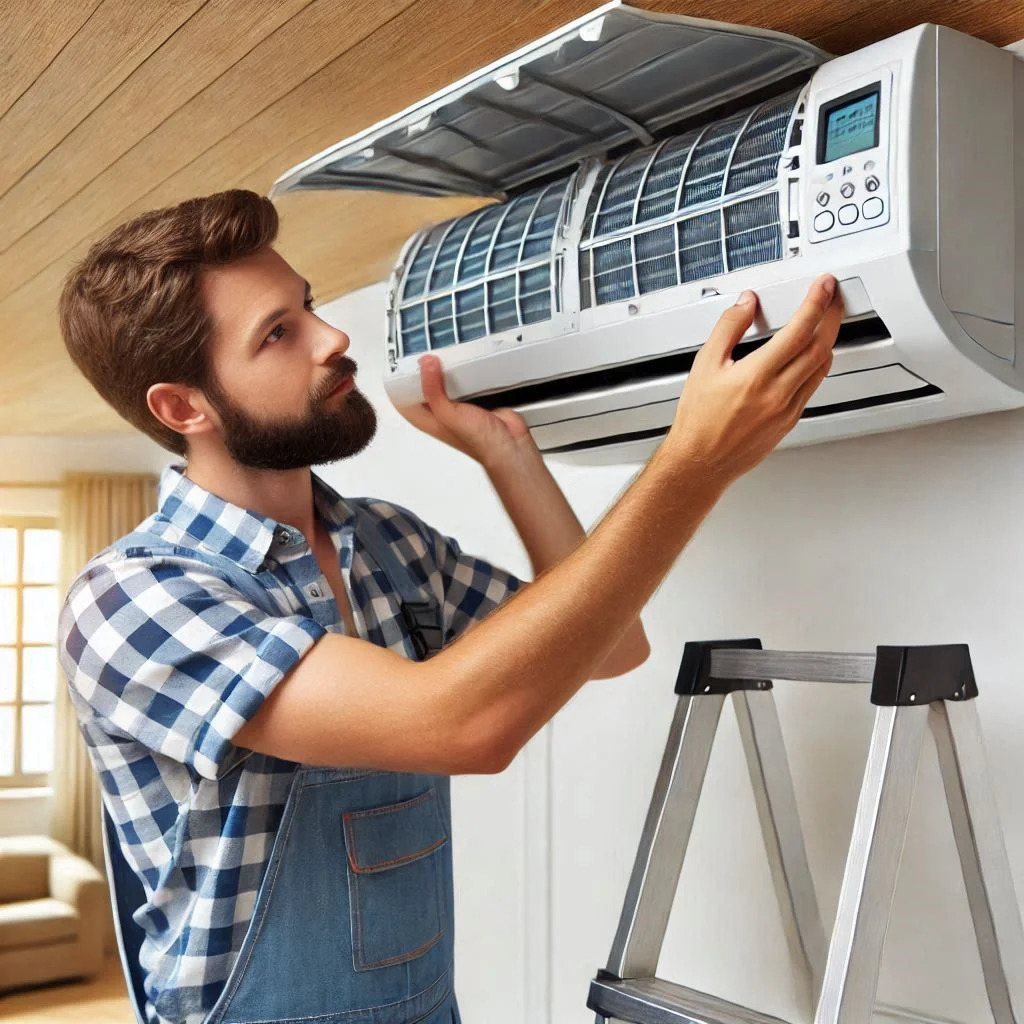
1. Incorrect Mounting of the Indoor Unit:
One of the most common mistakes during installation is failing to mount the indoor unit at the correct height or angle. If the unit is not positioned at a proper height, the airflow may not distribute evenly, leading to hot spots and uneven cooling in the room.
Solution: Ensure that the indoor unit is mounted at least 7-8 feet above the floor, with enough space around it for proper airflow. This allows the cool air to circulate effectively across the room. Additionally, mount the unit slightly tilted downwards to encourage the flow of condensate water.
2. Misalignment of the Outdoor Unit:
Placing the outdoor unit in an area where airflow is restricted or not aligning the unit properly with the refrigerant lines can lead to inefficient cooling and higher energy consumption. A misaligned outdoor unit can also cause damage over time due to improper refrigerant flow or unstable mounting.
Solution: Ensure that the outdoor unit is placed in an area with adequate ventilation, free from obstructions, and mounted securely on a concrete pad or brackets. Check the refrigerant pipes for kinks or bends that could obstruct the flow of refrigerant.
3. Electrical Connection Issues:
Incorrect or loose electrical connections can cause the air conditioner to malfunction or even pose a safety hazard. Wiring errors during installation can lead to short circuits, power surges, or electrical fires.
Solution: Double-check all electrical connections before powering up the unit. Ensure that the power supply is compatible with the unit’s voltage, and make sure all wiring is securely connected. For safety, always hire a licensed electrician if you’re unsure about the electrical setup.
4. Not Securing the Refrigerant Lines Properly:
Loose or improperly connected refrigerant lines are a common installation mistake. Leaks in these lines can cause a loss of refrigerant, resulting in poor cooling performance and increased energy usage.
Solution: Ensure all refrigerant lines are connected tightly and securely. Use the appropriate connectors and clamps, and check for leaks by applying a soapy solution to the joints. Tighten any connections where bubbles appear.
How to Avoid Leaks and Ensure Proper Cooling
Refrigerant leaks and inadequate cooling are common issues that can arise during the operation of a wall-mounted air conditioner. Proper installation, maintenance, and care can prevent these issues from occurring, ensuring your air conditioner runs smoothly and efficiently.
1. Preventing Refrigerant Leaks:
Refrigerant leaks are one of the most common issues that affect the cooling efficiency of an air conditioner. Even a small leak can significantly reduce cooling capacity and lead to higher energy consumption.
Tips for Preventing Leaks:
- Tighten Connections: Ensure that all refrigerant line connections are tight and secure during installation. Any loose connection can cause refrigerant to escape over time.
- Use Proper Insulation: Insulate refrigerant lines, especially if they run through walls or ceilings, to prevent heat exchange and potential leaks due to thermal expansion or contraction.
- Inspect Regularly: Periodically inspect the refrigerant lines and connections for signs of wear, corrosion, or damage. If you suspect a leak, call a professional technician to refill the refrigerant and seal the leak.
2. Ensuring Proper Airflow for Optimal Cooling:
Another issue that can affect cooling performance is inadequate airflow. Blocked air vents, improperly positioned units, and dirty filters can all restrict the airflow and cause uneven cooling or insufficient performance.
Tips for Ensuring Proper Airflow:
- Clear Obstructions: Make sure there are no obstructions near the indoor or outdoor units that could block airflow. This includes furniture, drapes, or large objects placed too close to the units.
- Clean the Filters Regularly: Clogged filters are one of the most common causes of restricted airflow. Make sure to clean or replace the air filters every 1-3 months to maintain efficient airflow.
- Check the Vent Direction: The direction of the air vents inside the indoor unit should be adjusted to ensure that the cool air is directed towards the areas that need it most. Avoid pointing the vents directly at walls or objects that could deflect the air.
3. Check the Outdoor Unit’s Condition:
The outdoor unit needs to be clear of debris such as leaves, grass, or dirt that can obstruct airflow. A dirty outdoor unit can significantly reduce cooling efficiency and cause the system to overheat.
Solution: Regularly clean the exterior of the outdoor unit to remove dirt and debris. Make sure there are no plants, branches, or other obstructions blocking the intake and exhaust areas. Keep the unit clean and ensure it is free from dirt, dust, and leaves.
4. Ensure Proper Drainage:
Condensate water from the indoor unit must be drained effectively to prevent water buildup inside the unit. Blockages in the drainage system can lead to water leakage, mold growth, and poor performance.
Solution: Inspect the drainage pipe regularly to ensure it’s free of clogs. If water is not draining properly, clear the pipe or call a professional for maintenance.
FAQ: Frequently Asked Questions
When installing a wall-mounted air conditioner, many homeowners and DIY enthusiasts have a range of questions. Below are the most frequently asked questions (FAQs) to help guide you through the process and ensure your air conditioner operates efficiently and effectively.
1. How High Should the Indoor Unit Be Installed?
Answer:
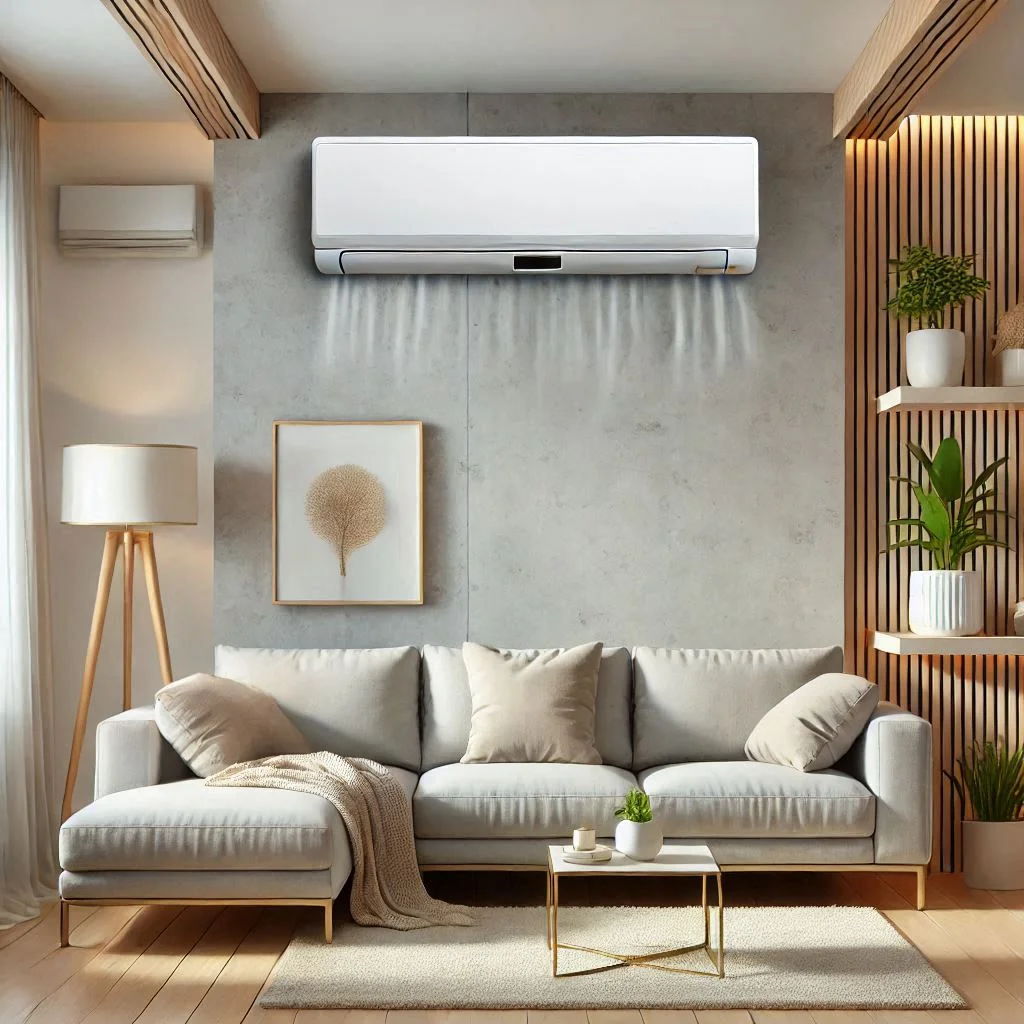
The height at which the indoor unit of your air conditioner is installed plays a crucial role in ensuring proper airflow and efficient cooling. The ideal installation height for a wall-mounted AC unit is generally between 7 to 8 feet above the floor. This allows the cool air to circulate properly throughout the room while also promoting efficient drainage of condensed water.
Why is this height important?
- Better Airflow Distribution: Mounting the unit too low can cause airflow to be restricted, while mounting it too high can lead to uneven cooling.
- Condensation Drainage: A unit mounted too low may struggle with proper drainage of condensed water, which could lead to water pooling and potential damage.
Tip: Avoid mounting the unit directly above furniture or other obstructions that may block airflow. It’s essential to have an open area in front of the unit to allow cool air to circulate freely.
2. What Is the Ideal Location for the Outdoor Unit?
Answer:
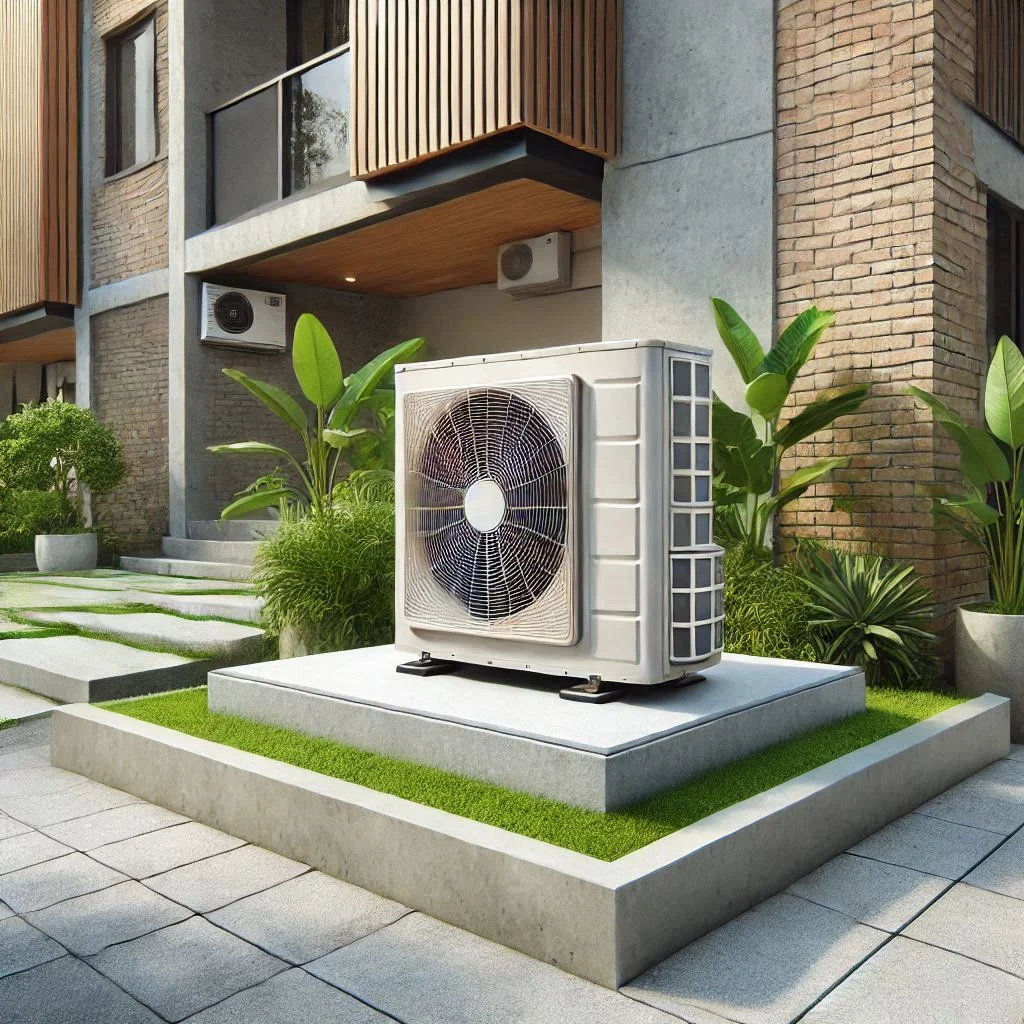
Choosing the right location for the outdoor unit is crucial for the overall efficiency of the air conditioning system. The outdoor unit should be placed in an area that provides adequate airflow, is sheltered from extreme weather conditions, and allows for easy access for maintenance.
Ideal Location Characteristics:
- Good Ventilation: The outdoor unit needs to have ample space around it for proper airflow. Ideally, the unit should be placed in an open area, free from obstructions like plants, walls, or debris that could block the intake and exhaust air.
- Flat Surface: Ensure that the outdoor unit is placed on a flat surface, such as a concrete pad or mounted securely to the wall, to prevent any vibrations or movement.
- Avoid Direct Sunlight: While the outdoor unit is designed to withstand heat, prolonged exposure to direct sunlight can reduce its efficiency. Try to place the unit in a shaded area or away from heat sources.
3. Can I Install a Wall-Mounted Air Conditioner Myself?
Answer:
While it’s possible to install a wall-mounted air conditioner yourself, it’s generally recommended to hire a professional for the installation. Installing an air conditioner involves complex electrical and plumbing work, including electrical wiring, refrigerant line connections, and ensuring the unit is mounted securely. Improper installation can result in poor cooling performance, increased energy consumption, and potential damage to the unit.
Why You Should Consider Professional Installation:
- Electrical Connections: Handling electrical connections and ensuring the system is safely wired requires knowledge and expertise to avoid potential hazards.
- Refrigerant Handling: Refrigerant lines need to be connected correctly to ensure proper system function. Any leaks in the refrigerant system can lead to inefficiency and expensive repairs.
- Expert Installation: Professionals ensure the unit is mounted properly at the correct height, with correct ventilation and drainage, ensuring long-term optimal performance.
4. How Do I Ensure Proper Ventilation for the System?
Answer:
Proper ventilation is key to ensuring that your wall-mounted air conditioner functions efficiently and maintains good air quality in your home. Without proper airflow, the unit may struggle to cool the room effectively, and it may overheat or get clogged with dust and debris.
Tips for Proper Ventilation:
- Keep the Indoor Unit Unobstructed: Ensure that the space around the indoor unit is clear from furniture, curtains, or objects that could block the airflow.
- Maintain the Outdoor Unit: Make sure the outdoor unit has enough clearance around it for proper airflow. Trim any plants, bushes, or trees that may block the unit’s vents.
- Clean Air Filters Regularly: Dirty air filters can restrict airflow, reducing the system’s efficiency. Clean the filters every 1-3 months to maintain optimal ventilation.
5. What Tools Do I Need to Install a Wall-Mounted Air Conditioner?
Answer:
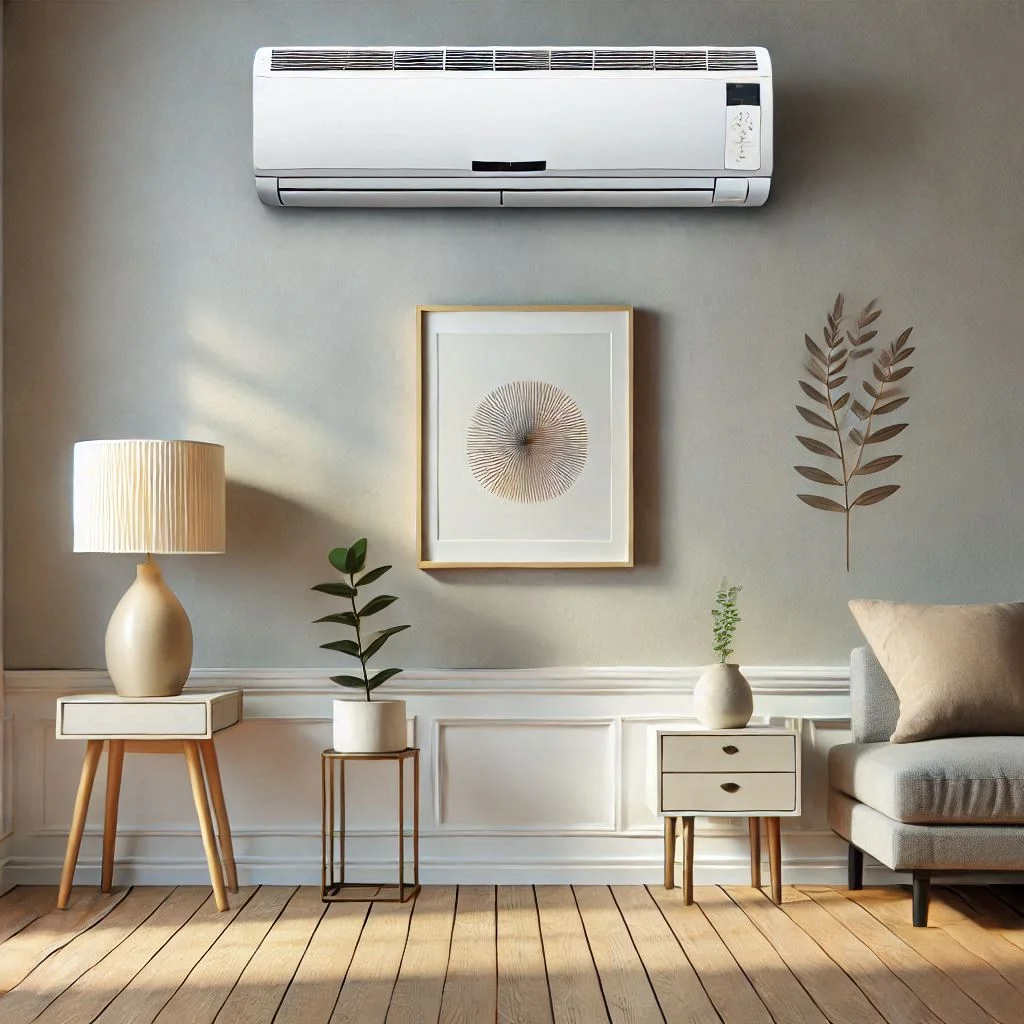
If you decide to install the wall-mounted air conditioner yourself, having the right tools is essential for a smooth and safe installation. Below is a list of the essential tools required for the installation process:
Essential Tools for Installation:
- Drill and Drill Bits: To drill holes in the wall for mounting the unit and refrigerant lines.
- Screwdrivers: To secure the mounting plate and air conditioning unit to the wall.
- Level: To ensure the unit is mounted straight and correctly aligned for optimal performance.
- Measuring Tape: For measuring distances and ensuring accurate placement of the unit.
- Refrigerant Line Wrench: For tightening the refrigerant line fittings.
- Wire Strippers: To strip electrical wires for connections.
- Vacuum Pump: To evacuate air from the refrigerant lines before sealing them.
- Sealant or Insulation Tape: For sealing refrigerant line connections and preventing leaks.
Conclusion
Installing a wall-mounted air conditioner can be a highly effective way to cool your home, providing comfort during the hottest months. However, achieving the best results requires careful planning, precise installation, and ongoing maintenance. From selecting the ideal location for both the indoor and outdoor units to ensuring proper ventilation and preventing common issues like refrigerant leaks, each step plays a crucial role in ensuring the longevity and efficiency of your system. By following the expert tips and troubleshooting advice provided, you can avoid installation pitfalls and keep your air conditioner running smoothly for years to come. Whether you decide to tackle the installation yourself or enlist the help of a professional, the proper approach to installation and maintenance will guarantee optimal cooling performance, energy savings, and a comfortable living space.

