
Why Cleaning Your RV Air Conditioner Filter Is Essential
Keeping your RV air conditioner filter clean is critical for maintaining the overall efficiency of your air conditioning system, ensuring superior air quality inside your RV, and prolonging the lifespan of the AC unit. A neglected filter can lead to various issues, from reduced cooling performance to potential health risks.
Enhanced Efficiency for Optimal Cooling
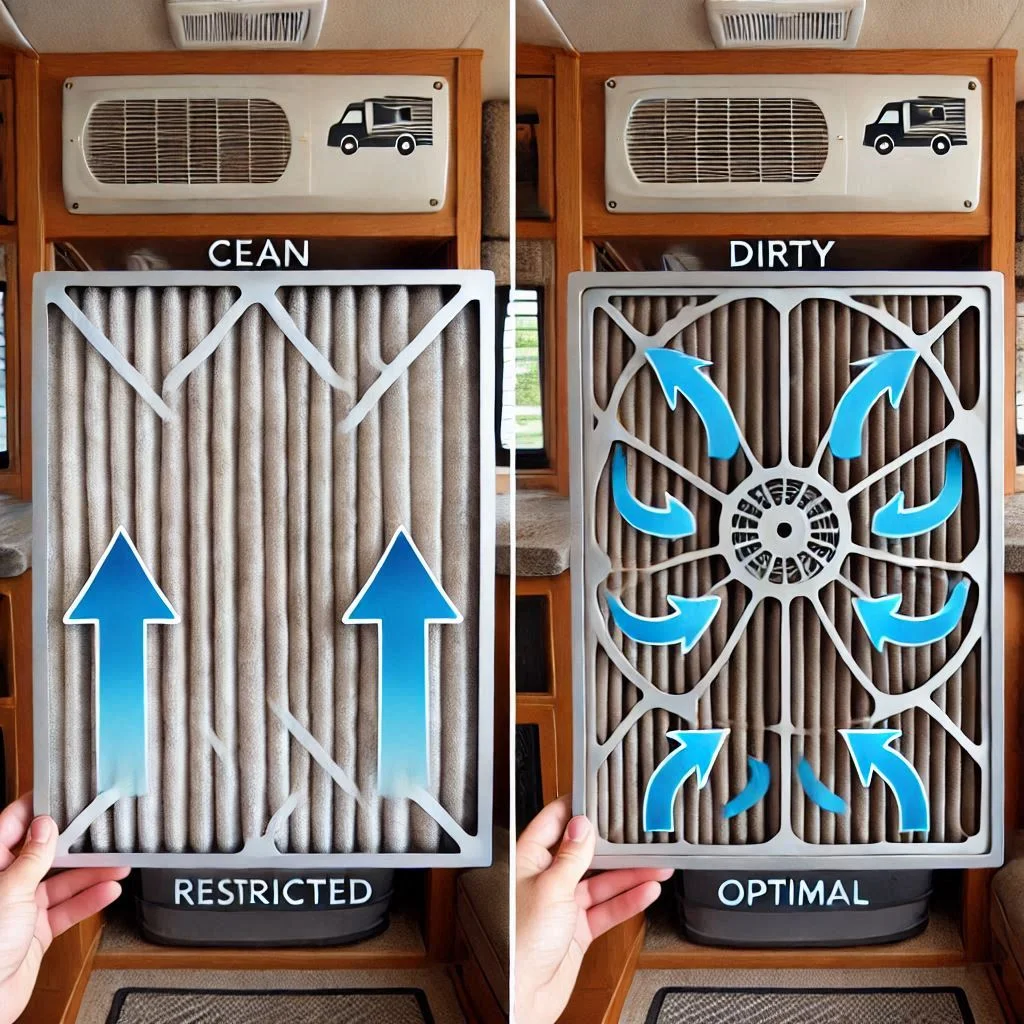
A clean air filter allows your RV’s air conditioning system to function at its best. Dust, dirt, and debris accumulate on the filter over time, restricting airflow. When airflow is obstructed, the system has to work harder to maintain a comfortable temperature, consuming more energy and driving up utility costs. By cleaning the filter regularly, you ensure smooth airflow, helping the system operate efficiently and saving on energy consumption.
Improved Air Quality Inside Your RV
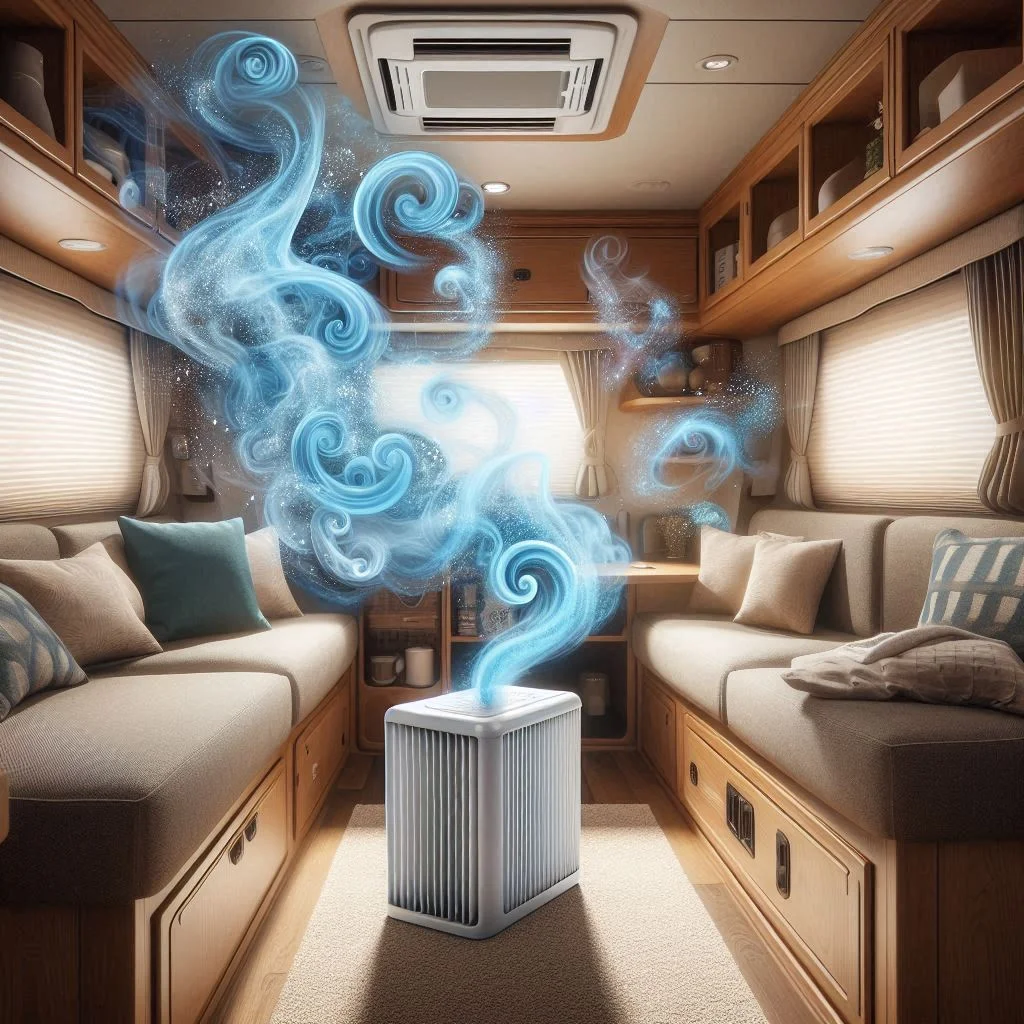
Your RV’s AC filter traps dust, allergens, and microscopic pollutants that circulate in the air. A dirty filter, however, becomes a breeding ground for bacteria, mold, and other contaminants. Over time, these pollutants re-enter the air inside your RV, affecting indoor air quality and potentially causing respiratory issues or allergies. Regular filter cleaning helps eliminate these risks and ensures a fresh, healthy environment for you and your family.
Prolonged Lifespan of Your RV AC System
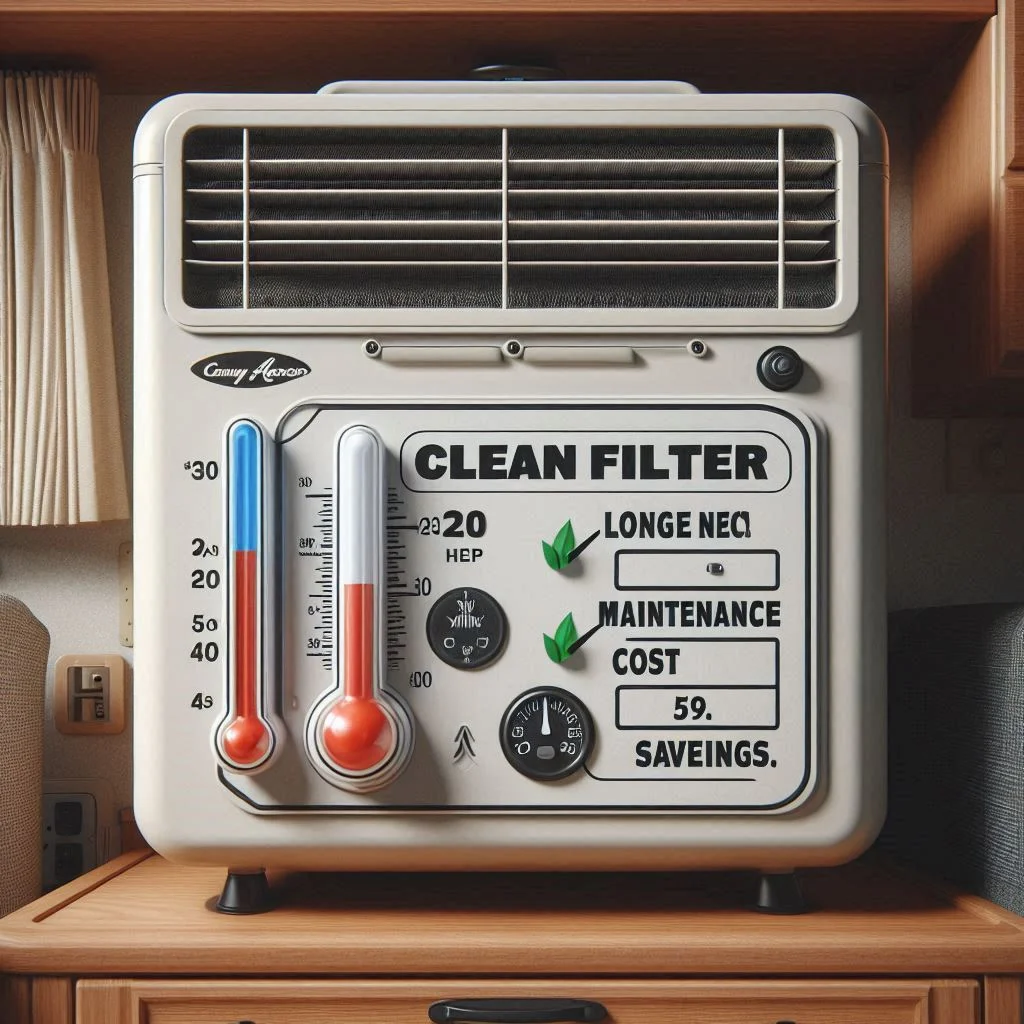
Cleaning your AC filter regularly reduces unnecessary strain on your air conditioning system. When a filter is clogged, the system works harder to pull air through, leading to overheating and wear on essential components. This not only increases the chances of system breakdown but also shortens the lifespan of the AC unit. A clean filter ensures smooth operation, reducing maintenance costs and extending the life of your RV’s cooling system.
The Risks of Neglecting Filter Maintenance
Ignoring filter maintenance can lead to:
- Bacteria and Mold Growth: Dirty filters create a damp environment conducive to harmful bacteria and mold, posing health risks.
- Reduced Cooling Efficiency: Clogged filters block airflow, making the RV AC less effective, especially during peak summer months.
- Higher Energy Costs: The harder your system works, the more electricity it consumes, resulting in elevated energy bills.
- Frequent Repairs: Excessive strain on the system leads to faster wear and tear, requiring costly repairs.
By addressing these risks through routine filter cleaning, you can avoid unnecessary complications and enjoy a cool, healthy, and efficient RV environment.
Step-by-Step Guide to Cleaning Your RV AC Filter
Maintaining your RV’s air conditioning system starts with a clean filter. Cleaning the AC filter not only enhances the unit’s efficiency but also improves air quality inside your RV. Follow these detailed steps to ensure your filter is spotless and your AC system runs optimally.
1. Prepare the AC Unit
Before starting, it is crucial to turn off your RV’s air conditioning system to ensure safety while cleaning. Locate the circuit breaker or power switch for the AC unit and turn it off to prevent accidental activation. This step eliminates risks of electrical hazards or damage to the system during the cleaning process.
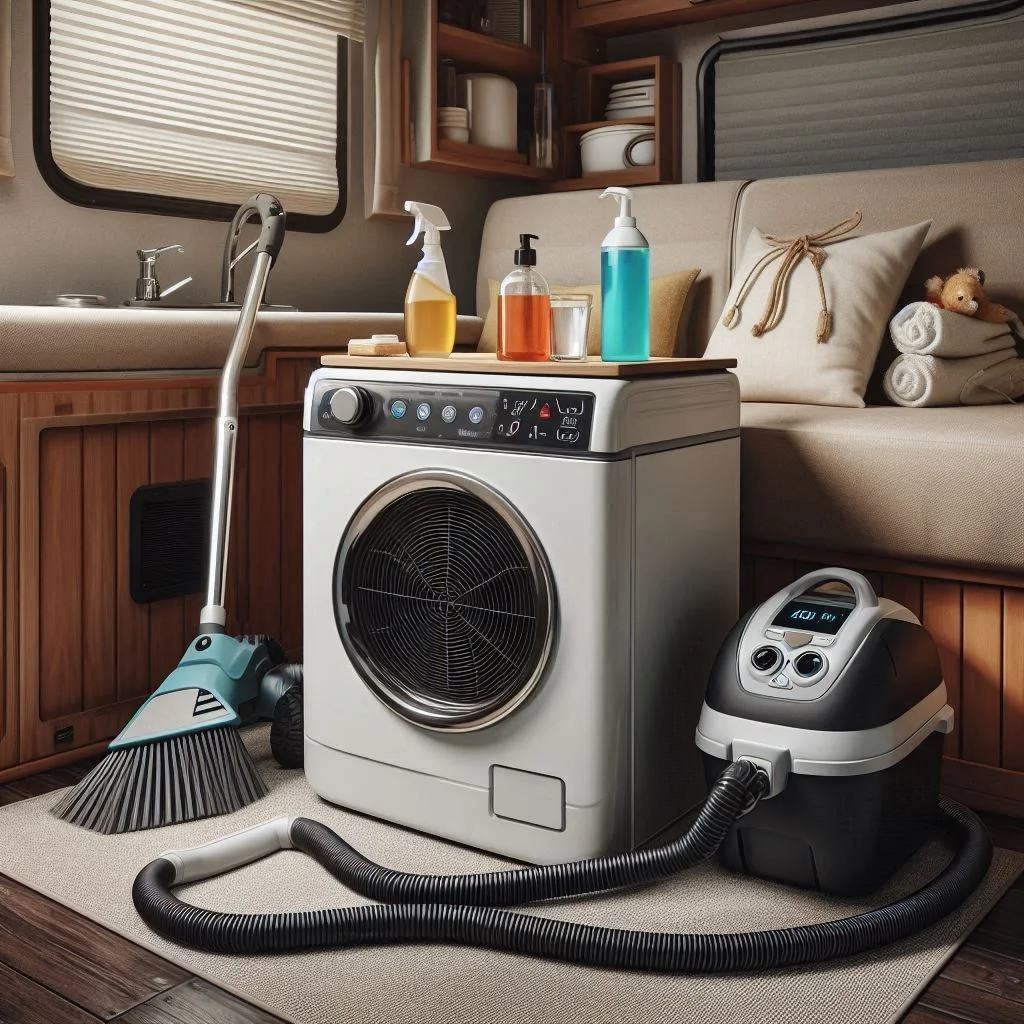
Pro Tip: Gather your cleaning tools, including a vacuum cleaner, mild soap, water, and a clean towel, before beginning.
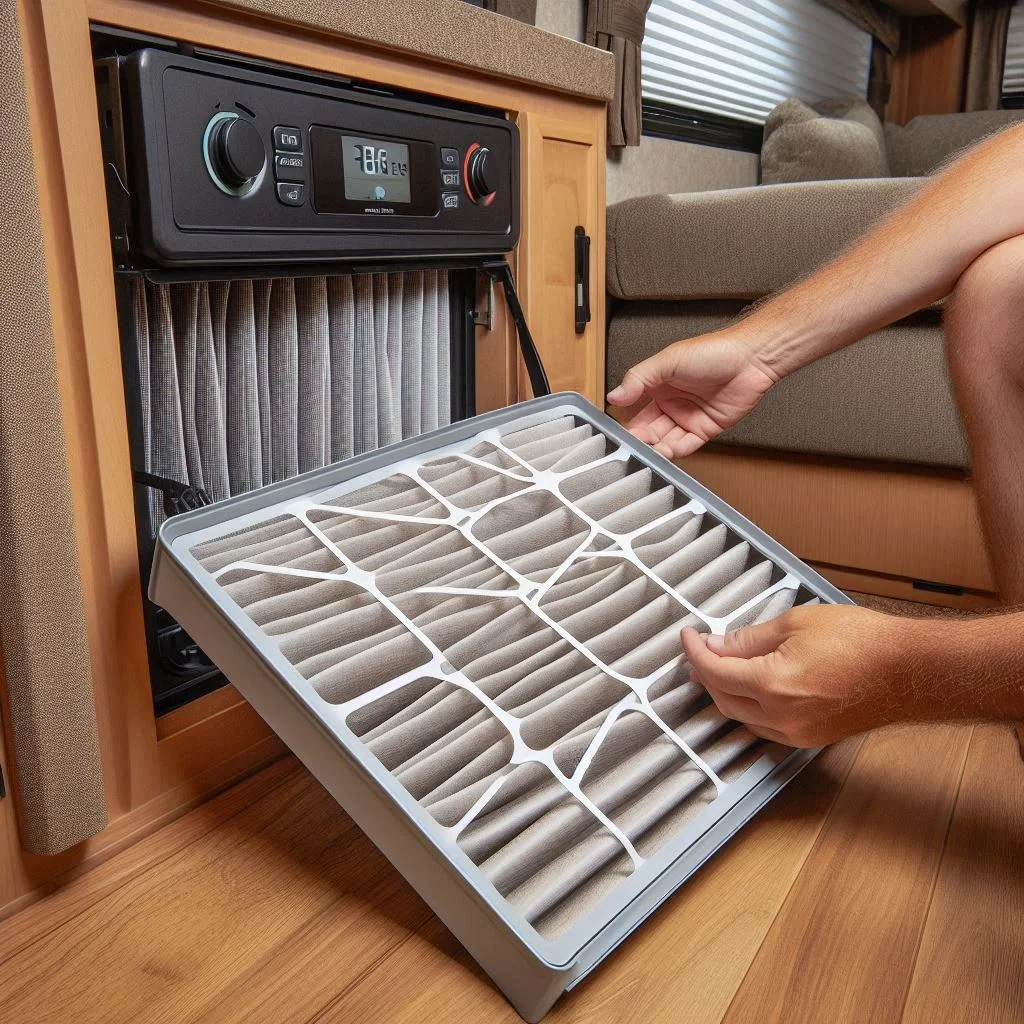
2. Remove the Filter
Locate the filter inside the RV AC unit. Typically, filters are found behind the front grille of the AC. Carefully remove the grille by unscrewing or unclipping it, depending on your unit’s design. Slide the filter out gently to avoid dislodging dust and debris onto the floor or inside the unit.
Pro Tip: Take note of how the filter is positioned, as it must be reinserted the same way.
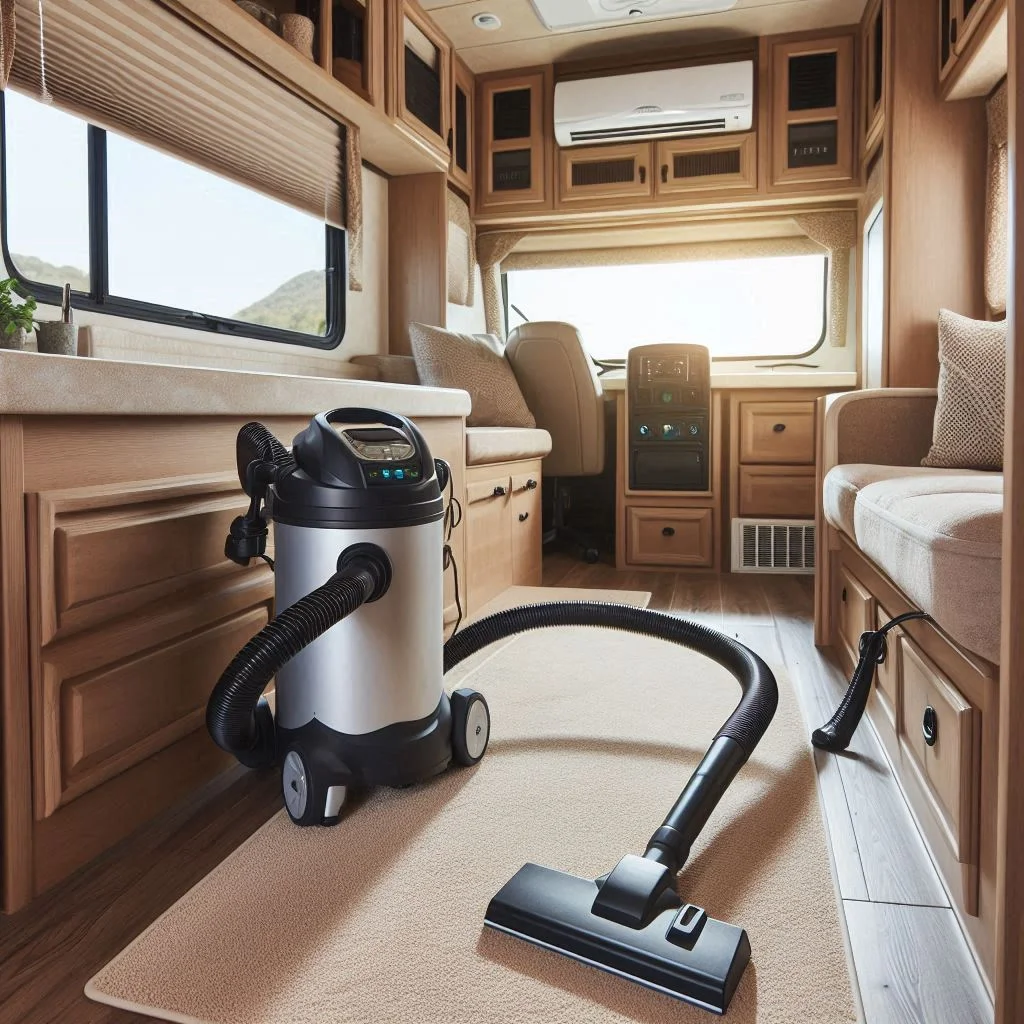
3. Vacuum the Filter
Once removed, use a vacuum cleaner with a brush attachment to remove loose dust and debris from the filter. Run the vacuum over both sides of the filter in a systematic pattern, ensuring all visible dirt is removed. This step helps to clear the surface of the filter before washing it.
Pro Tip: Avoid pressing too hard with the vacuum to prevent damage to the filter material.

4. Wash the Filter
If your filter is washable, rinse it under lukewarm water to remove any remaining dirt. Use a mild soap or specialized AC filter cleaner for thorough cleaning. Gently scrub the filter with a soft brush or sponge to avoid tearing the material.
Pro Tip: Do not use hot water or harsh chemicals, as they can damage the filter.
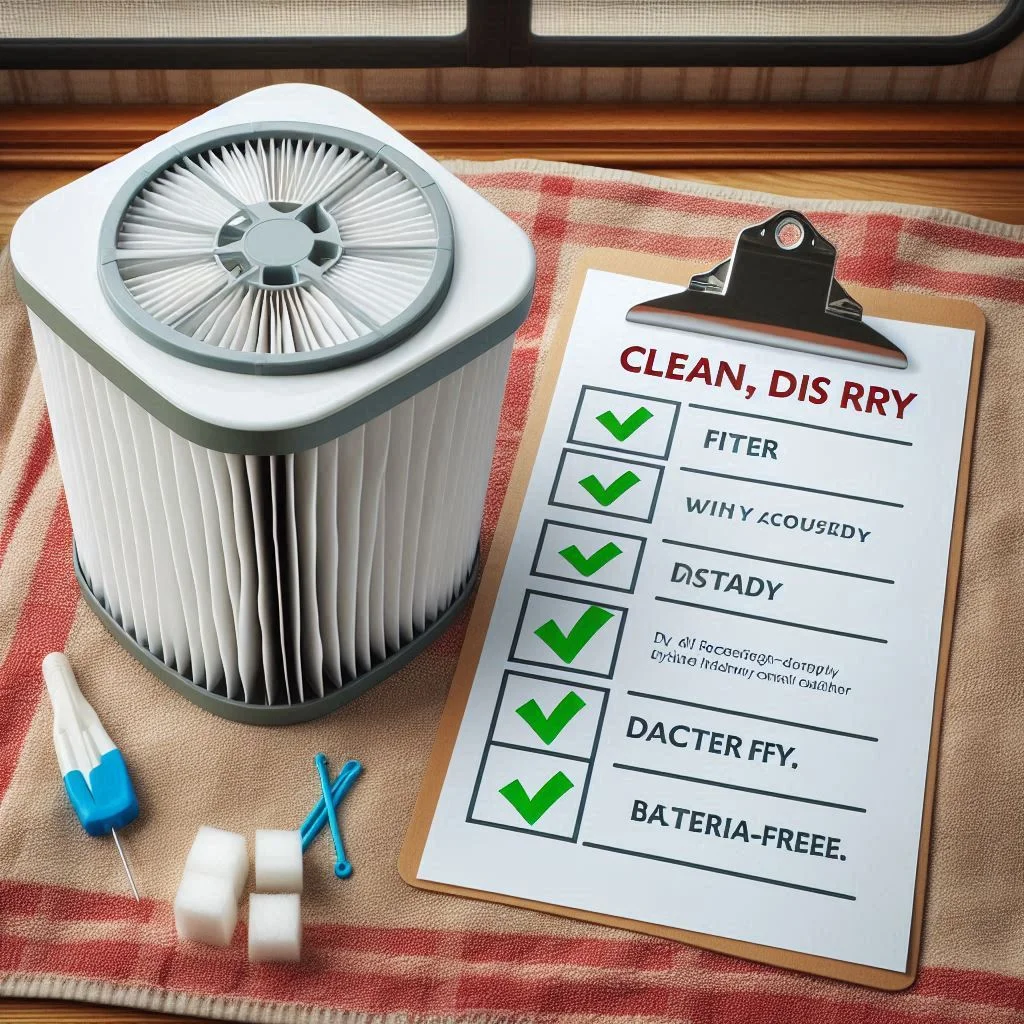
5. Dry the Filter & Place it Back
Allow the filter to air dry completely before reinserting it into the AC unit. Placing a wet filter back can lead to mold growth and bacteria buildup. Once the filter is fully dry, slide it back into its position, ensuring it’s correctly aligned. Secure the front grille and turn the AC unit back on to verify proper functioning.
Pro Tip: Schedule regular cleaning of your RV AC filter every 2-4 weeks, especially during peak usage.
Preventing Bacteria Growth in RV Air Conditioner Filters
Bacteria and mold growth in your RV air conditioner filter can compromise indoor air quality and pose health risks, such as respiratory issues and allergies. By adopting preventive measures, you can ensure a clean, bacteria-free AC system that delivers fresh, cool air. Here’s how you can prevent bacteria growth in your RV AC filters effectively.
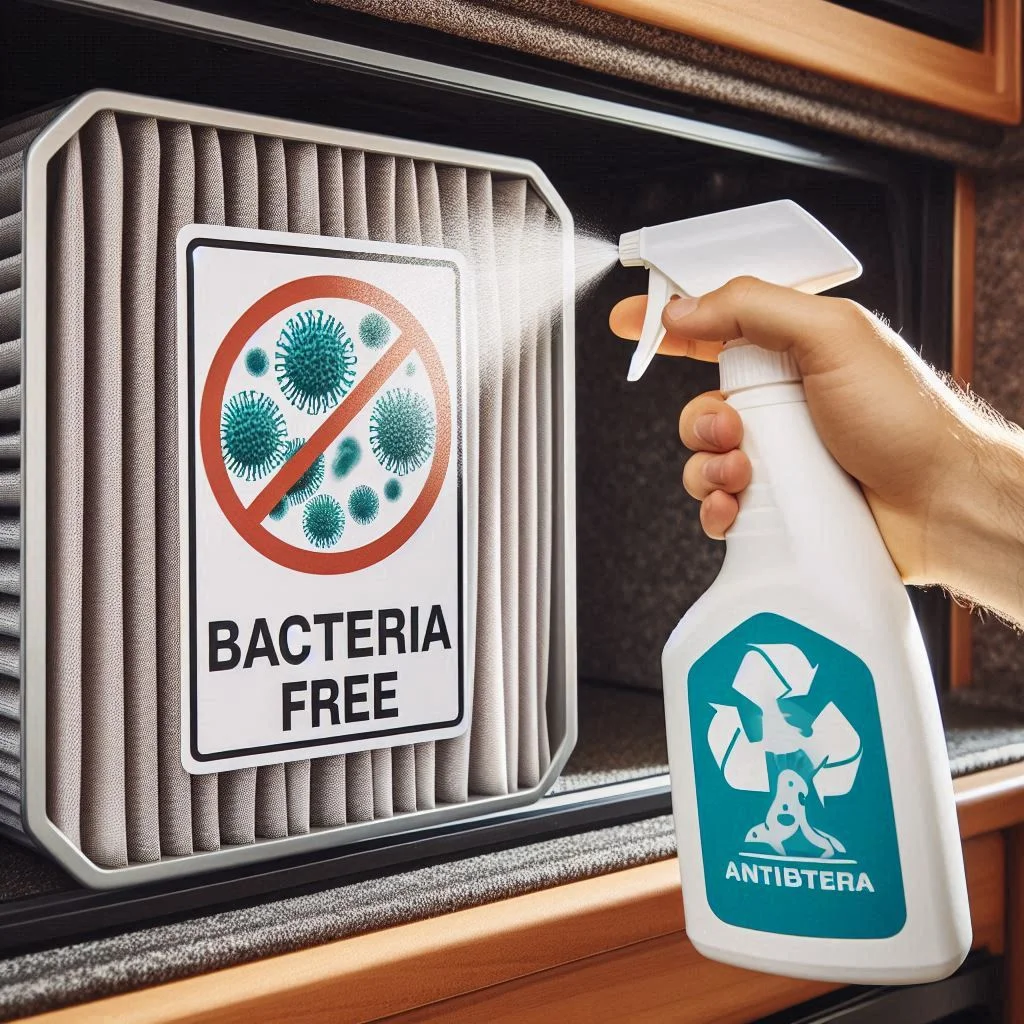
Importance of Antibacterial Sprays or Natural Disinfectants
Using antibacterial sprays or natural disinfectants is an effective way to eliminate bacteria and mold from your RV AC filters. These products kill microorganisms that thrive in moist, dirty filters, ensuring that the air circulating inside your RV remains clean and safe.
- Antibacterial Sprays: Choose a spray specifically designed for HVAC systems. These sprays are easy to use and target bacteria and mold without damaging the filter material.
- Spray the filter lightly after cleaning to add an extra layer of protection against bacteria.
- Let it dry completely before reinserting the filter.
- Natural Disinfectants: If you prefer a chemical-free approach, natural disinfectants like white vinegar or tea tree oil mixed with water work wonders.
- Create a solution using equal parts of water and white vinegar.
- Use a spray bottle to mist the filter and let it dry thoroughly.
Regular Cleaning Schedules to Prevent Bacteria and Mold Buildup
Consistency is key to preventing bacteria and mold growth. Establish a regular cleaning schedule based on your RV usage and environmental conditions.
- Monthly Cleaning Routine:
- Inspect and clean your RV AC filter every 2-4 weeks during peak usage seasons like summer.
- Ensure proper vacuuming, washing, and drying to remove debris and moisture where bacteria thrive.
- Check for Dampness:
- After cleaning, verify that the filter and surrounding components are completely dry. Damp areas can quickly become breeding grounds for mold.
- Use a dehumidifier in your RV to maintain optimal humidity levels, especially in humid climates.
- Replace Filters When Necessary:
- Even with regular cleaning, filters wear out over time. Replace them according to manufacturer recommendations or when you notice reduced performance.
Additional Tips to Prevent Bacteria Growth
- Ventilation: Always run the RV AC system in fan mode for a few minutes after use to remove excess moisture.
- Sun Exposure: If possible, allow sunlight into your RV to reduce dampness and naturally kill bacteria.
- Avoid Overloading the Filter: Don’t use the AC in excessively dusty conditions without first ensuring the filter is ready to handle the workload.
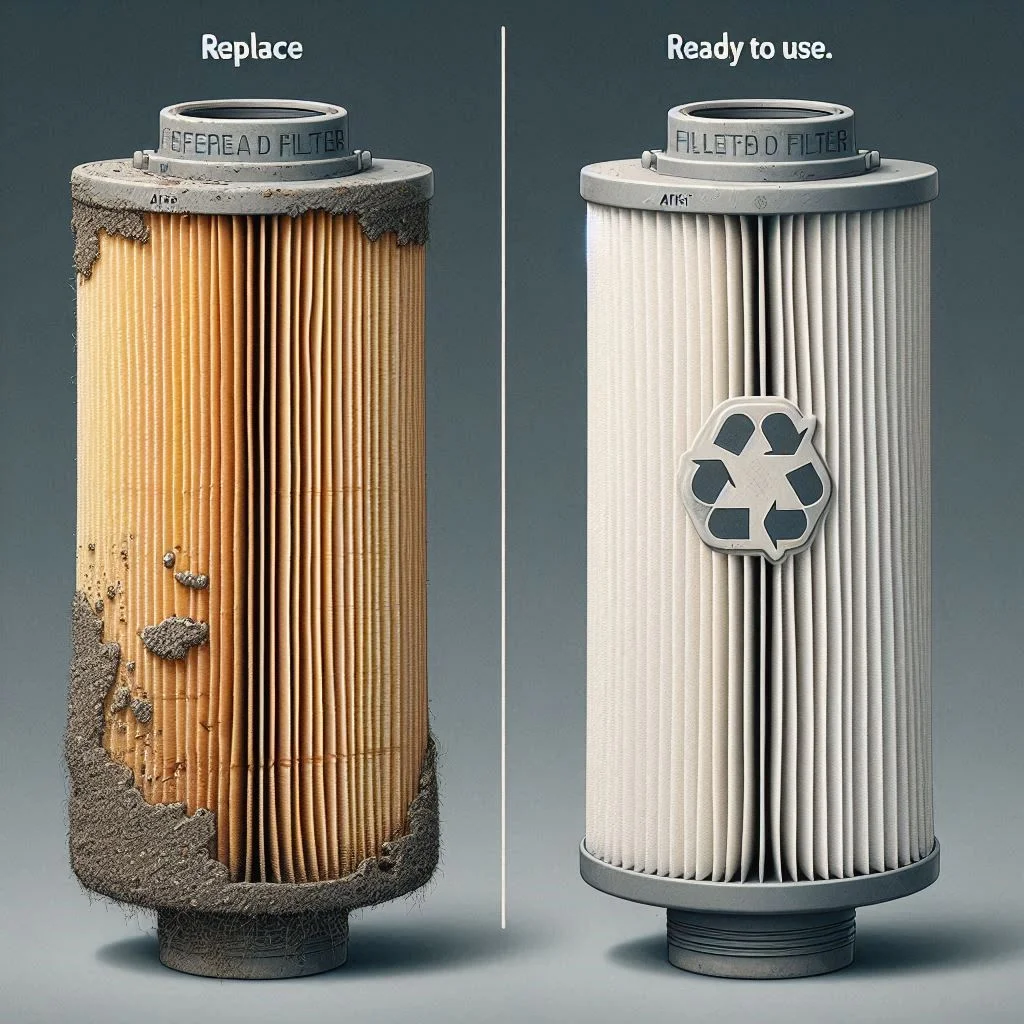
When to Replace Your RV Air Conditioner Filter
Replacing your RV air conditioner filter at the right time is essential to maintain system efficiency, ensure clean air circulation, and avoid unnecessary strain on your AC unit. Knowing the signs of a worn-out filter and understanding the general replacement timelines can save you from costly repairs and discomfort during your travels.
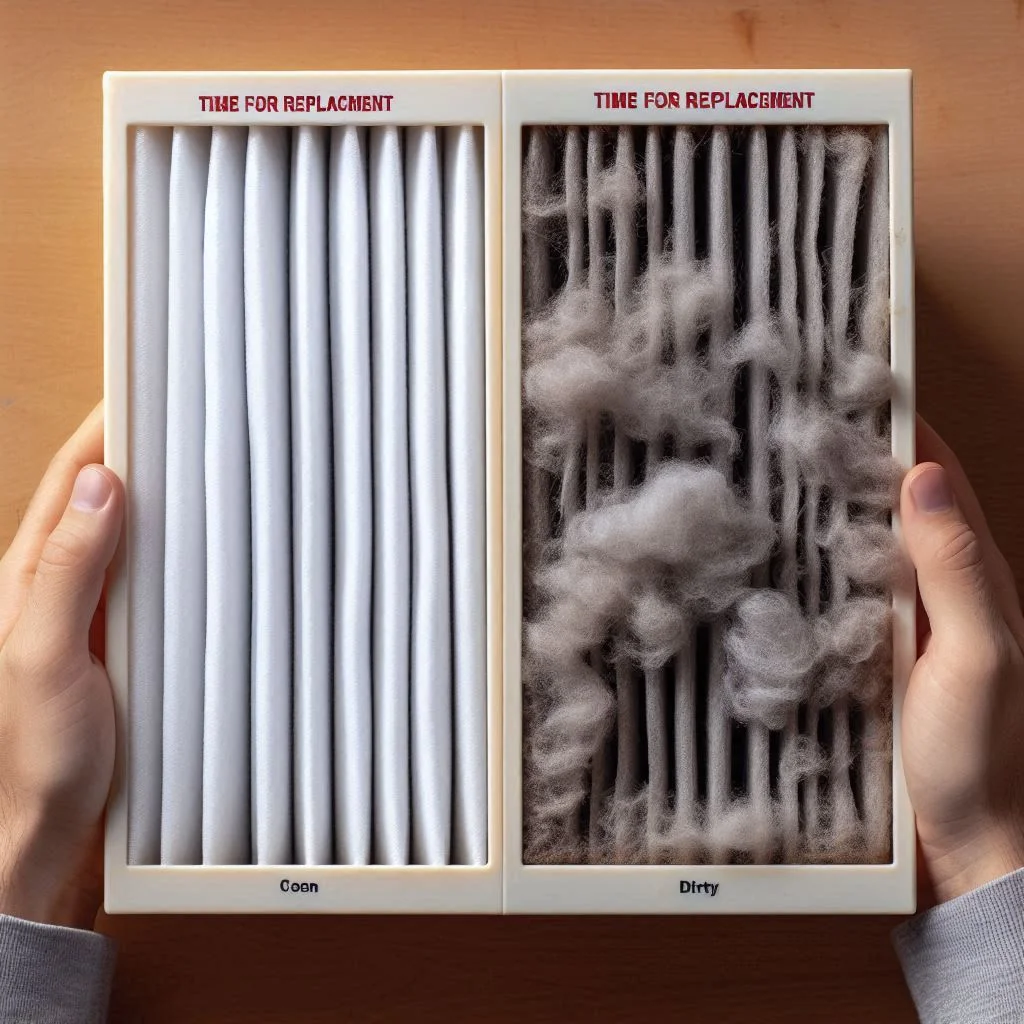
Signs That Indicate a Filter Replacement Is Necessary
- Reduced Cooling Performance
One of the most noticeable signs of a clogged or old filter is diminished cooling efficiency. If your RV AC struggles to cool the space or takes longer than usual to achieve the desired temperature, the filter might be restricting airflow. - Visible Dirt and Debris
Inspect your filter regularly. If it appears dusty, clogged, or covered in debris even after cleaning, it’s time to replace it. Layers of accumulated dirt reduce the filter’s ability to trap airborne particles effectively. - Musty Odors
A persistent musty or unpleasant smell from your AC system could indicate mold or bacteria growth in the filter. If these odors linger despite cleaning efforts, replacement is necessary. - Increased Energy Bills
A dirty or ineffective filter forces your AC unit to work harder, consuming more energy. If you notice a spike in energy consumption, your filter might be the culprit. - Allergy Symptoms or Poor Air Quality
A worn-out filter fails to trap allergens and dust, leading to an increase in allergy symptoms or poor air quality inside your RV.
General Timelines for Replacing Filters Based on Usage
- Frequent Usage (Full-Time RVers)
For those living or traveling in their RV full-time, it’s advisable to replace the filter every 1-2 months. High usage increases the likelihood of dirt accumulation. - Seasonal Usage (Occasional Travelers)
If you only use your RV during specific seasons, such as summer vacations, replacing the filter at the start and end of the season is sufficient. - Environmental Factors
In dusty or high-pollen areas, filters tend to clog faster. Replace filters more frequently, perhaps every 3-4 weeks, if you’re traveling in such conditions. - Manufacturer Recommendations
Always consult the AC unit’s manual for specific guidelines on filter replacement timelines, as recommendations may vary by brand and model.

Why Timely Replacement Matters
- Maintains Efficiency: A clean, functional filter ensures optimal cooling and reduces strain on the AC system.
- Promotes Health: Replacing the filter prevents bacteria, mold, and allergens from circulating in the RV.
- Protects the AC Unit: Regular filter replacement minimizes wear and tear, extending the lifespan of the AC system.
Tips to Maintain Your RV AC Filter
A well-maintained RV AC filter ensures better air quality, efficient cooling, and the longevity of your air conditioning system. Following best practices to care for your filter not only enhances your travel experience but also prevents costly repairs. Below are essential tips for maintaining your RV AC filter effectively.
Regular Cleaning Schedule
- Consistency is Key:
Establish a routine to clean your AC filter every 2-4 weeks, especially during periods of frequent use. Regular cleaning removes dust, debris, and allergens, ensuring your filter remains effective. - Adjust Based on Environment:
If you’re traveling through dusty or high-pollen areas, consider cleaning the filter more often to prevent buildup. - Inspect for Damage:
During cleaning, check for signs of wear, tears, or permanent discoloration. If the filter shows damage despite cleaning, replace it immediately.
Keep the Surrounding Area Dust-Free
- Vacuum Regularly:
Dust and debris near the AC unit can get sucked into the system, clogging the filter more quickly. Vacuum the area around the unit frequently to minimize this risk. - Seal Gaps and Cracks:
Prevent outdoor dust from entering your RV by sealing gaps, doors, and windows. This reduces the workload on the filter by keeping indoor air cleaner. - Use Doormats:
Placing doormats outside and inside your RV doors helps trap dirt and dust before they enter, further reducing airborne particles.
Use High-Quality Filters for Better Performance
- Enhanced Filtration:
Invest in high-quality filters designed specifically for RV AC systems. These filters are better at trapping fine particles like allergens and pollen, ensuring cleaner air inside your RV. - Durability and Longevity:
Premium filters last longer and withstand frequent cleaning better than standard ones. Though they may cost more initially, they save money in the long run by reducing replacements. - Choose Washable or Reusable Filters:
Washable filters are eco-friendly and economical, as they can be cleaned multiple times before needing replacement.
Additional Tips for RV AC Filter Maintenance
- Store Filters Properly: Keep spare filters in a clean, dry place to avoid contamination before use.
- Avoid Overloading the AC: Running your AC system continuously without breaks can strain the filter. Use a timer or thermostat to regulate usage.
- Monitor Humidity Levels: Use a dehumidifier to reduce moisture in the RV, preventing mold and bacteria growth on the filter.
FAQs – How to Clean RV Air Conditioner Filter
Maintaining your RV air conditioner filter is essential for clean air, efficient cooling, and a comfortable RV environment. Below are some frequently asked questions to guide you in cleaning and maintaining your RV AC filter.
How often should I clean my RV AC filter?
You should clean your RV AC filter every 2-4 weeks, depending on usage and environmental conditions. If you frequently travel through dusty regions or areas with high pollen levels, consider cleaning it more often. Regular cleaning prevents dirt and debris from clogging the filter, ensuring optimal performance and air quality.
- Tip: Establish a cleaning schedule and inspect your filter for signs of dirt buildup during each cleaning session.

Can I use any cleaning products on my RV AC filter?
No, it’s important to use the right cleaning products to avoid damaging the filter. Clean your filter with mild soap and lukewarm water or use specialized AC cleaning sprays designed for RV filters. Avoid harsh chemicals or bleach, as these can weaken the filter material and reduce its effectiveness.
- Tip: After washing, rinse thoroughly to remove all soap residue and allow the filter to air dry completely.
How do I know when my RV AC filter needs replacing?
Replace your filter if it exhibits any of the following signs:
- Visible Damage: Tears, rips, or excessive wear that cleaning cannot fix.
- Strong Odors: Persistent musty or unpleasant smells indicate bacteria or mold buildup that cleaning cannot eliminate.
- Reduced Airflow: If cleaning the filter no longer restores proper airflow, it’s time for a replacement.
Most RV AC filters need replacement every 1-3 months, depending on use and environmental factors.
Is it safe to clean an RV AC filter while it’s still wet?
No, never place a wet filter back into your AC unit. A wet filter can:
- Promote bacterial and mold growth, reducing air quality.
- Damage the AC system by allowing moisture to circulate within the unit.
Always ensure the filter is completely dry before reinserting it. Air drying in a clean, dry space is the best method.
- Tip: Use a lint-free towel to blot excess water before leaving the filter to air dry.
What type of filter is best for RV AC units?
Choose filters specifically designed for RV AC systems. Look for the following features:
- Antimicrobial Properties: These filters help reduce bacteria and mold buildup.
- Washable or Reusable: Eco-friendly options that can be cleaned multiple times.
- High Filtration Efficiency: Filters capable of trapping allergens, dust, and fine particles ensure better air quality.
Premium RV AC filters may cost more but offer better durability and performance, making them a worthwhile investment.
